Batch-posting payables
Last updated: May 26, 2026
Overview
Processing payments efficiently and accurately is a key part of insurance accounting. This guide walks you through how to create and post a Payables Batch to issue check or electronic payments directly from amplo. This article explains how to create a payables batch, print checks, and print remittance.
Create a payables batch
Use this process to group posted, unpaid payables into a single payment batch.
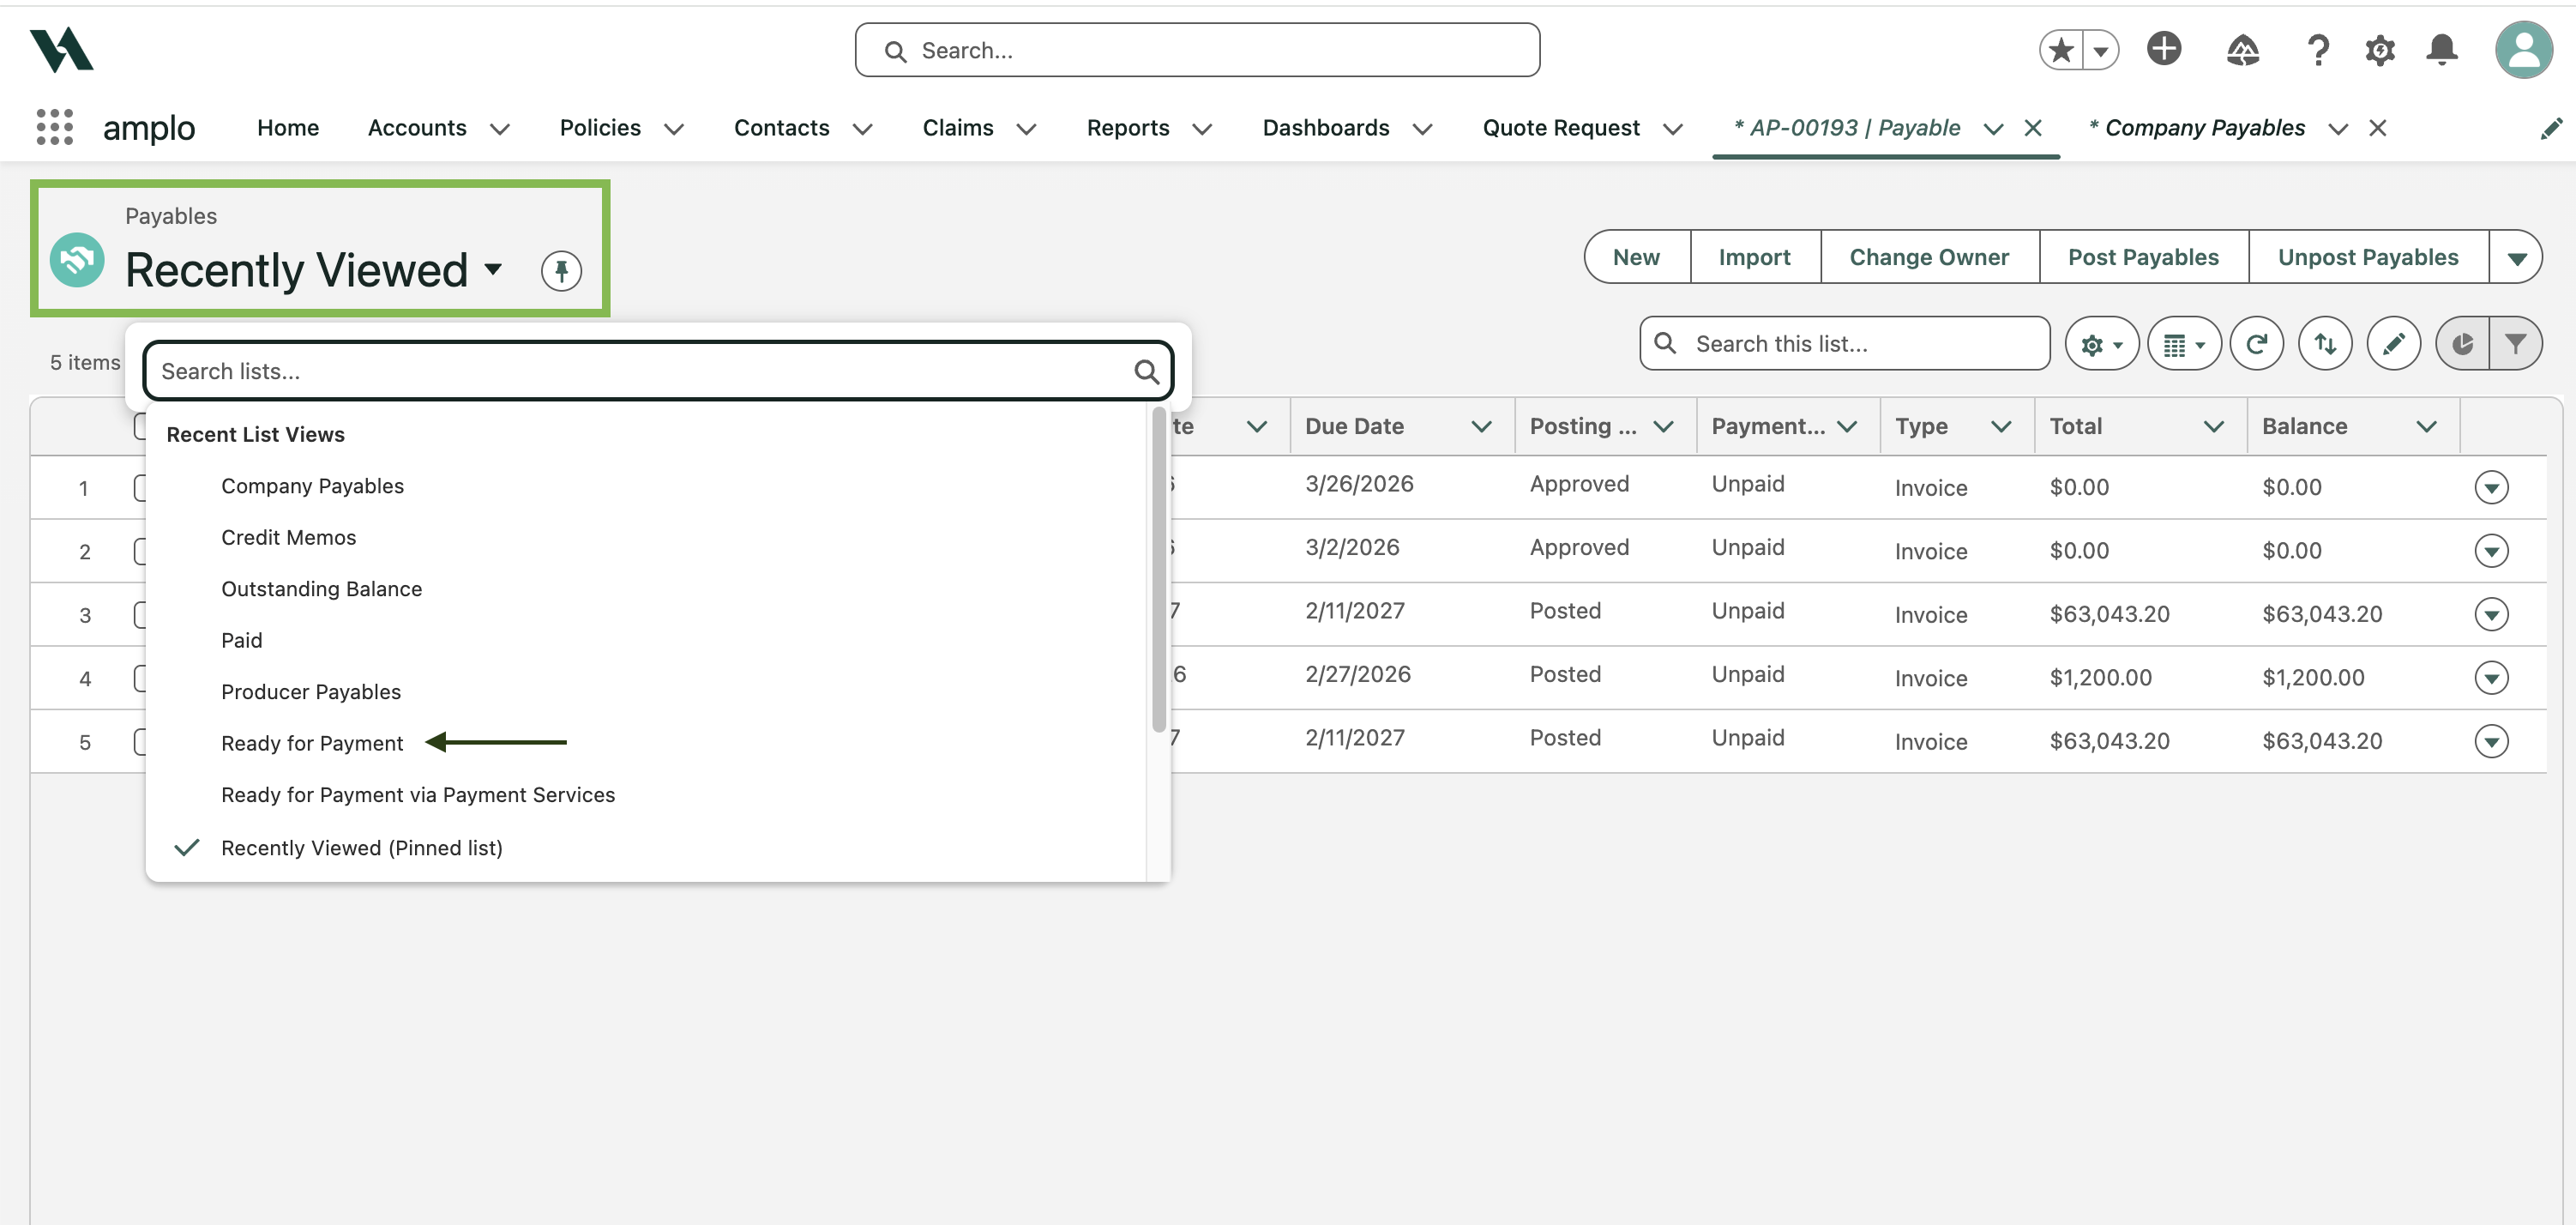
In the App Launch, search and select Payables.
In the dropdown menu, select Ready for Payment. This will display all payables that are posted and unpaid.
Select the checkbox next to each Payable Name to include in the batch.
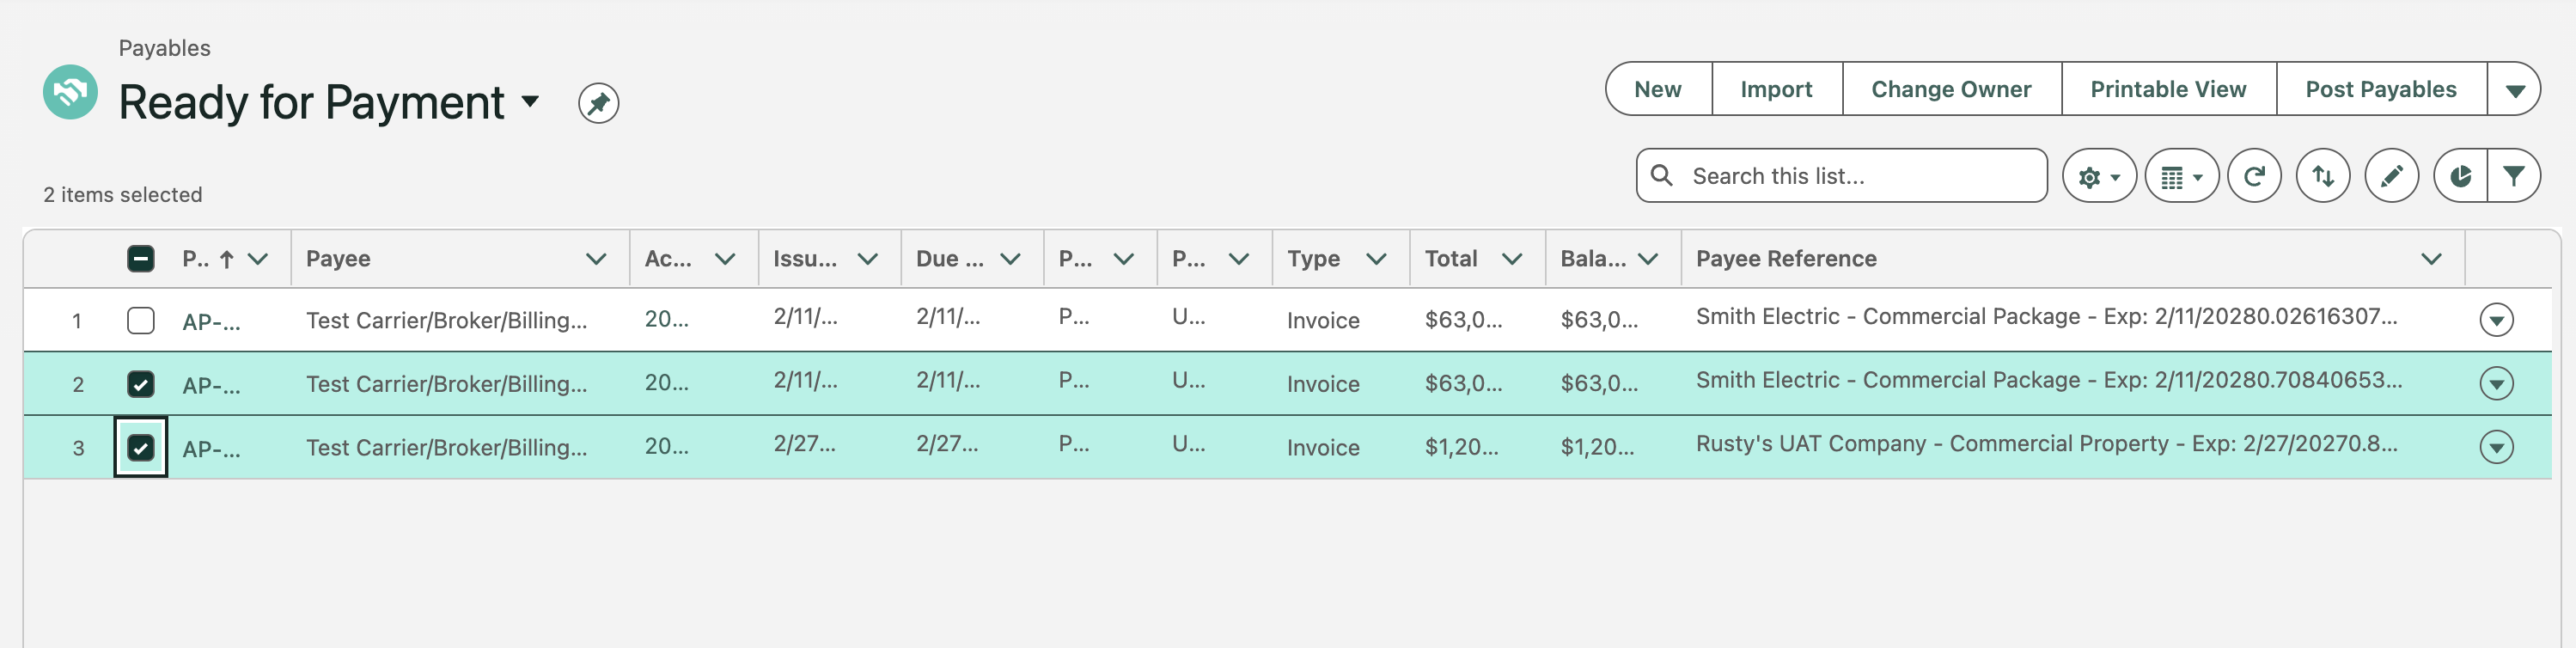
Note: Group payments by type. Create separate batches for electronic payments and checks.
Click the down arrow, then select Veruna Pay Batch.

Post the payables batch
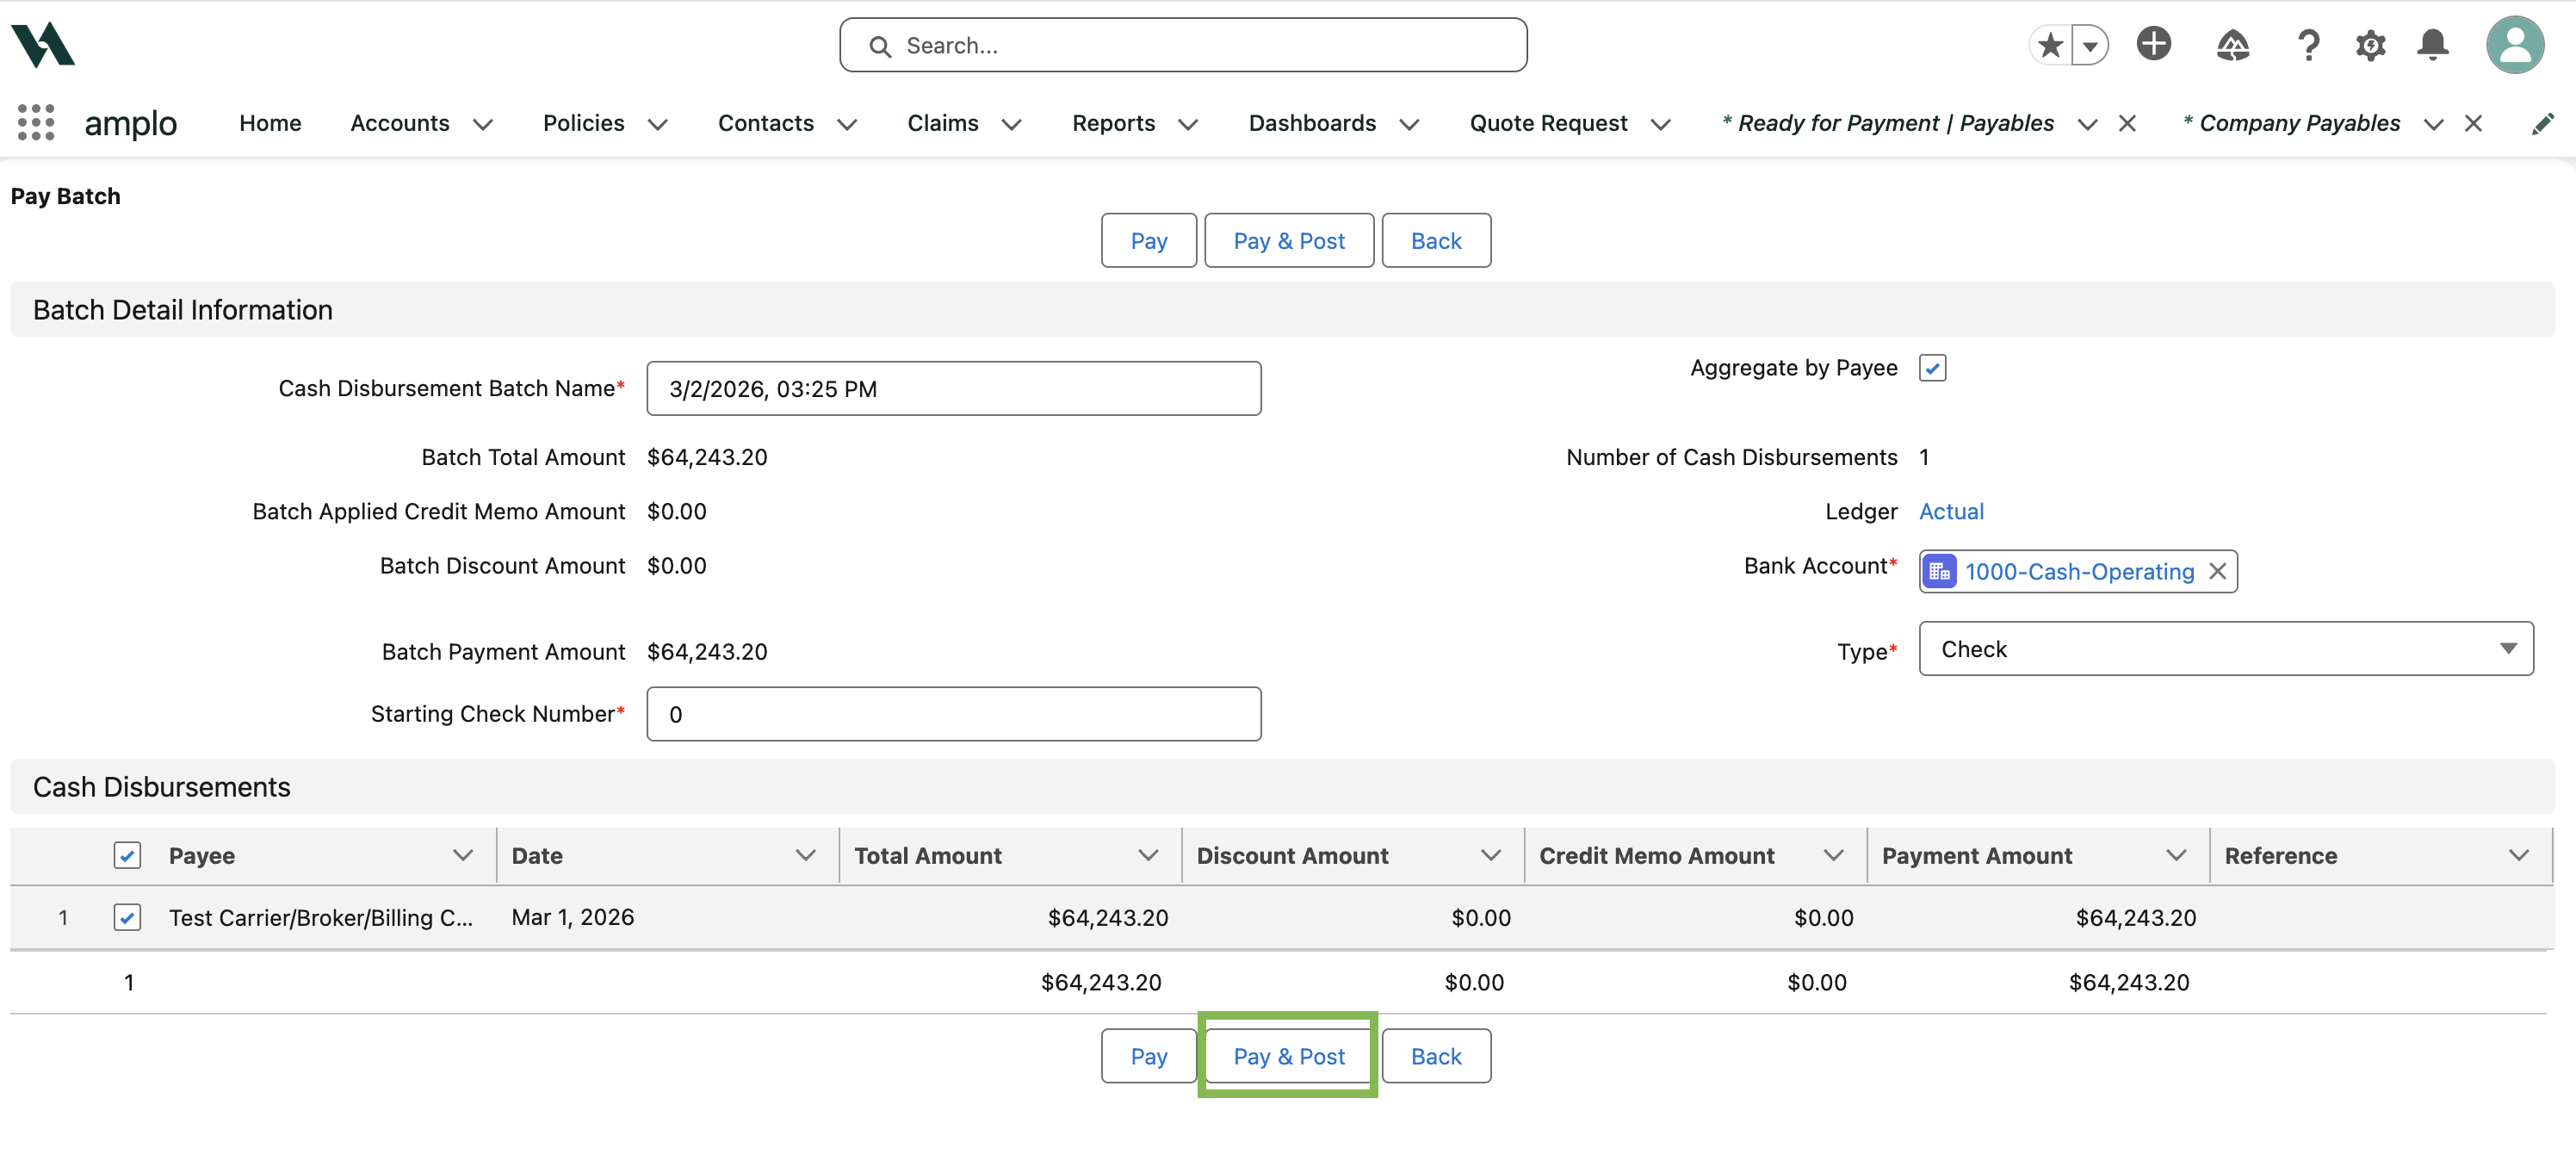
On the Payables Batch screen, enter the following information:
Cash Disbursement Batch Name: change from the default text if desired.
Starting Check Number: This auto-populates the next available number in sequence.
Bank Account: Select the account funds will be paid from.
Type: Select Check or Electronic.
Click Pay & Post.
Potential error when posting the payables batch
See information below on how to correct this error:
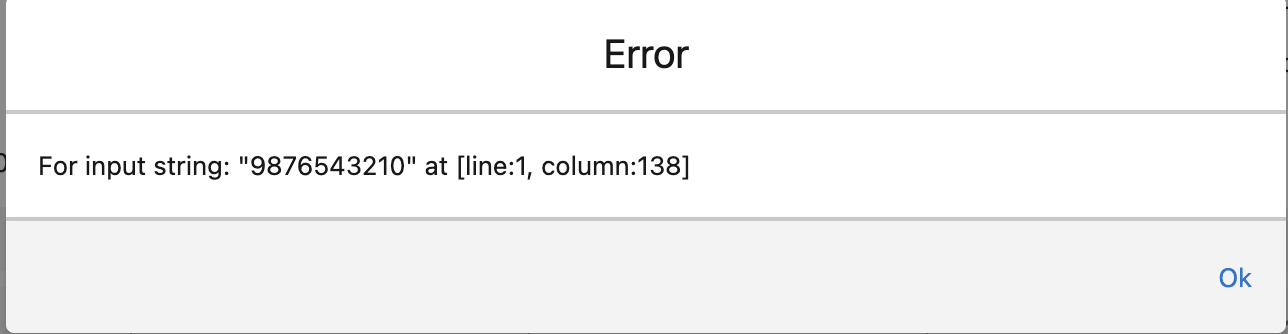
This error occurs when the Starting Check Number in the Pay Batch screen contains 10+ digits.
If the Type is "Check":
Edit the Starting Check Number value to a number less than 10 digits.
Click Pay & Post.
If the Type is "Electronic",
Edit the Starting Check Number value to a number less than 10 digits.
Change the Type to Electronic.
Click Pay & Post.
Review and print payments
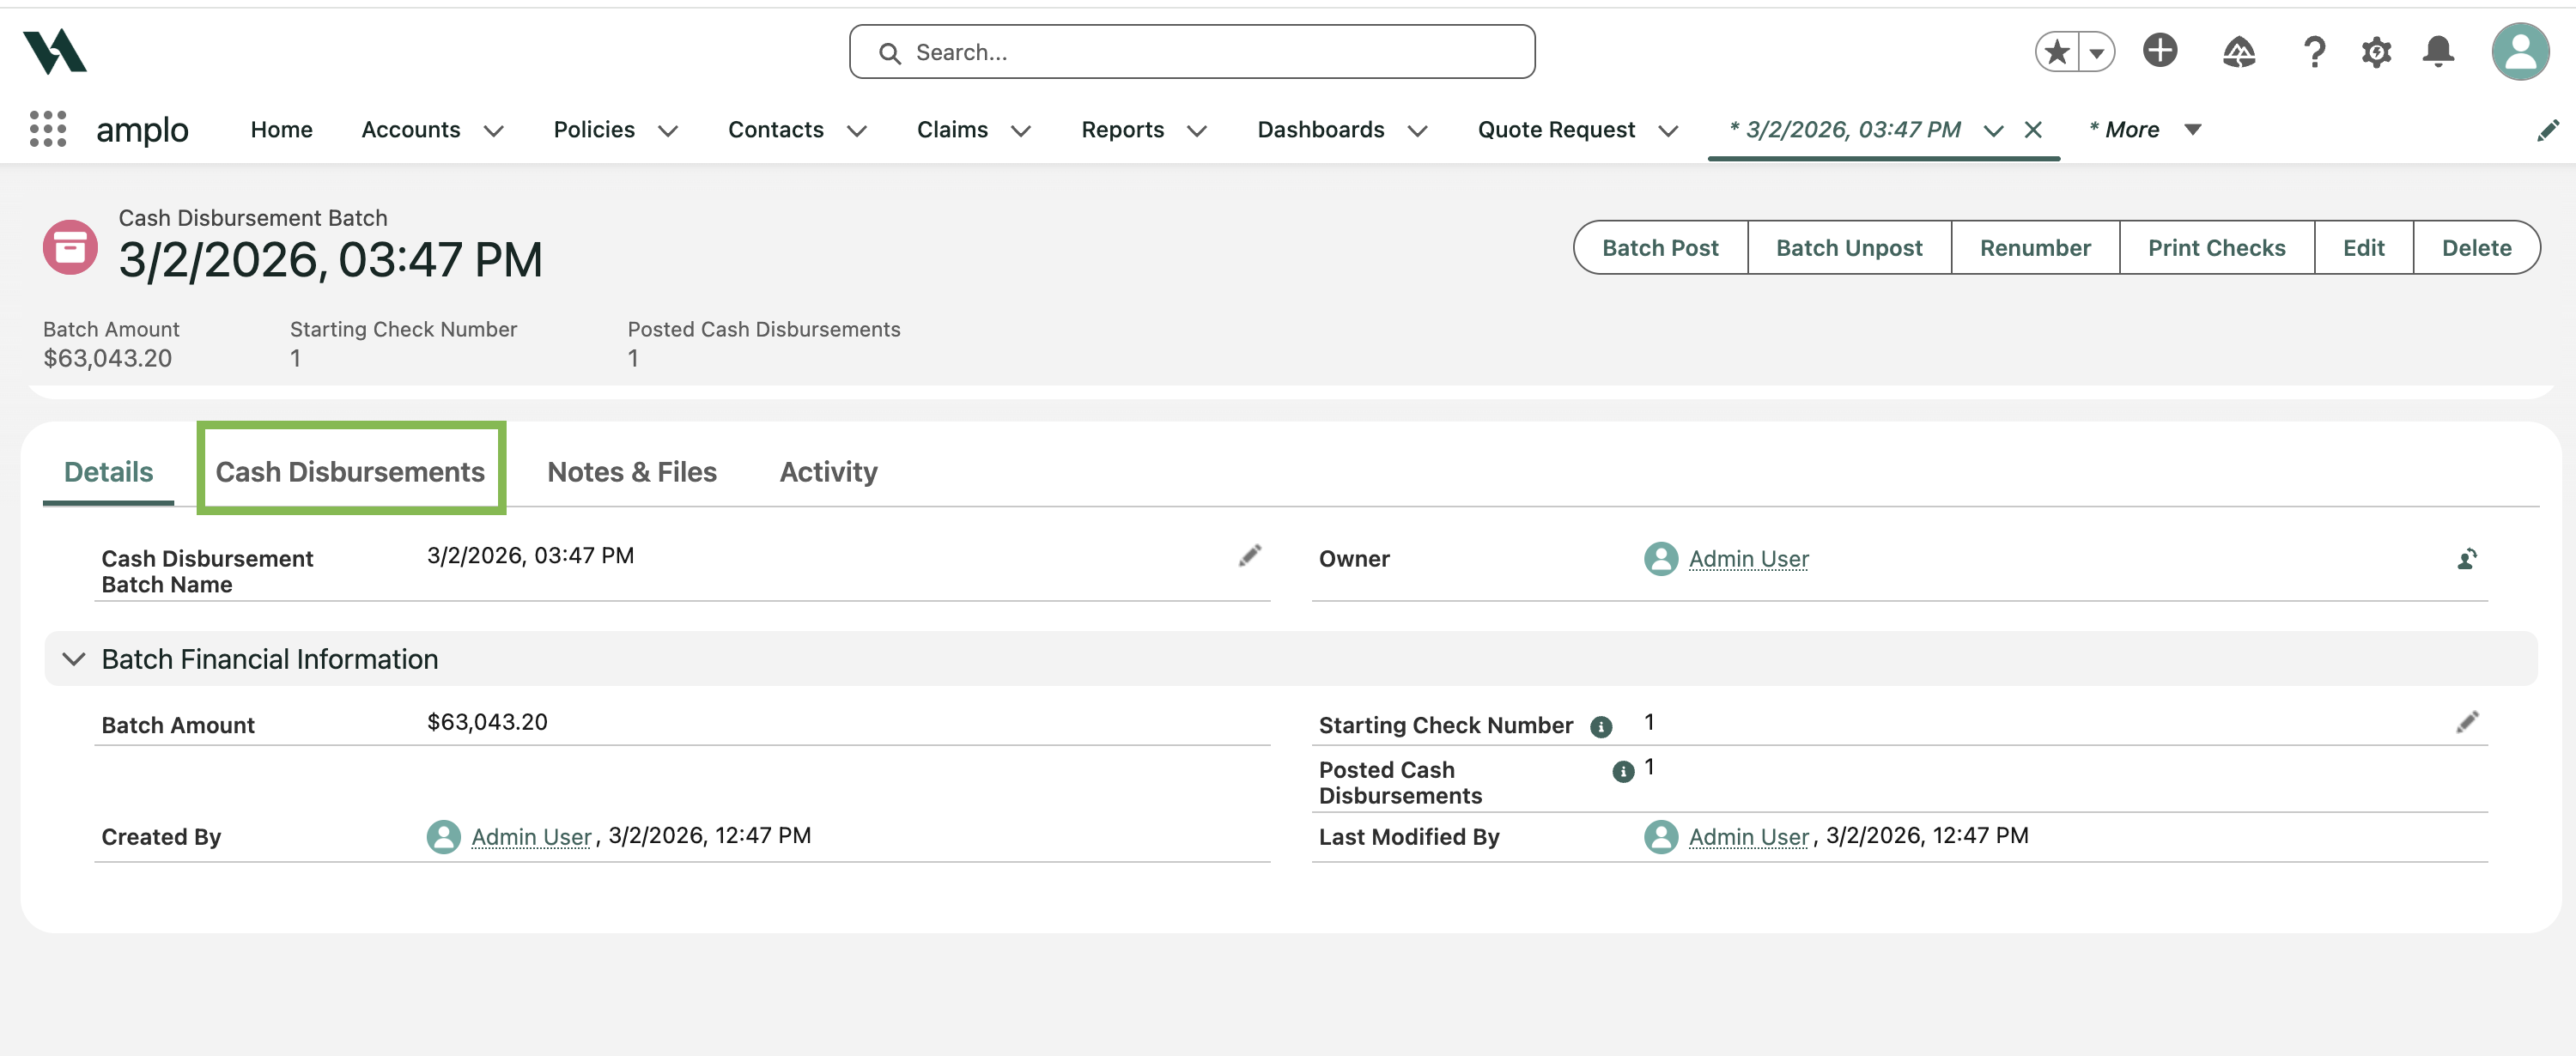
Click the Cash Disbursements tab.
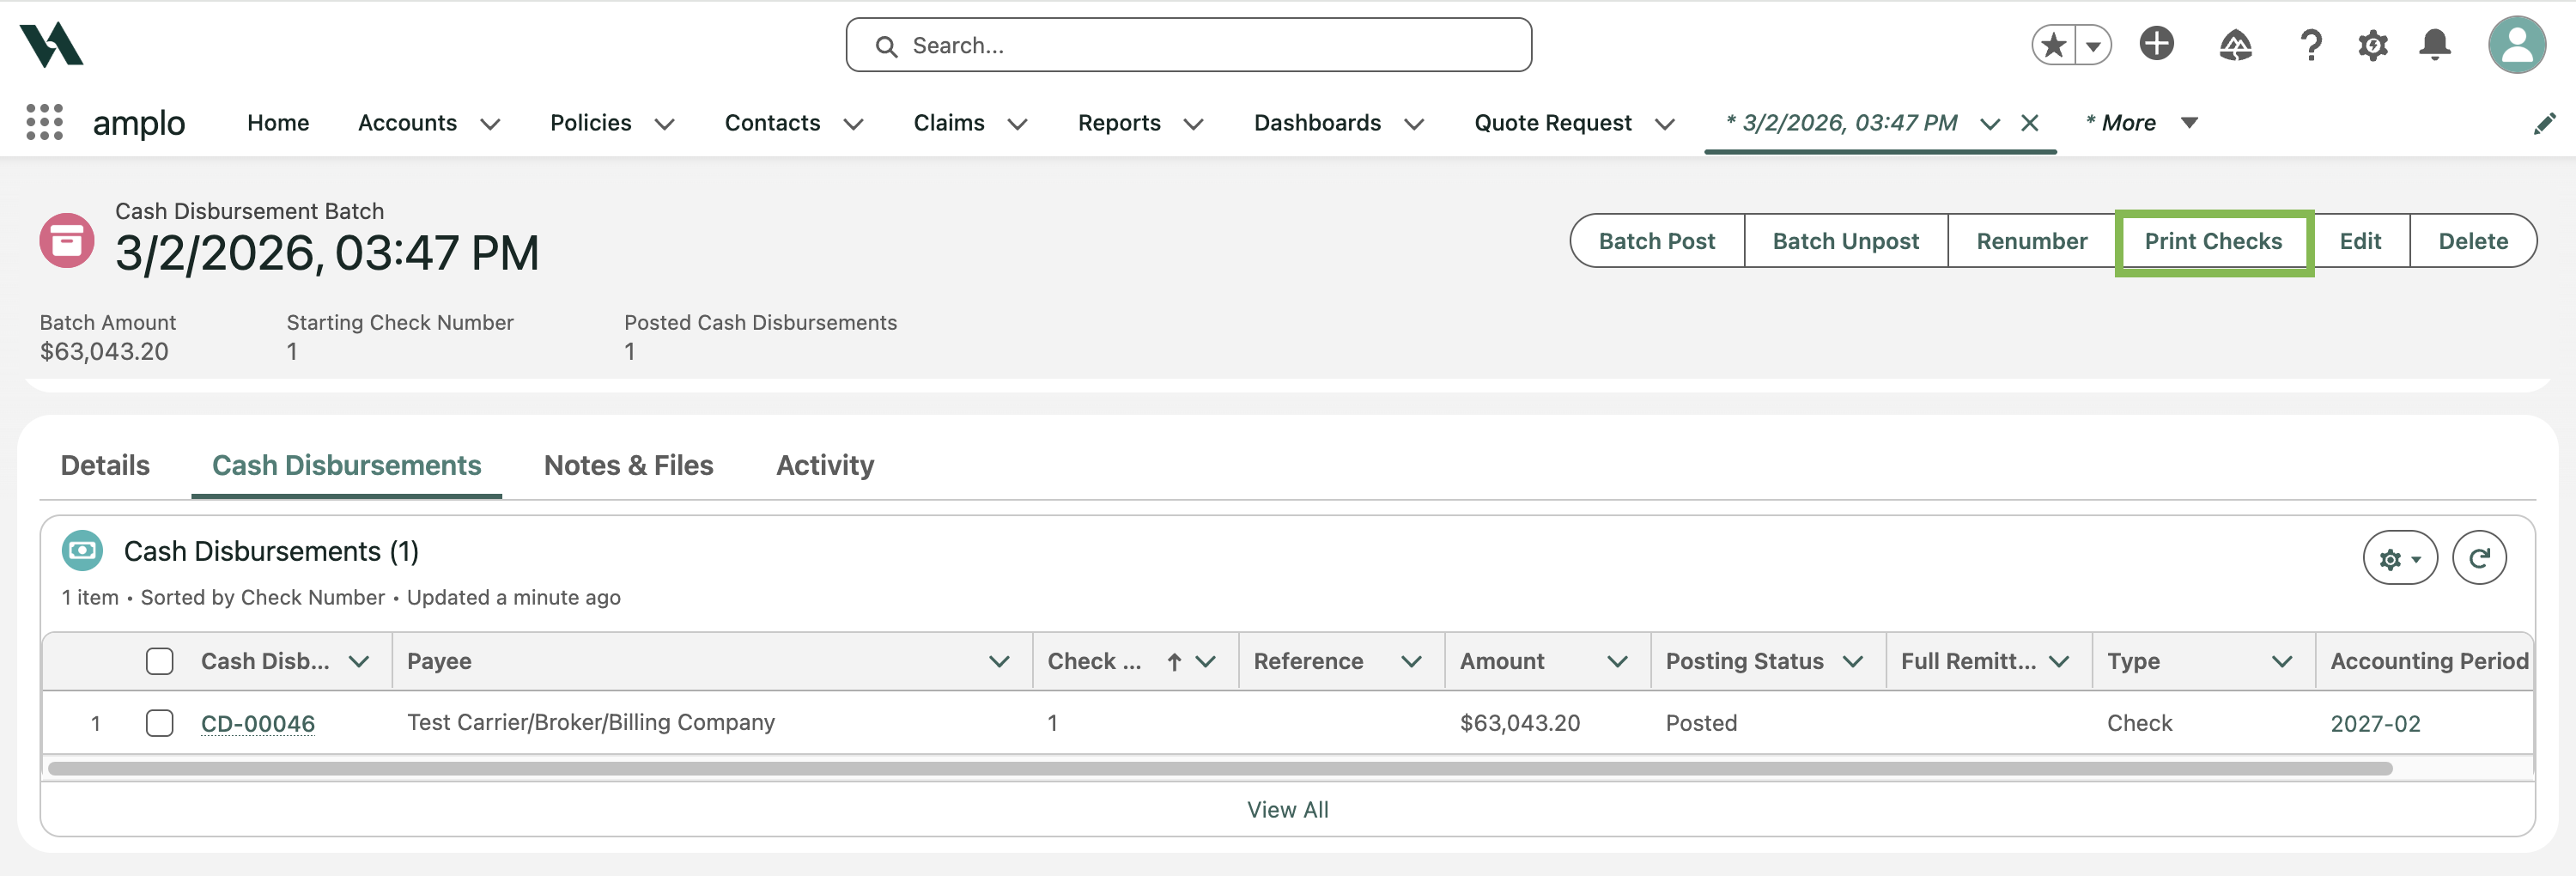
If issuing checks:
Click Print Checks.
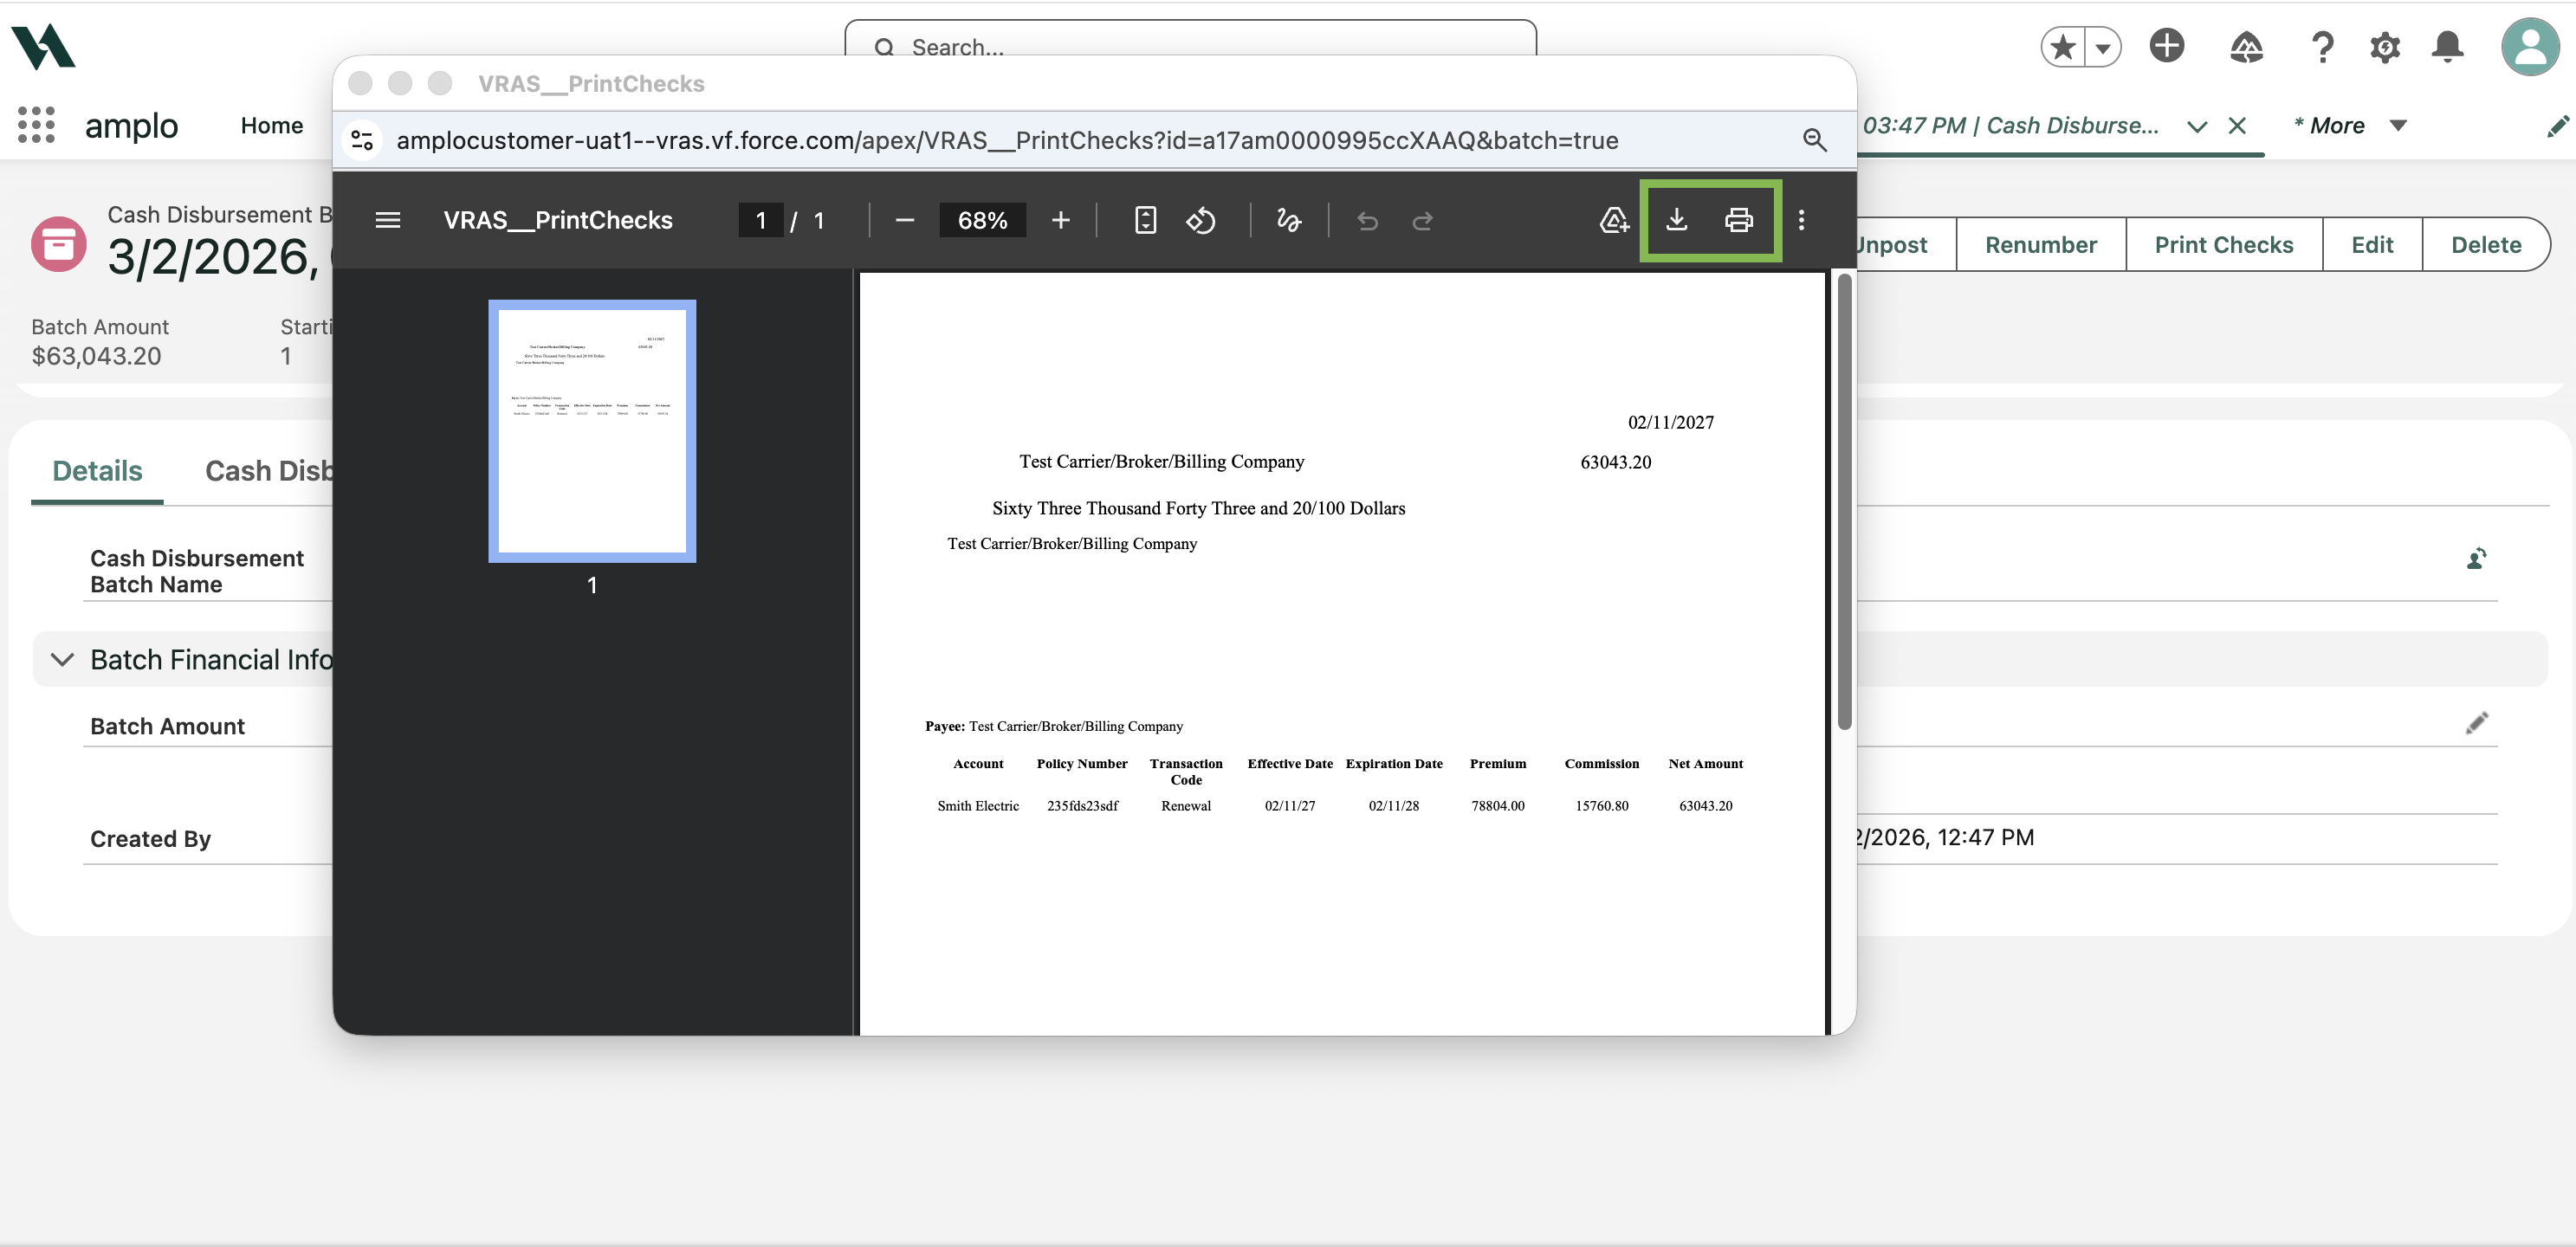
b. Click the icons for download or print, depending on your workflow.
Back on the Cash Disbursement Batch page, click on the Cash Disbursement Name.

Click Print Remittance.

A separate remittance will be created for each printed check.