Managing reports
Last updated: March 24, 2026
Overview
Reports help you track, analyze, and visualize data across your organization. You can use reports to:
View operational data
Export results
Schedule automatic runs
Add reports to dashboards for real-time visibility
Copy or modify existing reports
Accessing reports
Click the Reports tab. The page opens in the Recent view.
To view all available reports, click All Reports.

Use the search bar to find a report by name.

There are many out-of-the-box reports. Depending on the sharing settings, there could be other reports that have been customized for your agency.
Create a new folder
Folders help organize reports.
Click New Folder.

In the Create folder confirmation modal, complete the following:
Folder Label: Name the folder.
Folder Unique Name: This field auto-populates after you tab out of the label field. Edit if needed.
Click Save.

The folder is now available to add reports.
Create a new report
Click New Report.

Select the Report Type. This defines the data structure used in the report.
Standard: Prebuilt Salesforce report types that can be customized.For more information about report types, see Standard Report Types.
Custom: While custom report types are standard Salesforce functionality, amplo's managed package includes several out of the box for insurance workflows. For more information about custom report types, see Custom Report Types.

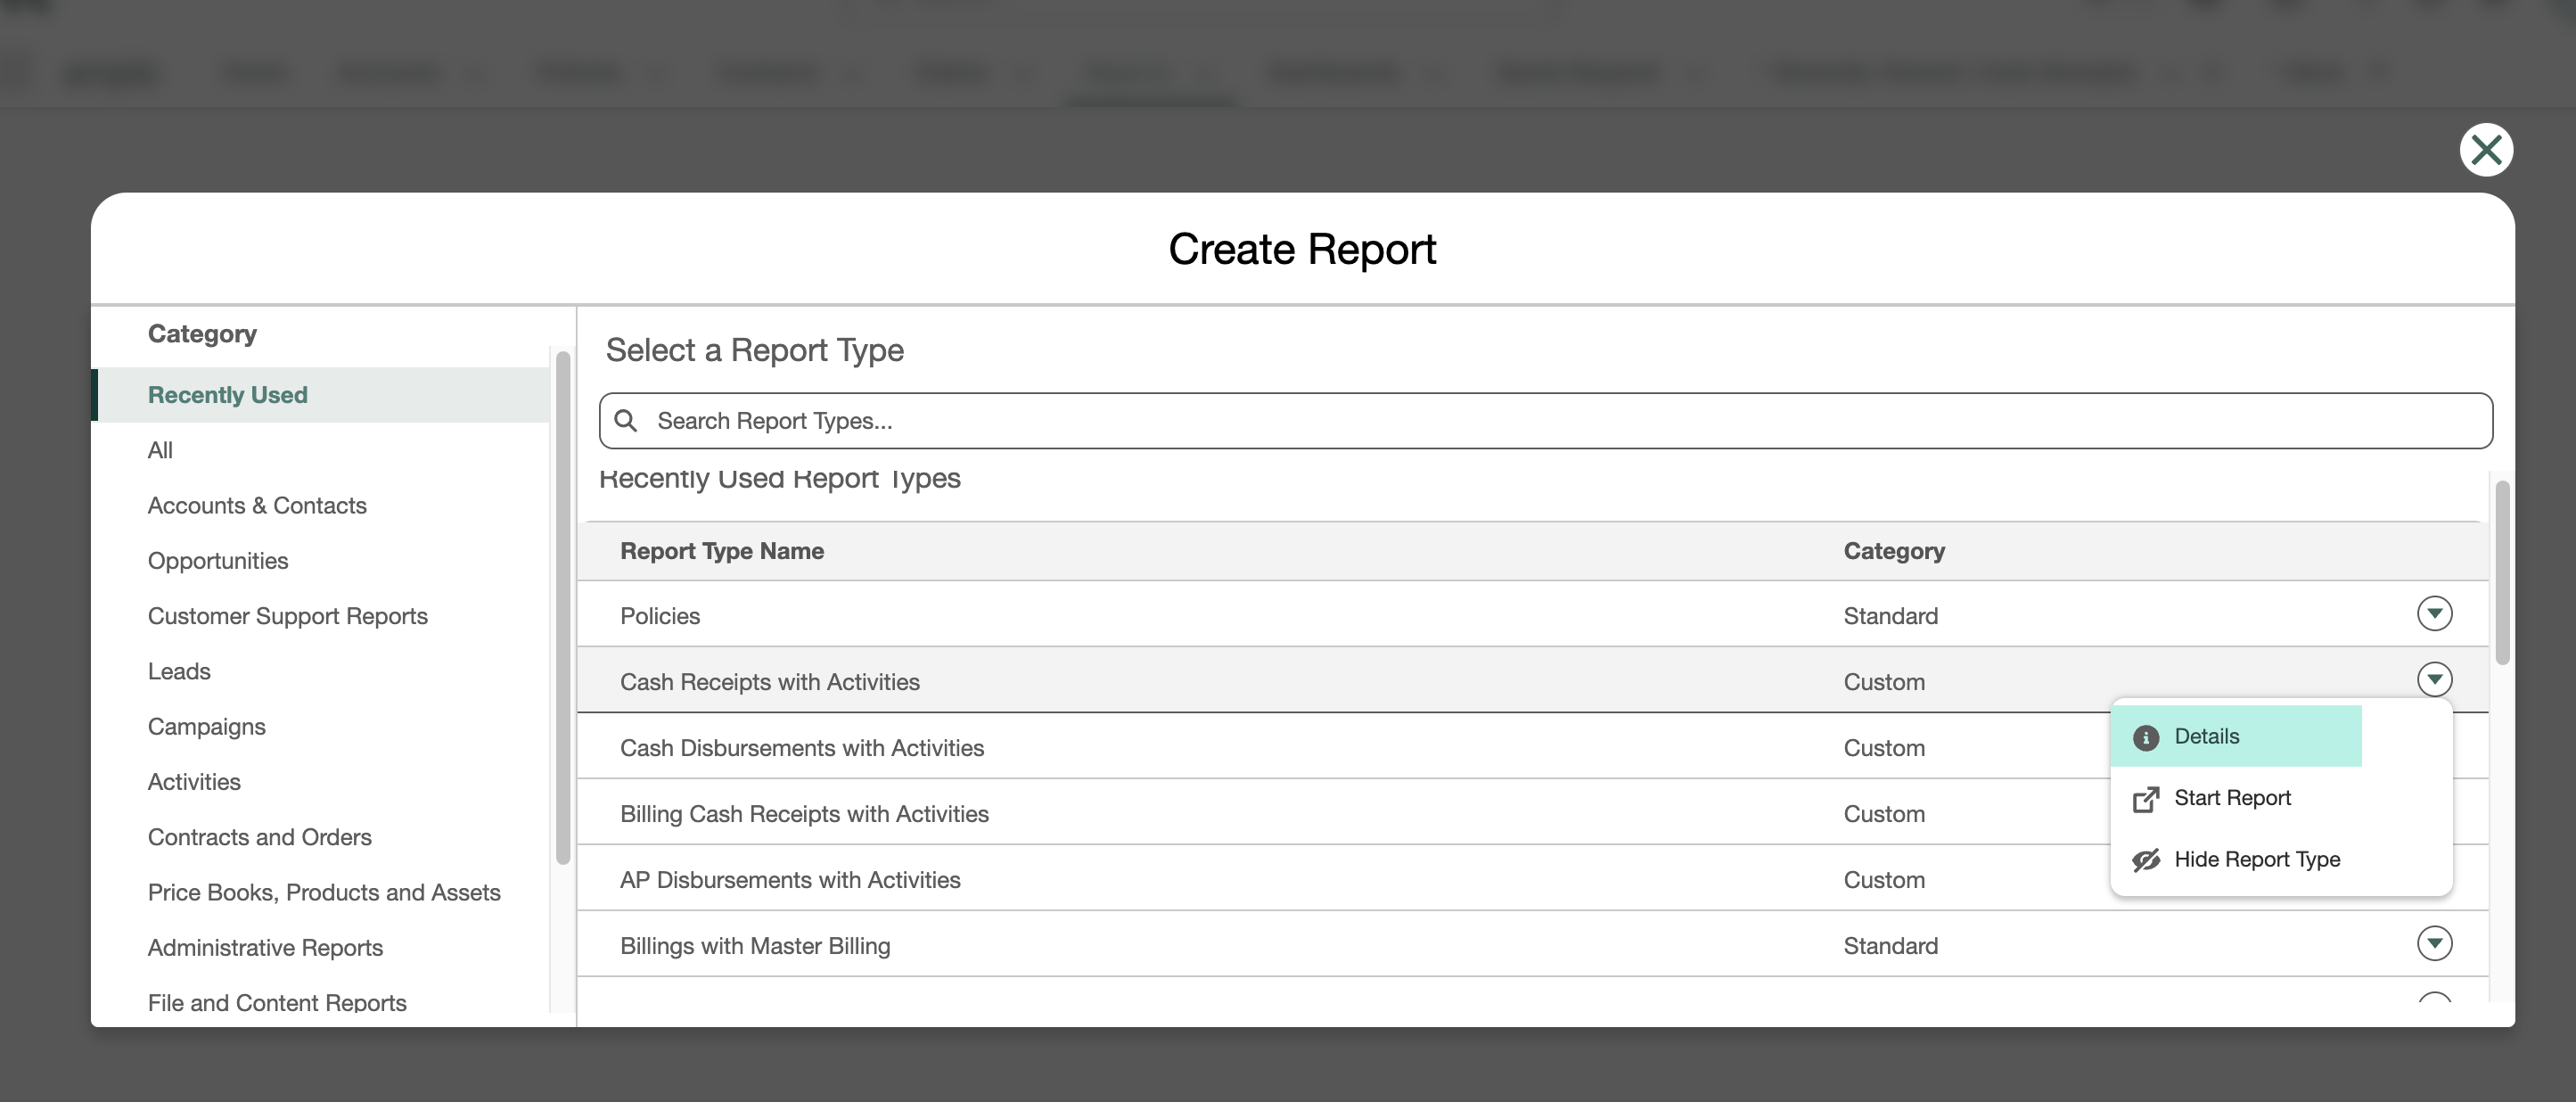
To preview a report type:
Click the down arrow.
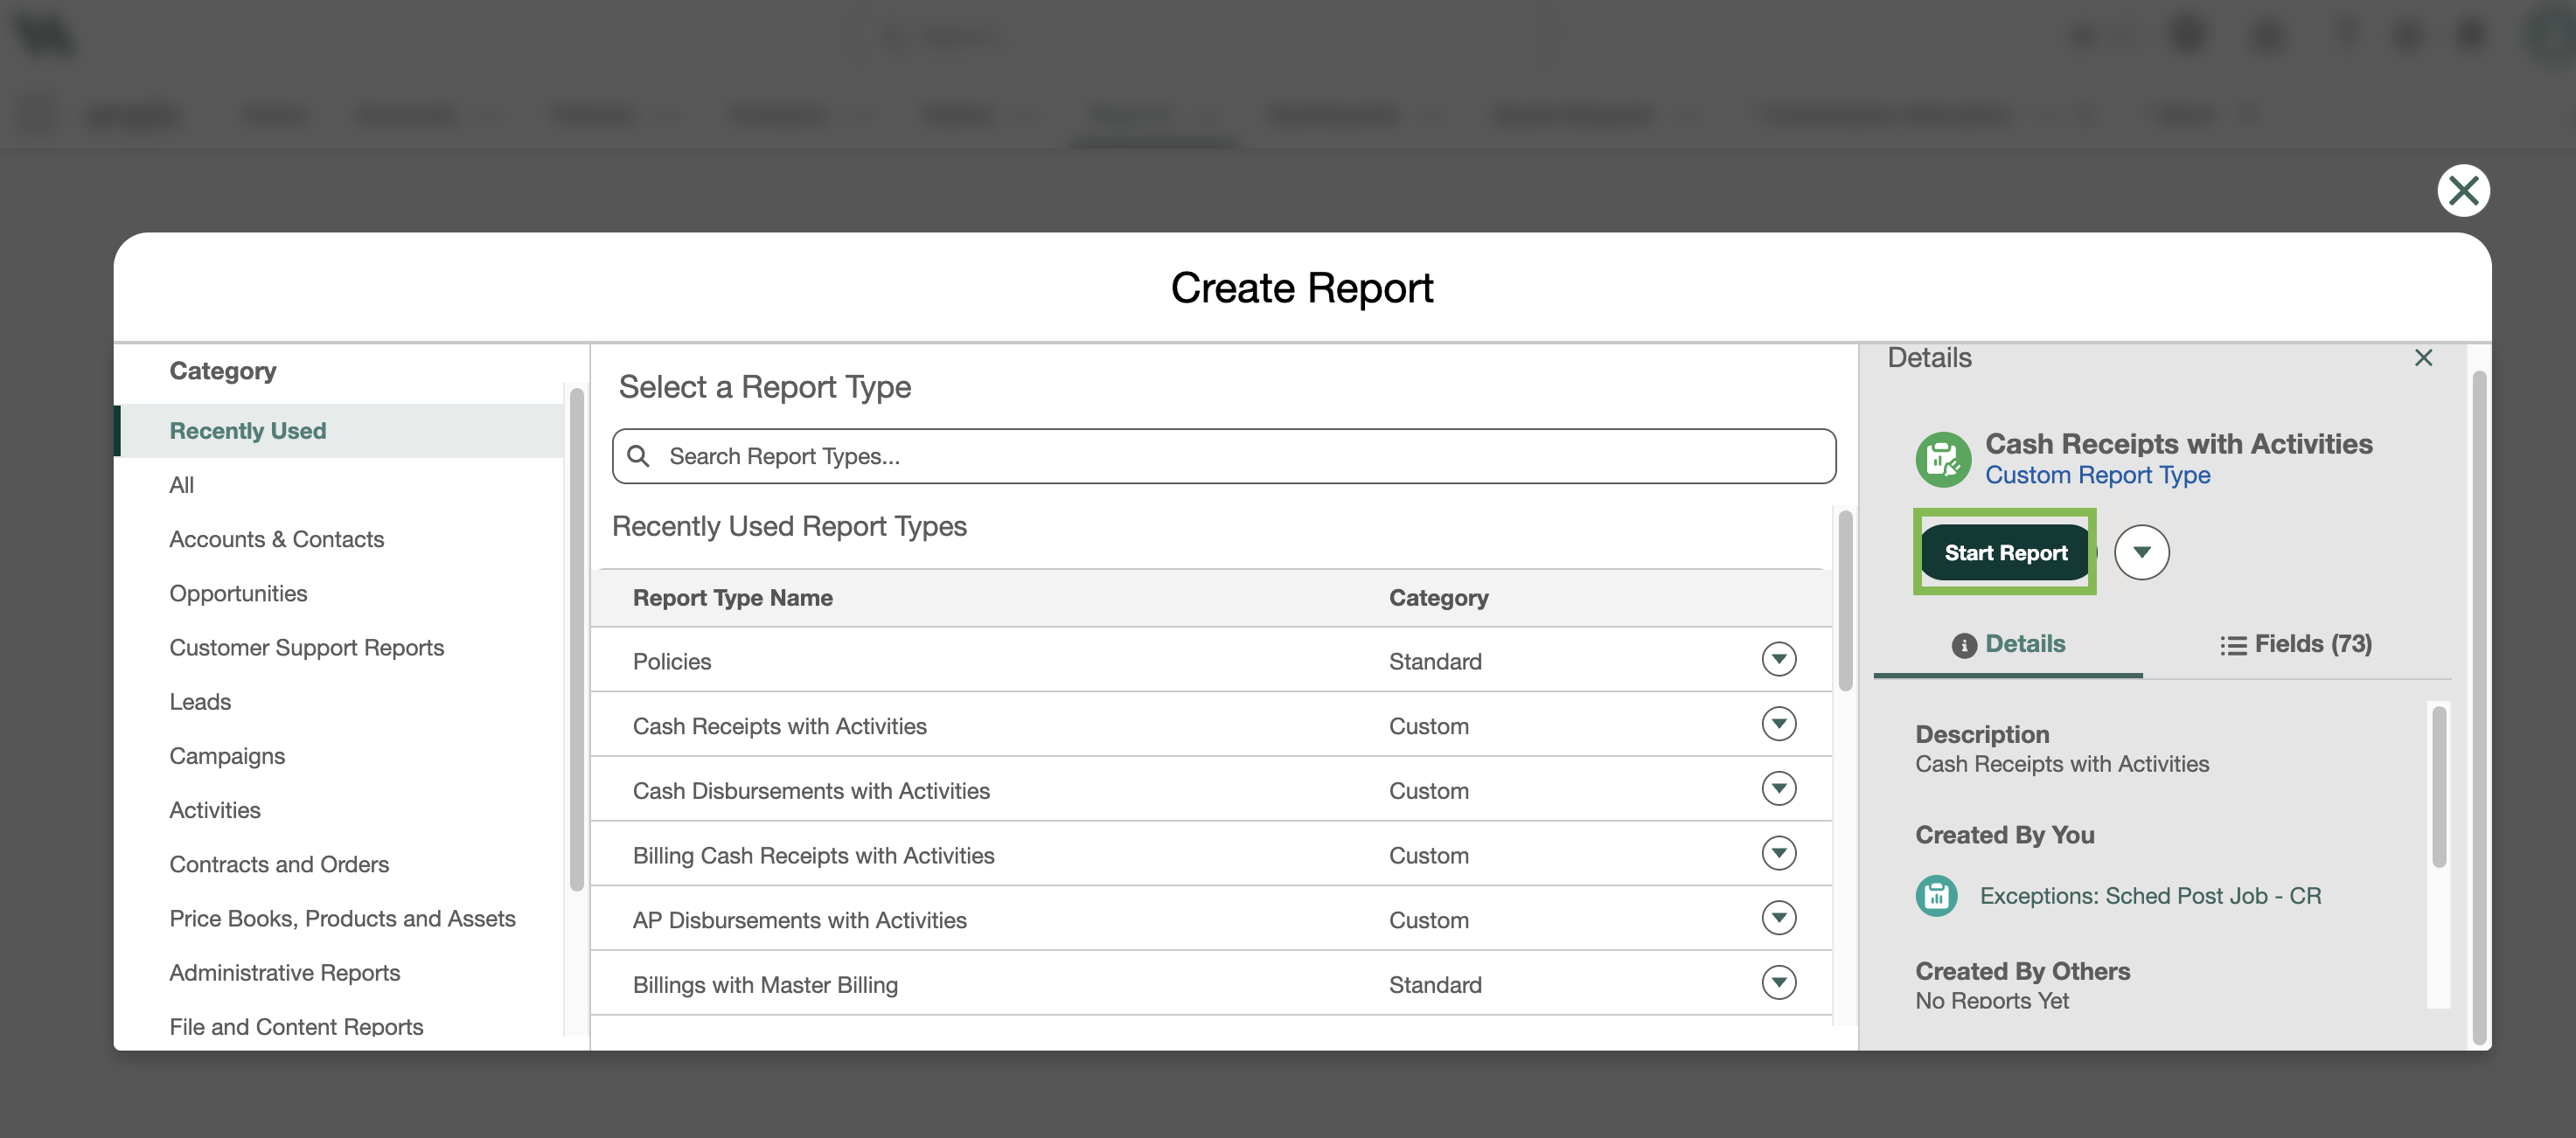
Click Details.
In the Details panel, click Start Report.
Add the necessary columns and filters.
Click Save & Run.

This prompts you to name the report and choose the folder location.
Click Save.

Modify an existing report
Click the Reports tab.
Click All Reports.
Use the search bar to find a report by name.
Open the report and select Edit.
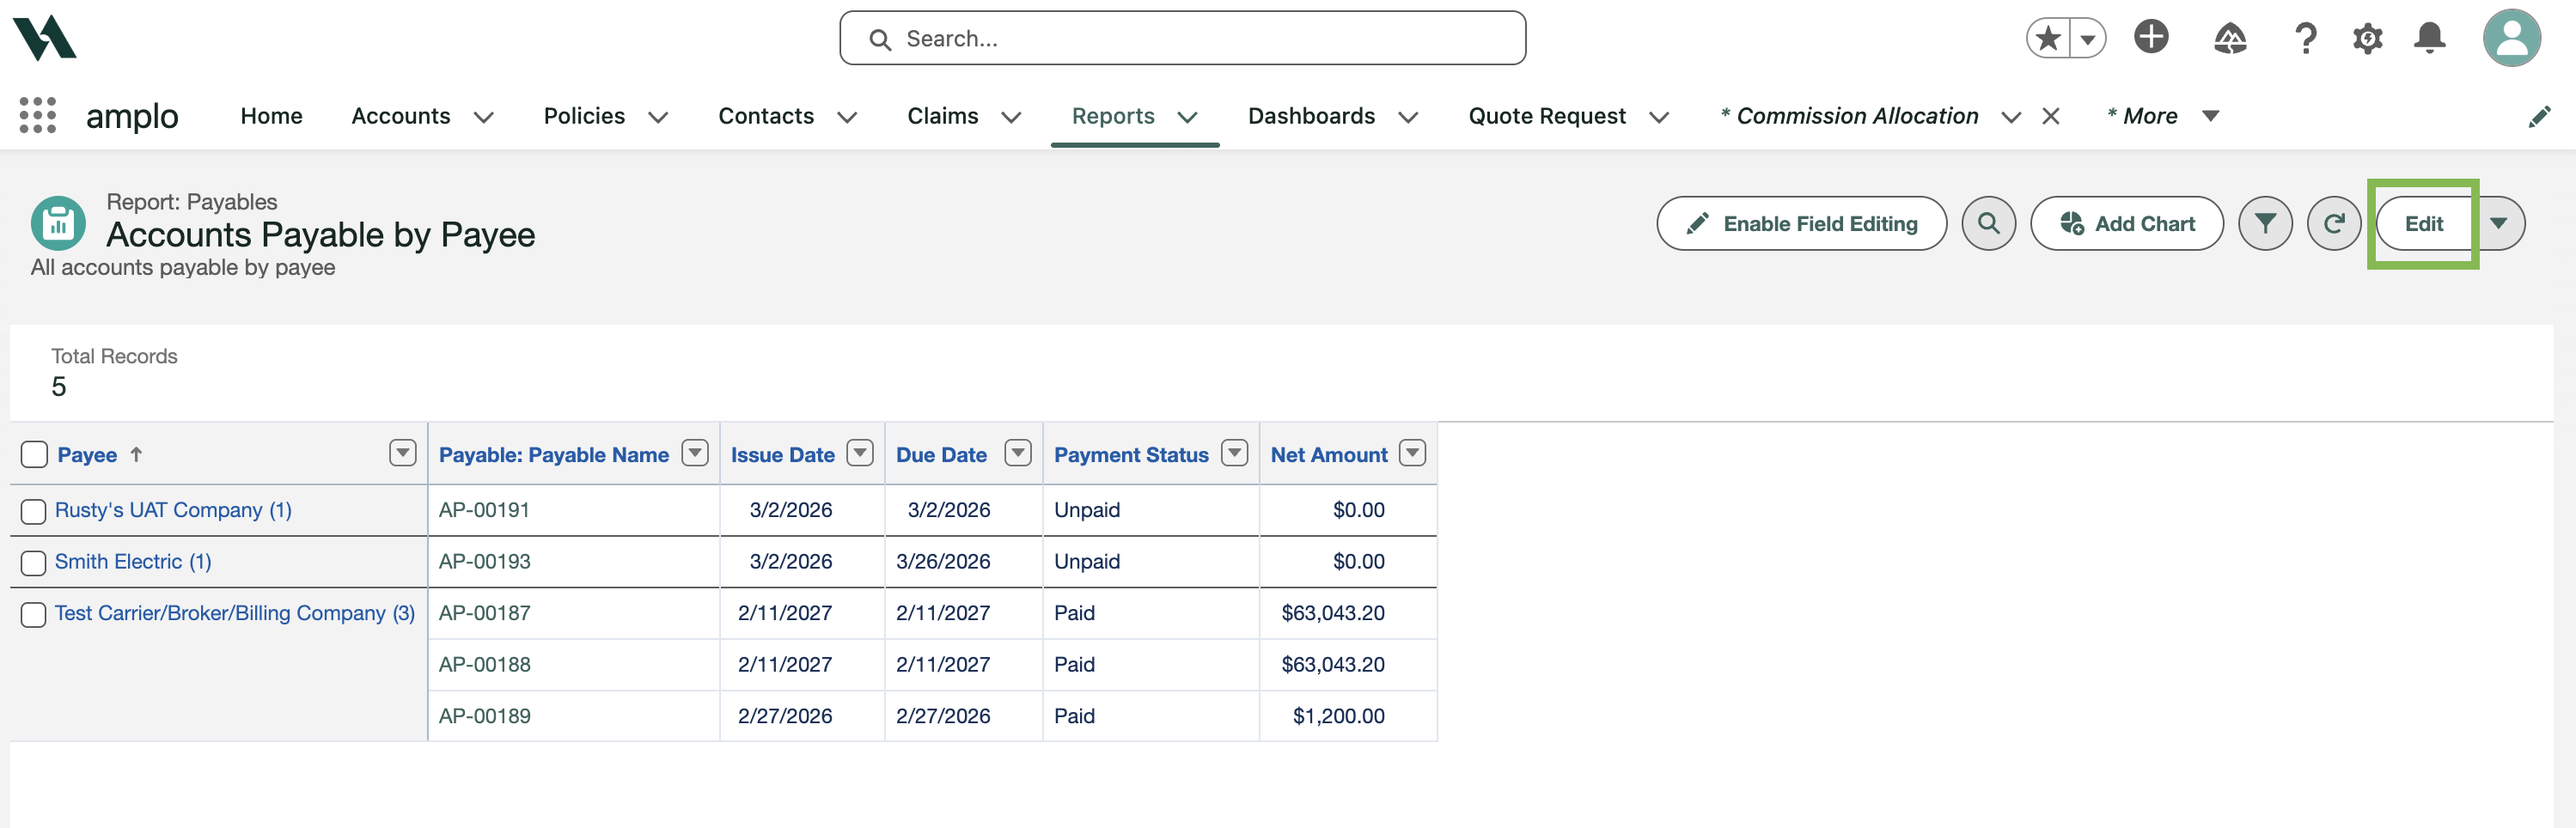
Use Save As to make a copy, then apply changes.
Adjust the columns and filters as needed.
Choose one of the following options:
Save As: Save the report as a new version.
Save & Run: Save the changes to the current report.
Run: run the report without saving changes.
Report actions
Reports support several additional actions:
Copy
Export to Excel
Add to Dashboard
Subscribe (schedule automatic runs)
Note: For more details, see Reports.
Add reports to a dashboard
On the report, click the drop down arrow next to Edit button.
Select Add to Dashboard.

On the Add to Dashboard modal, choose one of the following:
Add to existing dashboard
Add to new dashboard
Click Add.

On the Add Widget modal, edit the settings as needed.
Click Add.
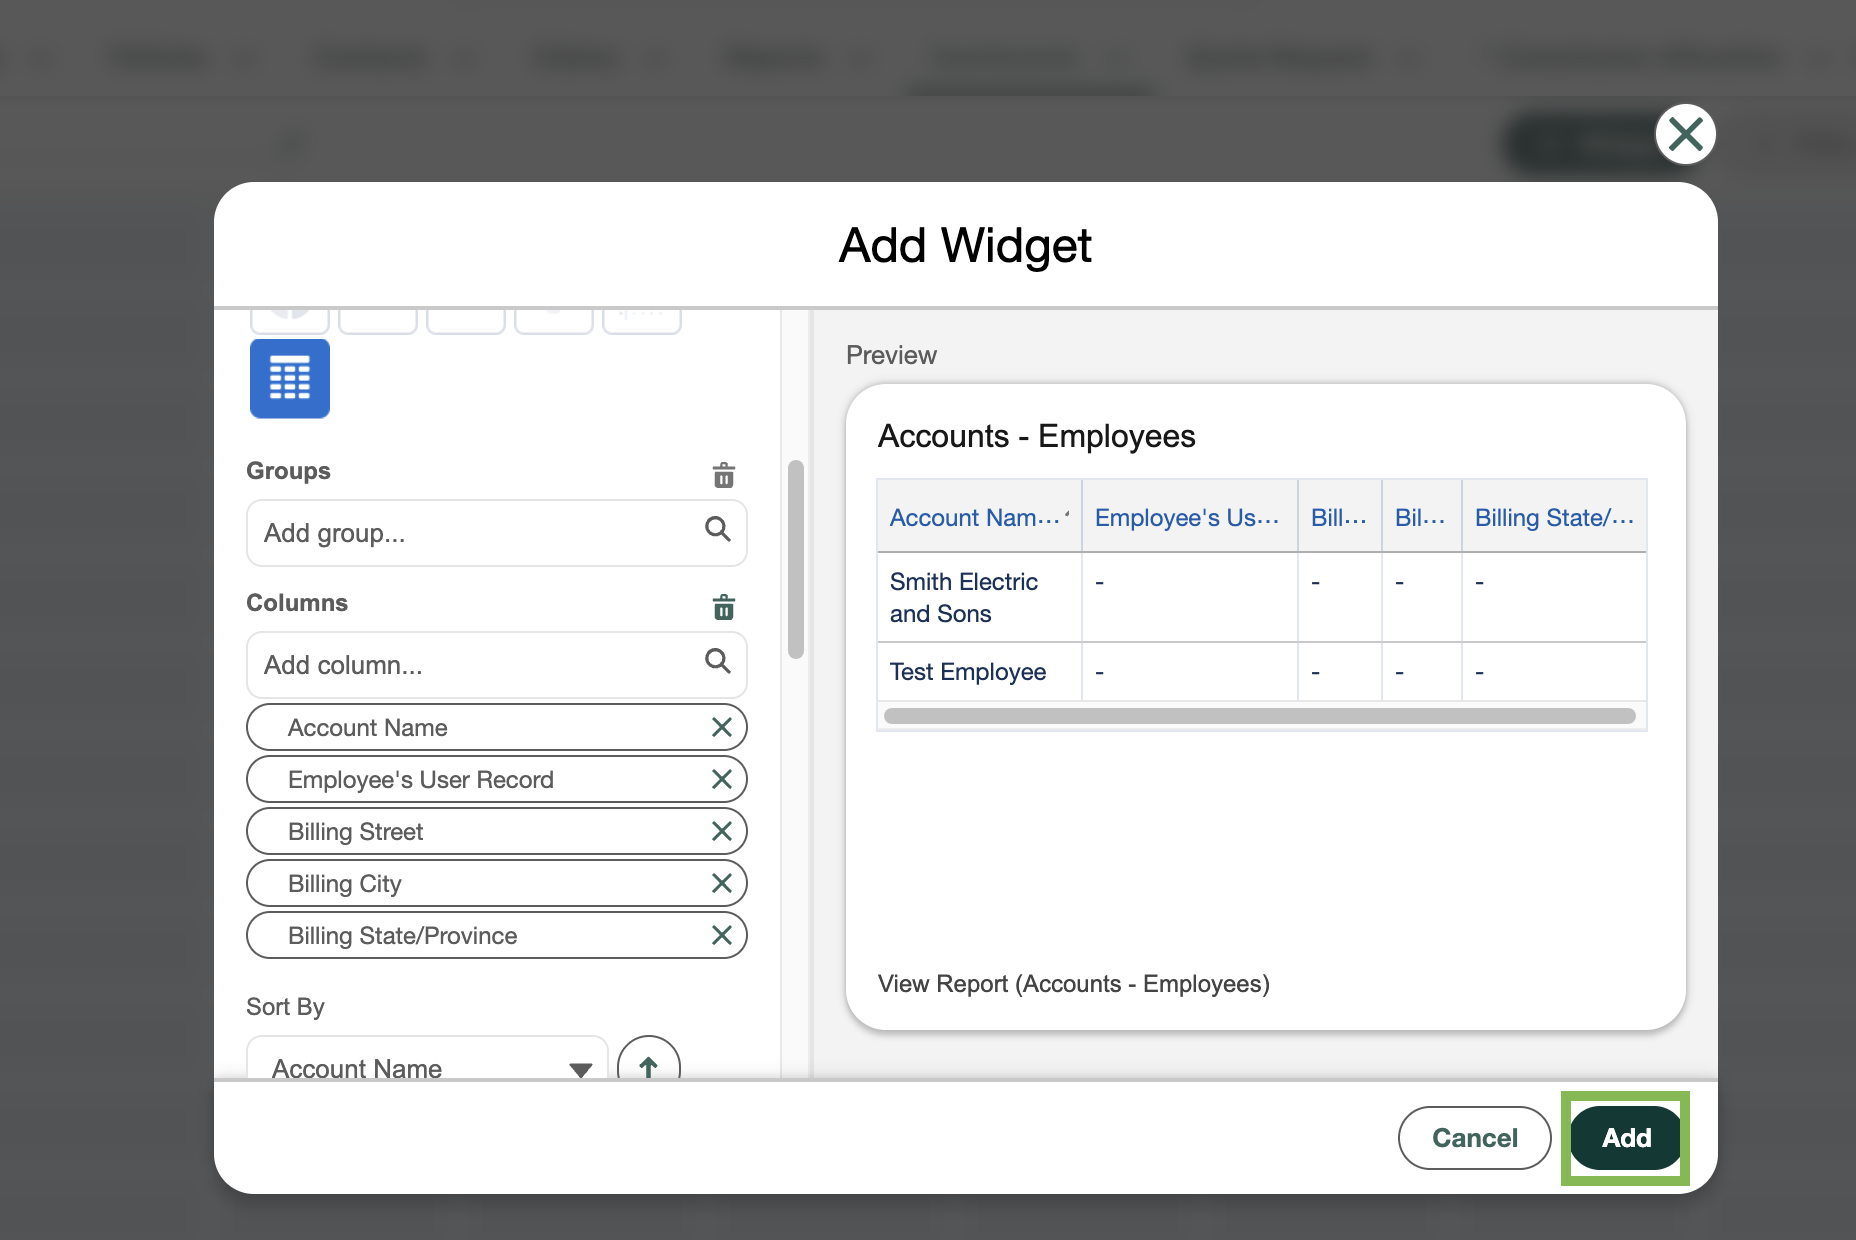
Note: For more information about Salesforce native dashboard widgets, see Add Widgets to the Dashboard.
Use +Widget to add additional widgets and reports.
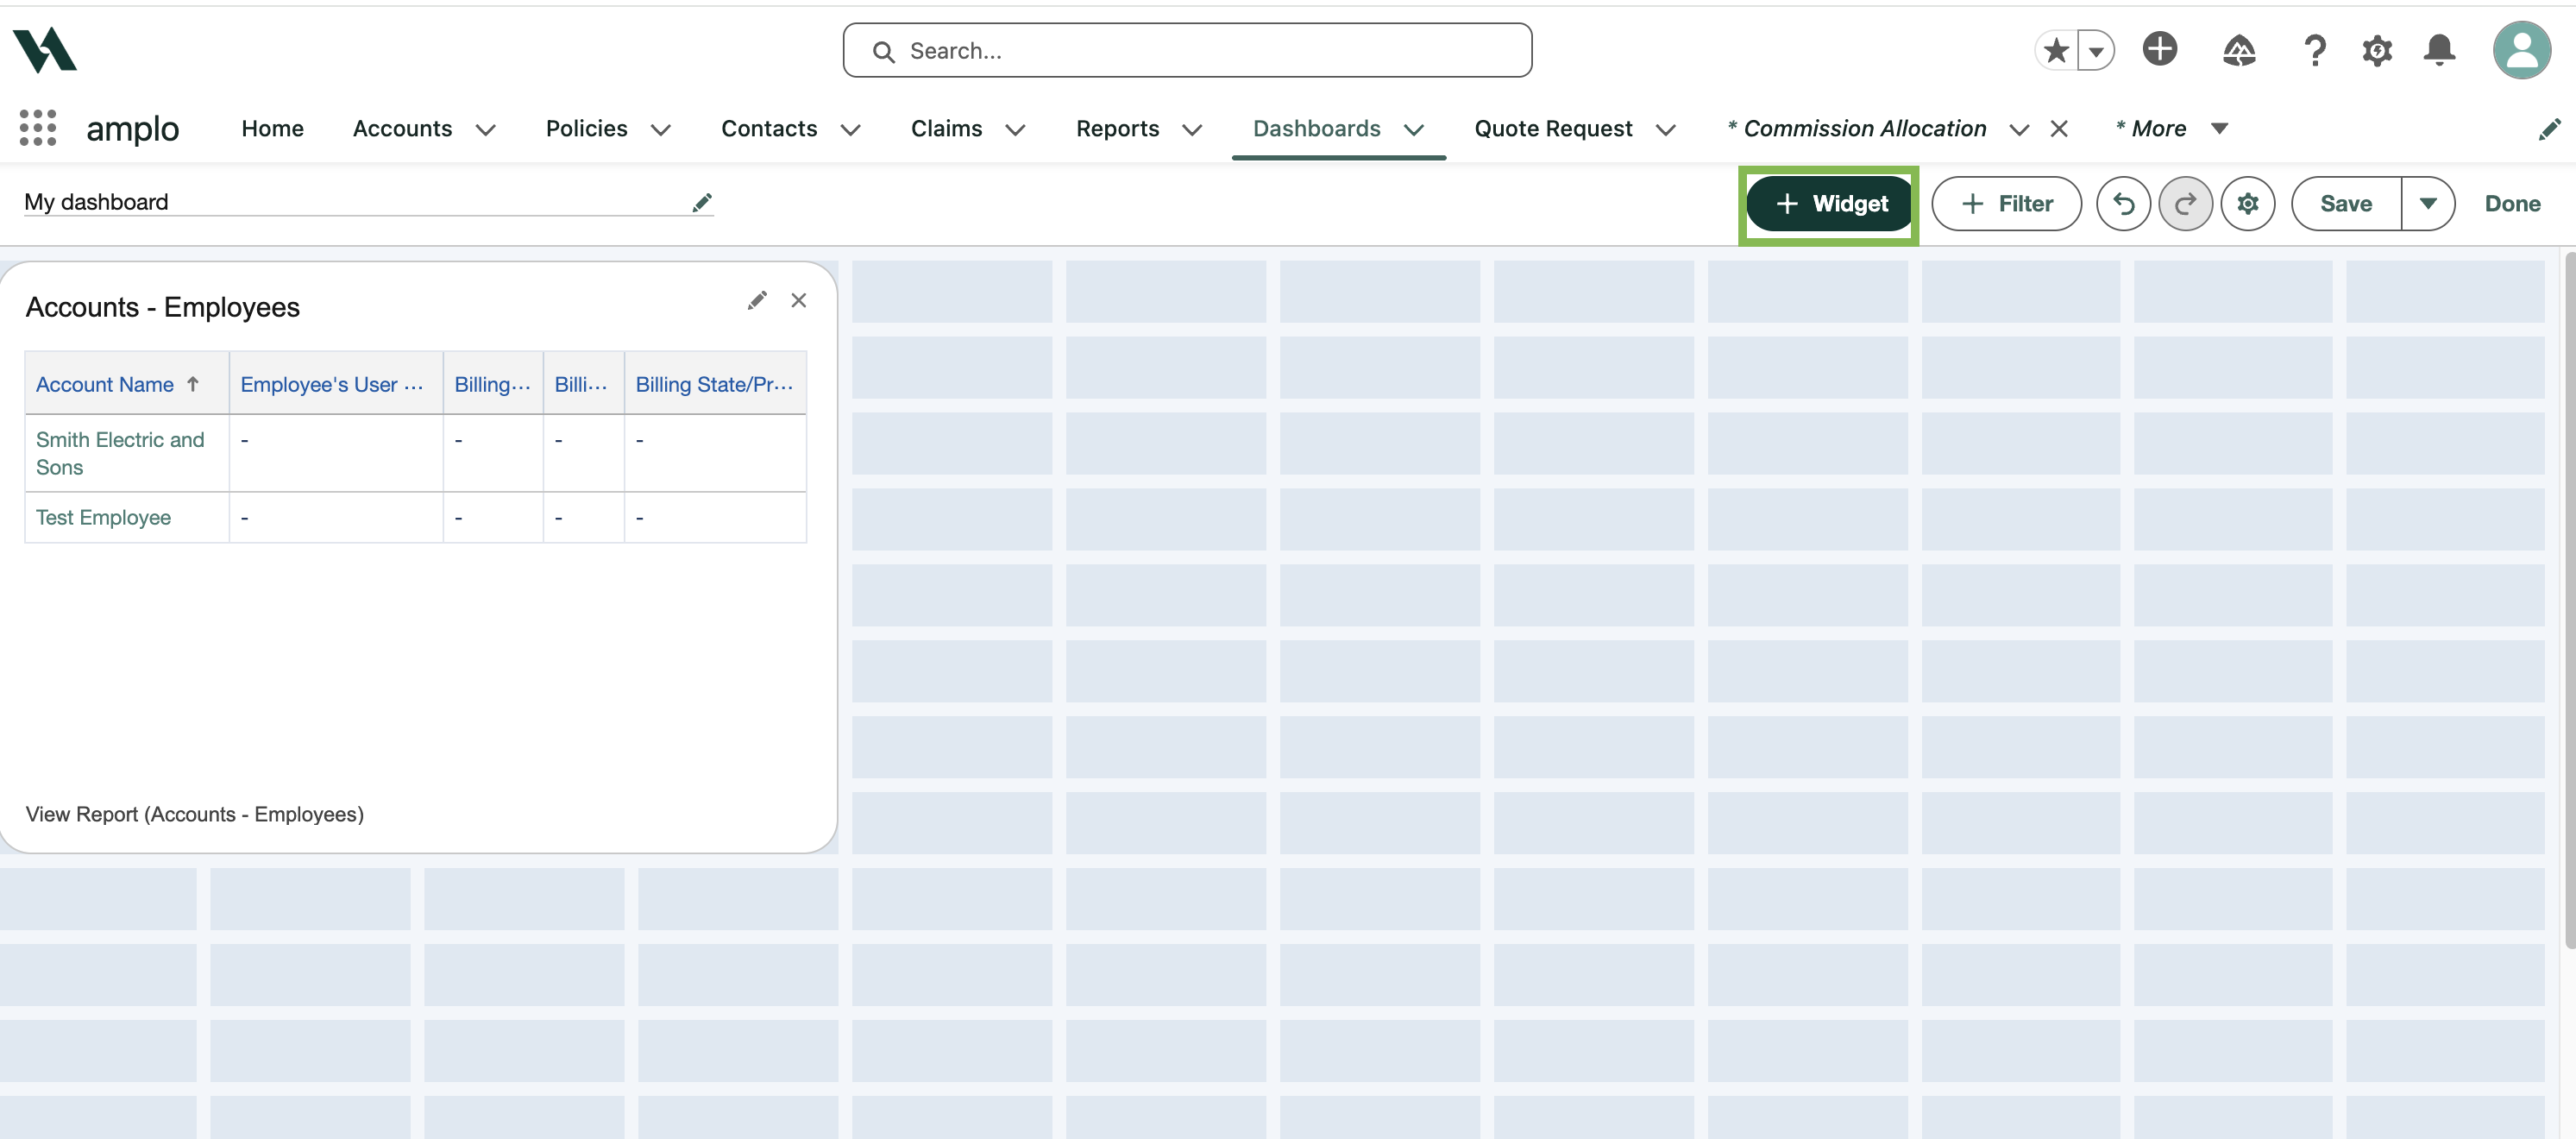
Customize further with the gear icon:
Assign to another user.
Adjust grid size, theme, or color palette.
Select Save to apply changes.