Manage activities and client interactions
Last updated: March 16, 2026
Overview
Activities help you stay organized, track client interactions, and follow up on time. By centralizing tasks, events, emails, and logged activities in one place, your team can maintain clear communication, ensure timely follow-ups, and keep accurate records for visibility and compliance. This article walks through how to create each type of activity so you can effectively manage and document your work.
Note: Events and Emails can integrate with Microsoft Outlook and Google calendars. Contact your system administrator or Salesforce Support for assistance with setup.
Log an activity
Use Log an Activity to document an interaction or action that does not require follow-up.
On the Policy record, select the phonebook icon to Log an Activity.
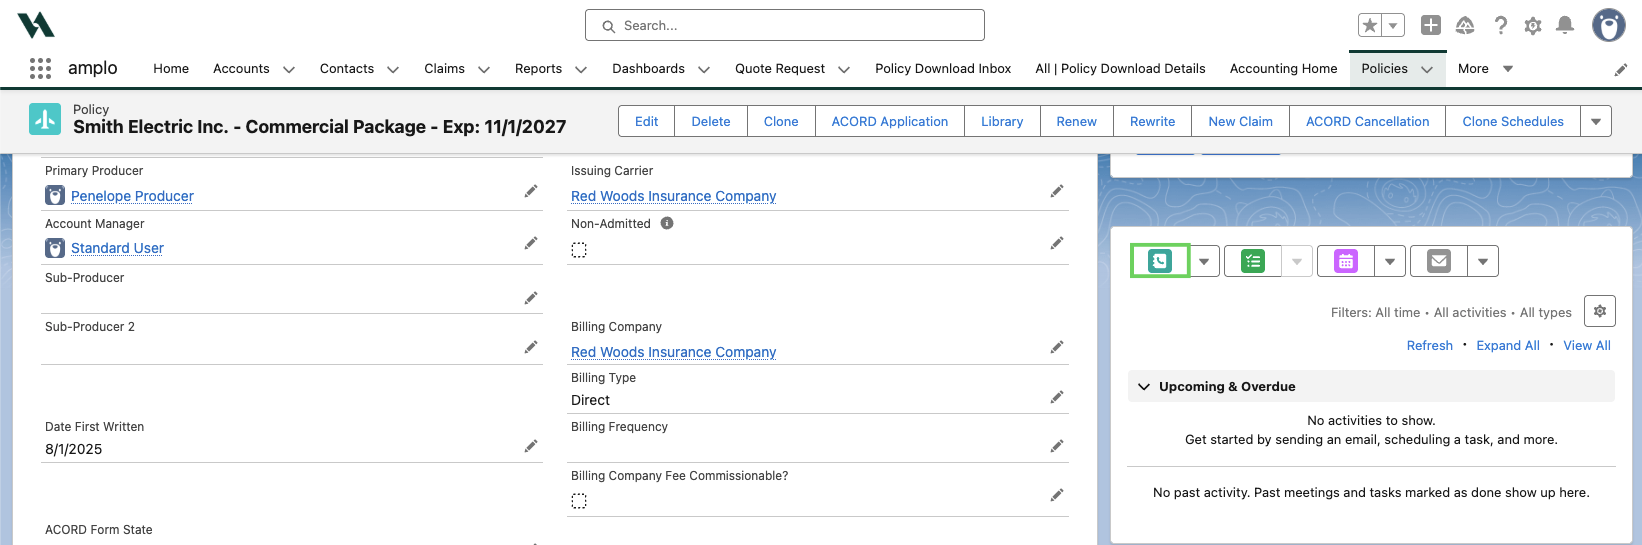
Complete the following fields:
Type: Select the type of activity you are logging (e.g., Audit, Cancellation, etc.).
Activity Description: Enter a short summary describing the purpose of the interaction.
Name: Select the contact associated with the activity.
Comments: Add any relevant notes or details about the interaction.
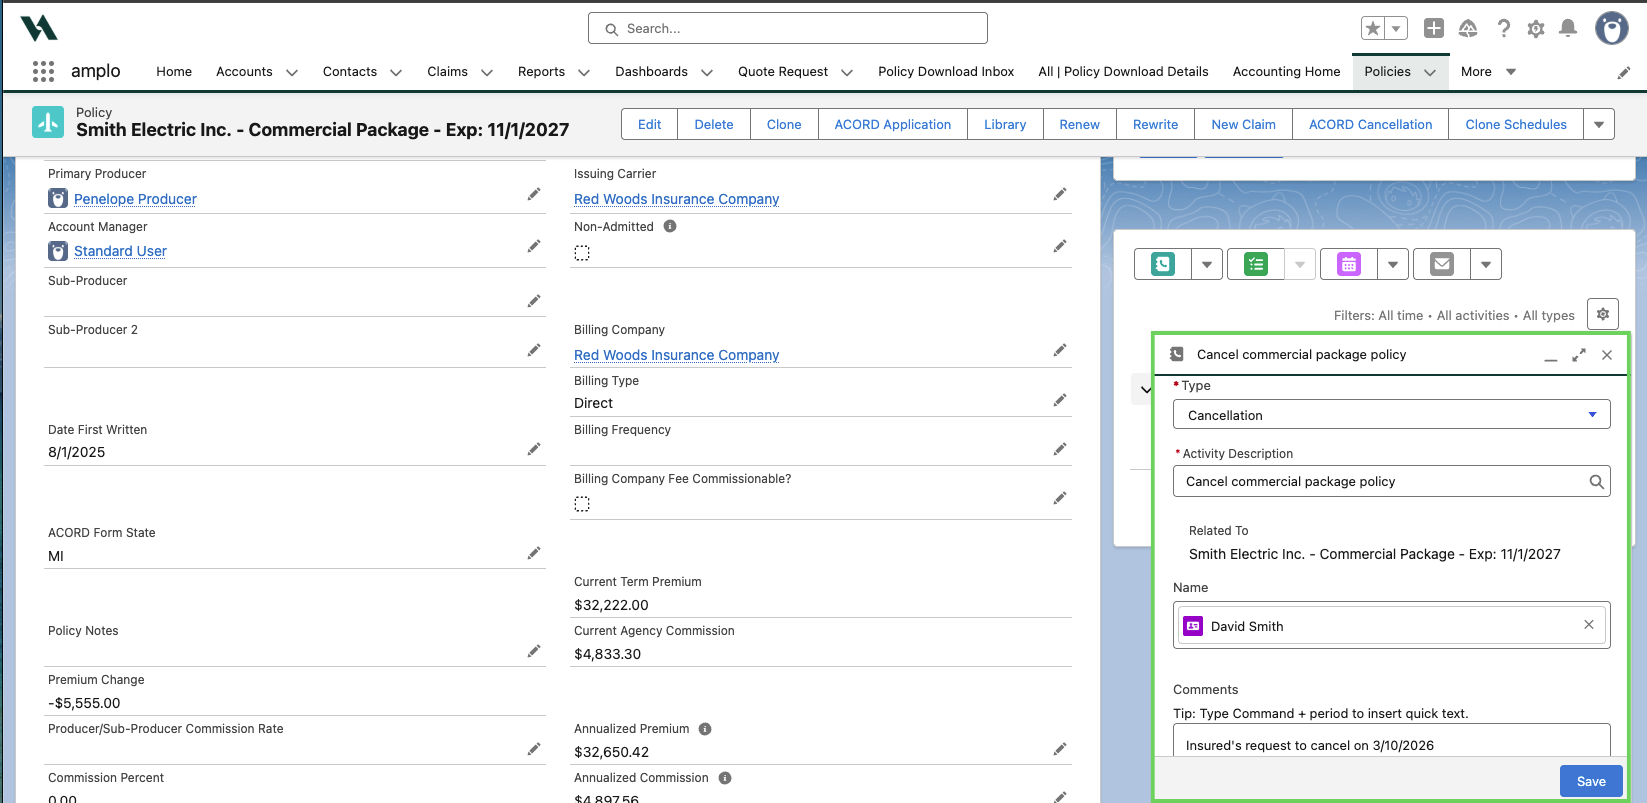
Click Save.
Create a task
Use a Task when follow-up is required. Complete documentation supports compliance and helps reduce E&O exposure. For more information about Tasks, see 📄 Using the Task Audit Trail.
On the policy record, select the list icon to create a Task.

Complete the following fields:
Type: Select the type of task being created (e.g., Auto ID, Billing Inquiry, Claim, and so on).
Activity Description: Enter a short summary of the task.
Due Date: Set the date the task should be completed.
Priority: Select the priority level for the task.
Assigned To: Choose the user responsible for completing the task.
Name: Select the related contact.
Status: Select the current status of the task (e.g., Not Started, In Progress, etc.).
Comments: Add any additional notes or details.

Select Save.
You can update a task at any time to reflect new information or progress.
Create an event
Use Events to schedule meetings or time-based commitments.
On the Policy record, select the calendar icon to create an Event.

Complete the following fields:
Activity Description: Enter a brief summary of the meeting or event.
Start Date & Time: Select when the event begins.
End Date & Time: Select when the event ends.
All-Day Event: Enable if the event lasts the entire day.

Name: Select the contact associated with the event.
Related To: This field will automatically populate the policy you're working on.
Assigned To: This field automatically populates with the user creating the task, but it can be updated if the task needs to be assigned to someone else.
Location: Enter where the meeting or event will take place.

Click Save.
Send an email
Send emails directly from the Activity component to maintain a complete communication record.
On the policy record, click the envelope icon to create a New Email.
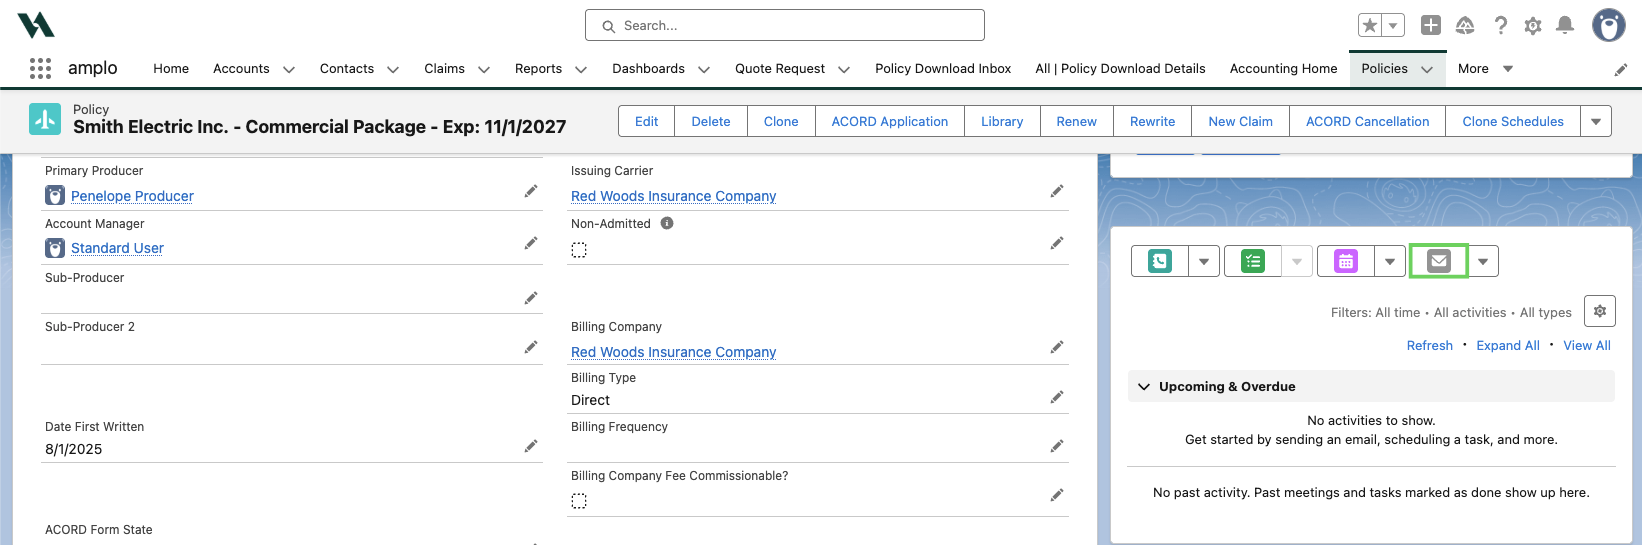
Enter the following:
To: Enter the Recipient's Email Address
Subject: Enter a description of what the email addresses
Body: Enter the message you want to send.
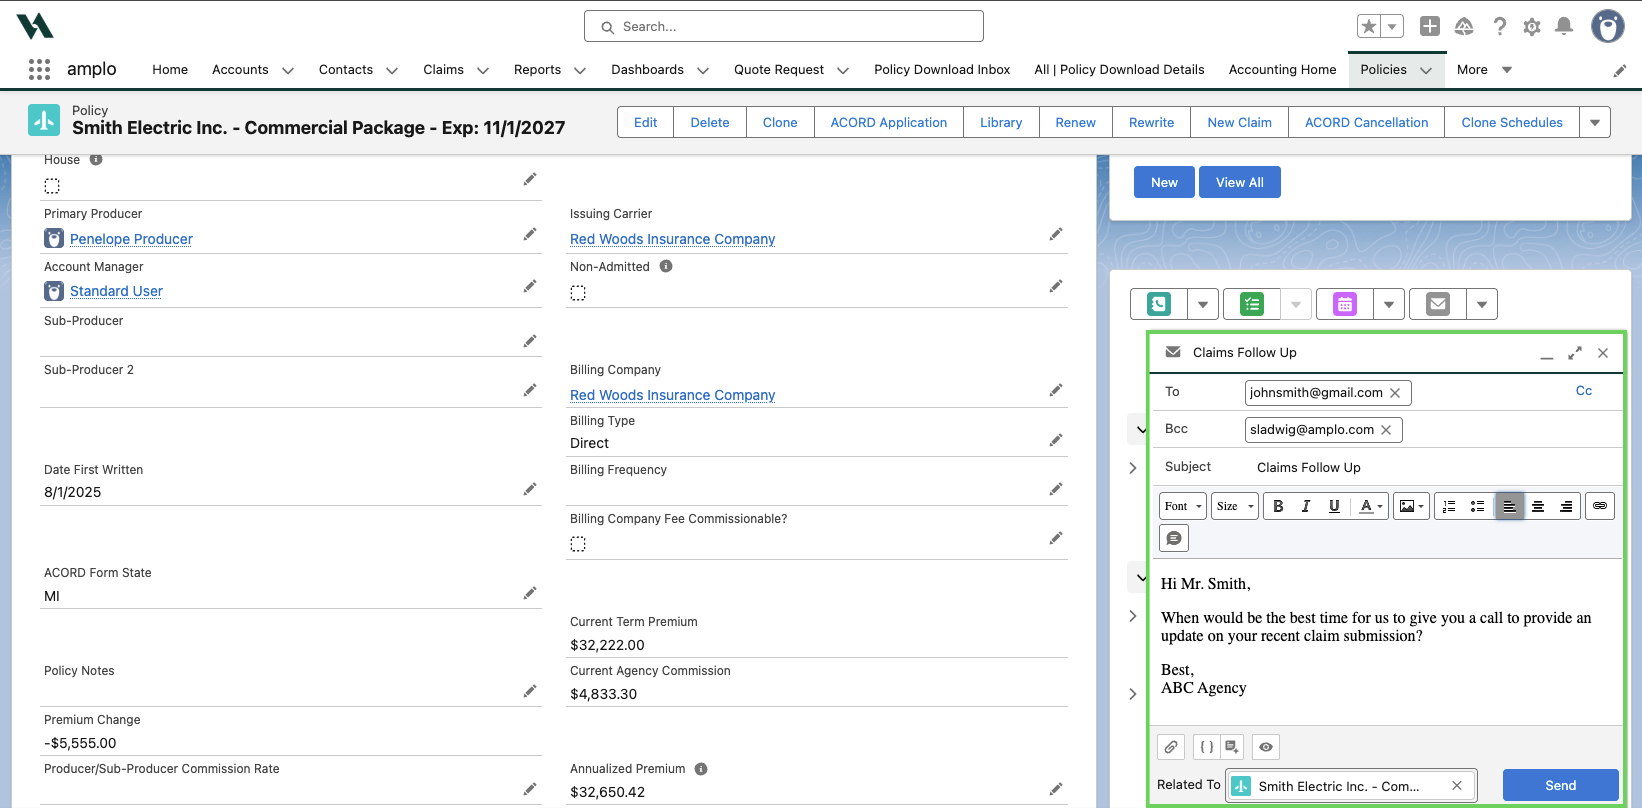
If needed, use the following icons below the body:
Paperclip: Use to attach a file.
Brackets: Insert a merged field (where the information is available).
Page: Insert or create a new email template.
Eye: Preview the email before sending.

Click Send.