Managing billing records
Last updated: March 19, 2026
Overview
Billing records may need to be corrected or reversed due to data entry errors, policy changes, misapplied payments, or financing adjustments. Promptly addressing these issues helps maintain accurate financial records, ensures regulatory compliance, and provides clients with clear and reliable invoices. This article explains:
When to void/reverse vs. delete
Steps to complete each action
How to invert a billing or payable
Conditions for use
In most cases, you should Void/Reverse the incorrect billing and create a new billing with the correct information. Delete should only be used in limited circumstances.
Void/Reverse (recommended)
A billing can be voided or reversed under any of the following conditions:
Status: Posted or unposted
Accounting Period: Open or closed
Posting Date: Defaults to the original billing date
If the original accounting period is closed or locked (and the user does not have permission to post in locked periods), the reversal will post in the current open period.
Applied cash receipts and disbursements can remain attached. These must be manually reapplied to any replacement billing.
Delete
A billing can only be deleted if all of the following conditions are true:
Status: Unposted
Accounting Period: Open
No associated transactions
If locked, the user must have permission to post in locked periods.
If any related records exist, they must be unapplied or removed before deletion.
Void/Reverse a billing
In the App Launcher, search and select Billings.
Click the Billing Number of the billing to edit.
Click Void/Reverse. A new offsetting billing appears with credit amounts that offset the original billing.
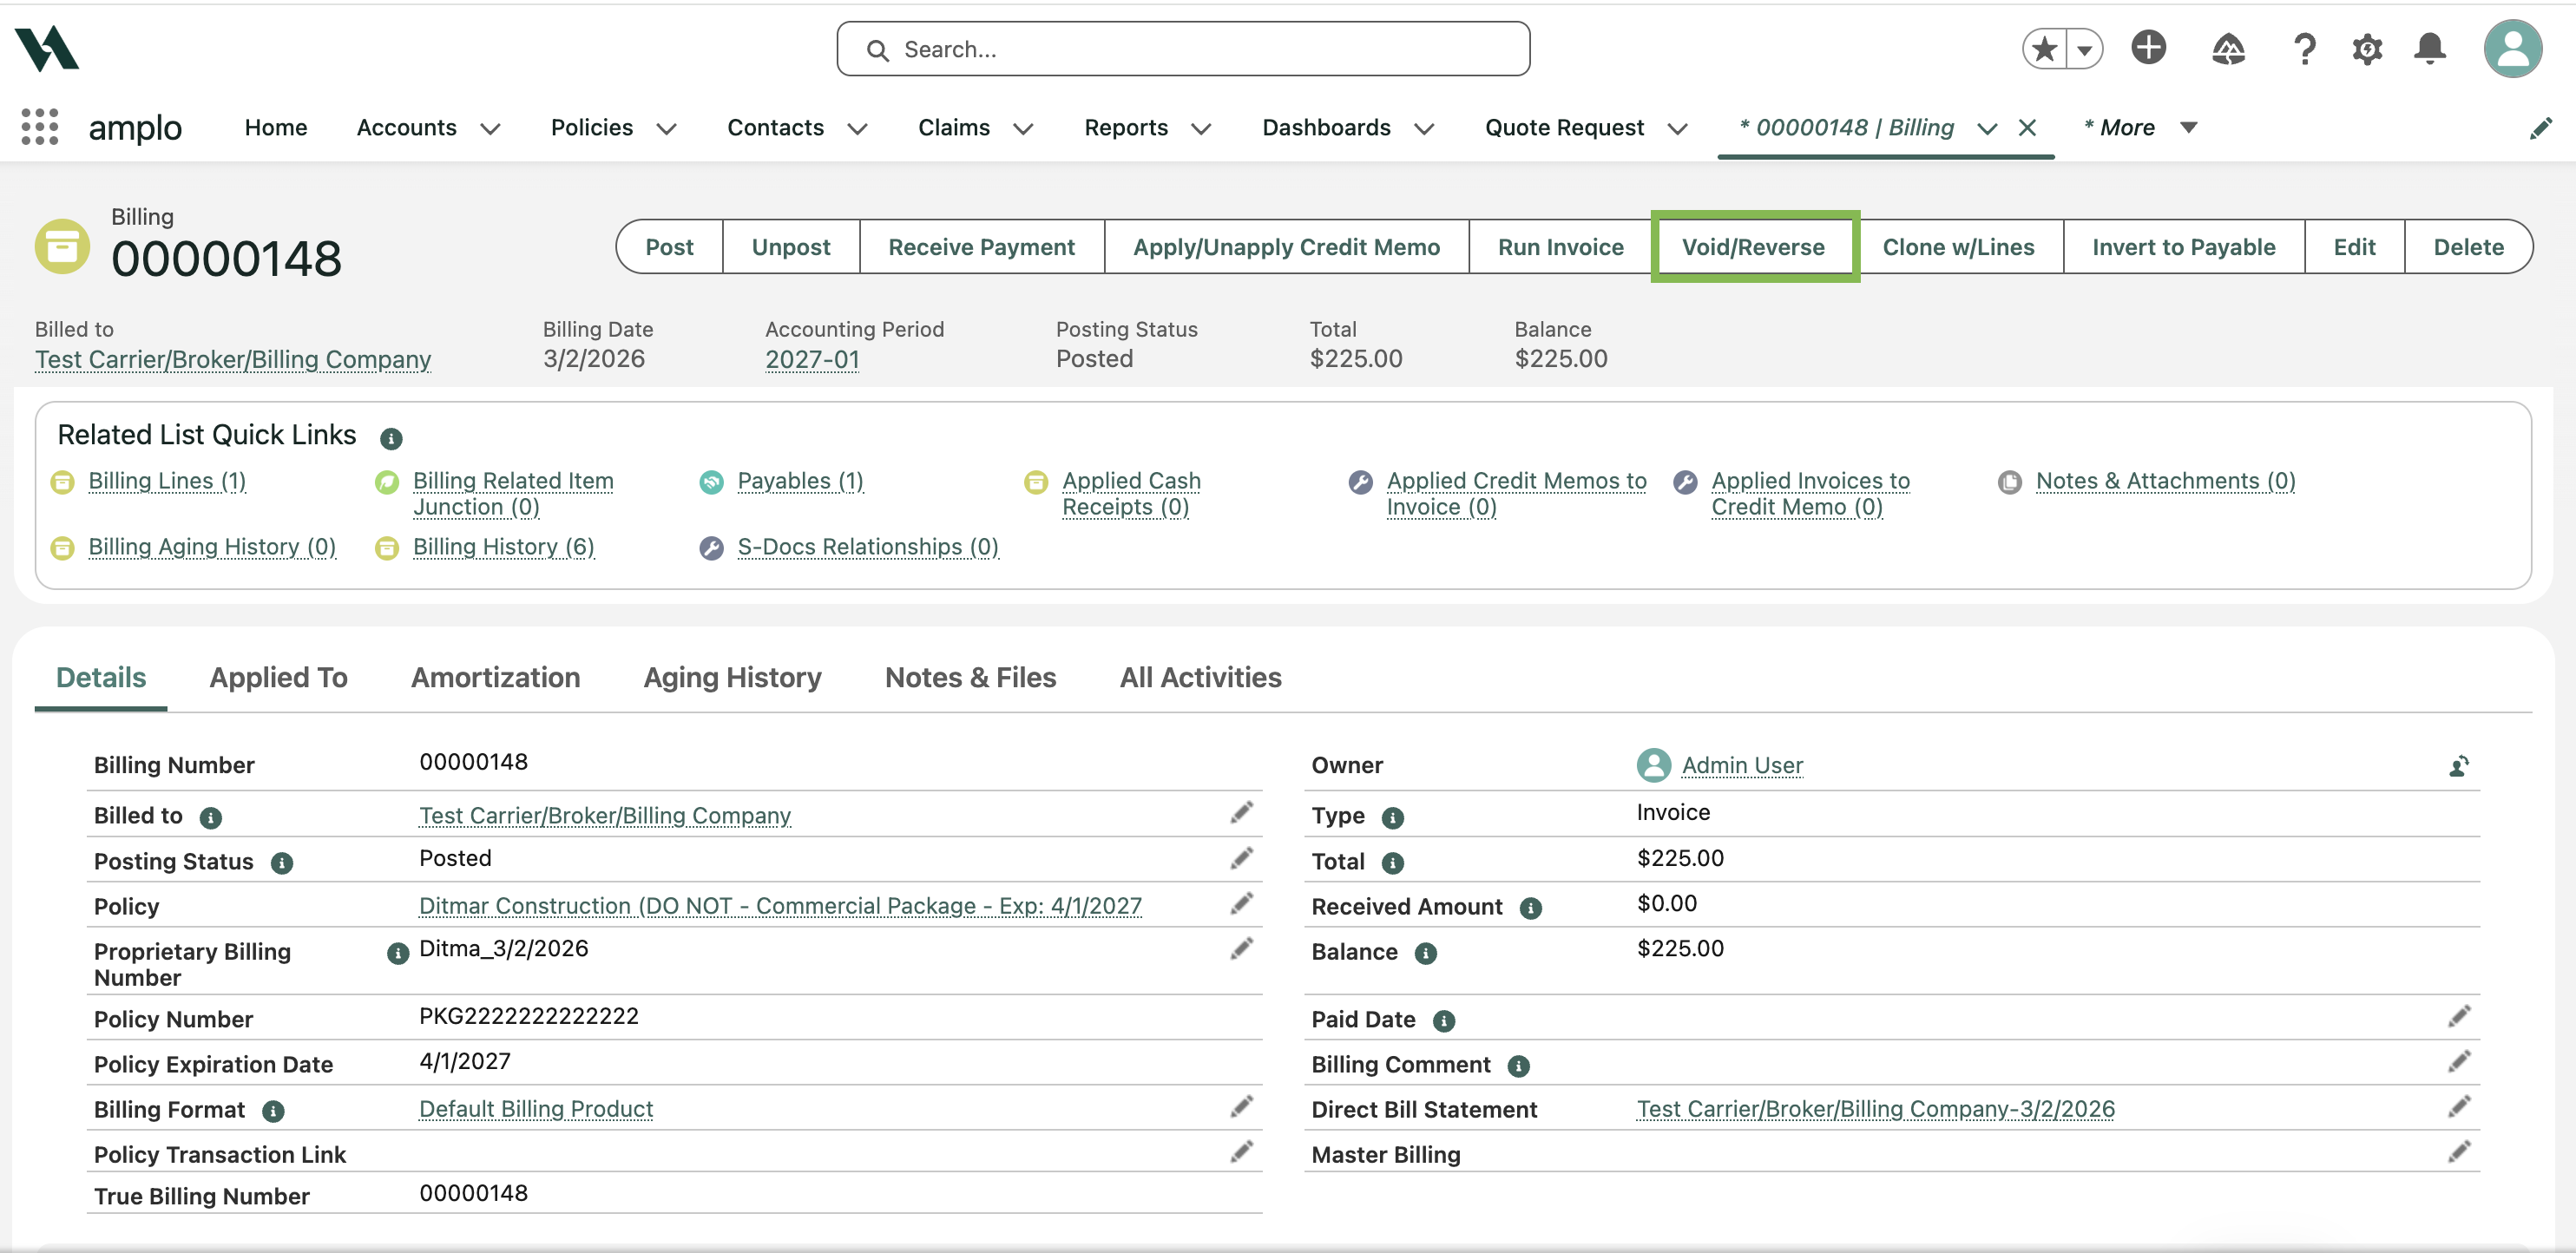
Click Post.
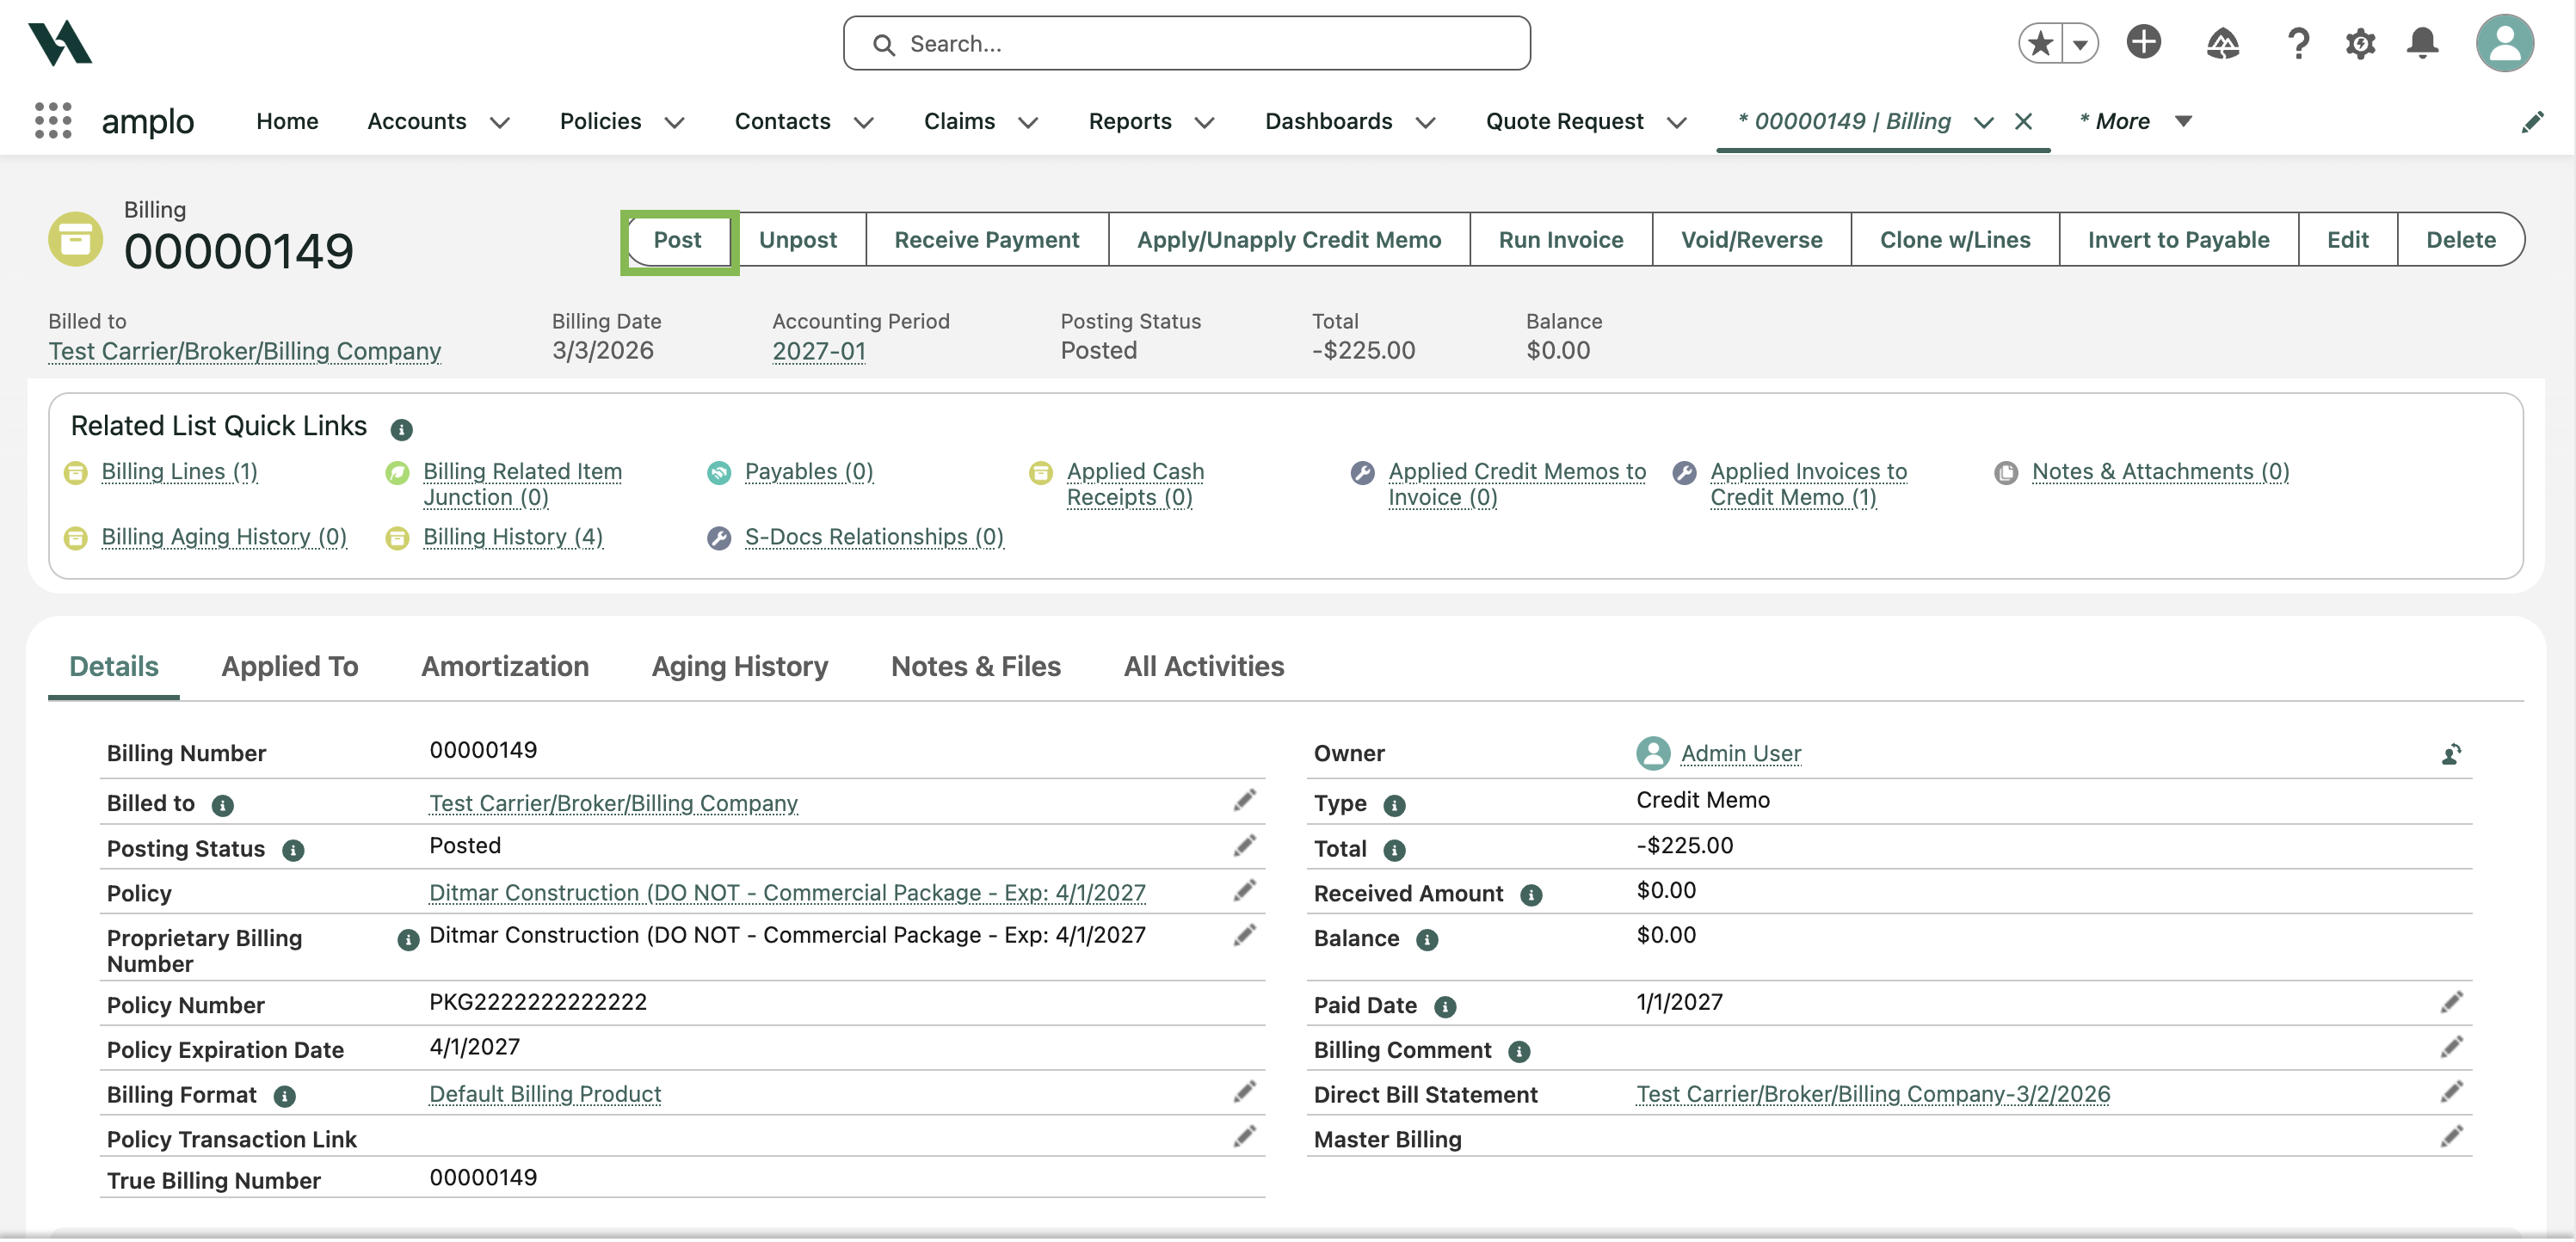
If the offsetting billing is a credit, select Apply/Unapply Credit Memo.

Choose the replacement charge billing, then click Save & Complete.

Note: If the offsetting billing is a charge, open the original credit memo billing and select Apply/Unapply Credit Memo.
Delete a billing
Before deleting a billing, confirm whether payments or credits are applied.
Check for applied transactions
In the App Launcher, search and select Billings.
Click the Billing Number of the billing to edit.
Review the following sections:
Applied Cash Receipts
Applied Credit Memos to Invoice
If transactions appear, they must be unapplied.

To unapply the credit memo, click Apply/Unapply Credit Memo.
To unapply the cash receipt, click the name of the cash receipt, then click Apply/Unapply.

On the Billings line, click the back-arrow button.
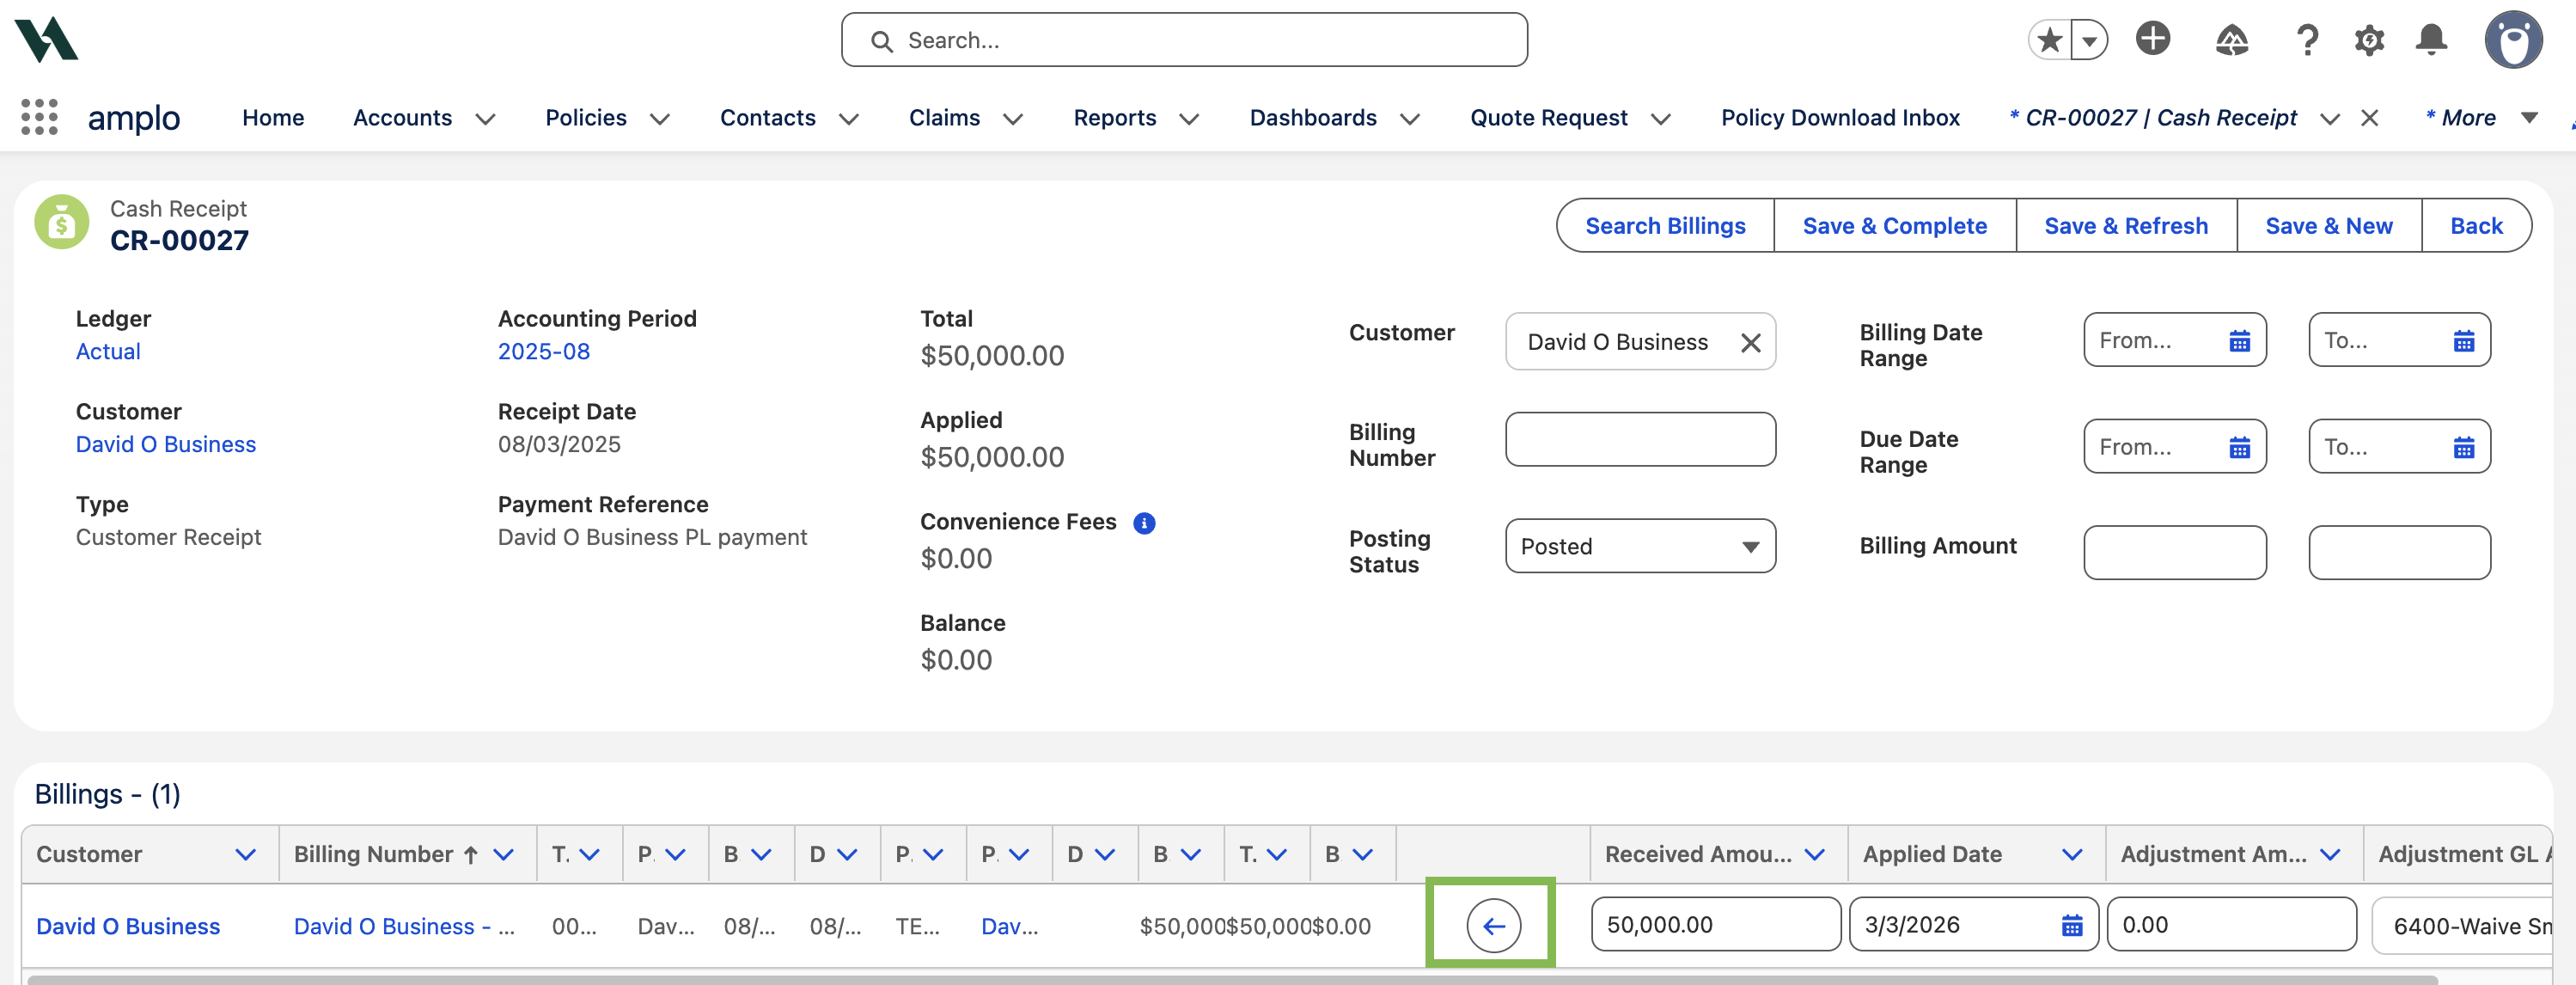
Click Save & Complete.

Confirm that the Applied sections show no records to display.
Unpost the billing
A billing must be unposted in order to delete it. If the billing is already unposted, proceed to Step 3.
Open the Billing record.
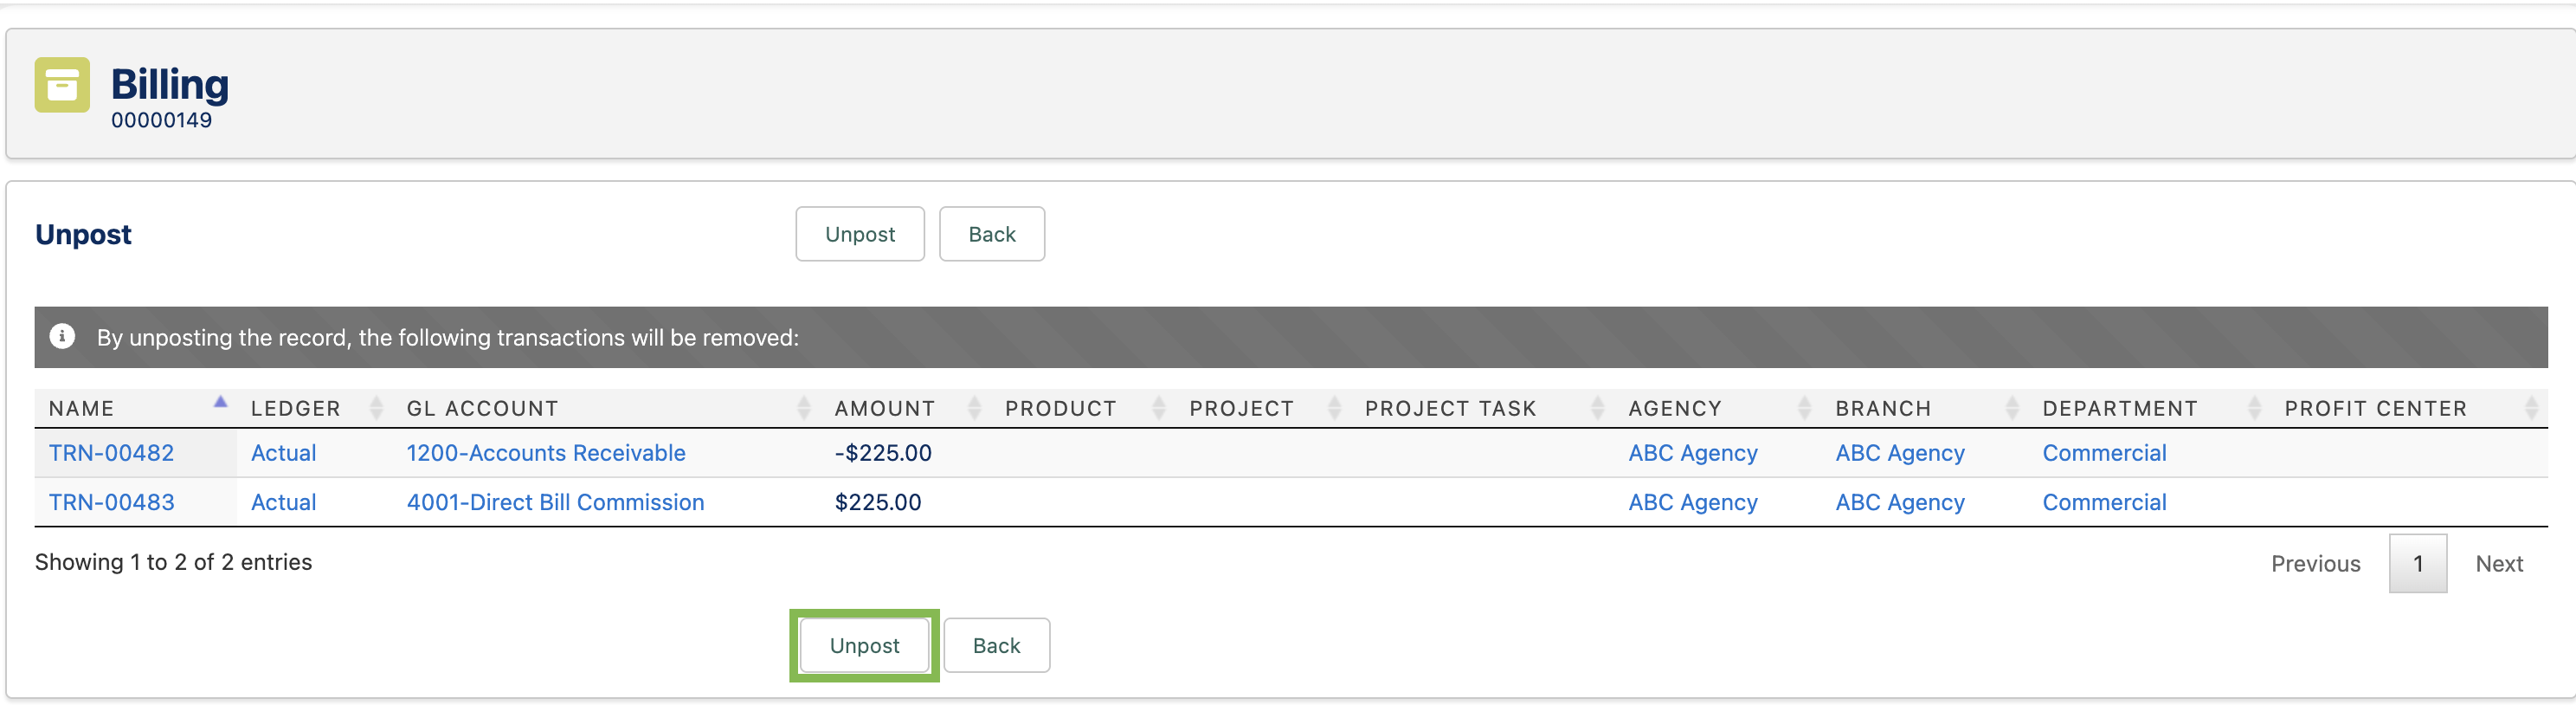
Click Unpost.
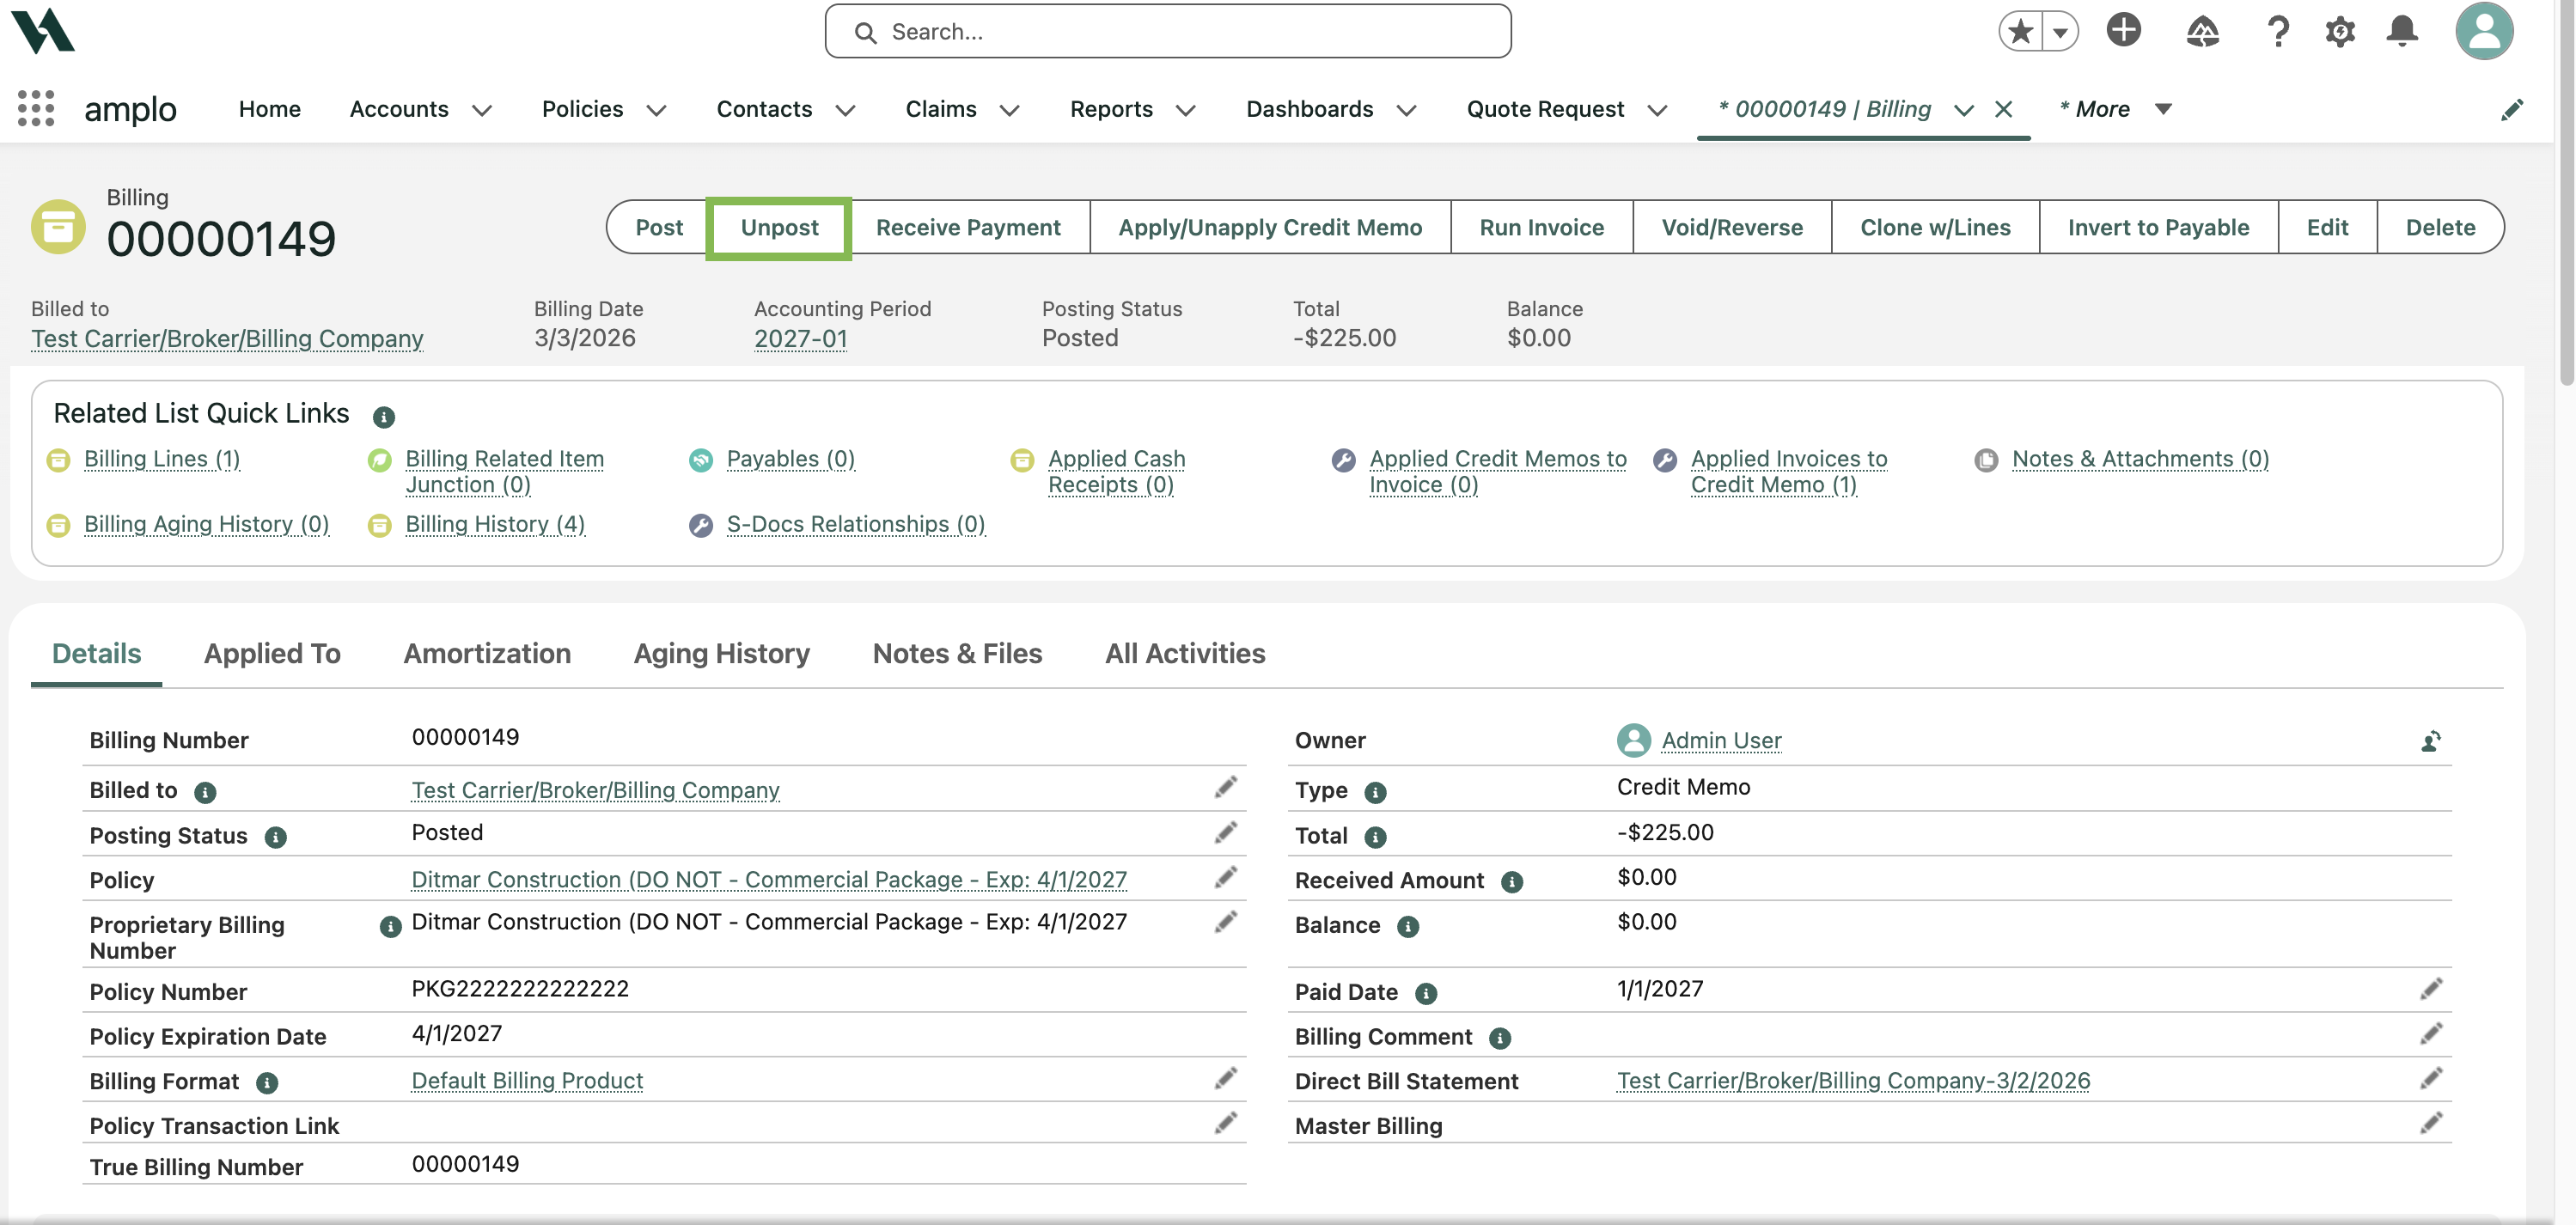
Click Unpost again to confirm.
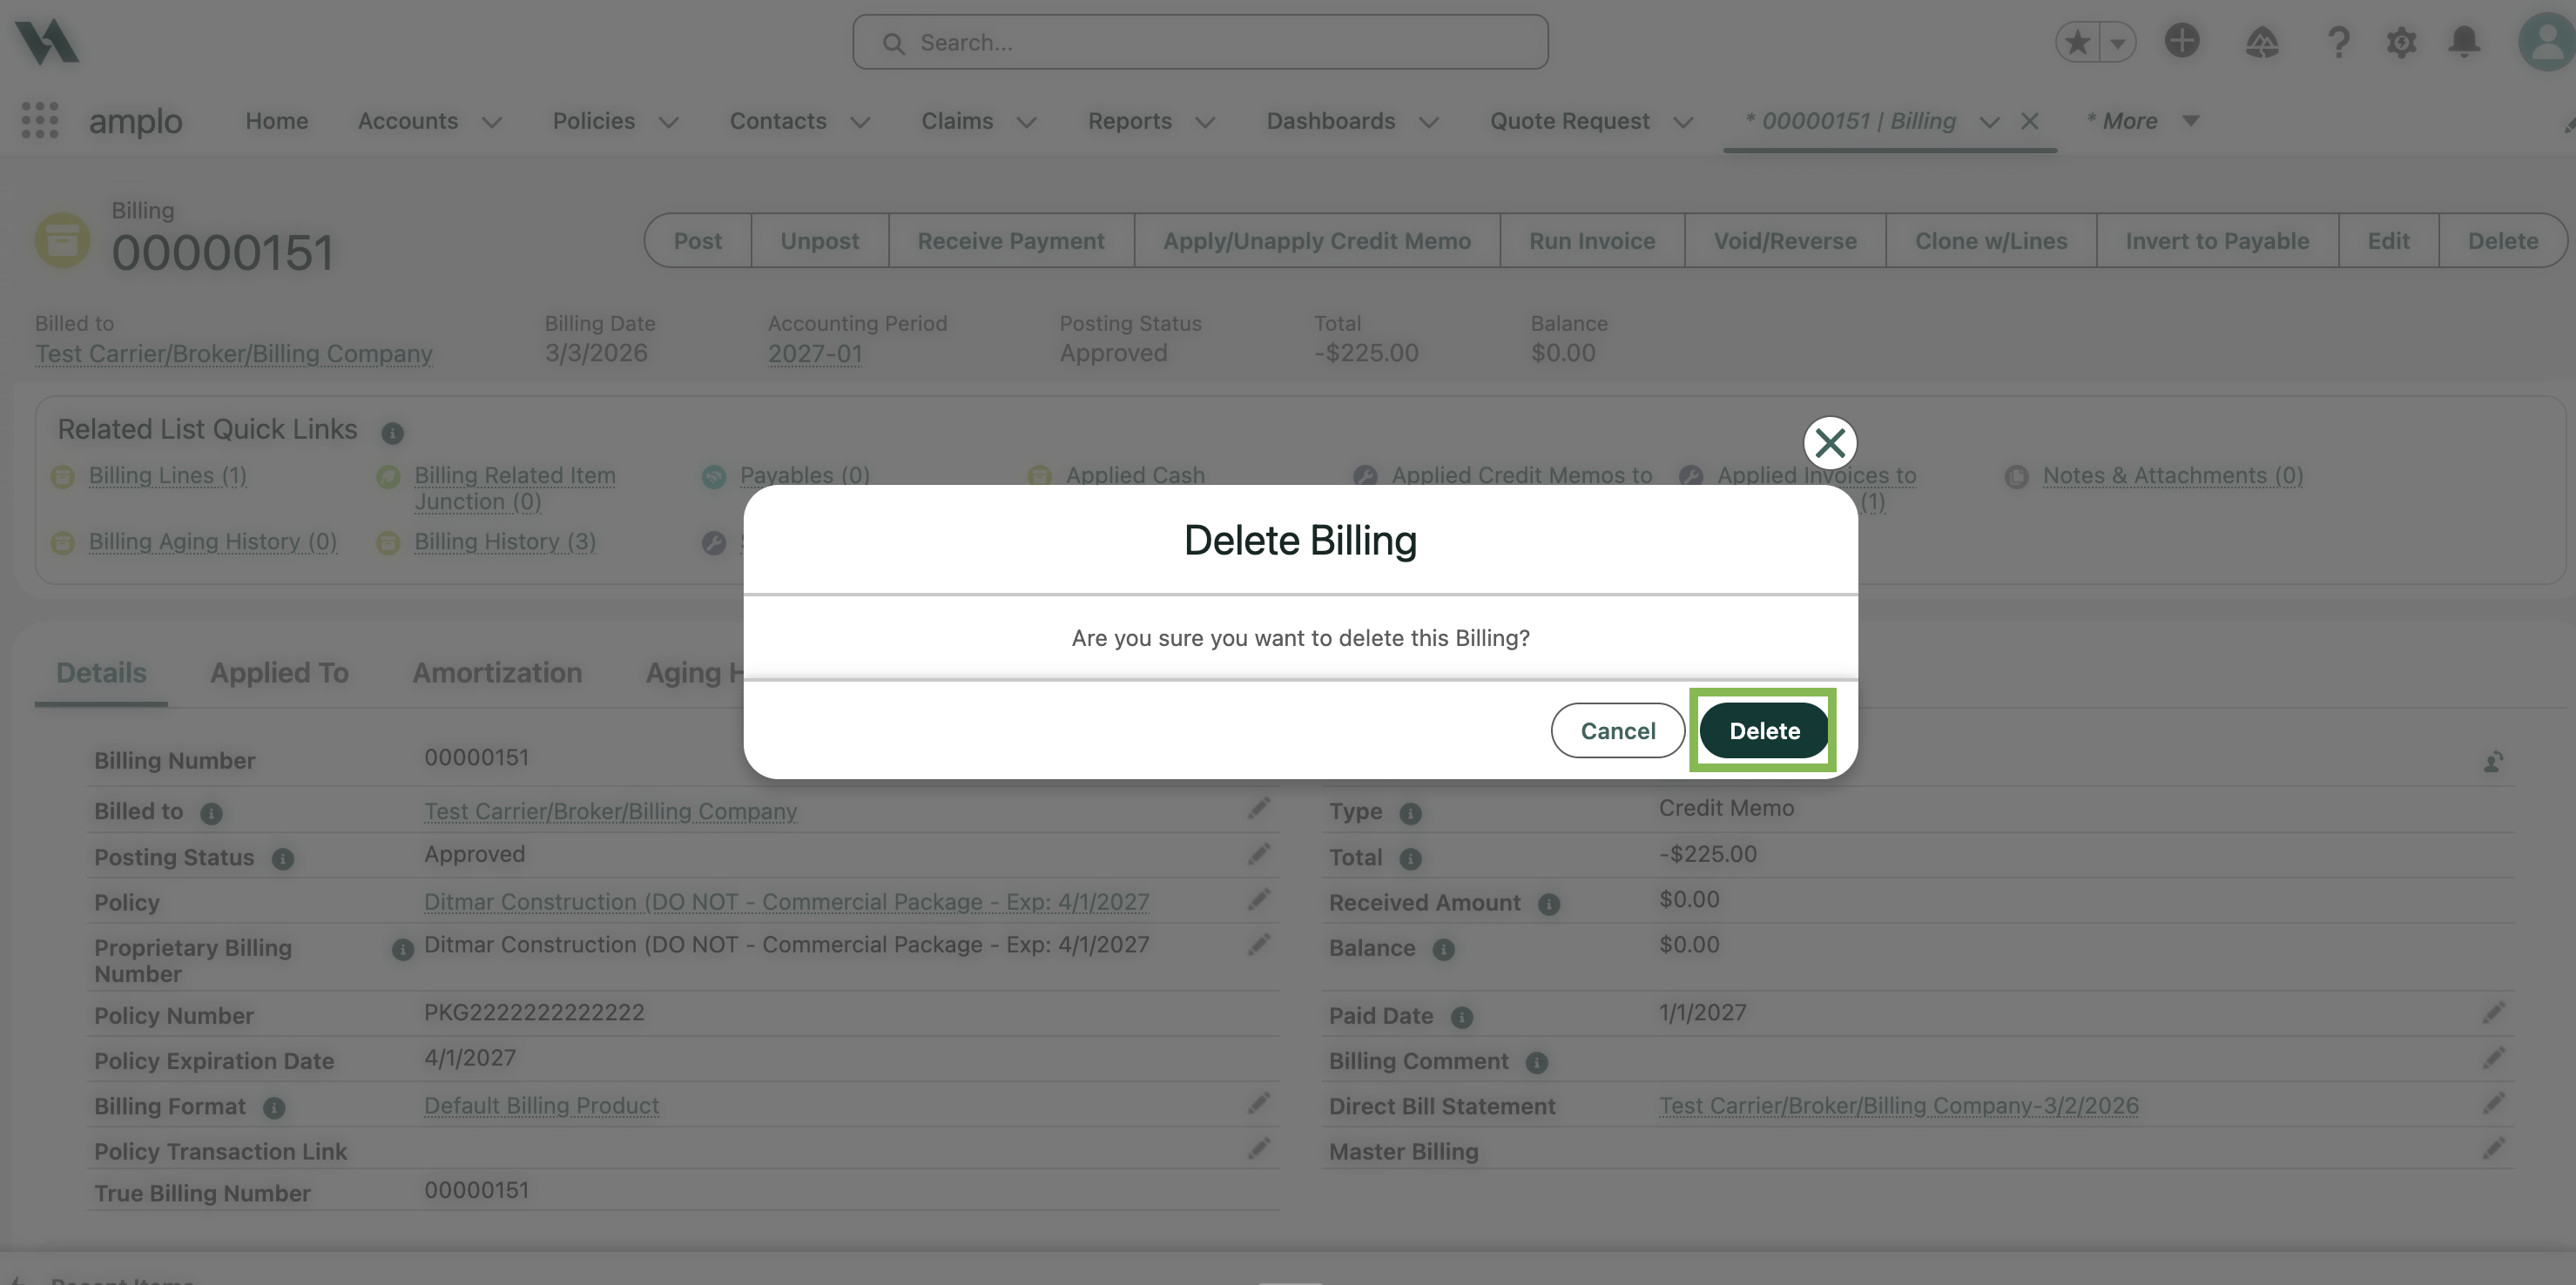
Click Delete.

On the confirmation modal, click Delete.
Invert a billing or payable
Use Invert when a transaction was entered incorrectly but must remain in the accounting record. This preserves financial history instead of deleting it.
Invert to Payable
Click the Billing Number.
Click Invert to Payable.

On the confirmation modal, click OK. A payable will be created for the amount of the credit billing or negative billing.
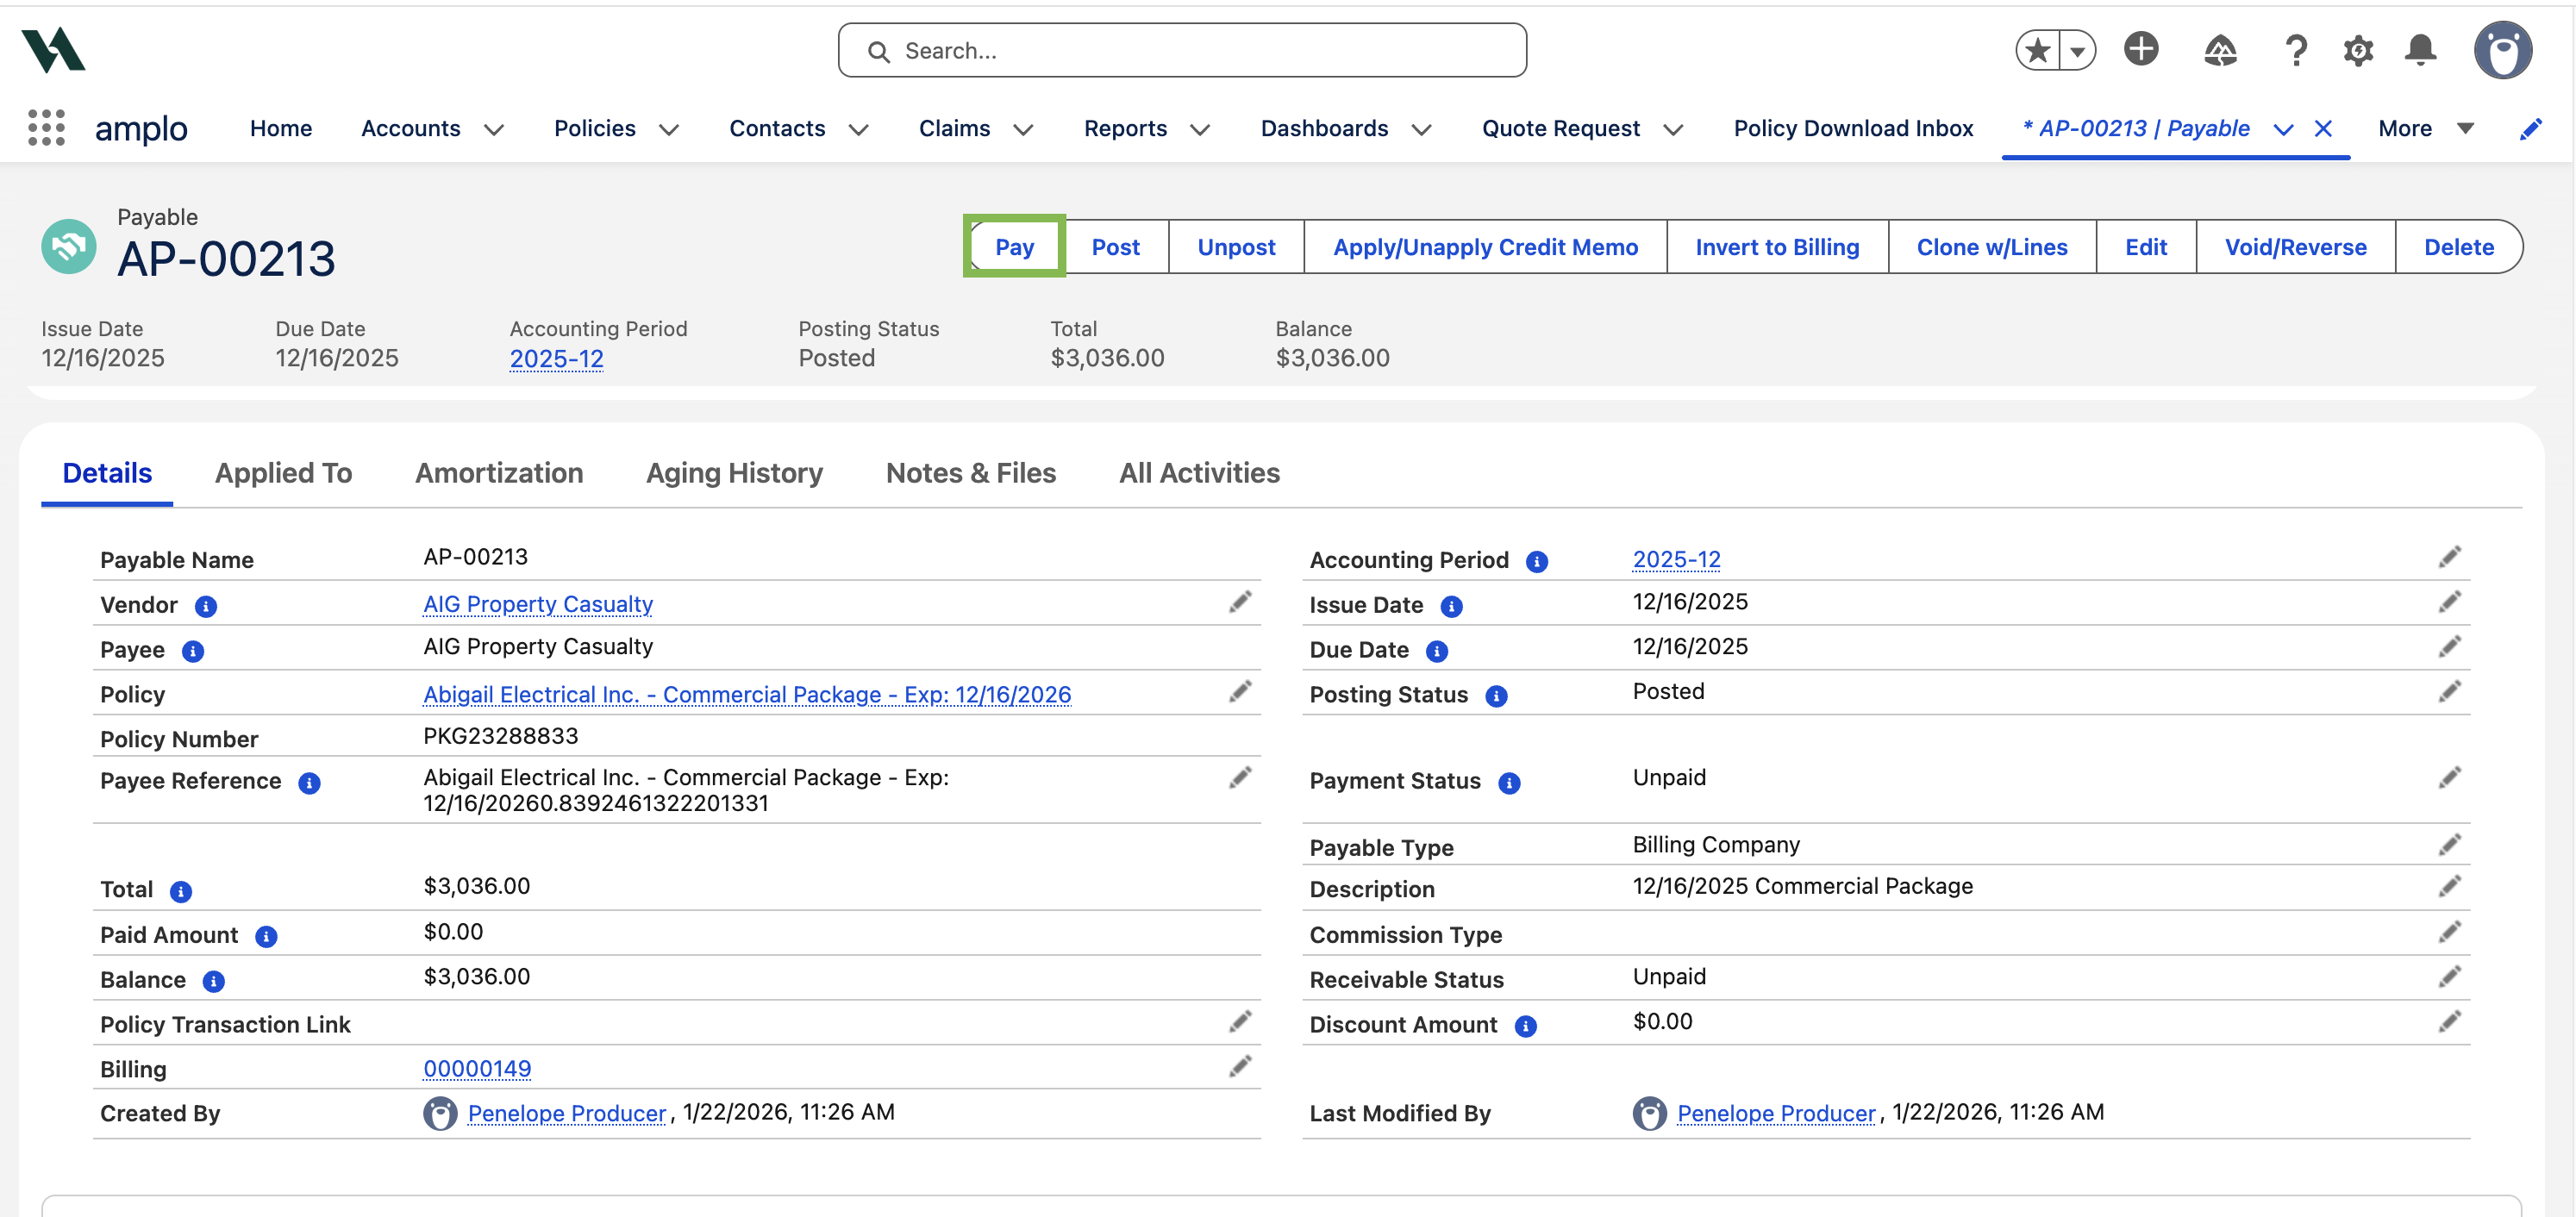
To initiate payment, click Pay.
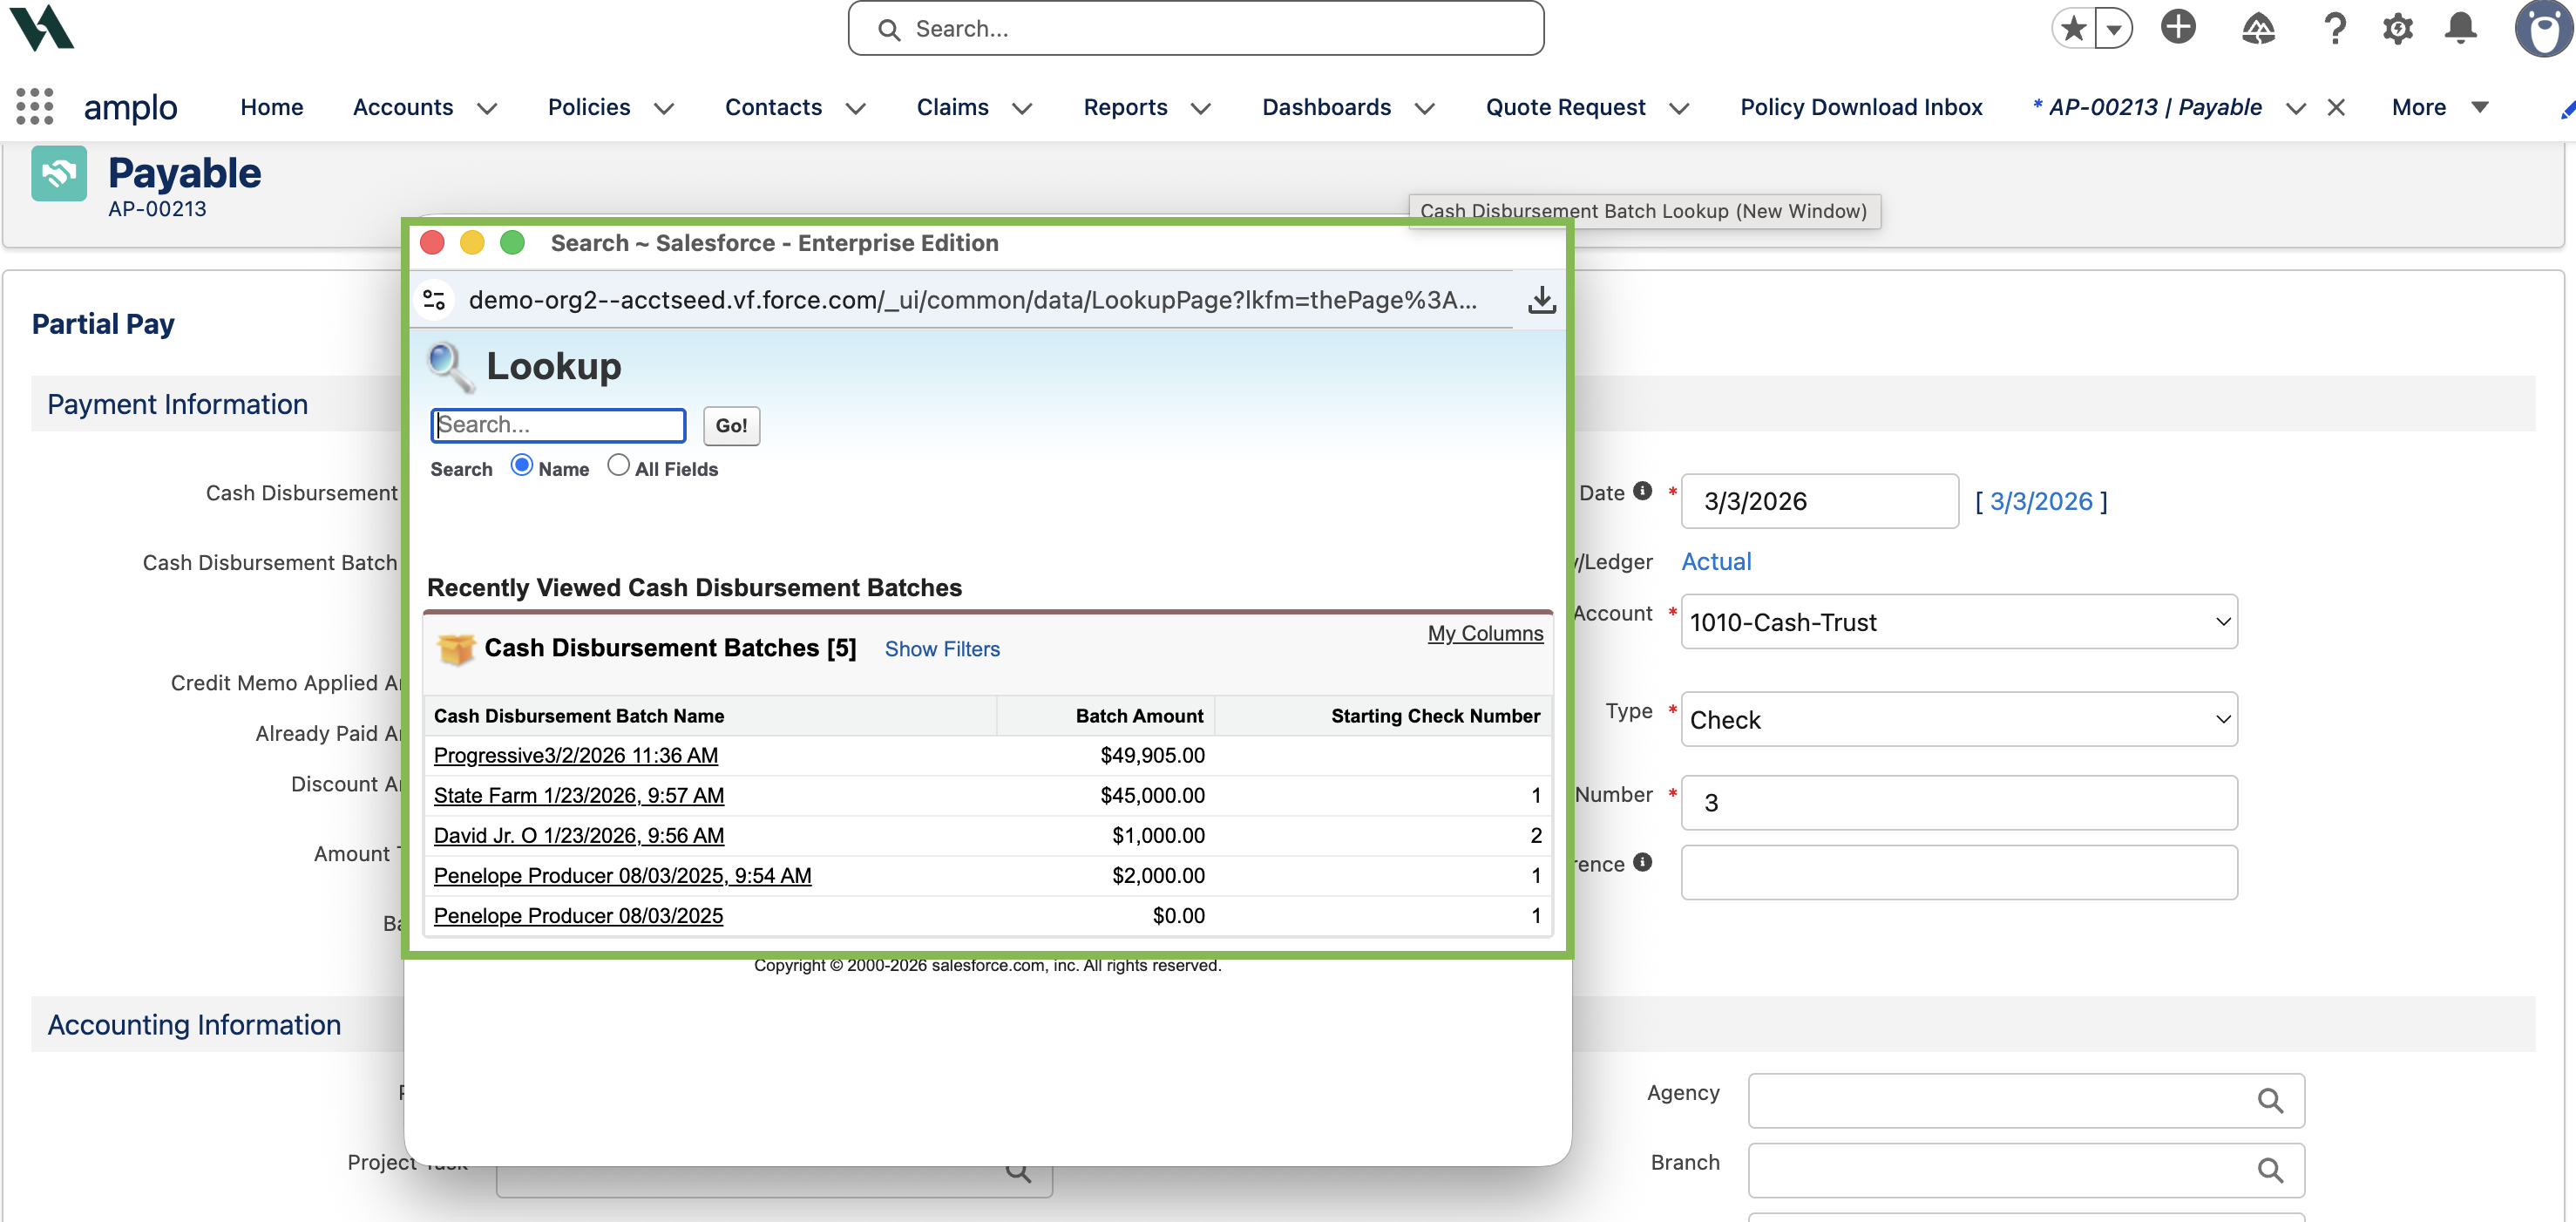
On the Payable screen, search and select the disbursement batch.
Enter the remaining information as needed, and click Pay & Post.

The disbursement is posted and added to the batch. The check can be printed individually or batch printed. For more information, see 📄 Batch-posting payables.
Invert to Billing
Select the Payable record.
Click Invert to Billing.

A cash receipt can be created and applied to this receivable. For more information, see Apply a cash receipt.
Handling overpayments
Overpayments can occur when a customer or finance company remits more than the invoiced amount. Handling these correctly ensures accurate account balances, compliance with accounting rules, and a smooth client experience.
Create the cash receipt
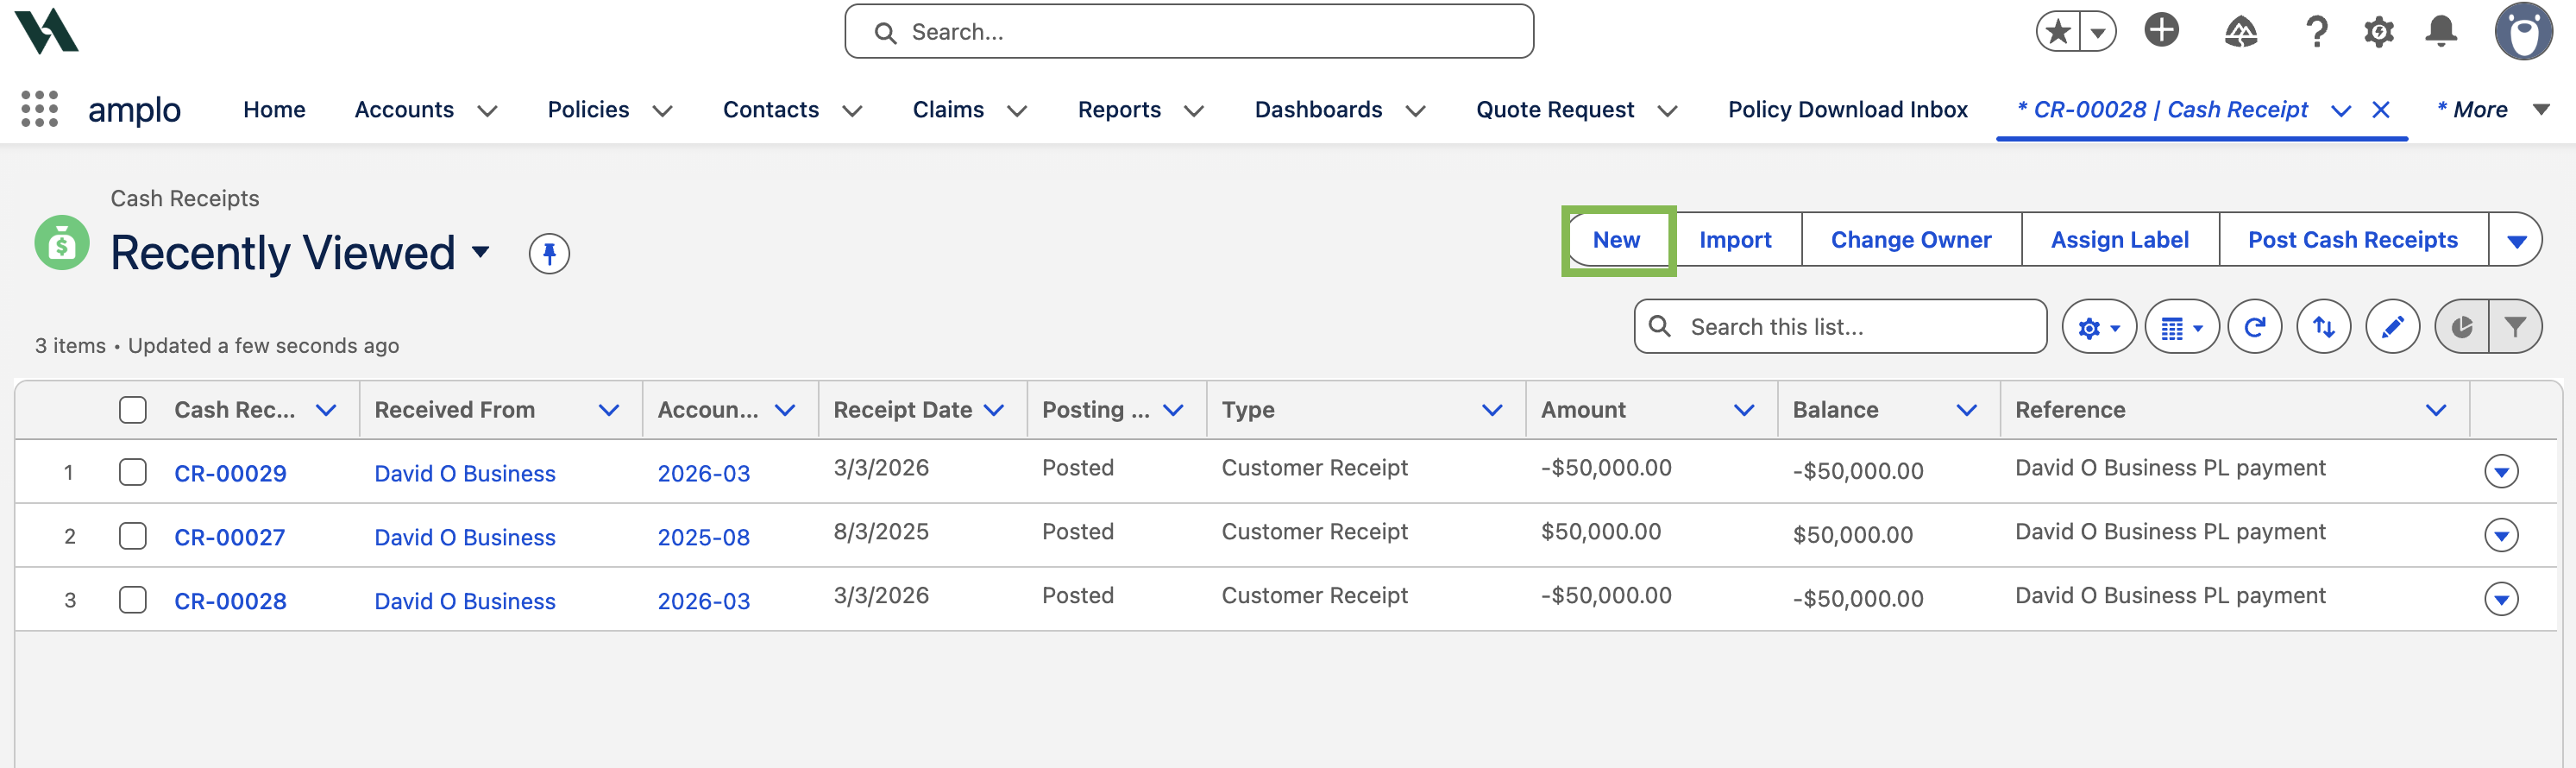
In the App Launcher, search and select Cash Receipts.
Click New.
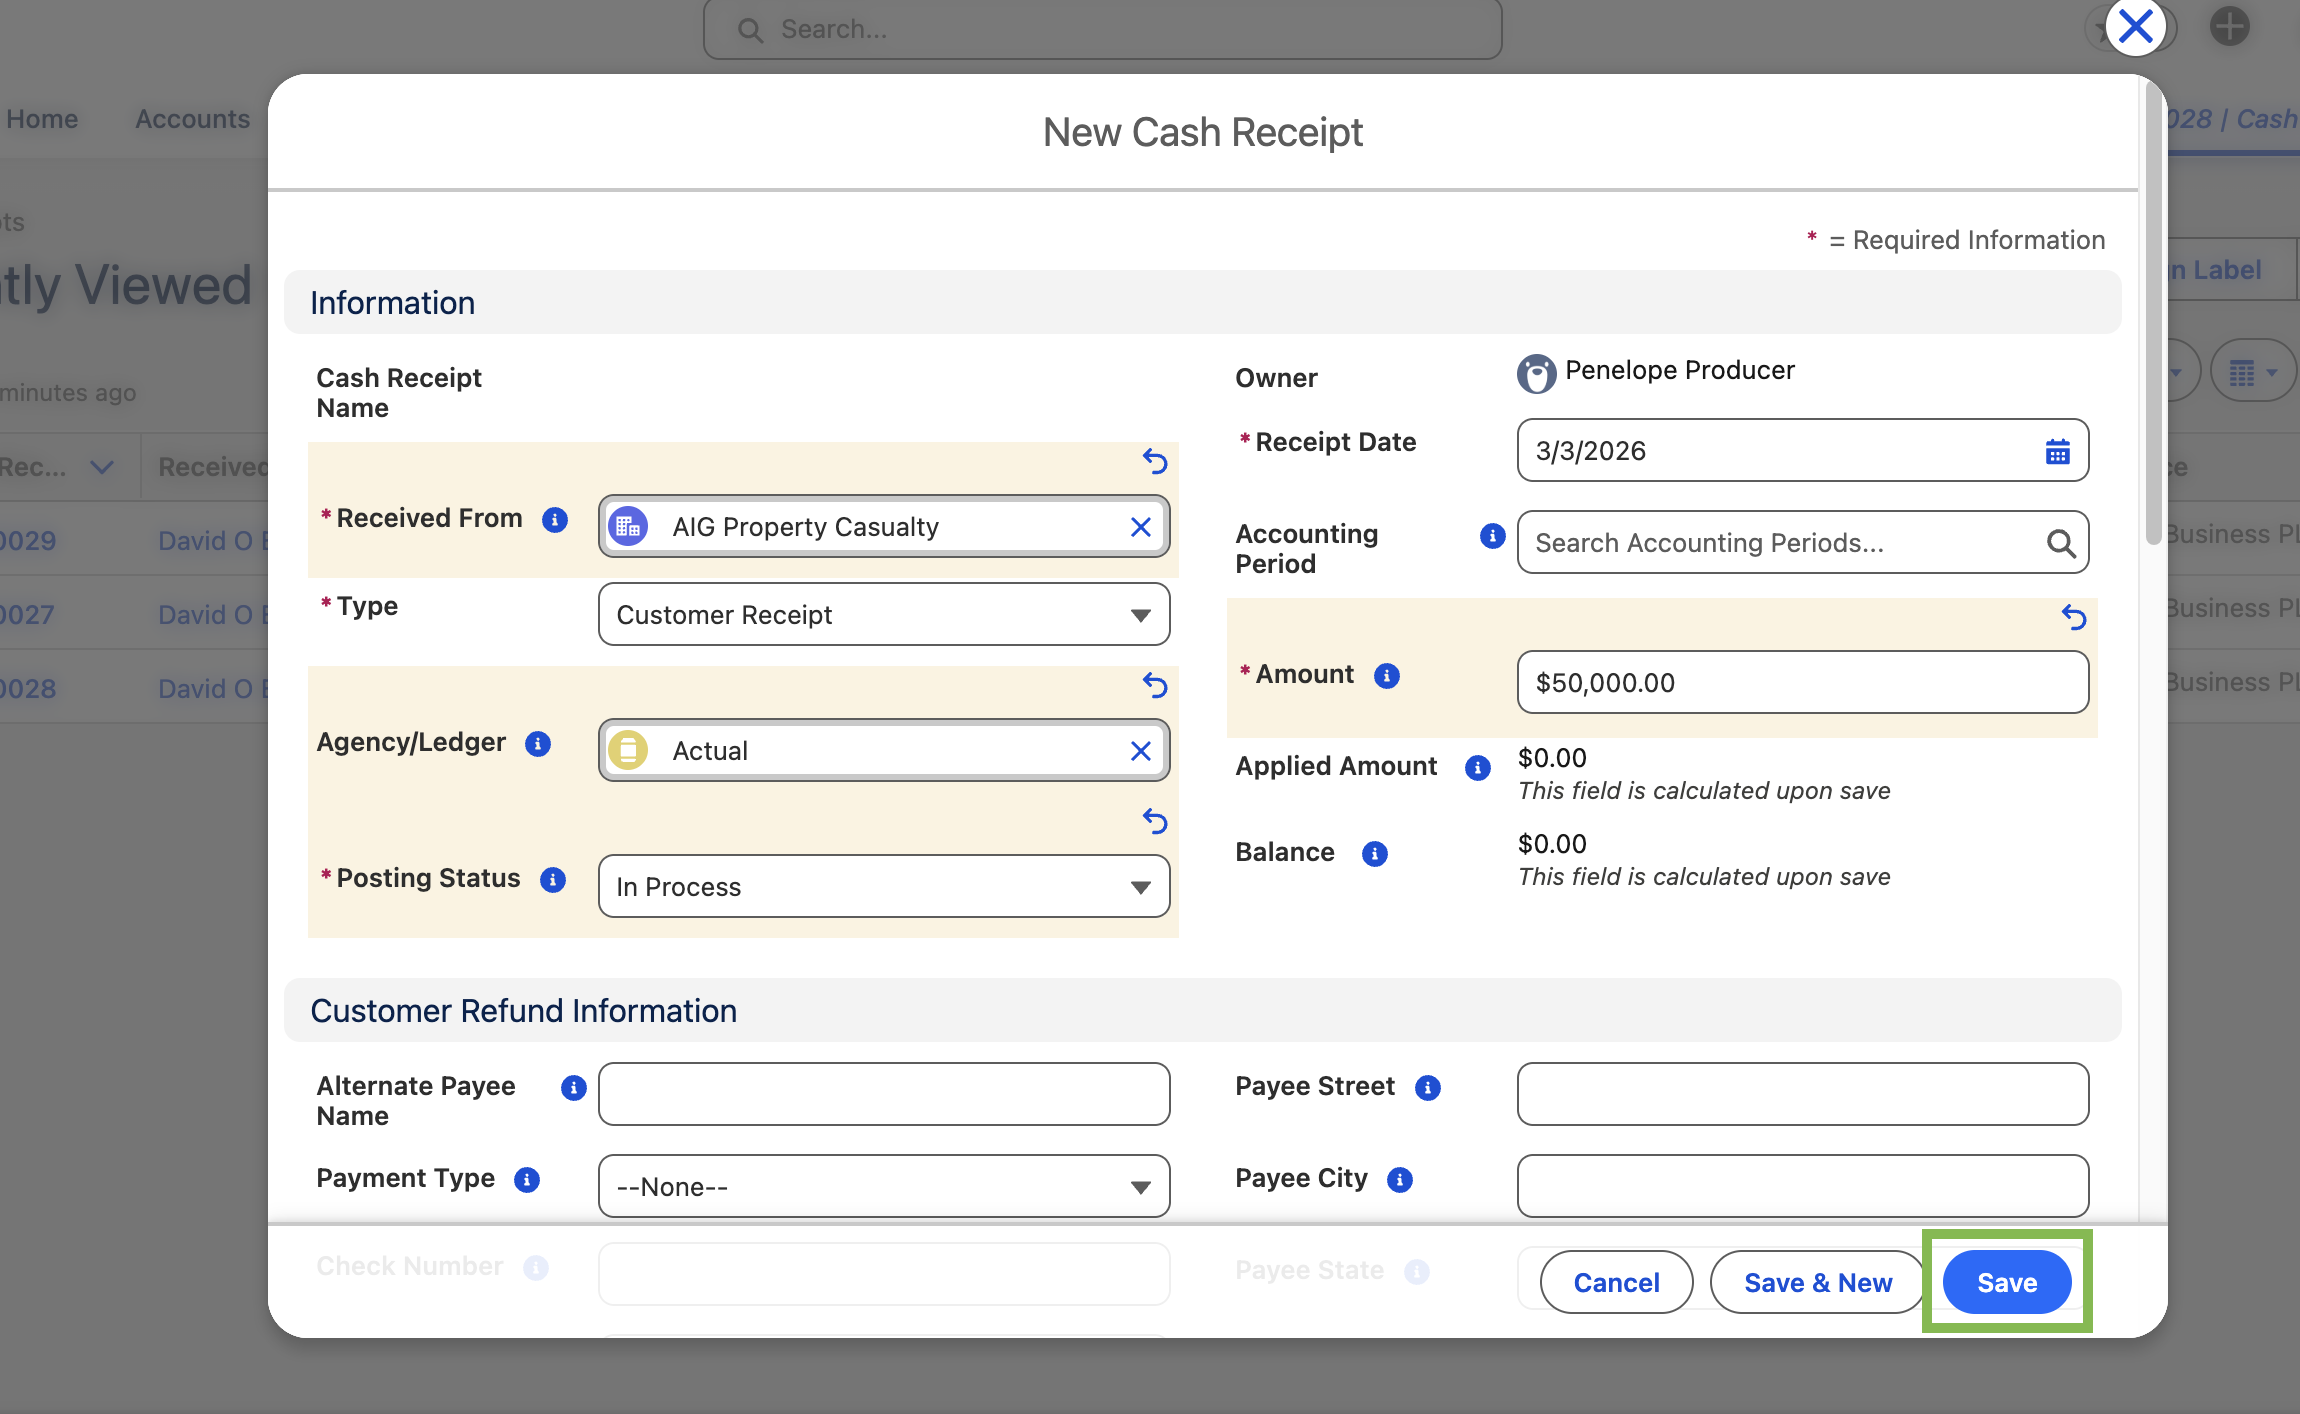
Complete the fields in the New Cash Receipt modal:
Received From: The name of the customer or payer.
Type: Select Customer Receipt.
Posting Status: Select In Process.
Receipt Date: Defaults to current date. Edit as needed.
Amount: Total amount received, including the overpayment.
Reference: Add any relevant reference for tracking.
Bank Account: Select the account where the funds were deposited.
Click Save.
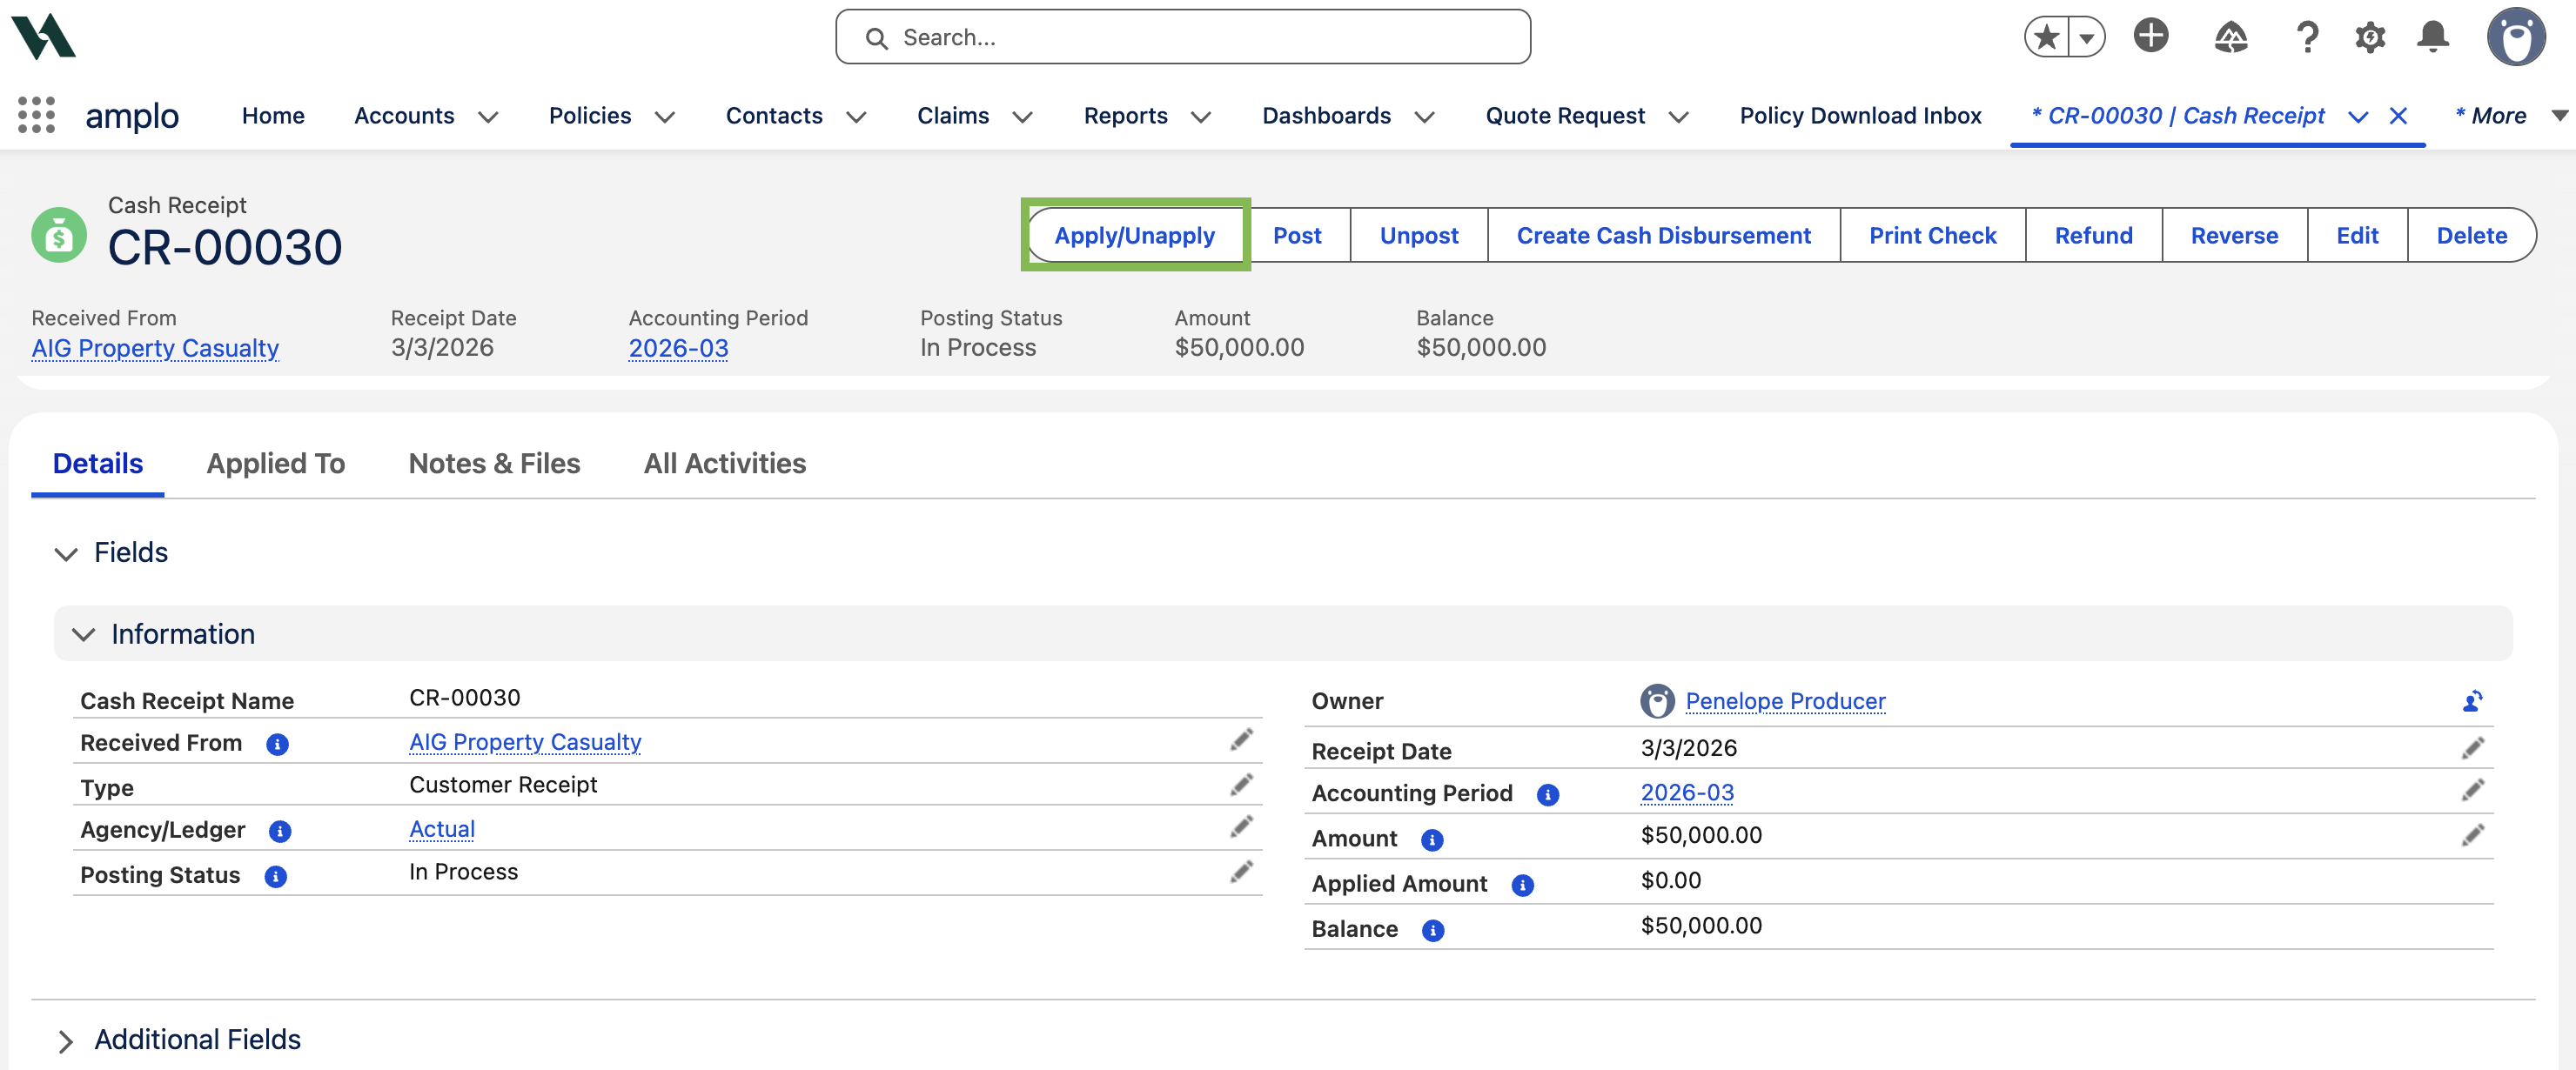
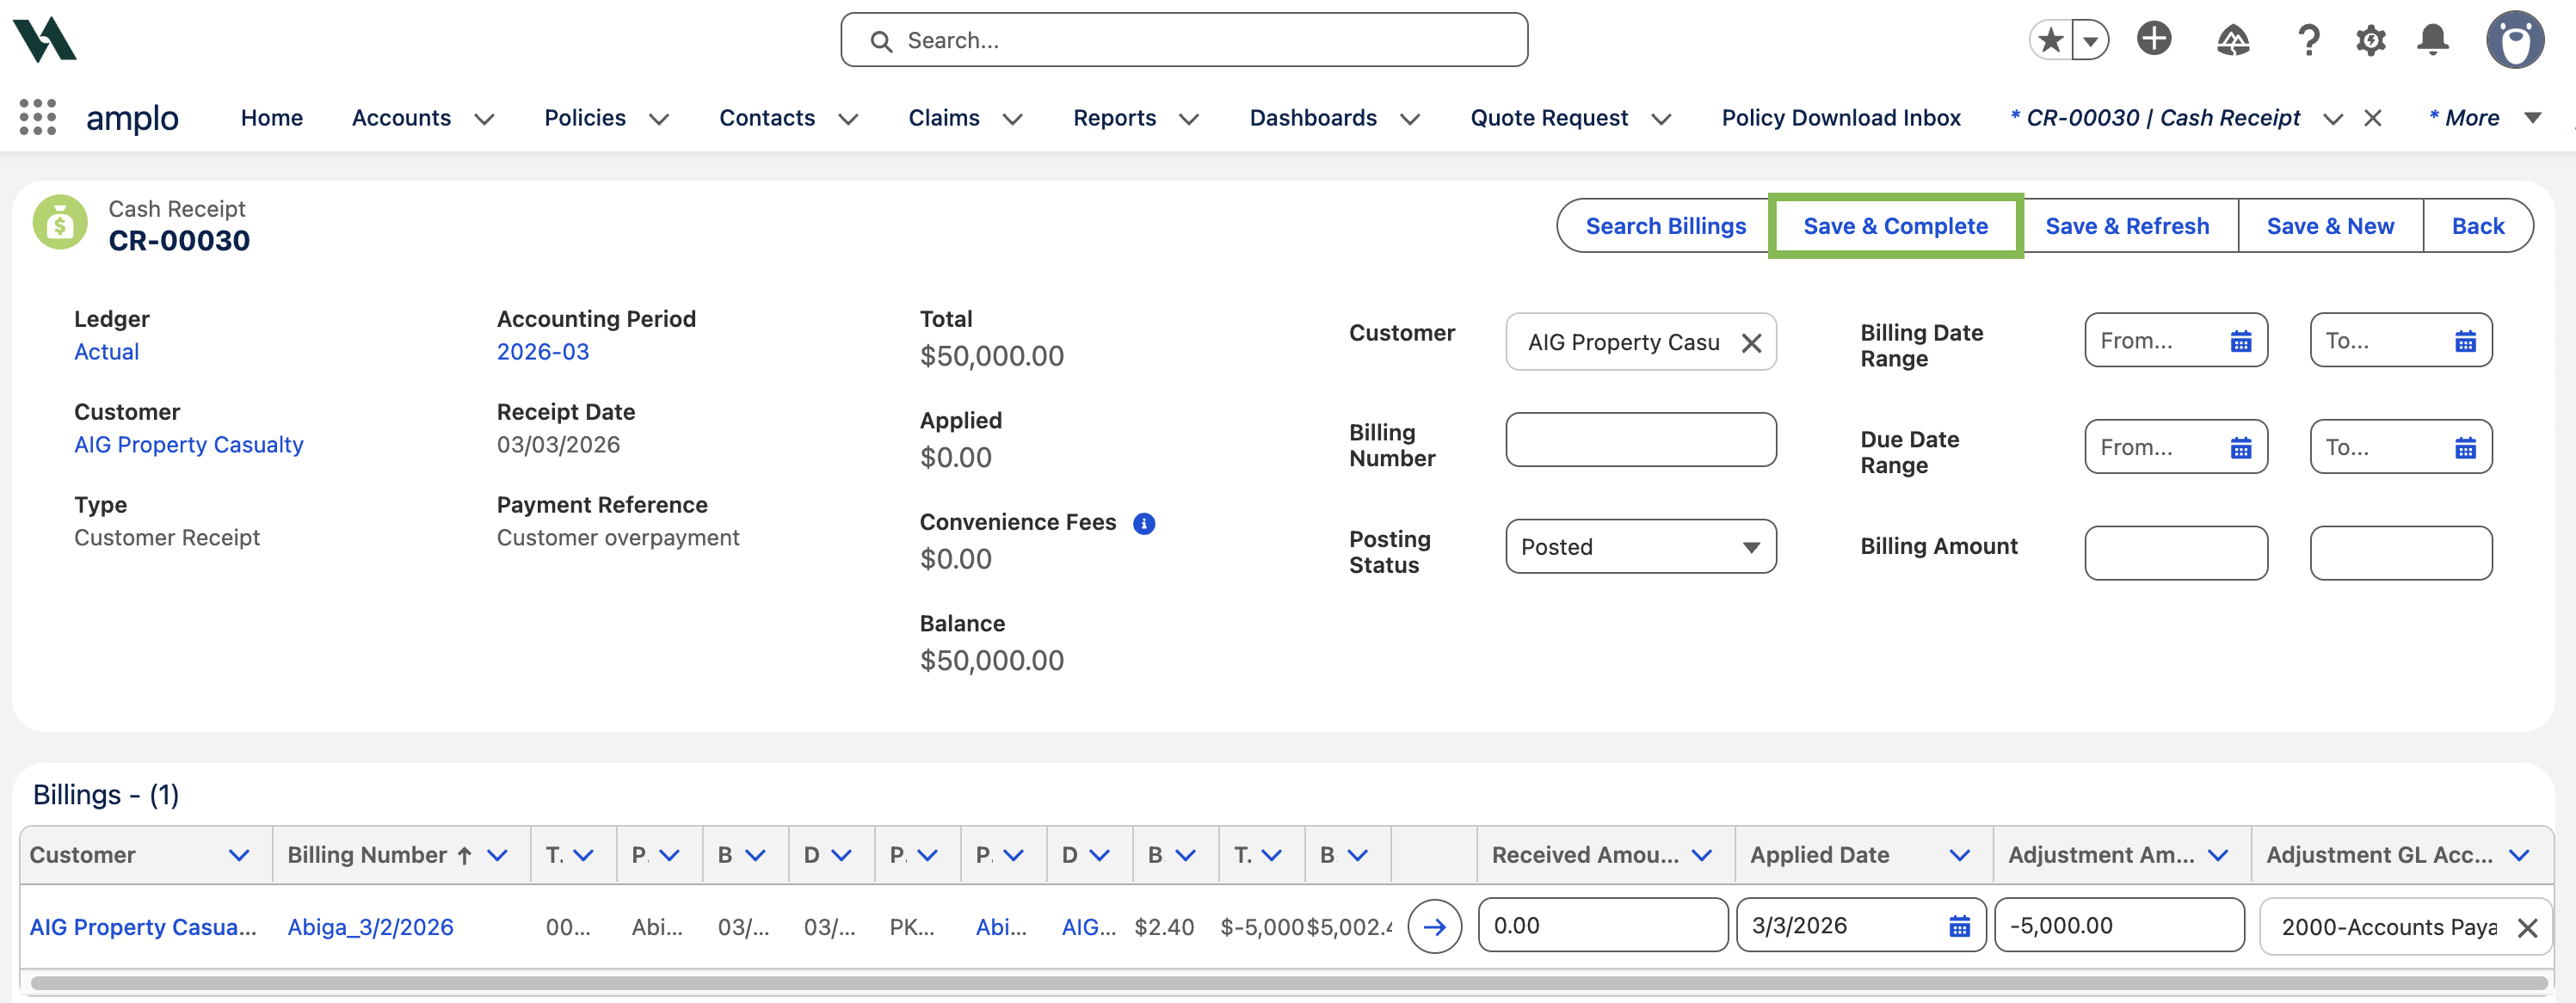
On the Cash Receipt, click Apply/Unapply.
Enter the amount to apply to each corresponding billing.
In the Adjustment Amount field, enter the overpayment amount as a negative value.

If the overpayment is below the threshold:
Leave the Adjustment GL Account set to 6400 – Waive Small Balances. This amount will be credited to the account with no further action needed unless you intend to issue a refund.
If the overpayment exceeds the threshold, change the Adjustment GL Account to an appropriate Accounts Payable account.
Click the x icon in the Adjustment GL Account column.
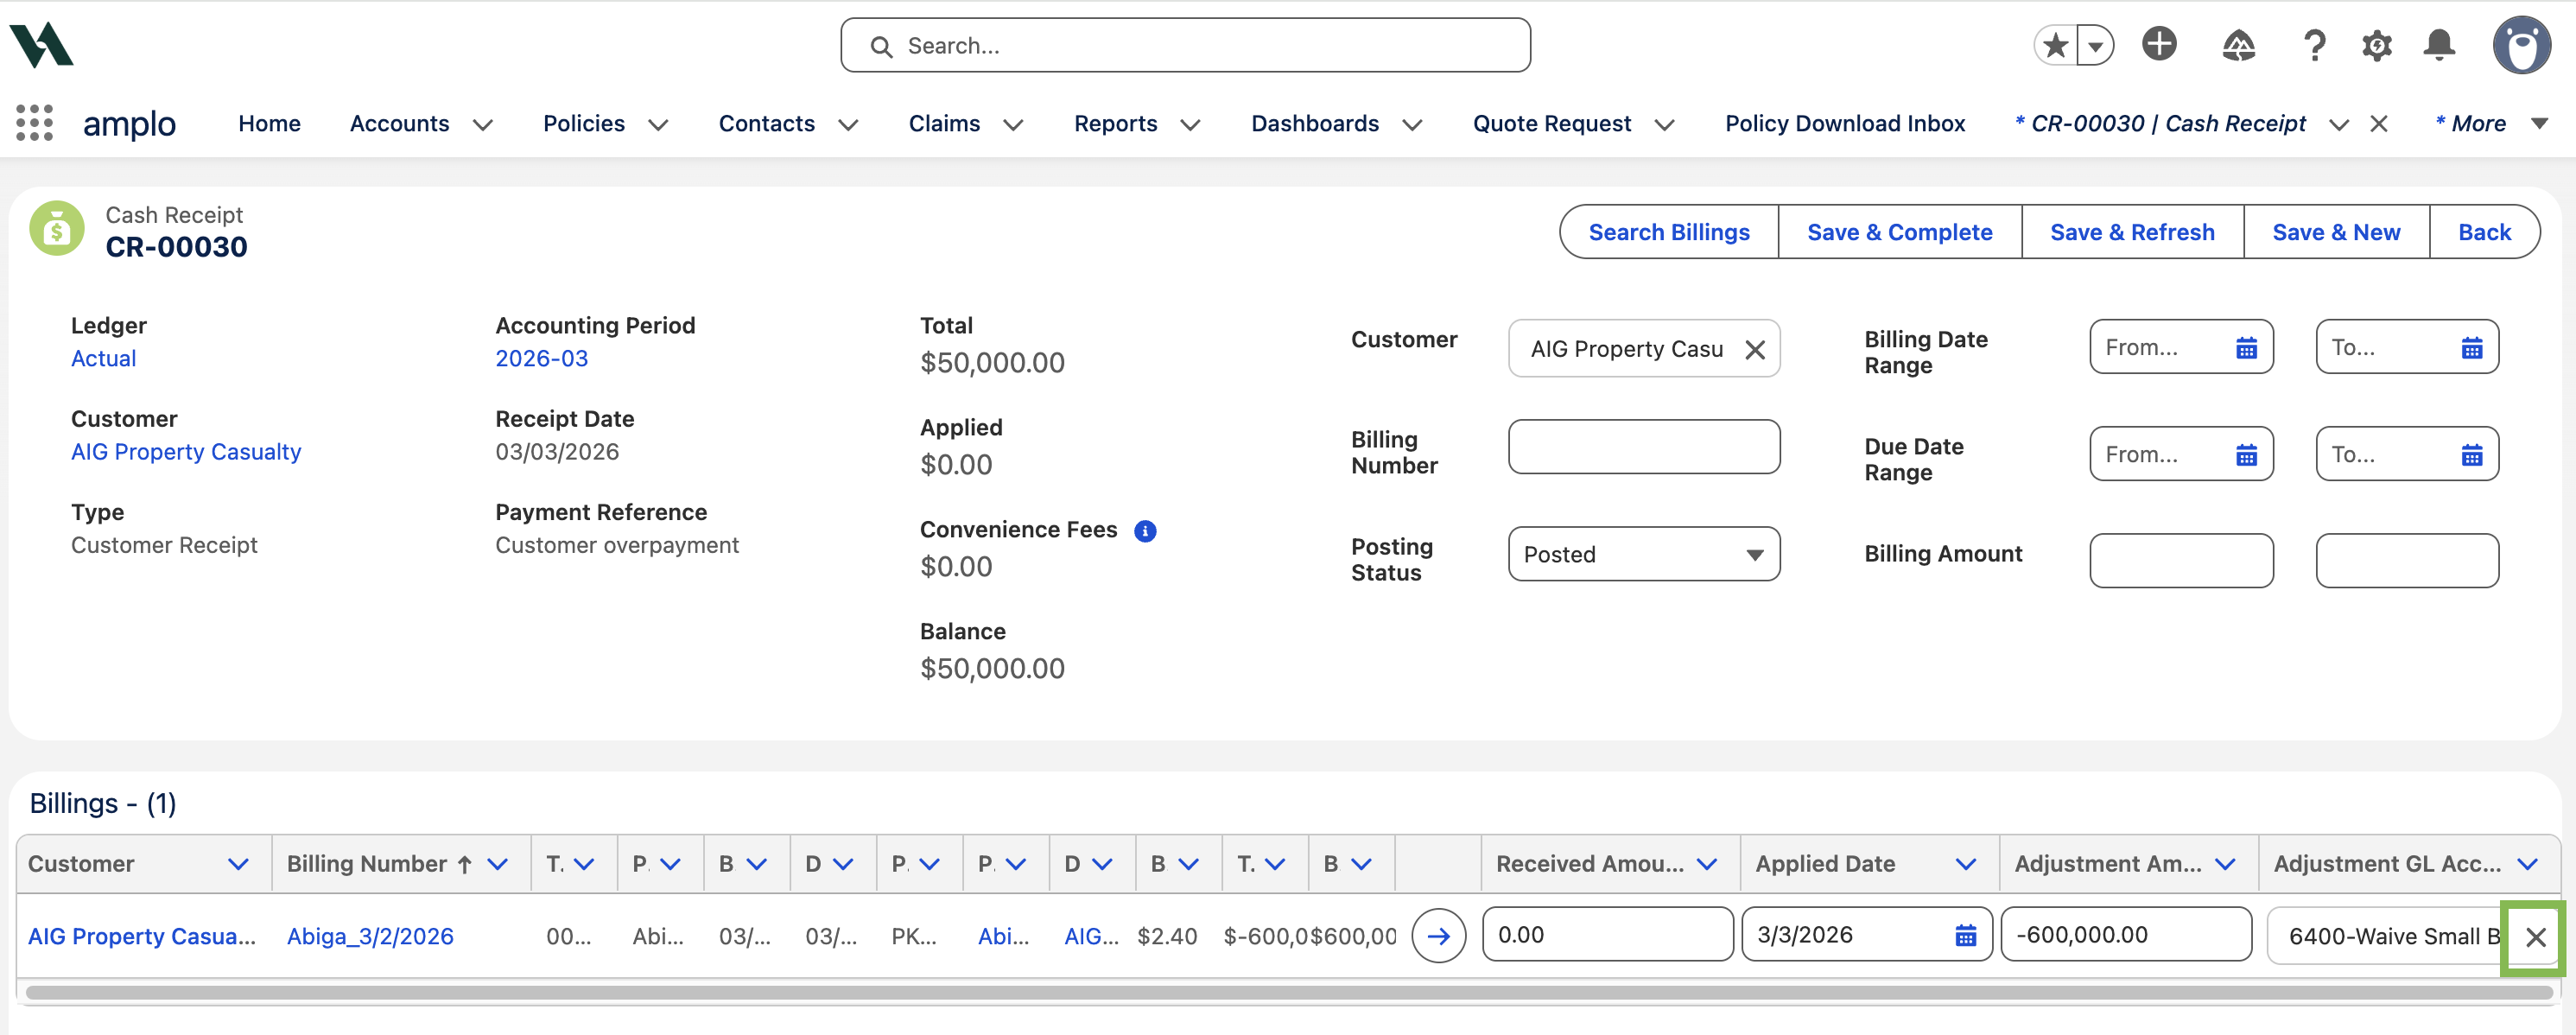
b. Search and select the appropriate Accounts Payable account.

Click Save & Complete.
Create the payable
Create a payable to refund the overpayment.
In the App Launcher, search and select Payables.
Click New.
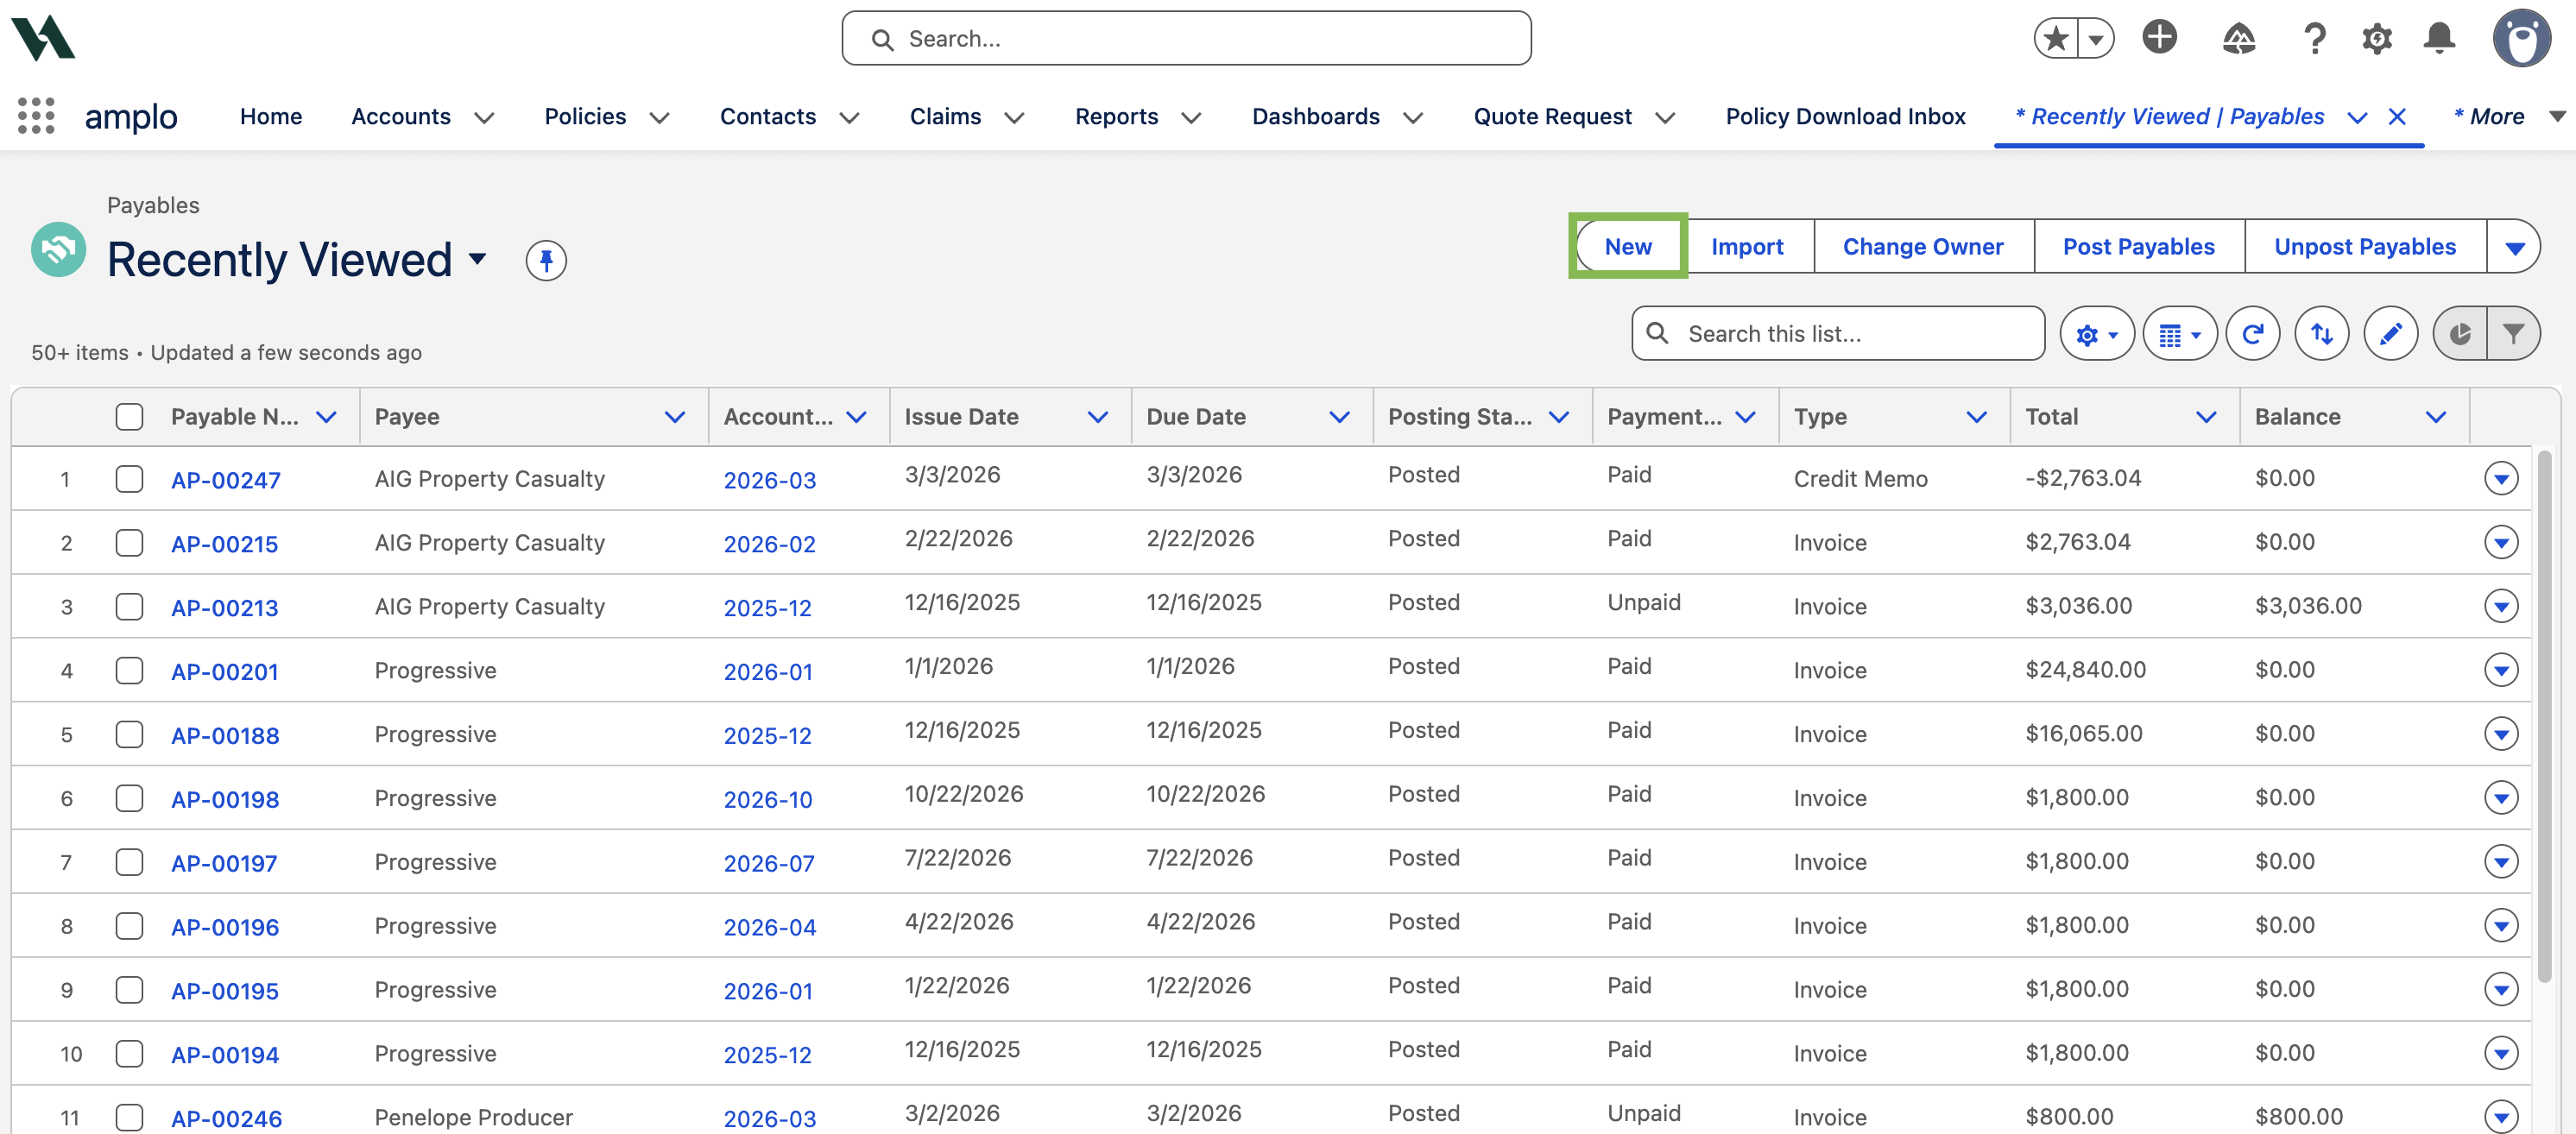
In the New Payable modal, enter the refund information:
Vendor: Must be a Vendor, Contact, or Employee record.
Payee Reference: Enter a description, like "Overpayment"
Issue Date: Defaults to the current date. Edit if needed.
Posting Status: Choose Approved.
Payable Type: Choose Customer or Finance Company.
Click Save.
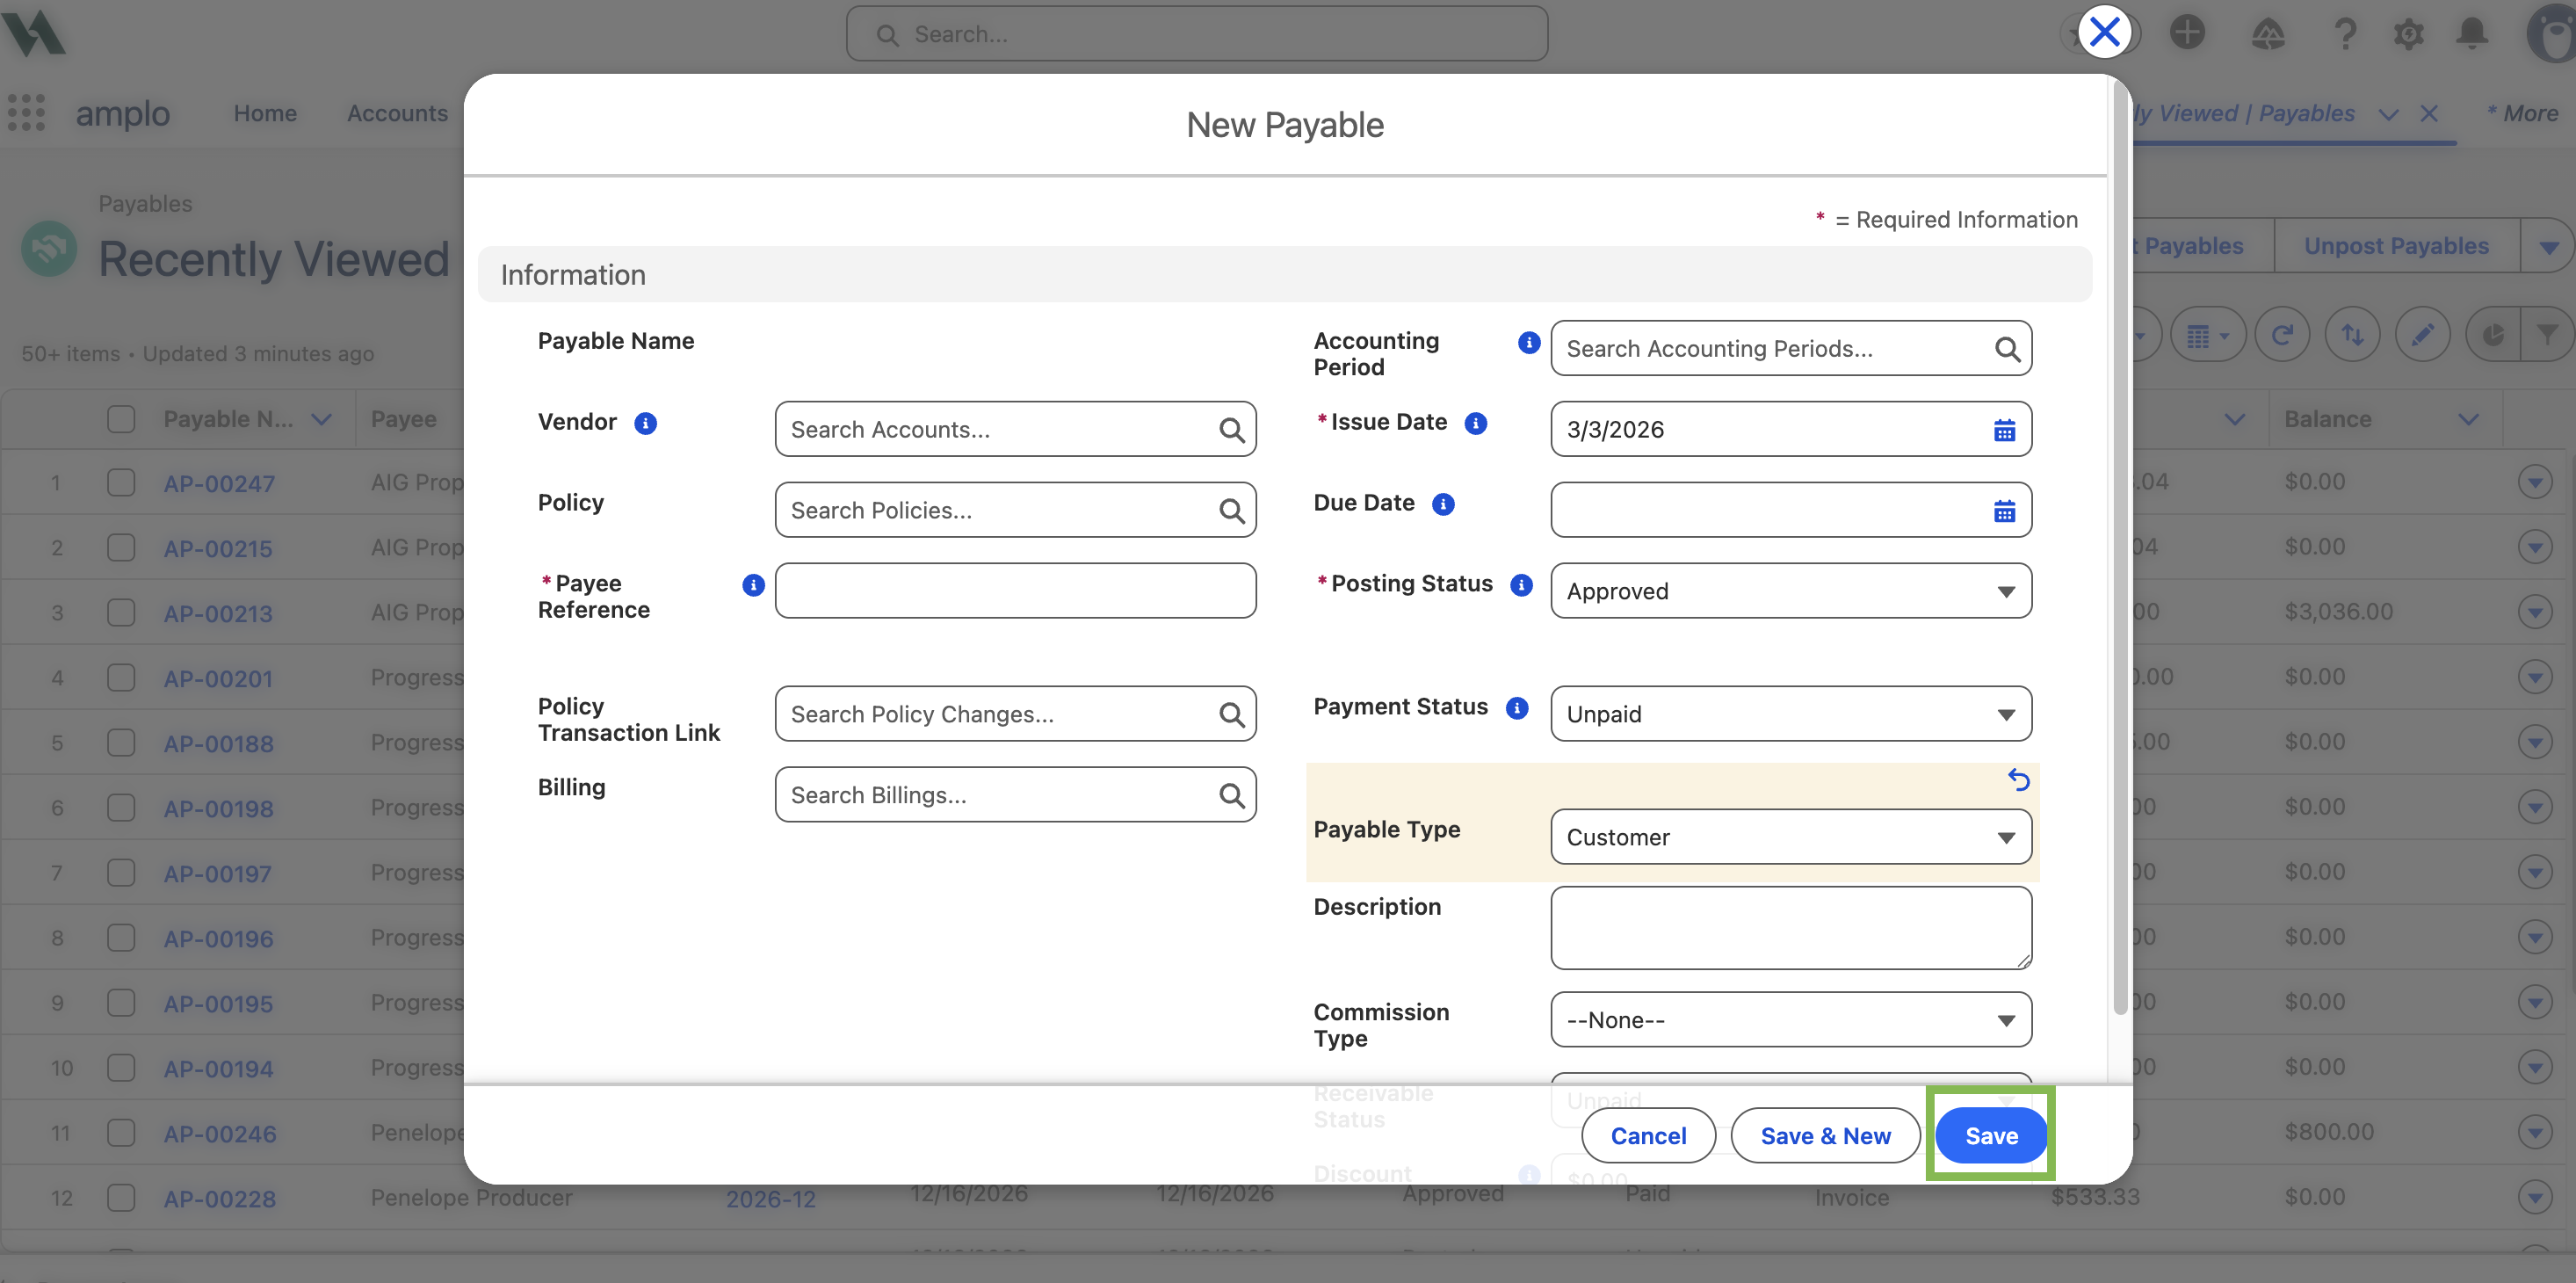
In the Payable Lines section, use the same Accounts Payable GL Account that was entered during the cash receipt application.
Click Post.
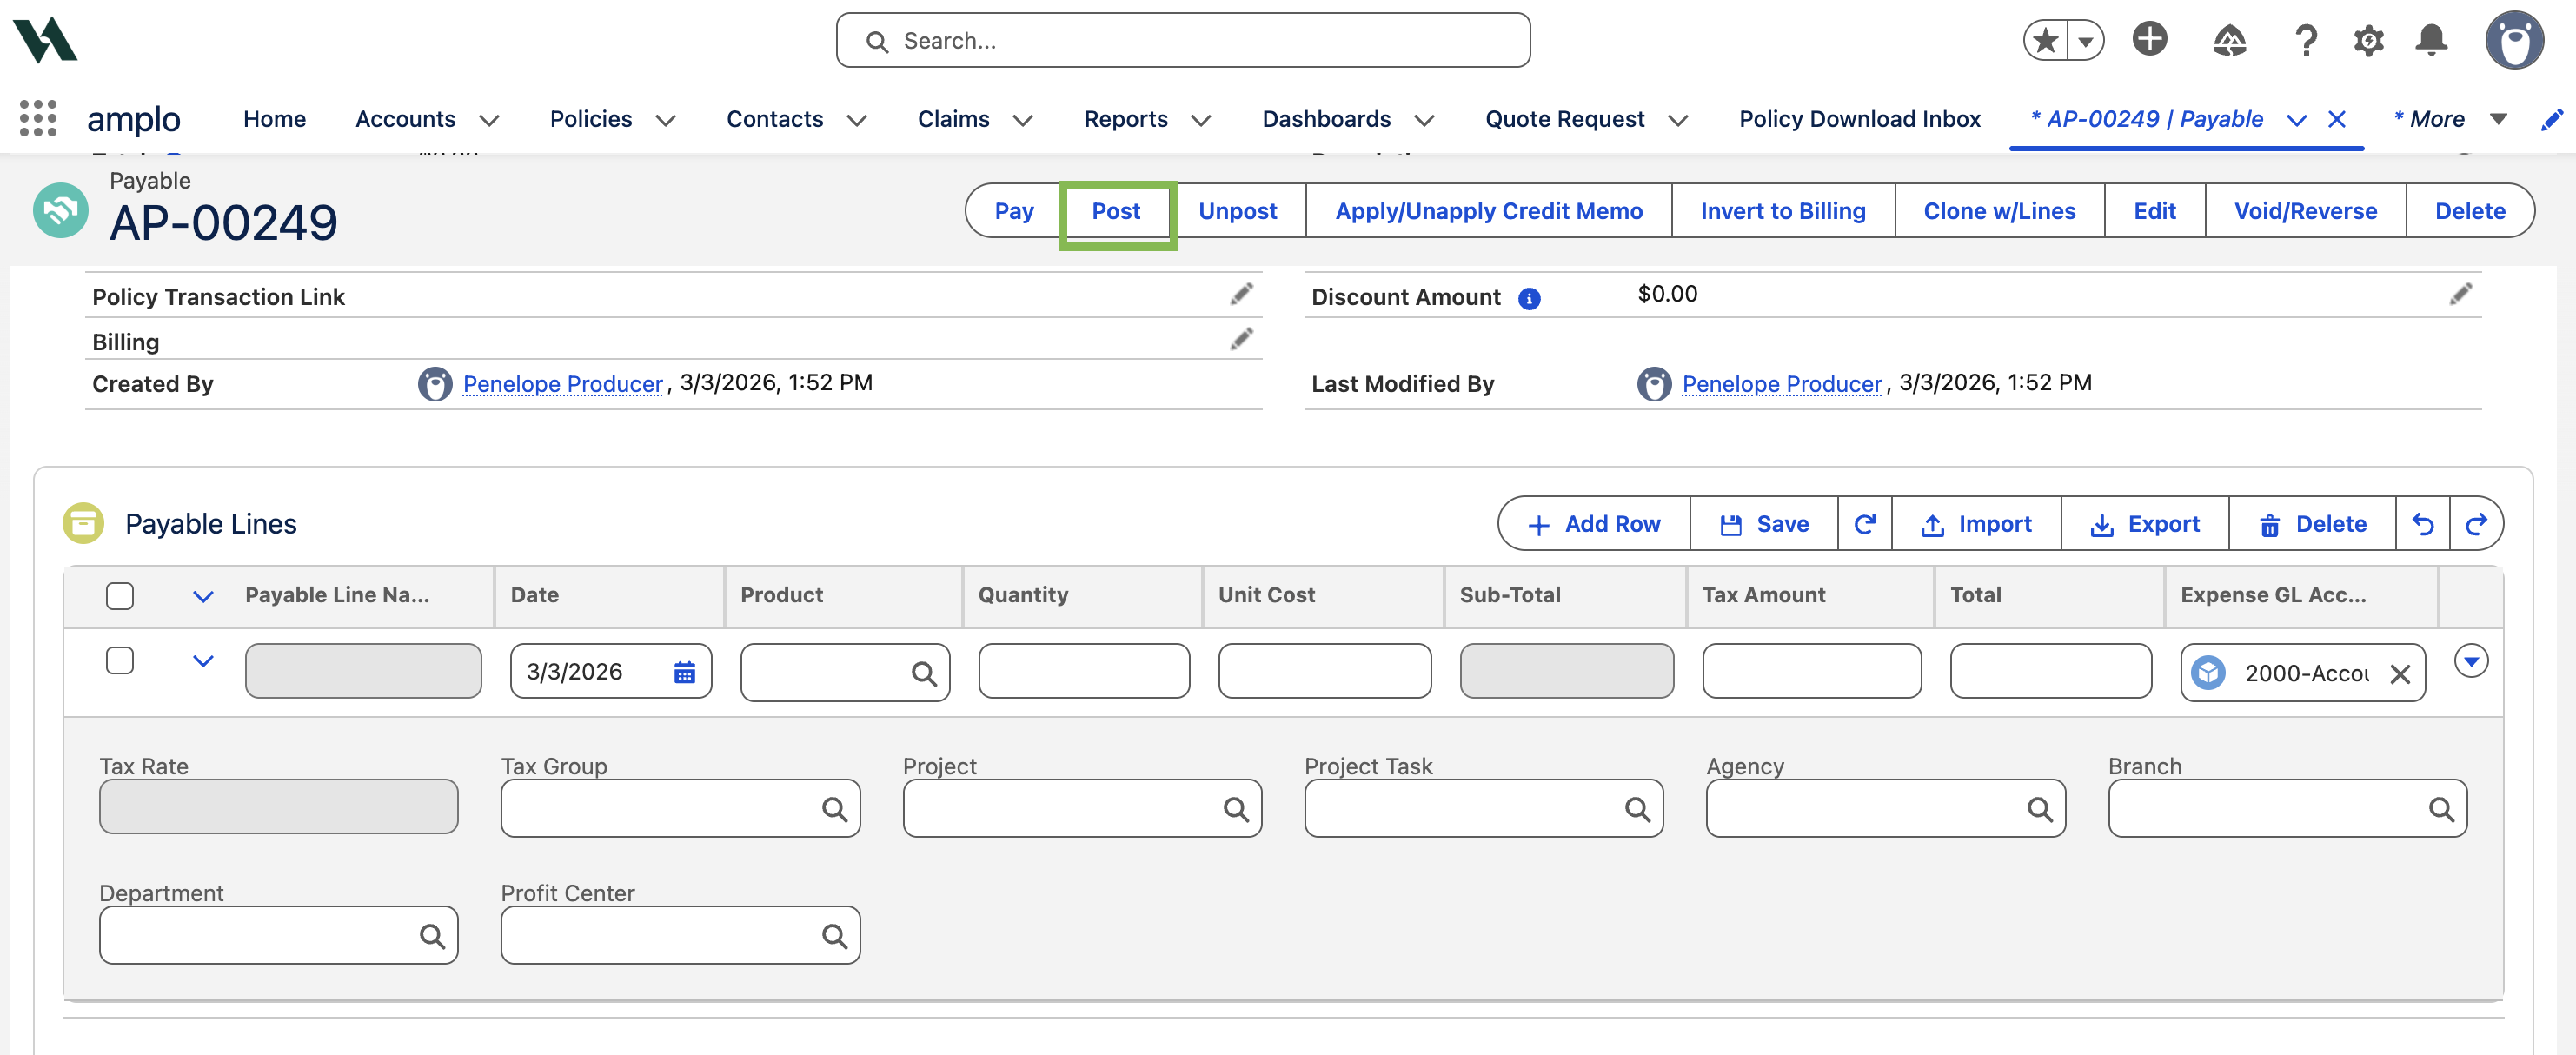
Click Pay & Post.
Print the check and remittance. For more information, see 📄 Batch-posting payables.
Note: Once complete, the Payables tab on the account will reflect a Paid status and show a zero balance.
Record write-offs
When you need to record small differences or write-offs in billing records, follow these steps:
Navigate to the Billing record.
In the Write-Off, enter the amount you wish to write off.
Click Save.
Troubleshooting billing issues
Deletion errors
The system prevents deletion under certain conditions.
Billing is still posted
Posted billings cannot be deleted. To resolve:
Open the billing record.
Click Unpost.
Attempt deletion again.
Linked related records
If the billing is linked to other records (such as payables, payments, or journal entries), deletion will be blocked. To resolve:
Identify any related records.
Unlink or delete the related records.
Attempt to delete the billing again.
Managing NSF Payments post-billing application
Sometimes, you may need to handle a payment that has been returned as Non-Sufficient Funds (NSF) or has a stop payment applied after it has already been applied to a billing. The process to properly handle this scenario involves reversing the original payment and restoring the billing to its original balance. Once the original balance is restored, you will have the ability to reapply or assess NSF-related fees. The full process is outlined in Non-Sufficient Funds (NSF) Checks.
Include in Down Payment error
If you encounter an error when selecting the Include in Down Payment checkbox while creating a new billing, this is typically caused by a blank value in the Broker Commission Amount field. To resolve this issueL
Navigate to the Policy record.
Change the Broker Commission % field to 0.
Click Save.
Change the Broker Commission % field back to the correct percentage.
Click Save.
Confirm that the Broker Commission Amount field now has a value.