Generating Auto ID cards
Last updated: February 23, 2026
Overview
Auto ID cards provide proof of coverage for insured drivers and their vehicles. Generating accurate IDs ensures clients have the documentation they need and reflects the correct policy details. This article walks you through how to generate a new Auto ID cards, view and download an existing ID card, and verify the information saved to the policy record. For instructions on how to add a vehicle, see 📄 Adding a vehicle schedule.
Generate an ID Card
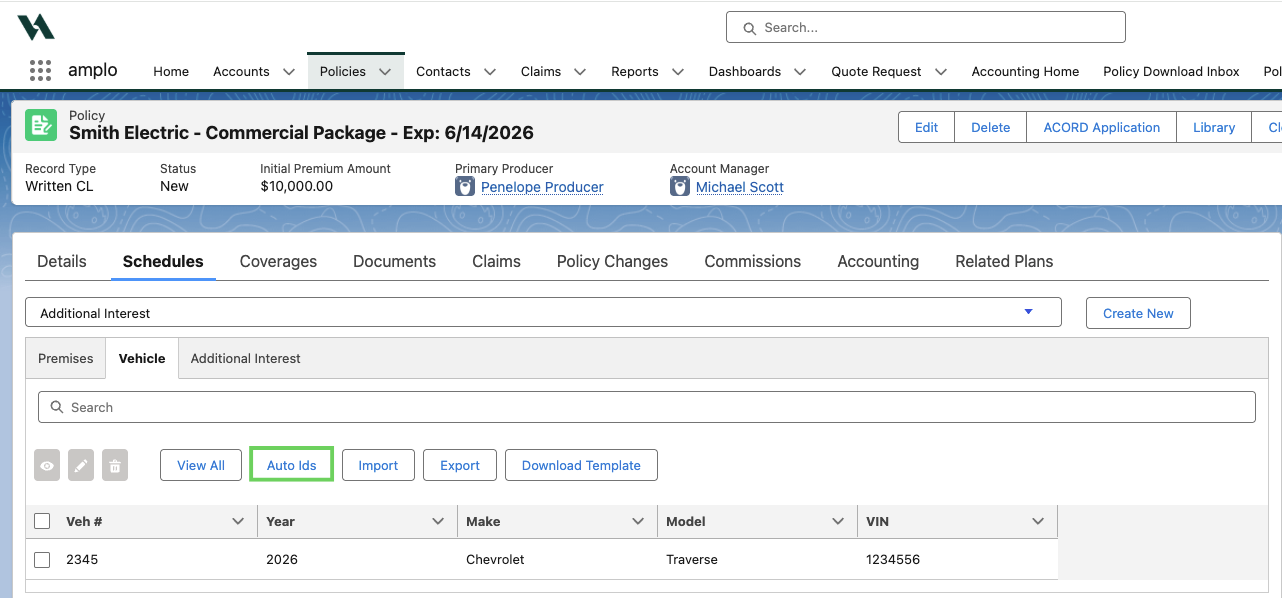
From the Schedules tab of the policy record, select the Vehicles tab.
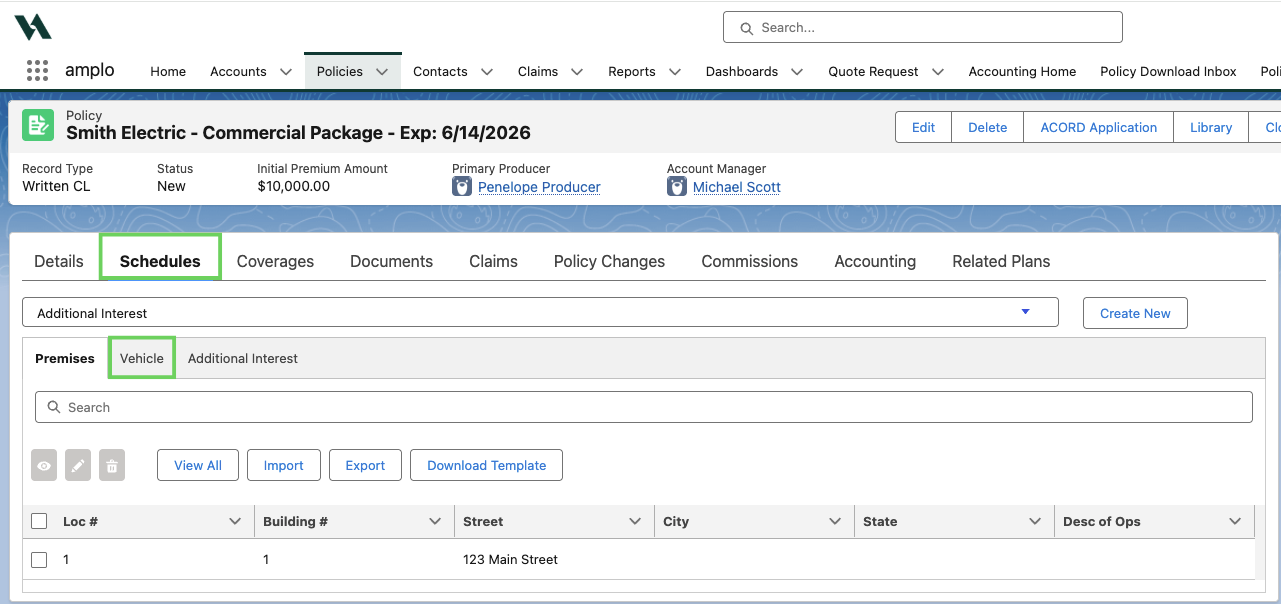
Click Auto IDs.
In the top-left corner of the new screen that appears, select the appropriate Insured Name from the dropdown.

Enter the Effective Date by clicking the calendar icon. If you elect to leave this field blank, amplo will autopopulate the policy's effective date on the Auto ID.

Select the checkbox next to each vehicle you want to include and click Generate IDs.

A modal appears confirming:
The Auto ID was generated and downloaded to your computer.
Saved to the Documents tab of the policy.

View or download an existing ID Card
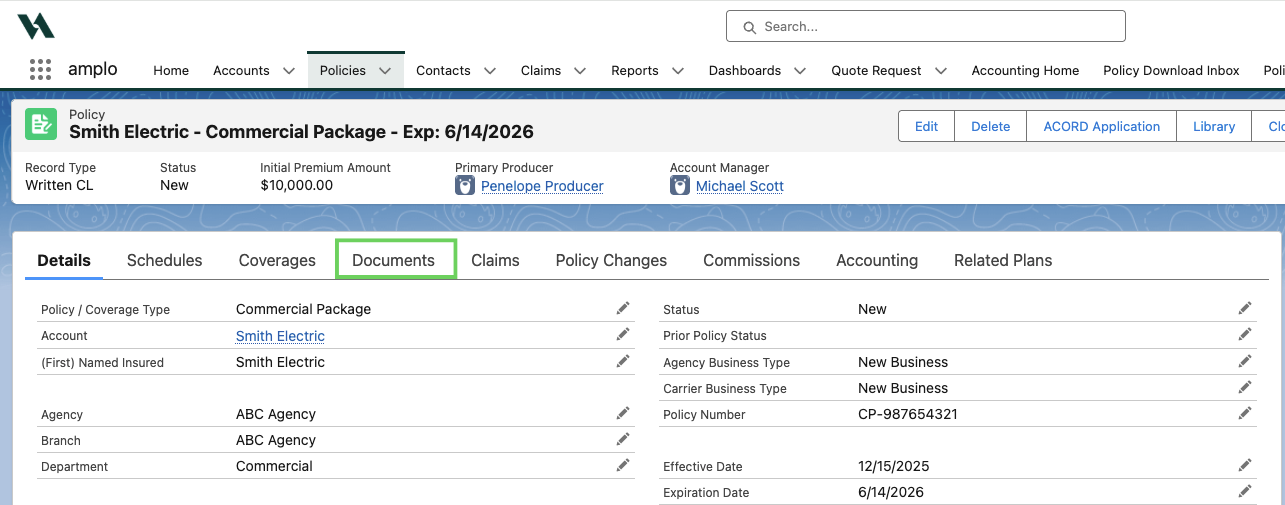
From the policy record, select the Documents tab.
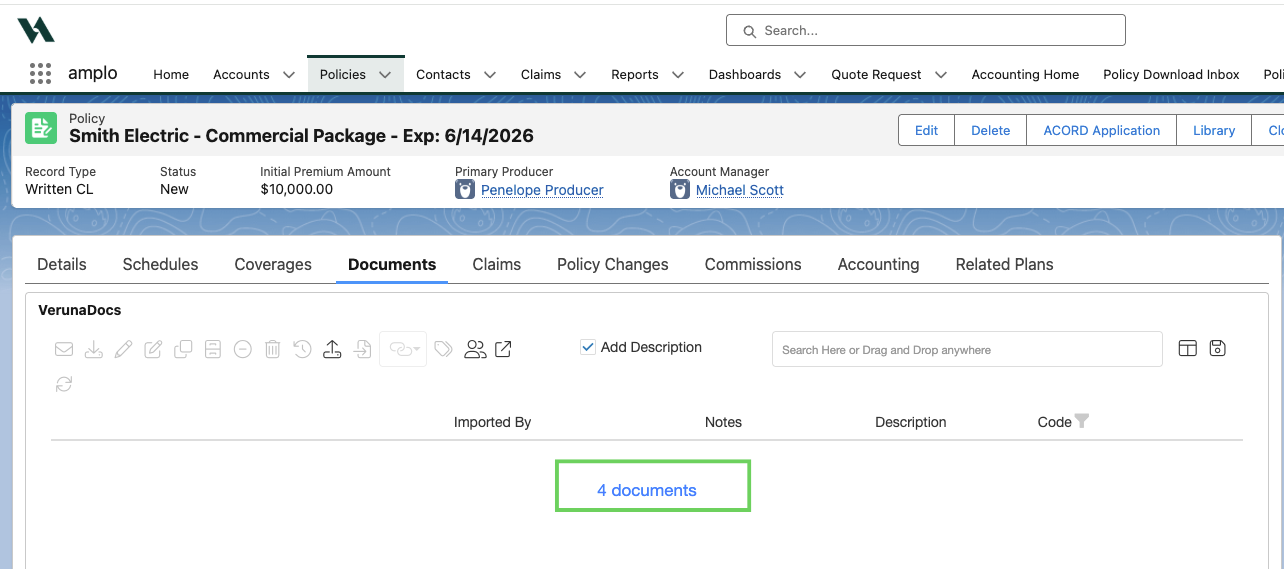
Select the hyperlink to open the list of policy documents.
To view the ID Card, double-click the Auto ID Name.

In the VerunaDocs Viewer, review the details and confirm its accuracy. If anything looks incorrect, update the policy information and follow the steps to generate the Auto ID again.
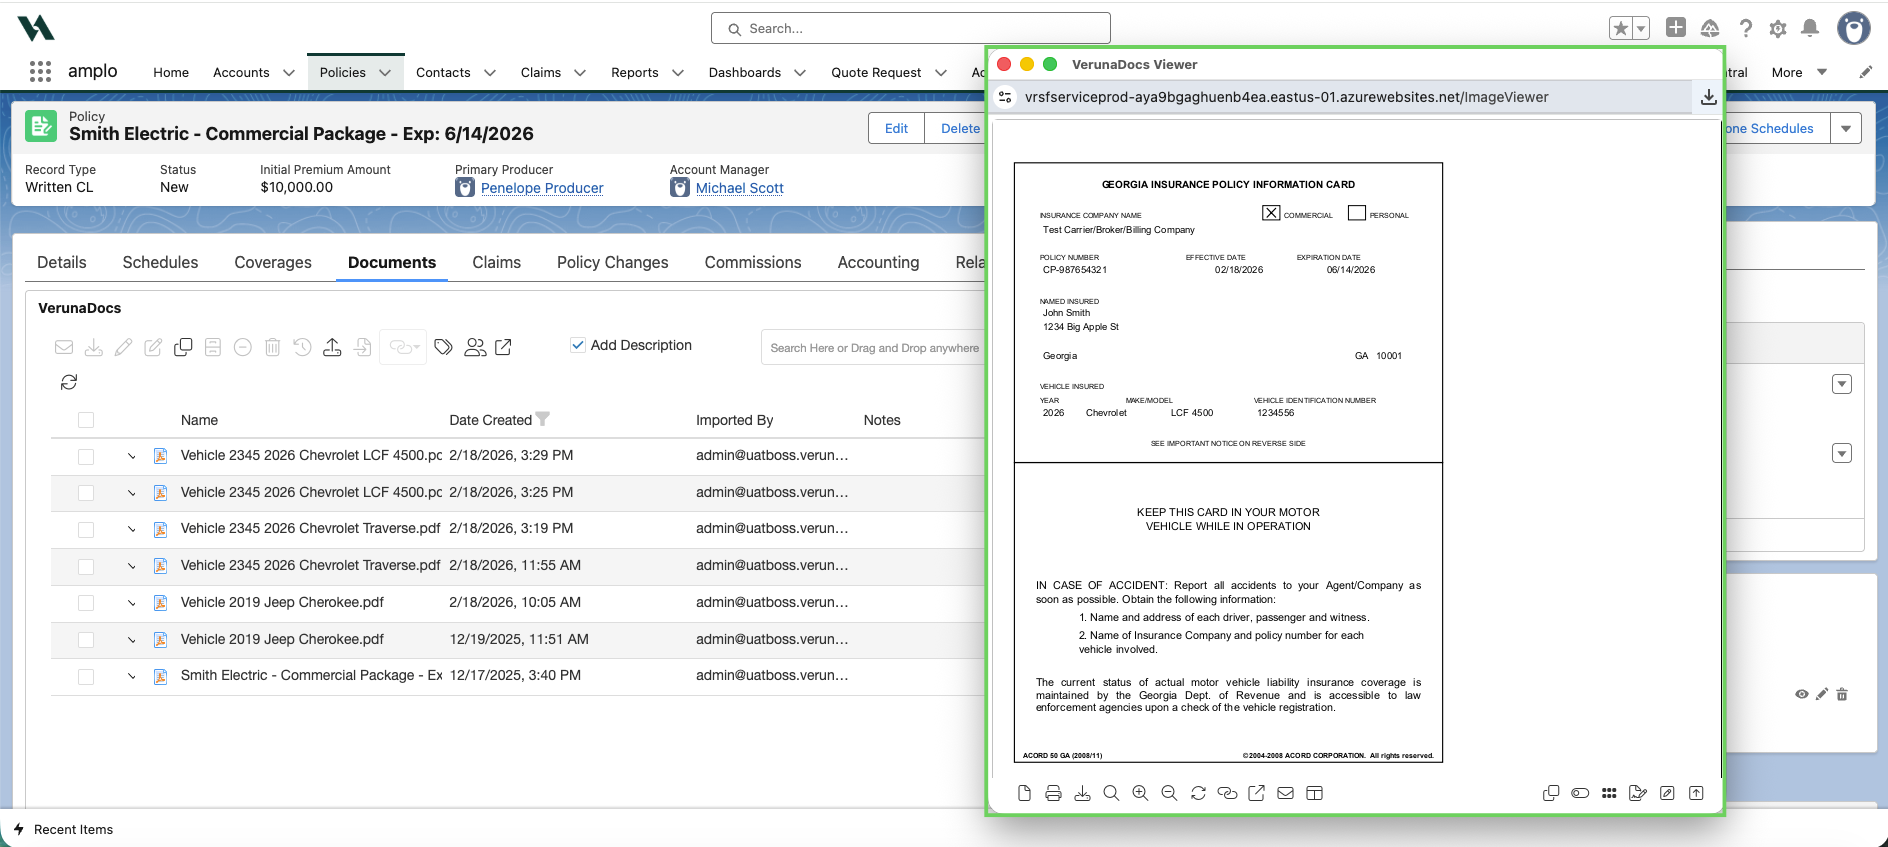
To download the ID card, click the Download icon. in the viewer.