Managing commission allocation
Last updated: March 5, 2026
Manual commission allocation ensures insurance revenue is accurately recorded, fairly distributed, and properly tracked, supporting both financial management and producer compensation. Without proper allocation, agencies may experience:
Accounting misstatements
Difficulty reconciling payments
Errors in producer payables
This article explains how manual commission allocation works in amplo and how to manage it effectively.
Single commission entry
View available commissions
In the App Launcher, search and select Commission Allocation.

Select the Billing Company from the dropdown.
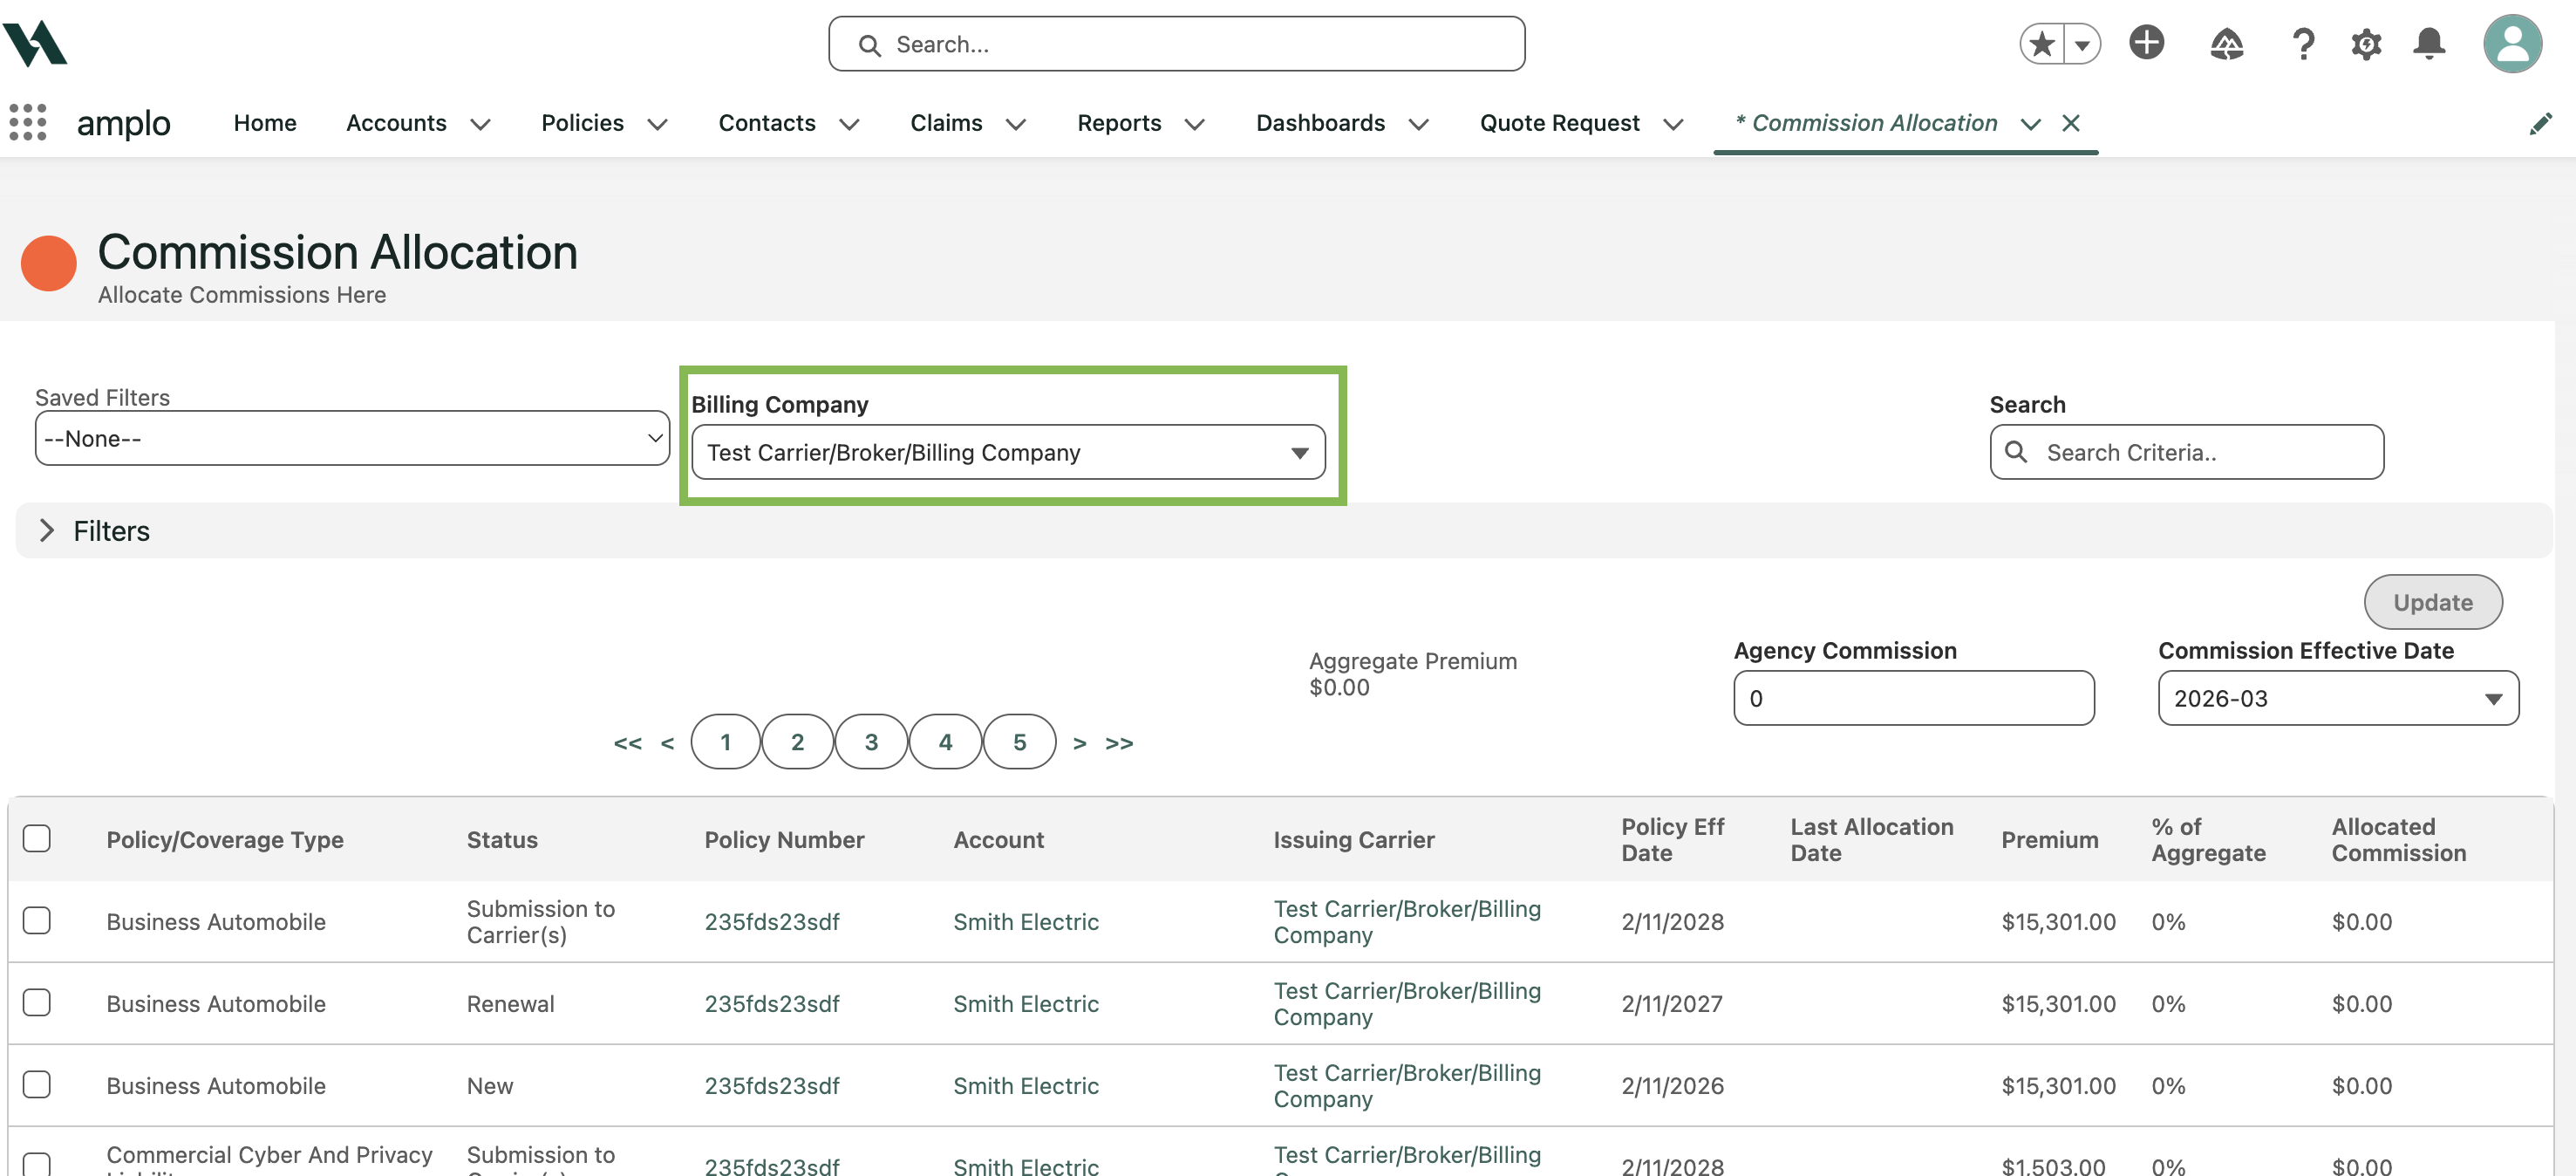
Search the commission list, if needed.
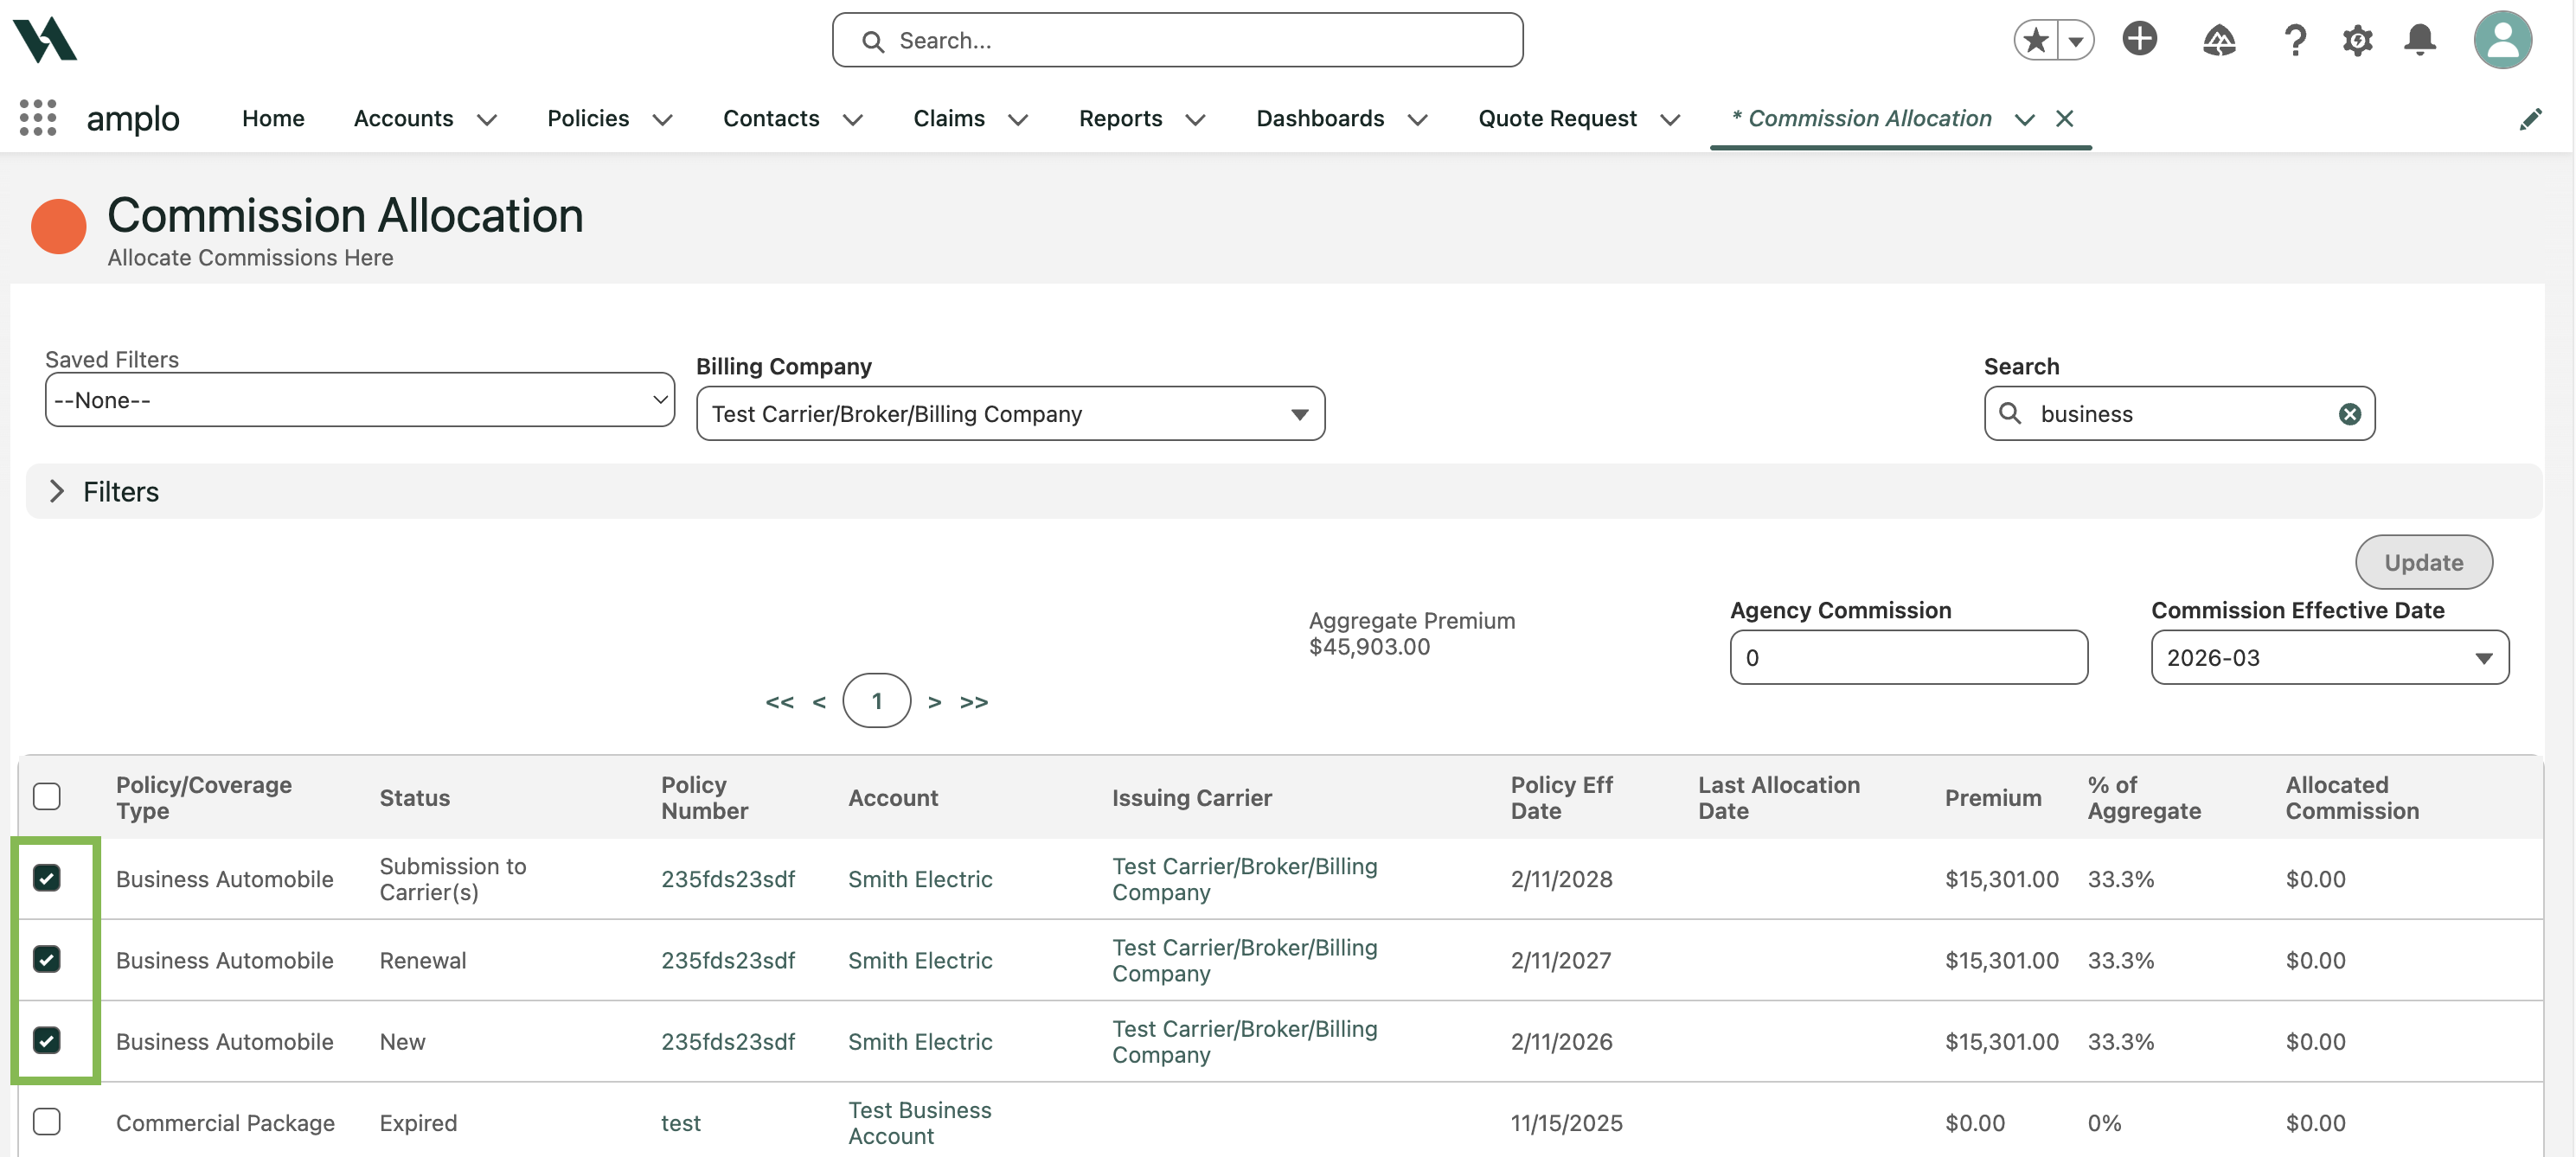
Check the checkbox(es) next to each policy you want to allocate commission to.
Enter the total Agency Commission amount.
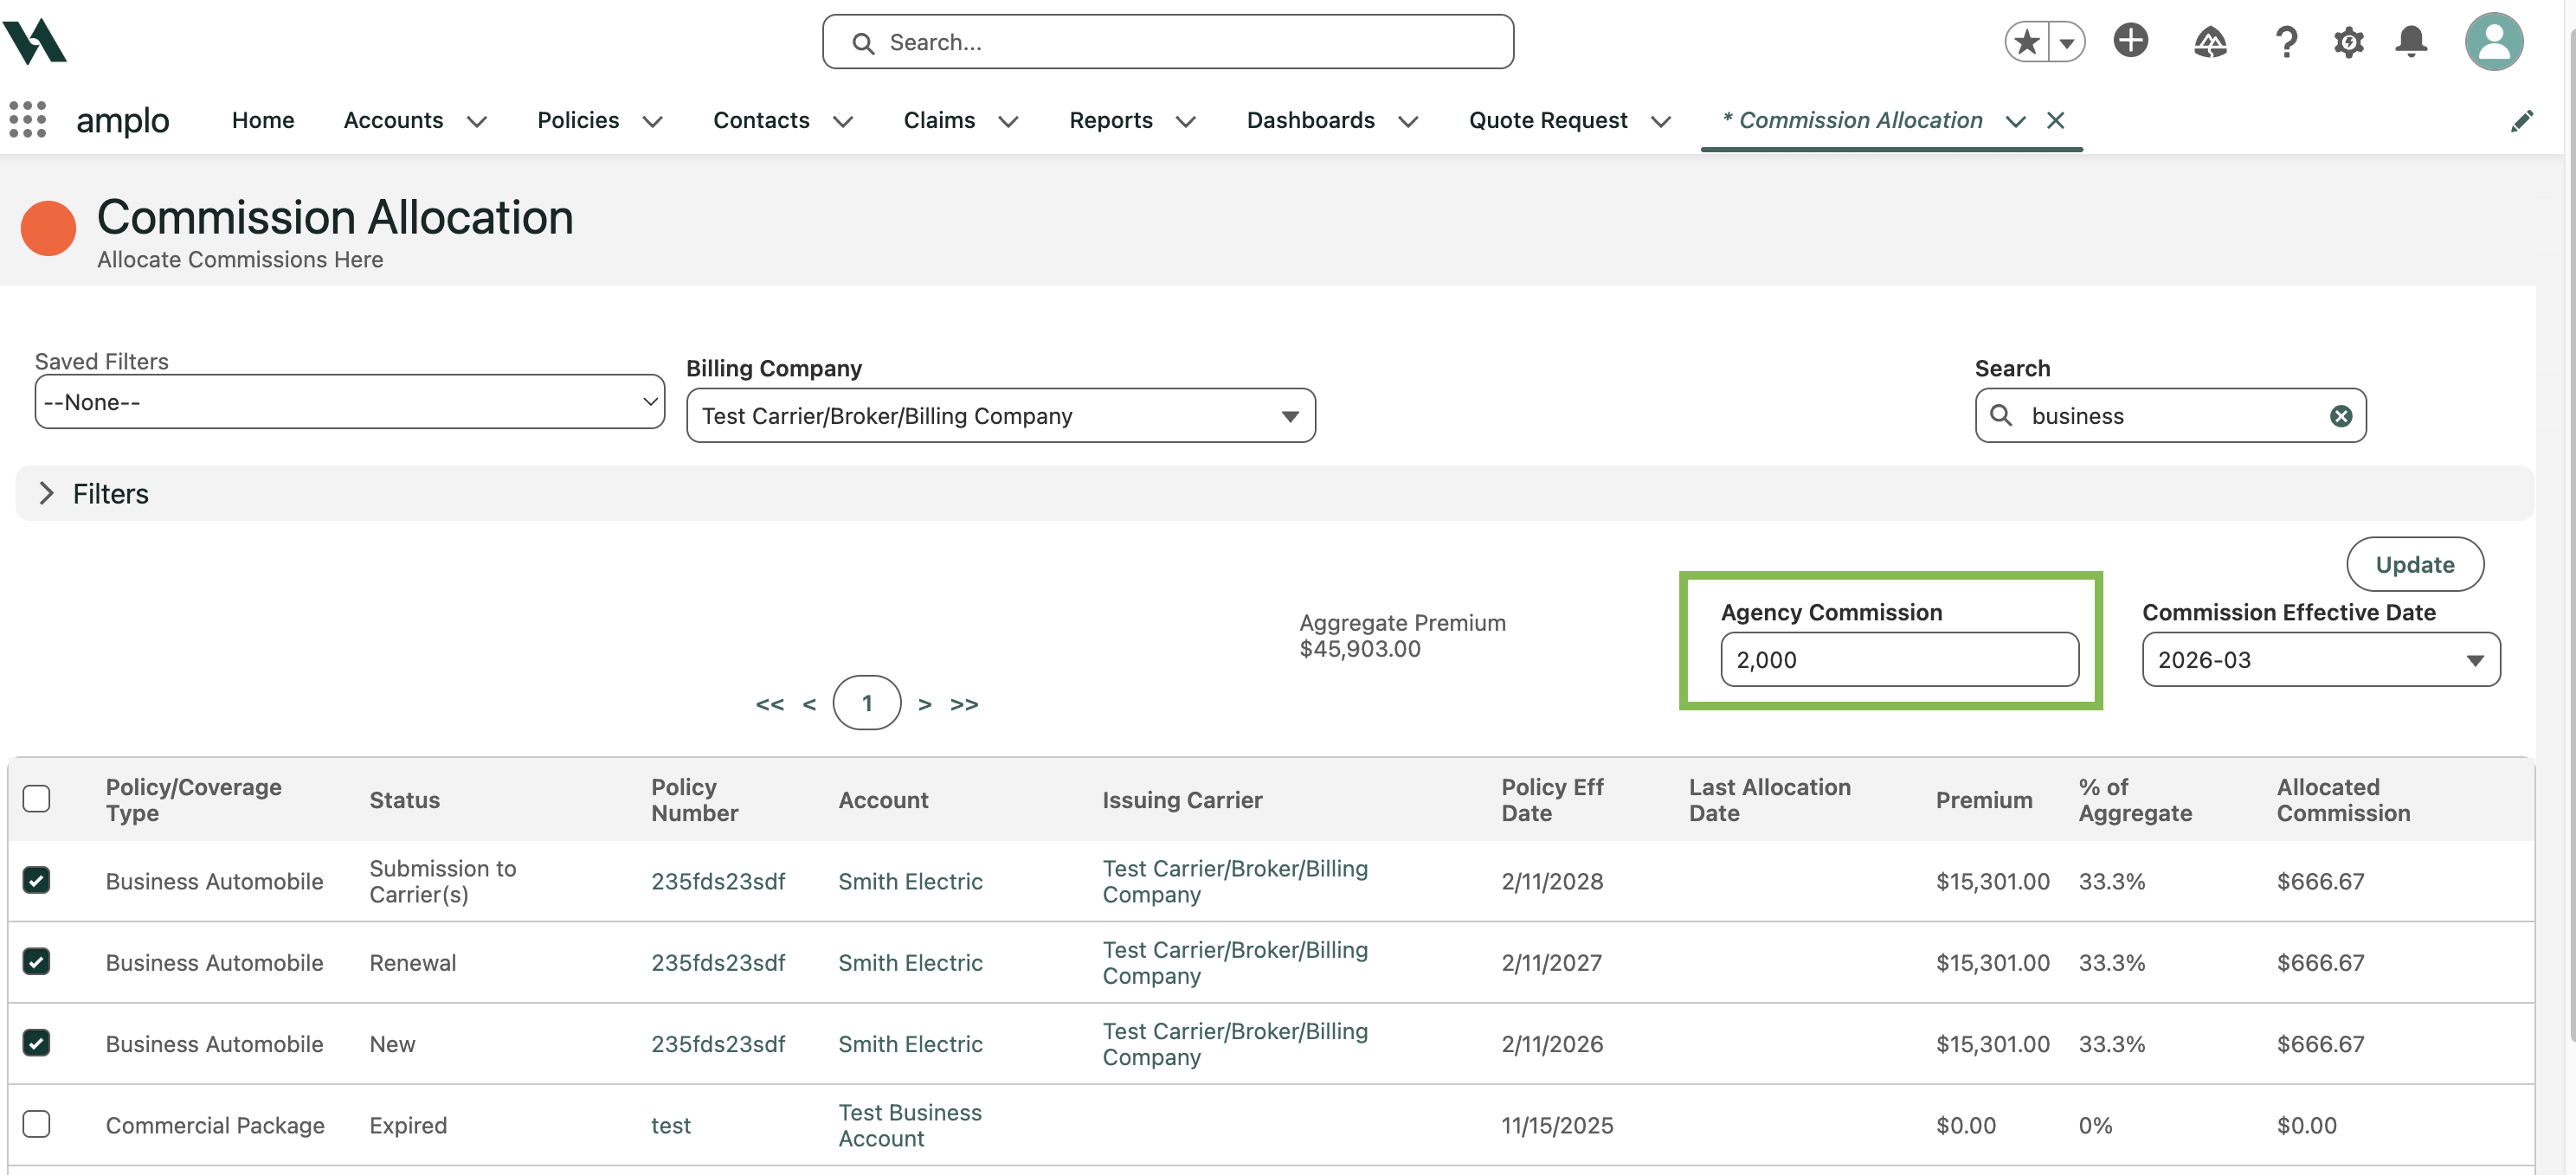
The system automatically calculates each policy’s aggregate percentage.
Click Update.

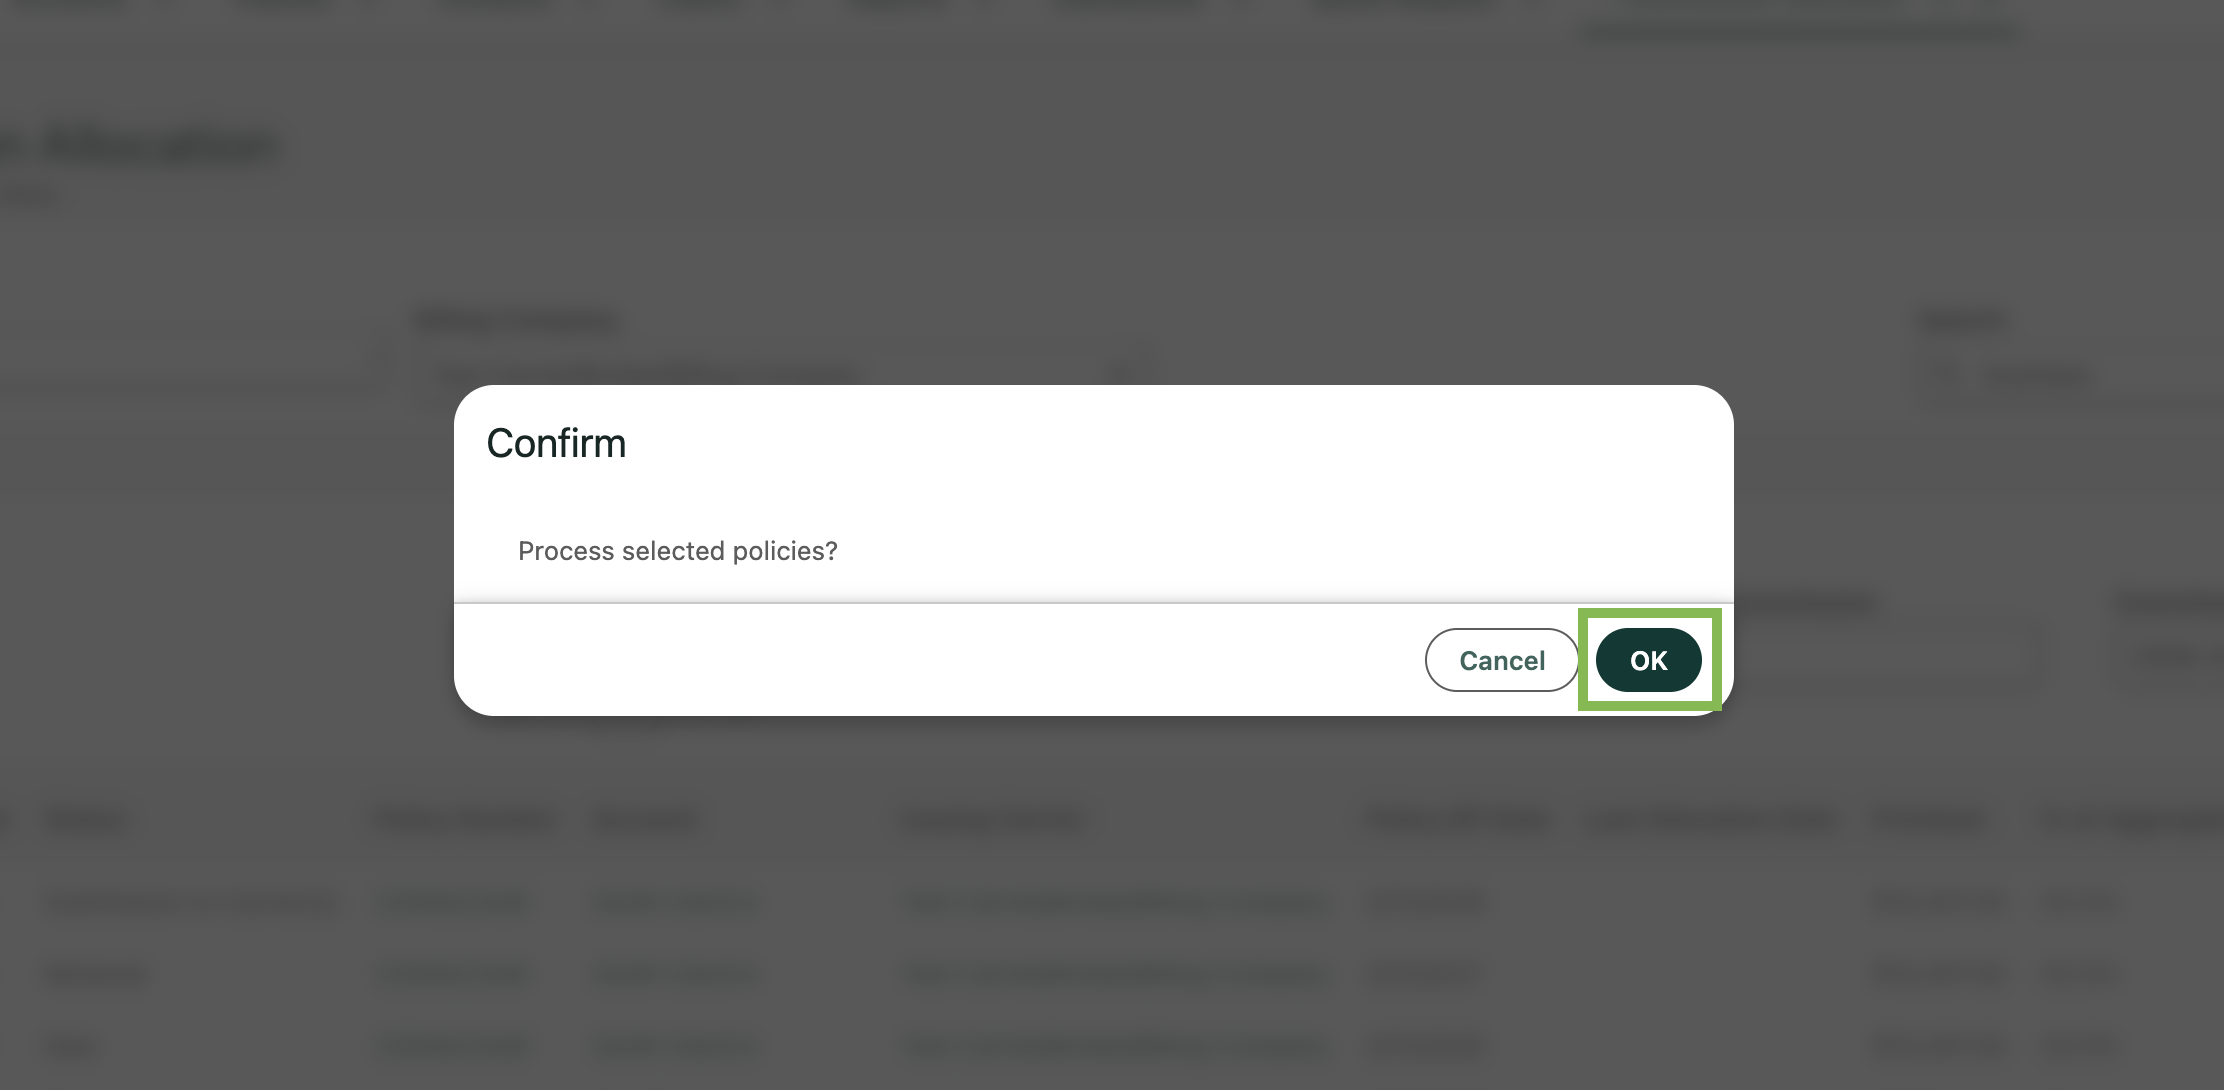
In the confirmation modal, click OK.
Cash receipt attachment
In the App Launcher, search and select DB Statement Processing.
Select the Agency and Billing Company to view policies and allocated commissions.
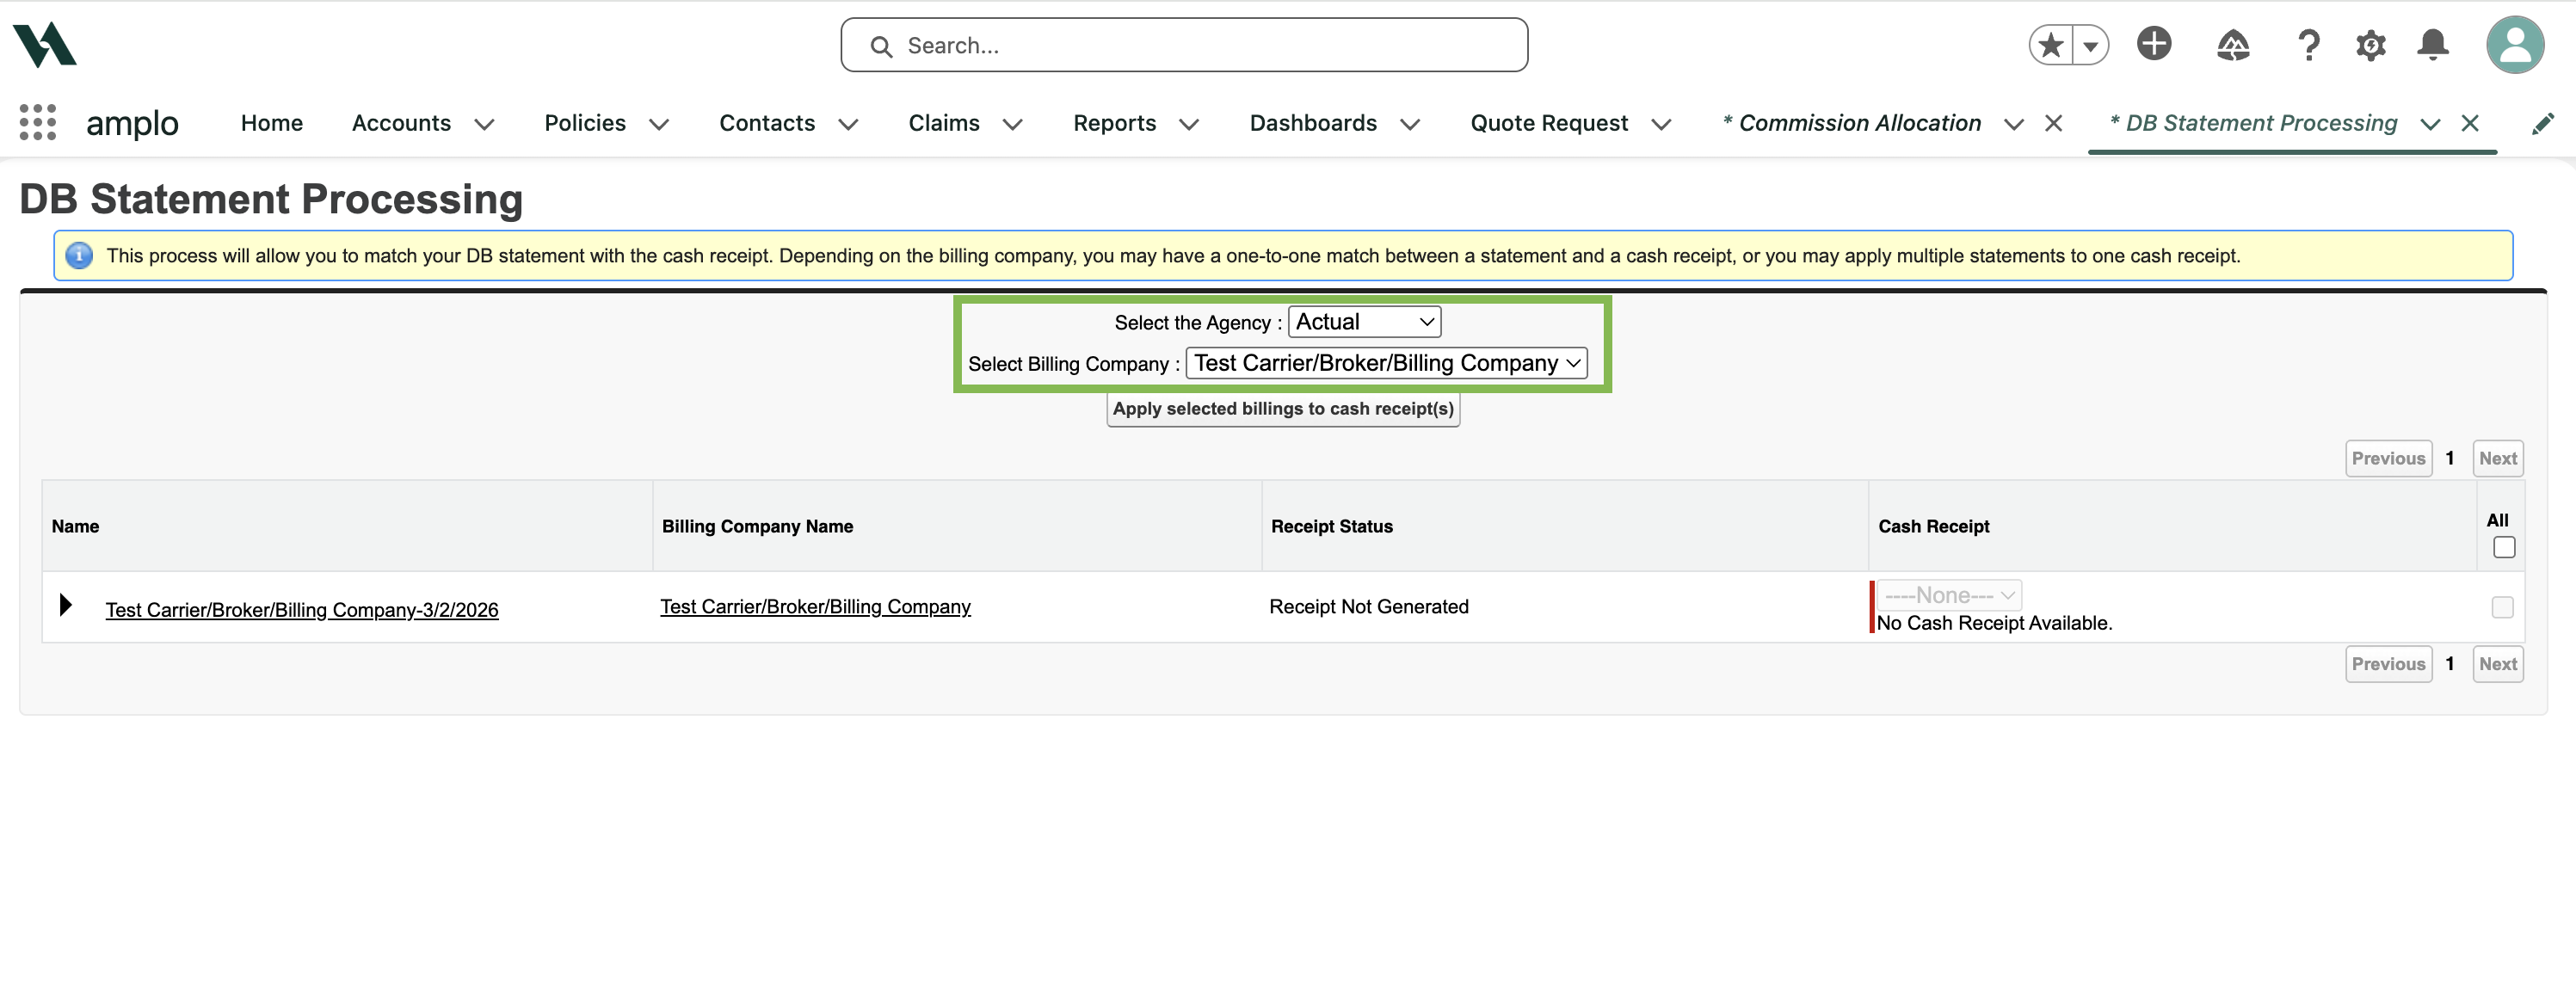
In the Cash Receipt column, select the appropriate cash receipt.
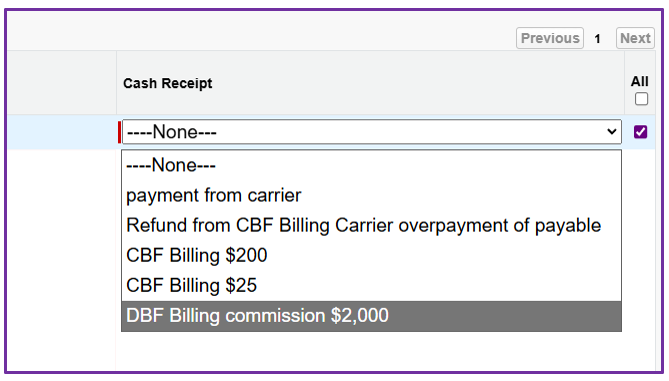
Click the Apply selected billings to cash receipt(s) button to update the cash receipt and record payment on each policy.

Note: Selecting a Commission Effective Date will determine the billing date of the commission. The allocation will still be recorded in the current Accounting Period.
Bulk import commissions
You can also import commission data using the carrier’s commission statement file.
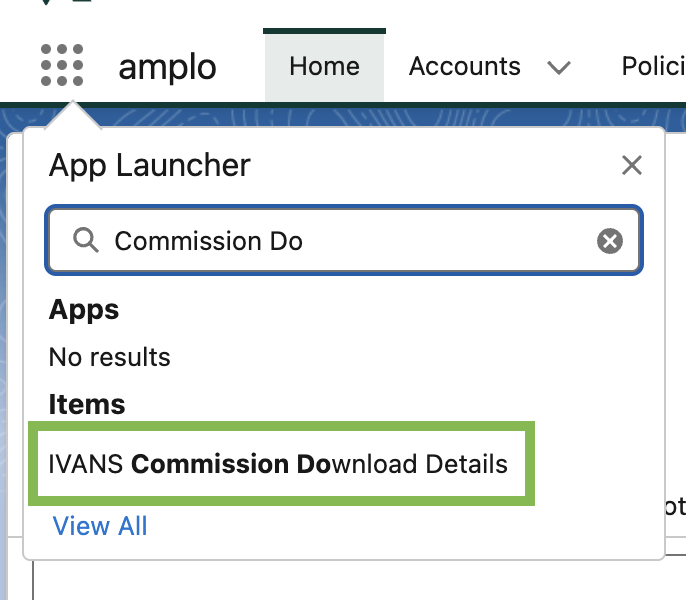
In the App Launcher, search and select IVANS Commission Download Details.
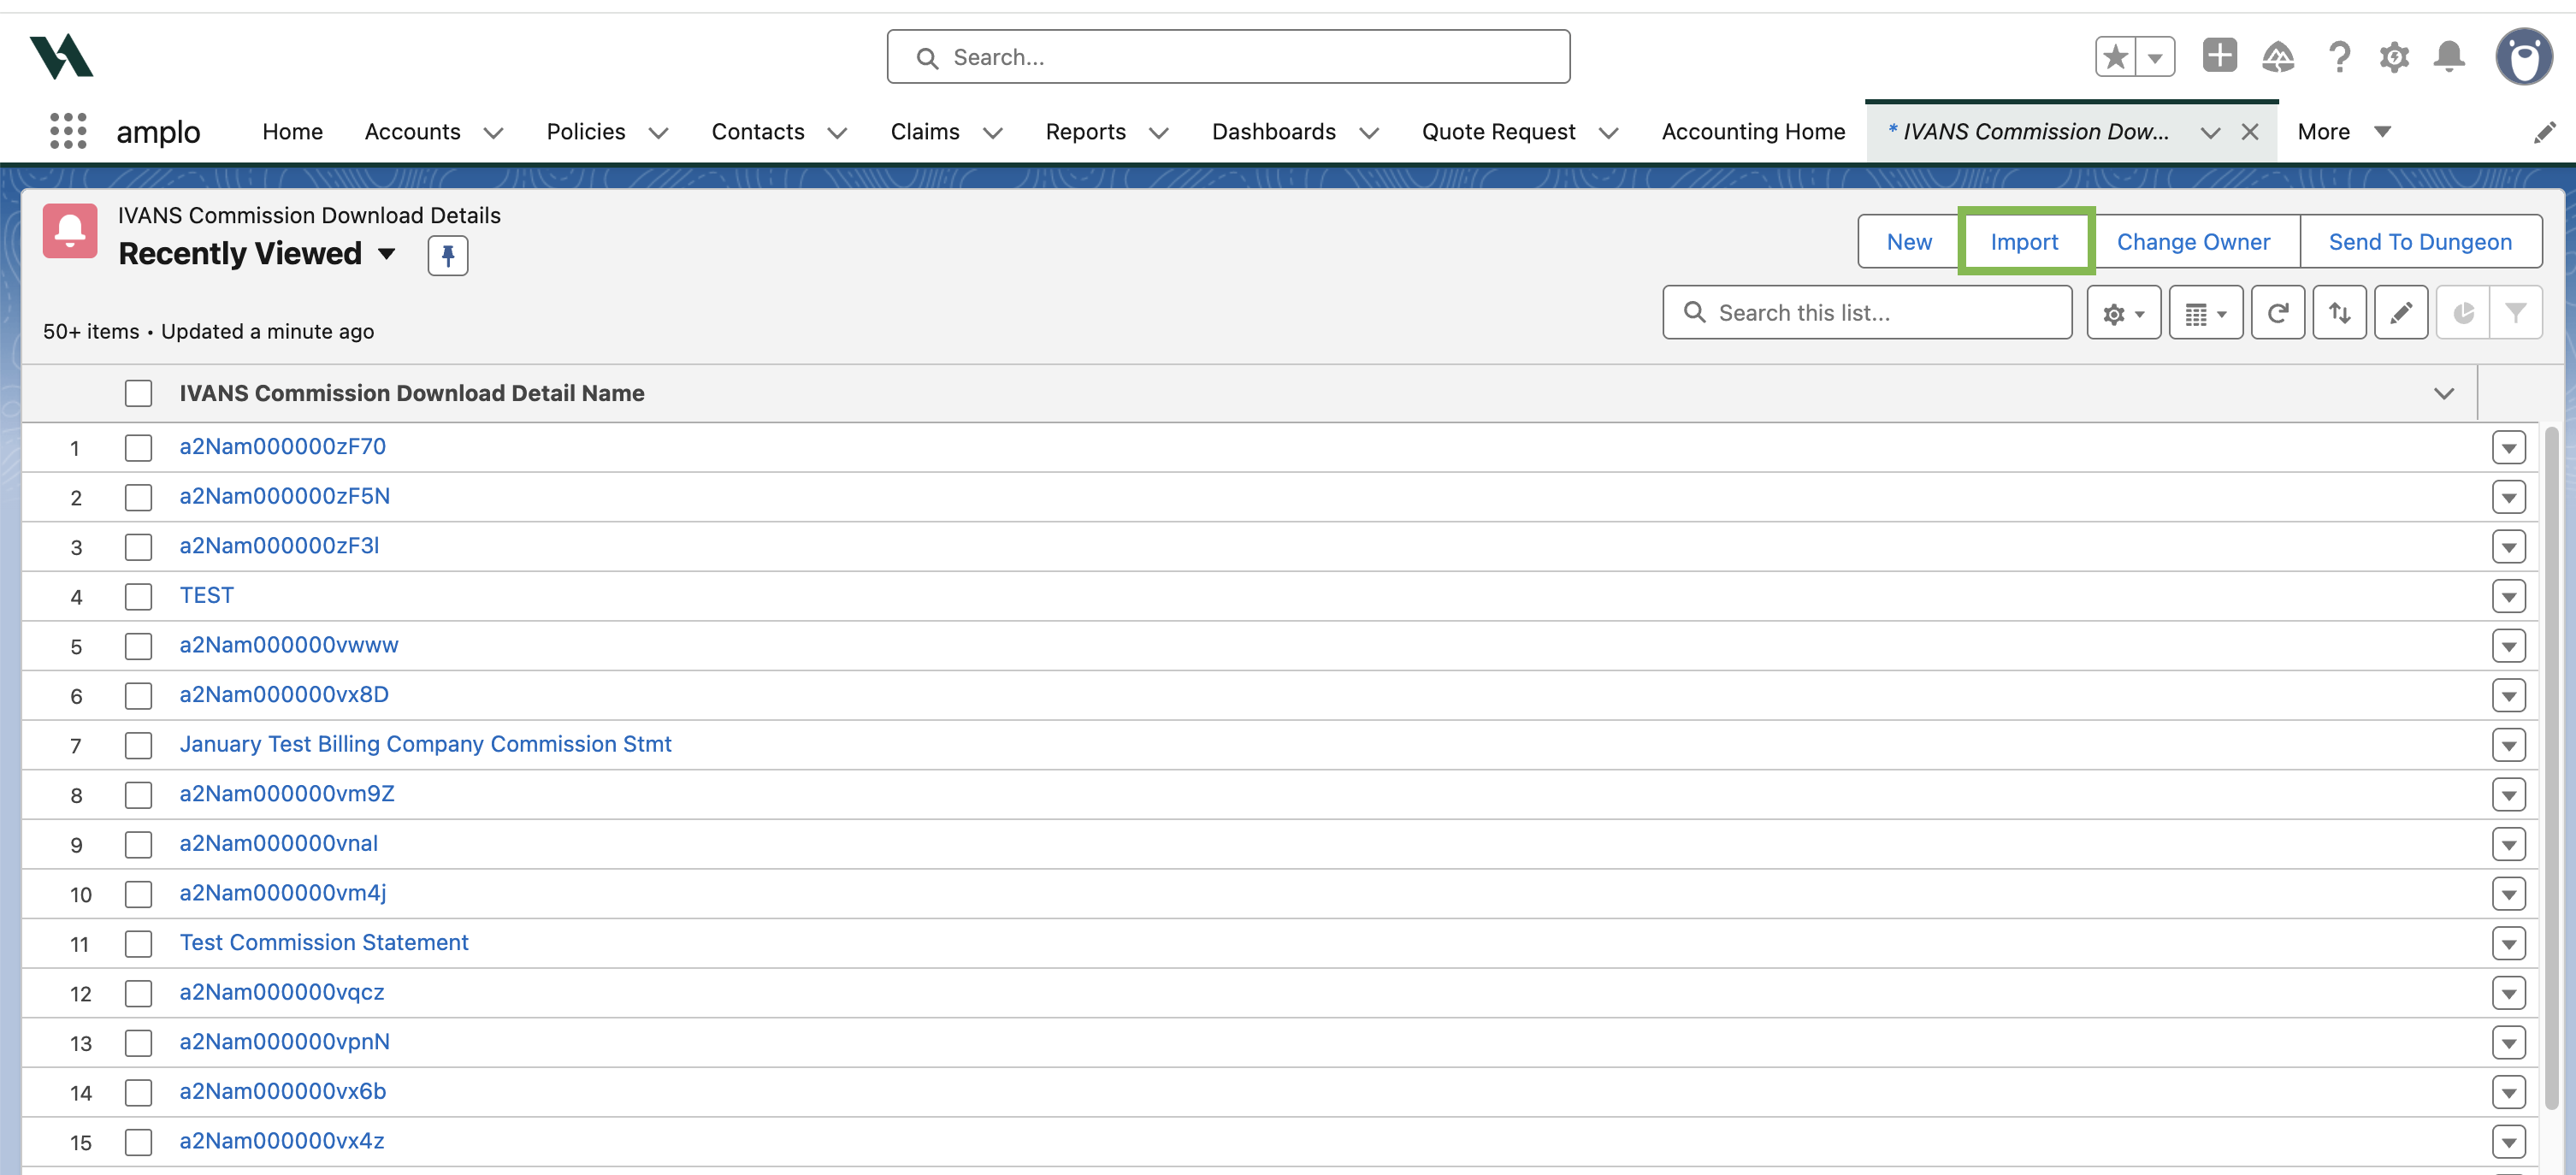
Click Import.
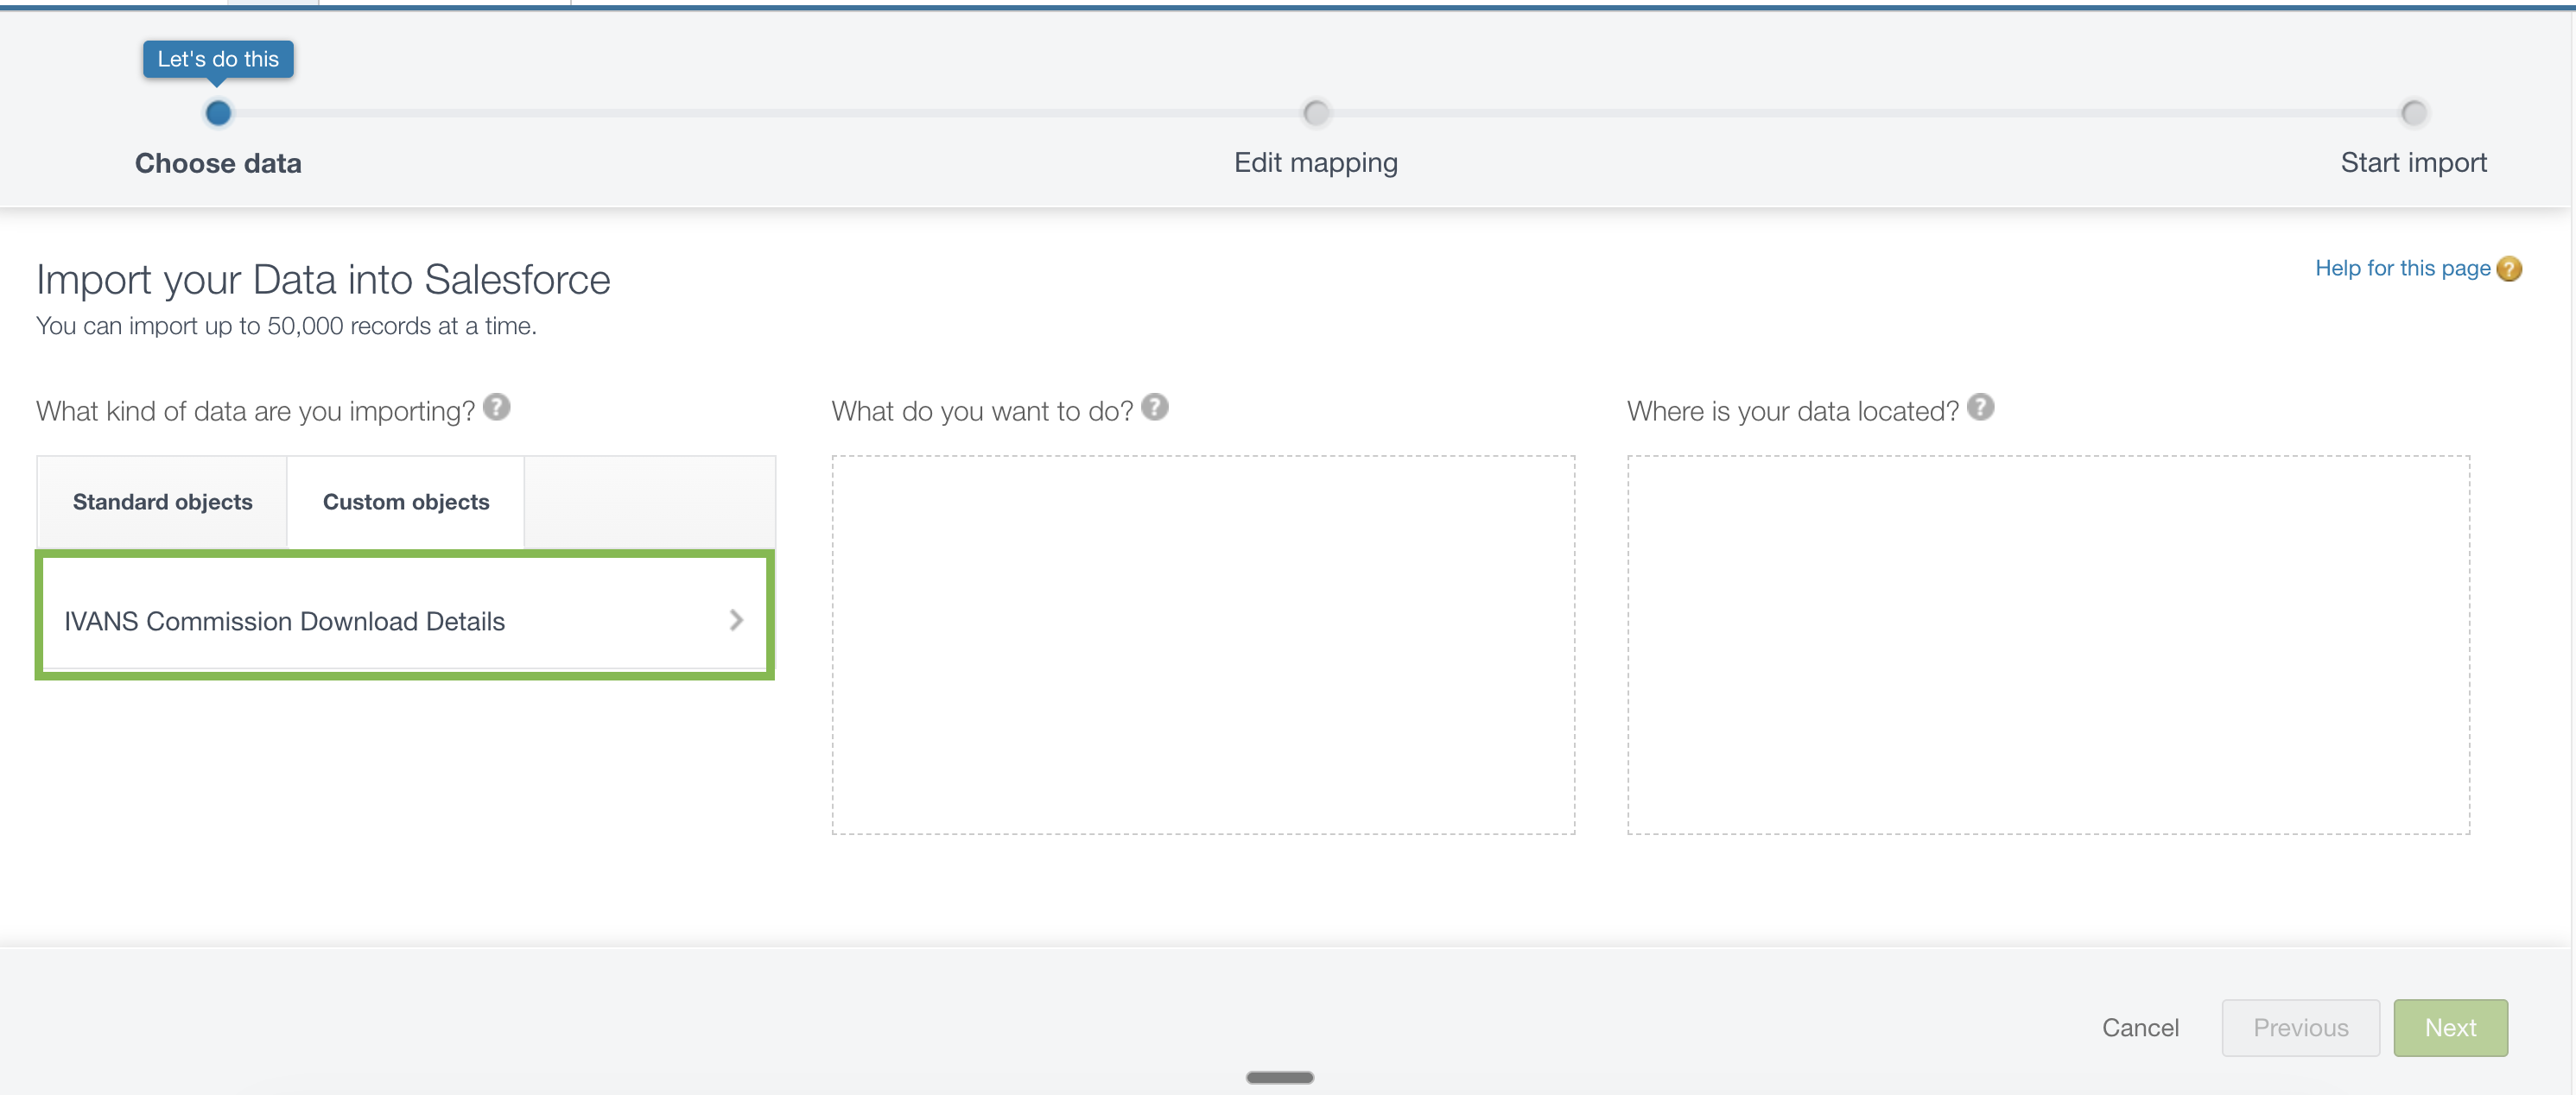
On the DataLoader screen, click IVANS Commissions Download Details on the Custom objects tab.
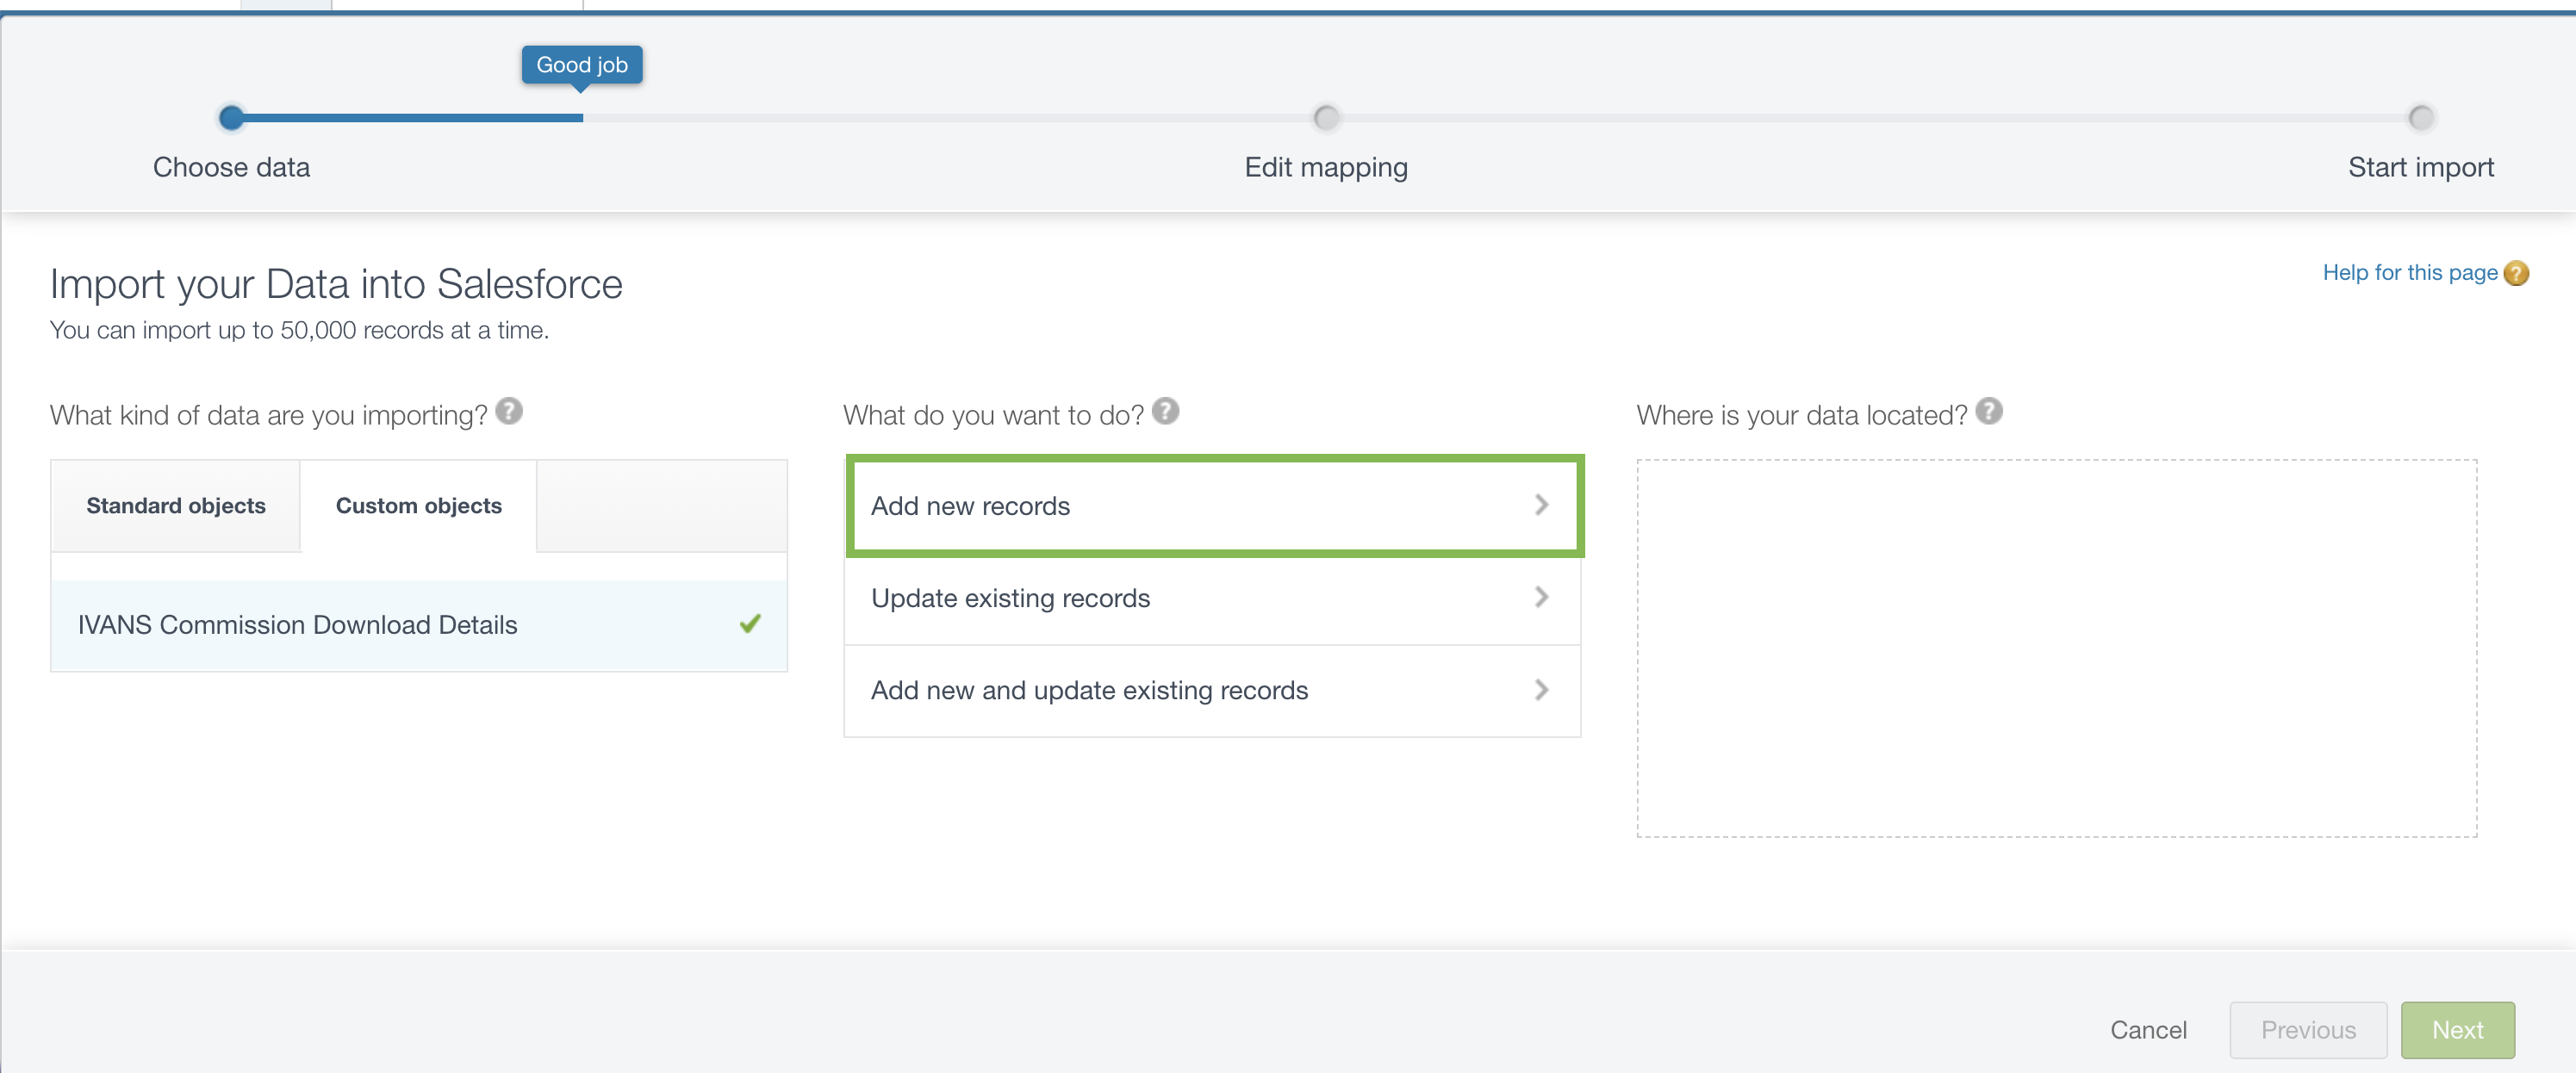
Click Add new records. Adjust your mapping selections according to your prepared file.
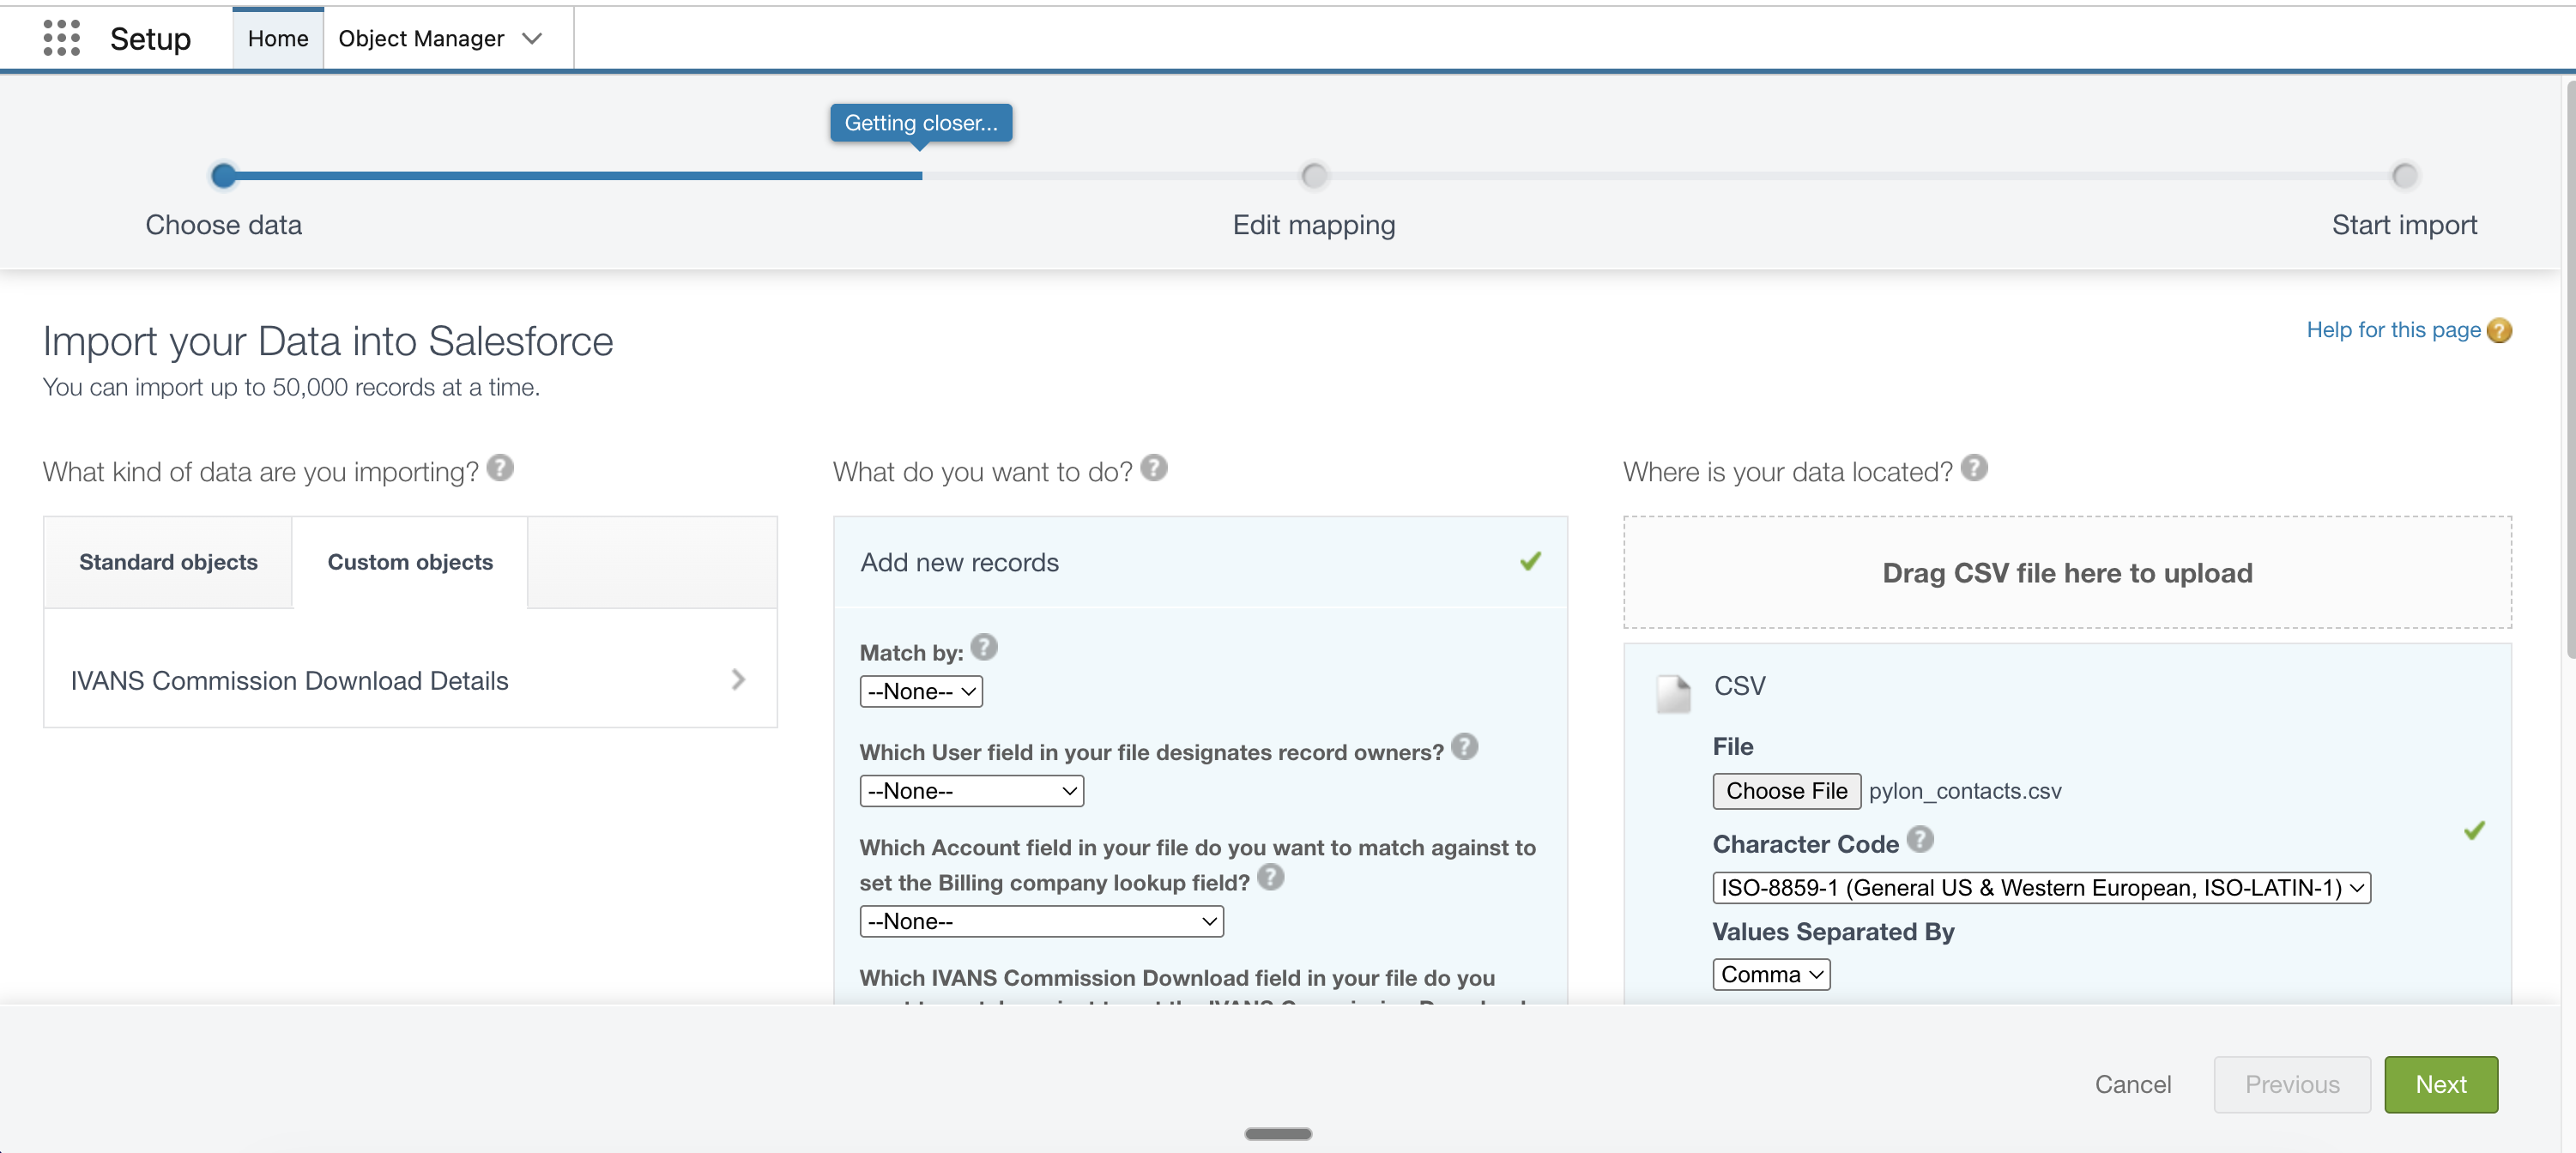
Upload commission report in CSV format, ensuring that the following fields are populated:
Account ID
Policy ID
Effective Date
Note: For guide on how to achieve this type of report, see 📄 Using cross filters in reports.
Click Next.
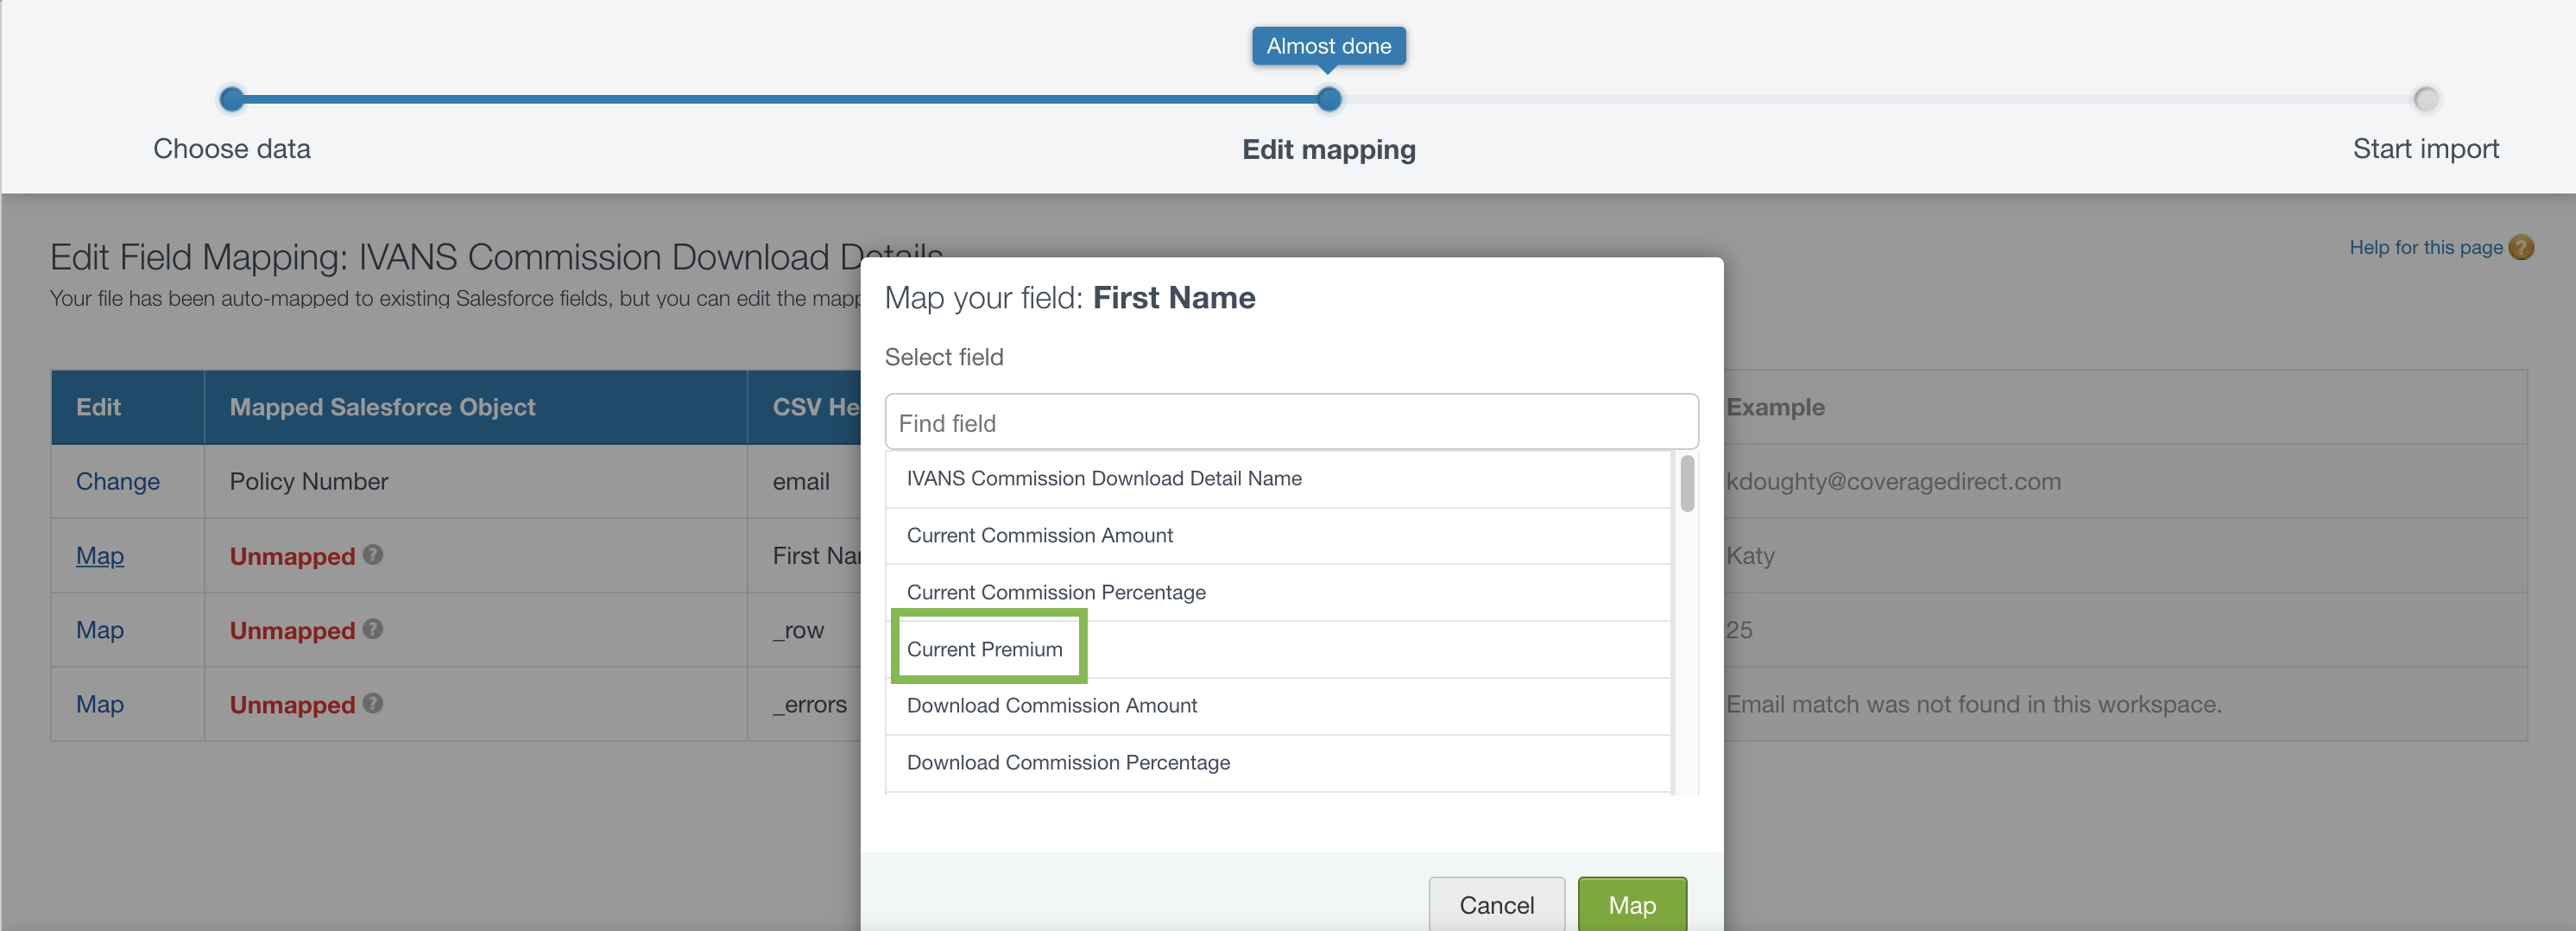
To adjust the mapped fields, click Map in the Edit column.

Select the appropriate mapping, then click Map.
Click Next.
Review the import information, then click Start Import.
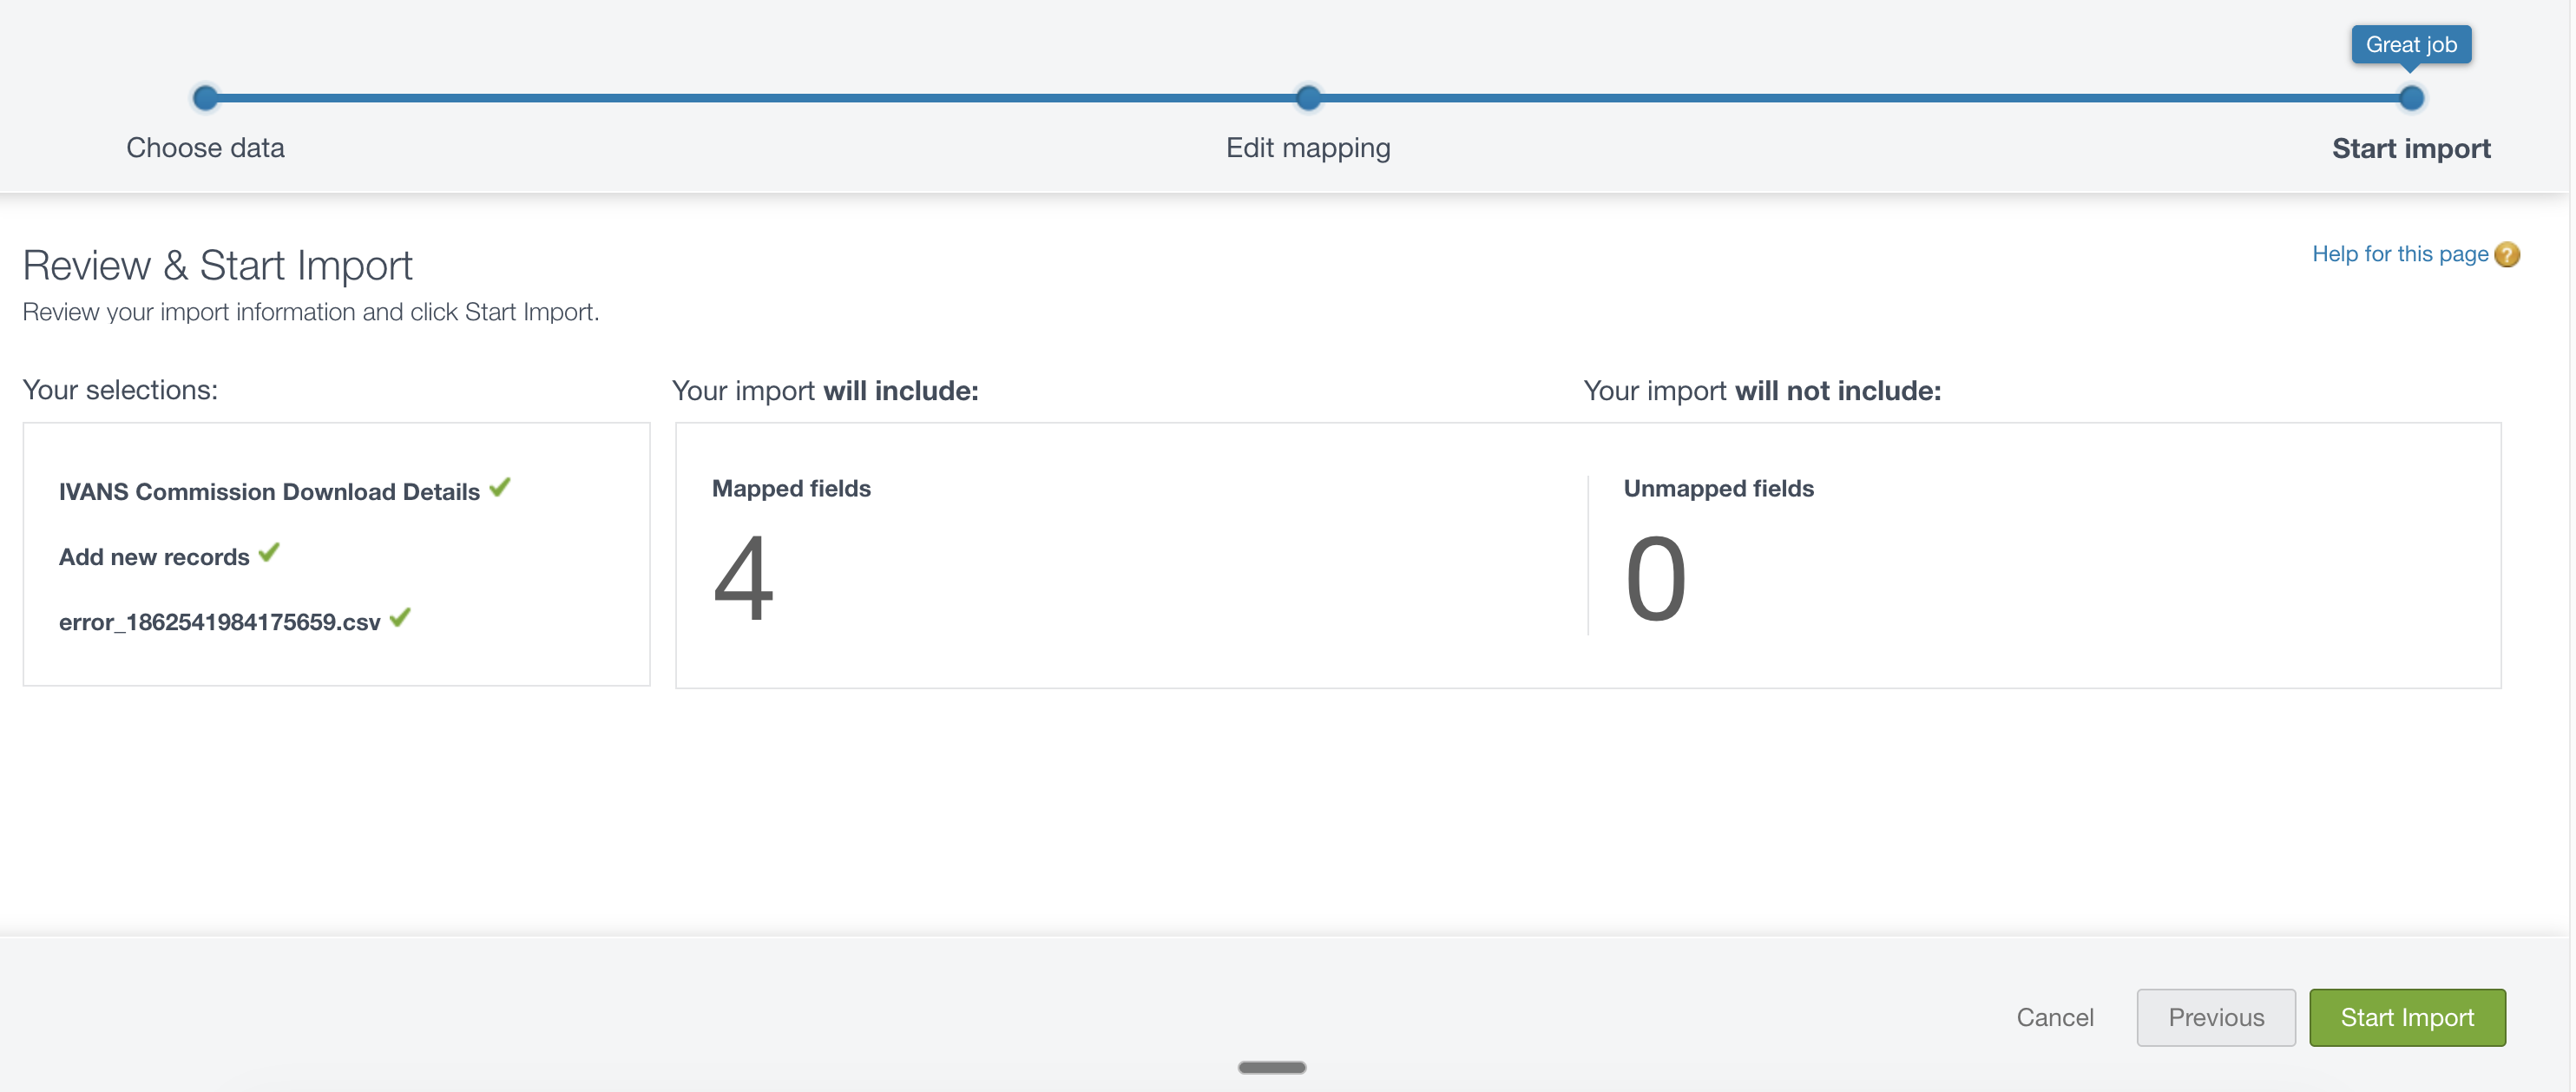
Any unmatched items can be reviewed and corrected manually.
Match unmatched commissions
If imported commissions do not automatically match a policy, they appear in the Commission Inbox.
In the App Launcher, search and select Commission Inbox.

On the Commissions Download Inbox page, locate the appropriate policy in the System Policy column.
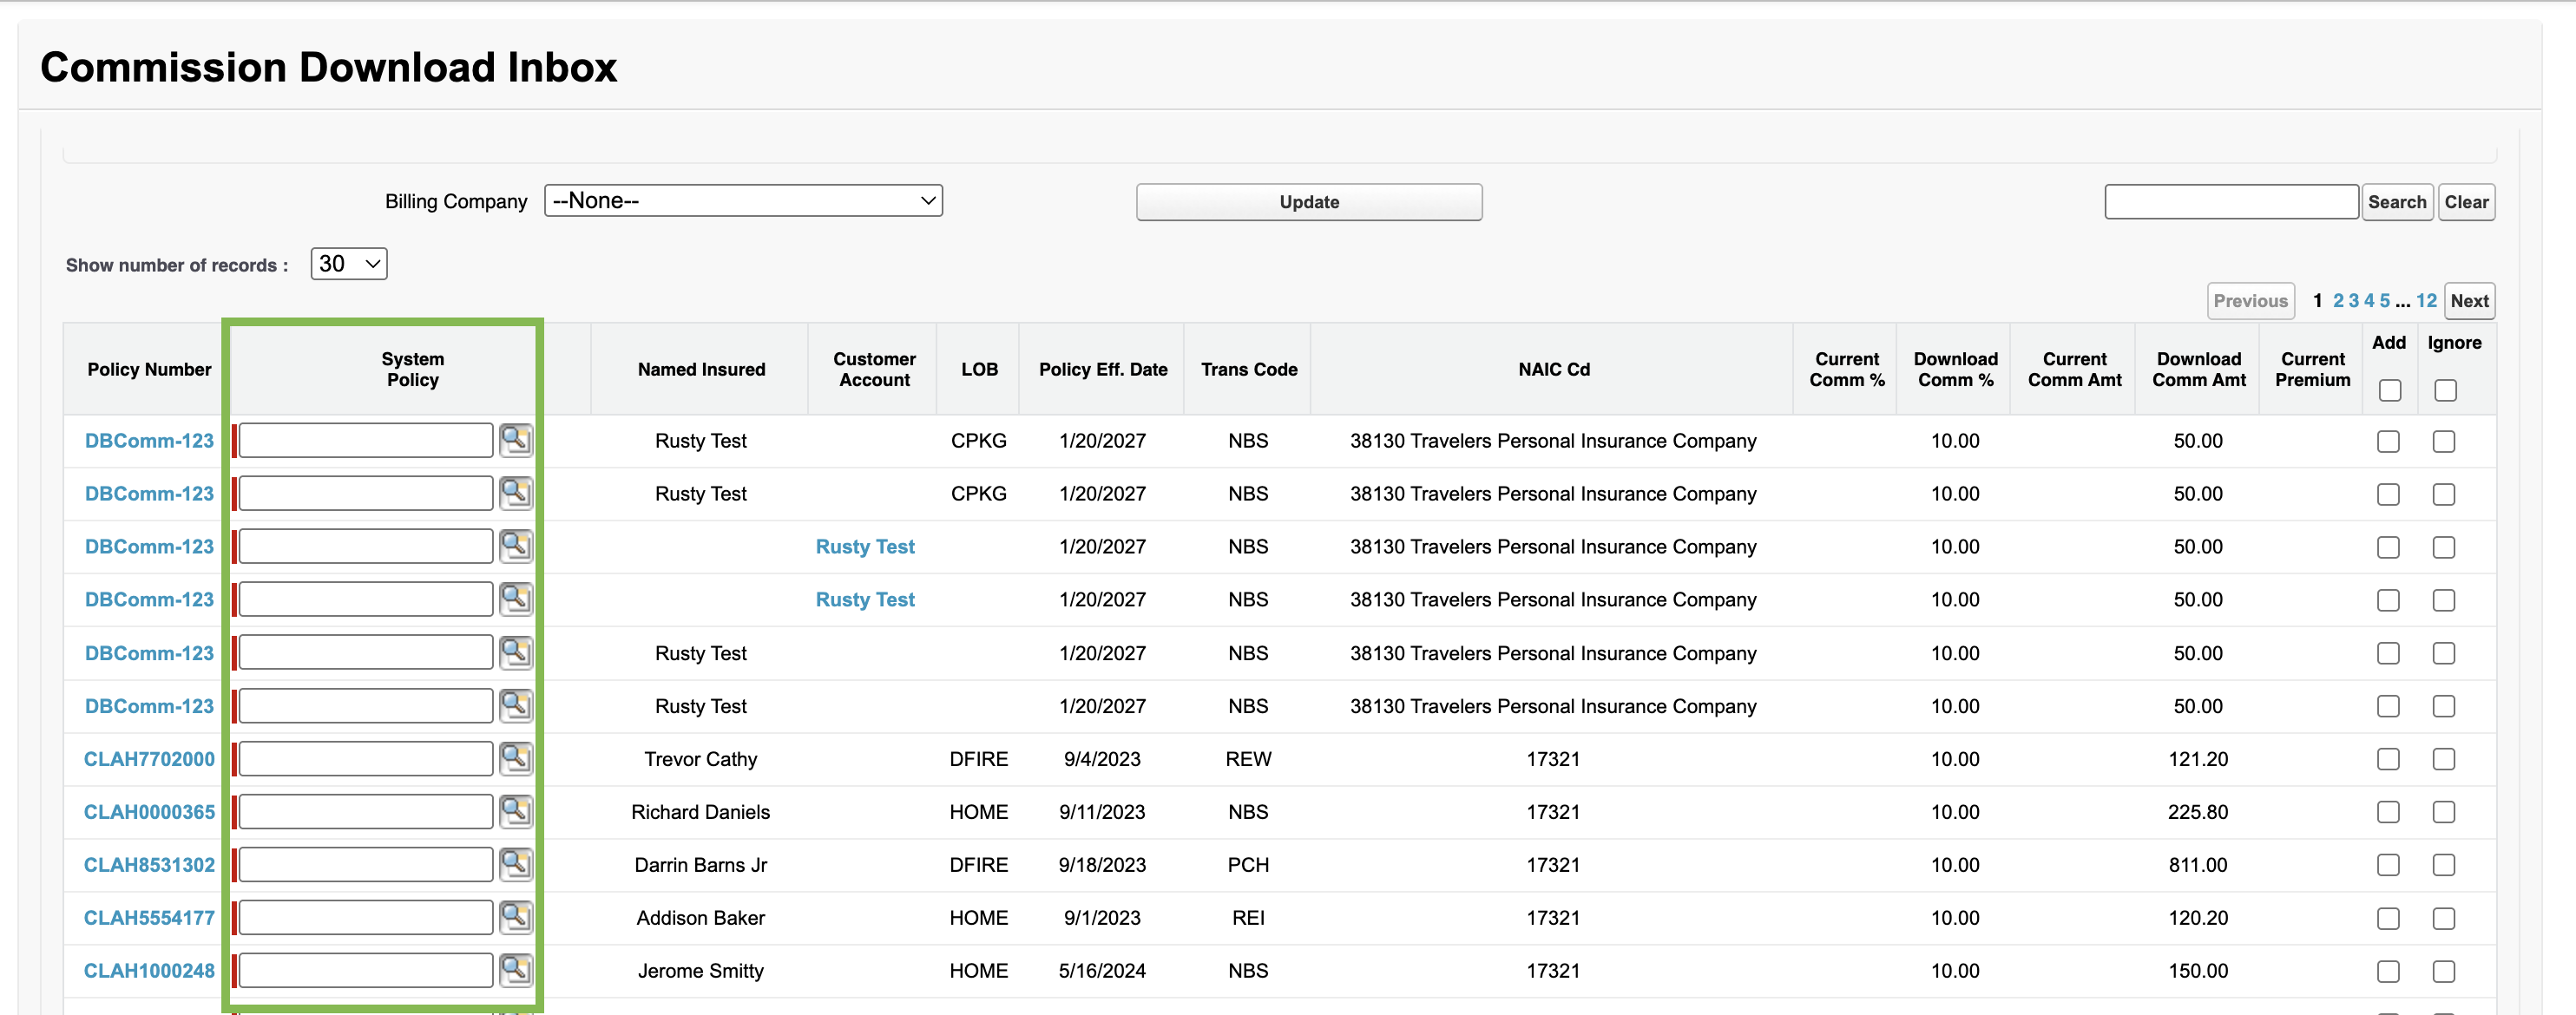

Select the checkbox in the Add column. Repeat this process for all unmatched commissions.
Click Update.
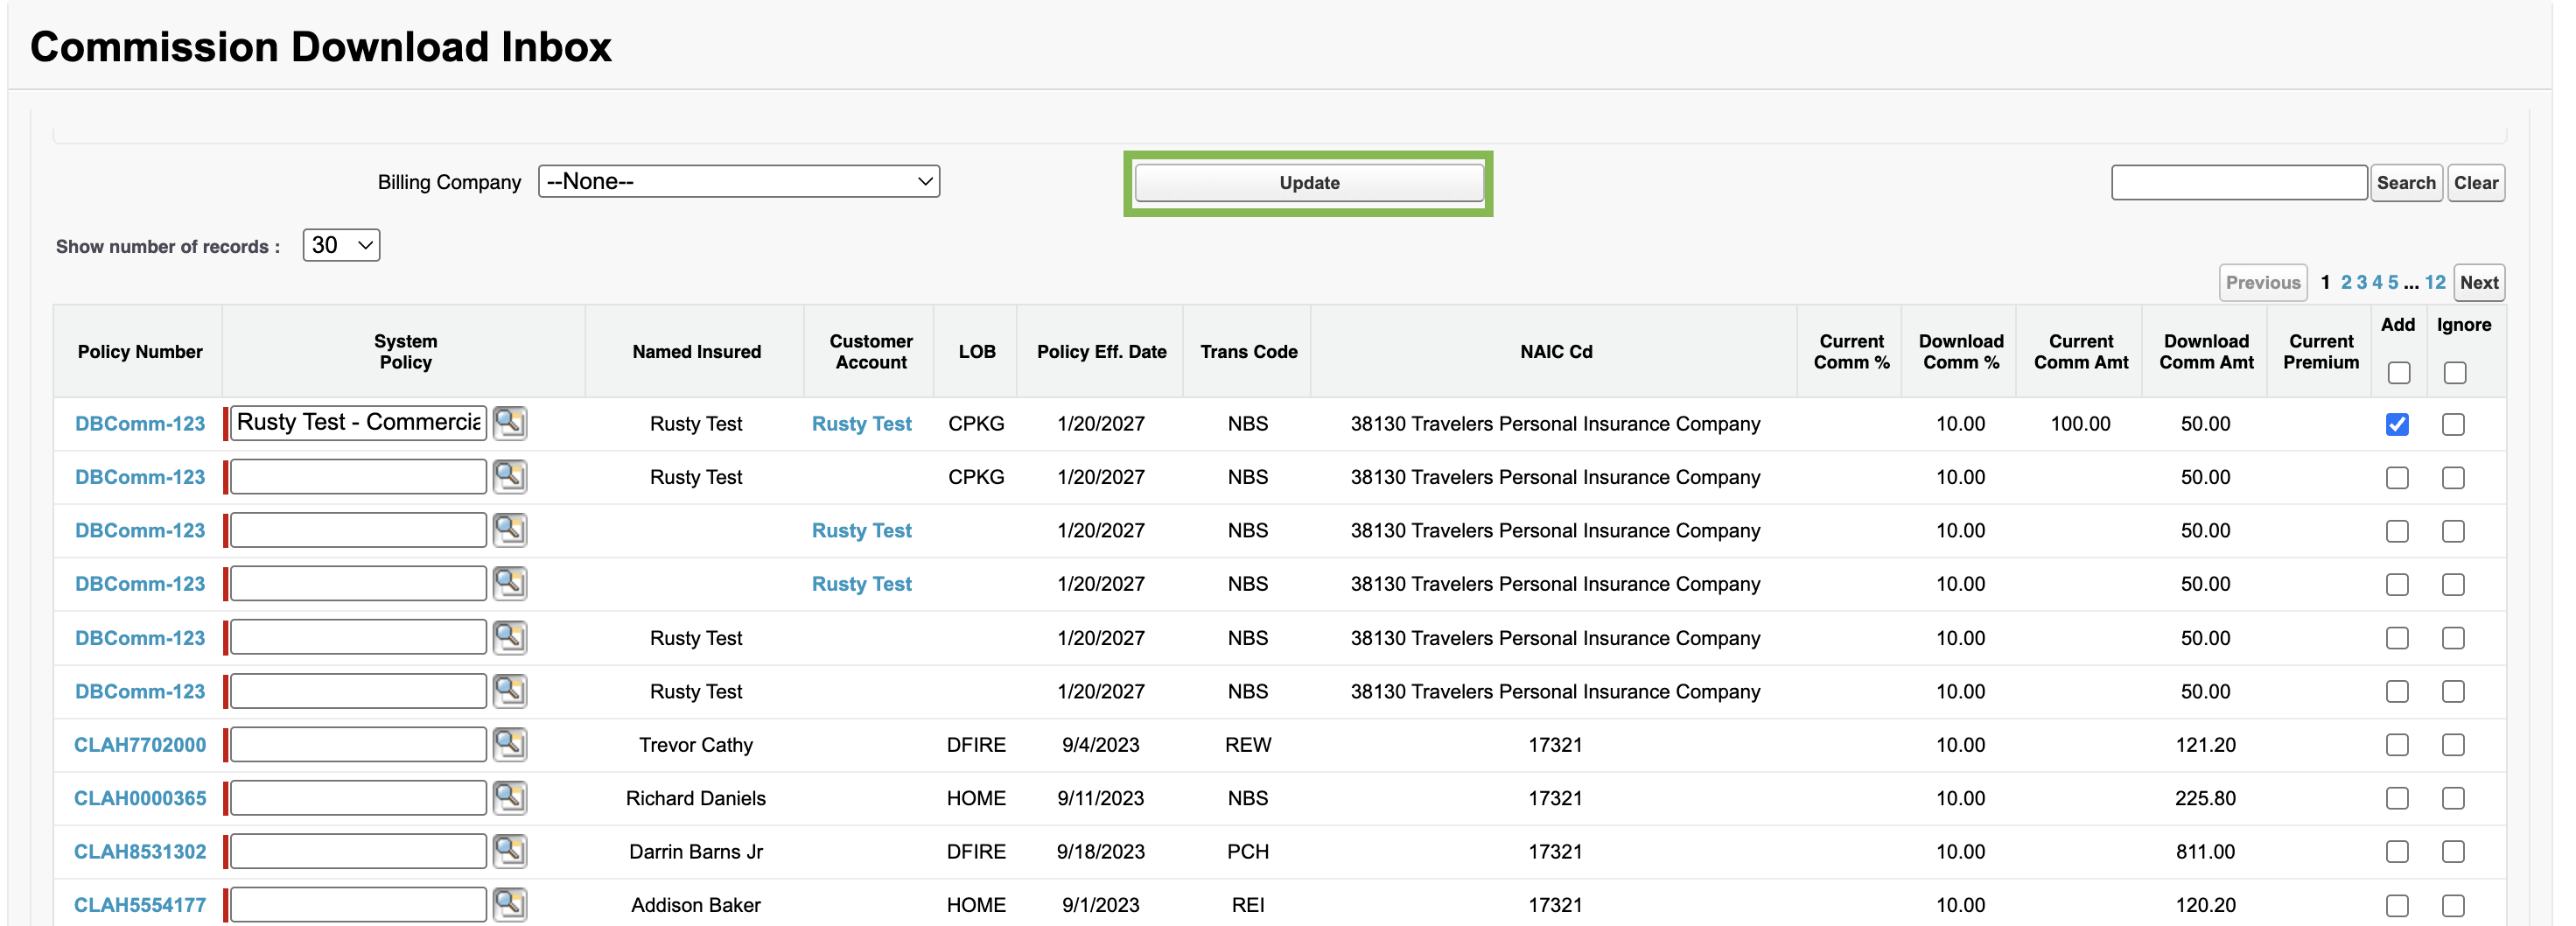
Once reconciled, the system posts the commissions a Direct Bill Statement is created along with the associated billings.