Managing eDocs downloads
Last updated: March 4, 2026
Managing download transactions in your org is critical to giving your team visibility and control over how downloads are processed — whether they’re automatically applied, reviewed manually, or flagged for correction. eDocs Download Central helps ensure eDocs transactions are handled accurately and consistently. For information on managing policy downloads, see 📄 Managing policy downloads.
Matching criteria and details
Strong matching logic is what keeps your policy data clean. amplo attempts to match each eDoc record to an existing policy using the following criteria:
Policy matching
amplo attempts to match each eDocs record to an existing policy using the following criteria:
Policy Number
Policy Effective Date (exact match)
Policy Expiration Date (exact match)
Line of Business (LOB) Code (exact match)
If all criteria match, the document is automatically associated with the corresponding policy.
Issuing carrier assignment
After a policy match is found, amplo determines the Issuing Carrier using the following logic:
If the matched policy already has an Issuing Carrier, that value is applied to the eDocs record.
If the policy does not have an Issuing Carrier, but the Billing Company does, amplo checks whether the Billing Company account has the Issuing Carrier flag set to TRUE. If so, the Billing Company is assigned as the Issuing Carrier.
If neither condition applies, the Issuing Carrier field remains blank.
NAIC code
If a policy match cannot be found and the NAIC Code is included in the eDocs file, amplo attempts to match the NAIC code to an existing account. If a match is found, that account is assigned as the Issuing Carrier.
This controlled logic helps prevent duplicate policy records while preserving a complete term history.
Navigating eDocs Download Central
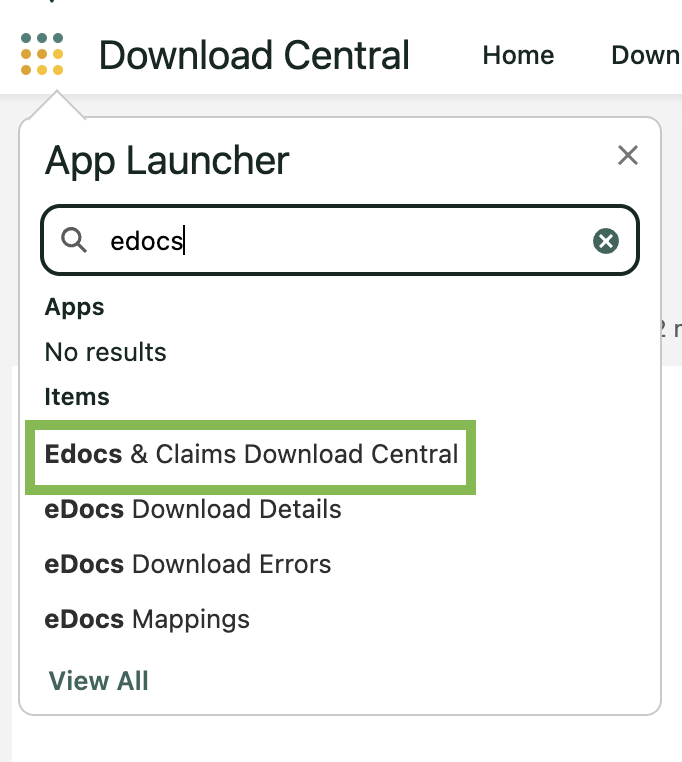
In the App Launcher, search and select eDocs & Claims Download Central.
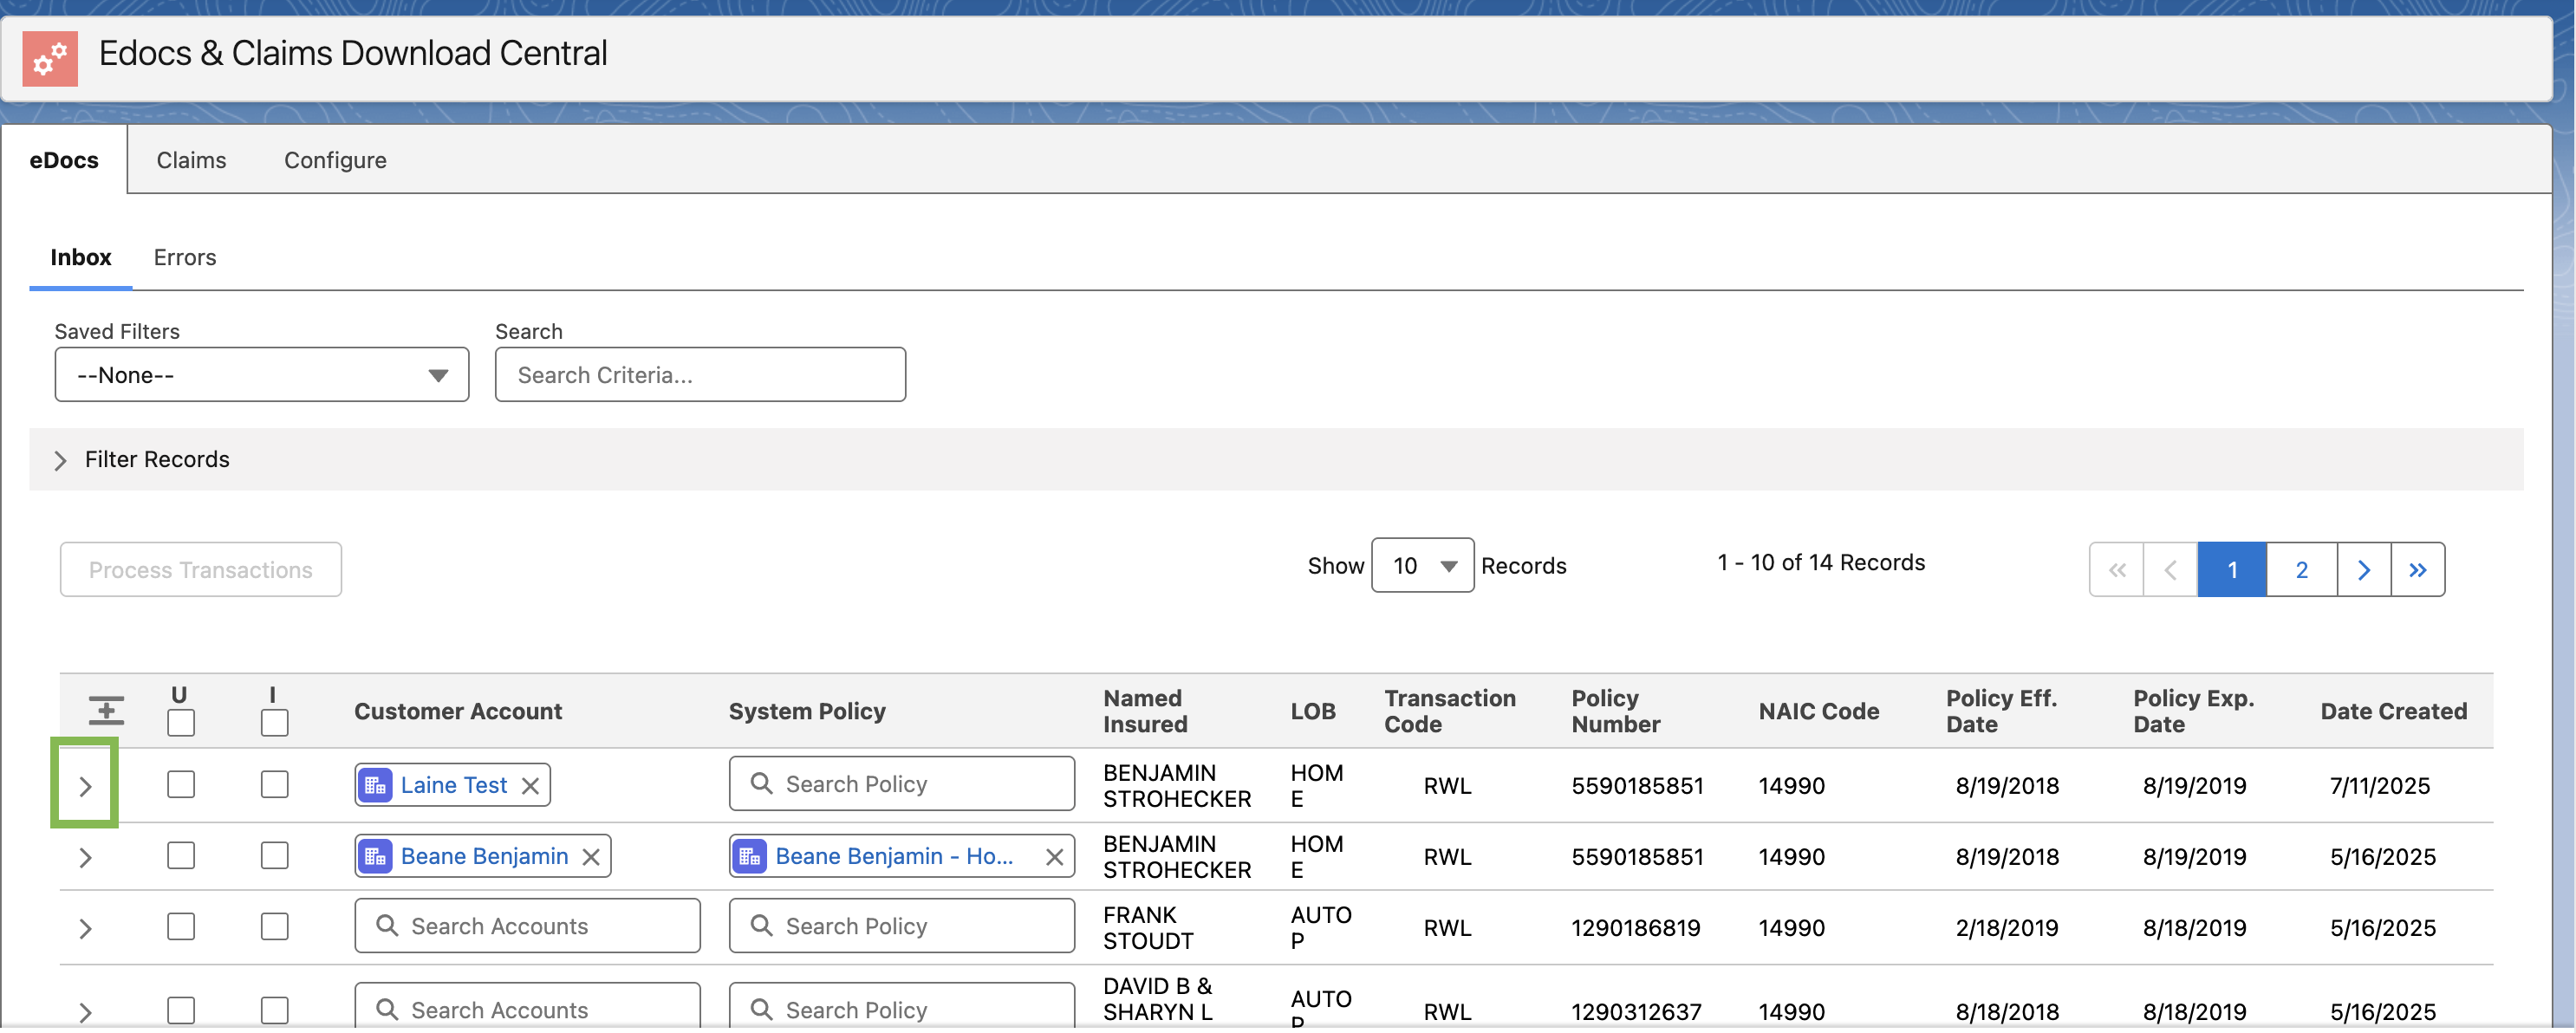
This page contains the tools needed to locate, review, and process downloaded records.
Filter records
The Filter Records section allows users to search, filter, and save filter configurations across eDocs and Claims pages. At the top of the section:
Saved Filters: Displays previously saved filter sets.
Search field: Allows users to search for records using keywords.
Users can filter records using the following fields:
Issuing Carrier
Carrier Parent Account
Line of Business (LOB)
Customer Account Name
Policy Number
BPC Code
Insured Name
Effective Date
End Date
Filter actions
Three actions are available beneath the filter controls.
Clear Filters: Resets all filters to their default state and refreshes the record table.
Save As New: Allows users to save the current filter configuration with a new name.
Save: Updates the currently selected saved filter with any changes made.
The record table refreshes automatically as filters are applied.
Table view and sorting
Users can expand or collapse the record table using the expand/collapse icon. All columns in the table are sortable and can be toggled between:
Ascending (A–Z)
Descending (Z–A)
Preview documents
Users can preview documents before processing them.
Click the right arrow to expand the record.
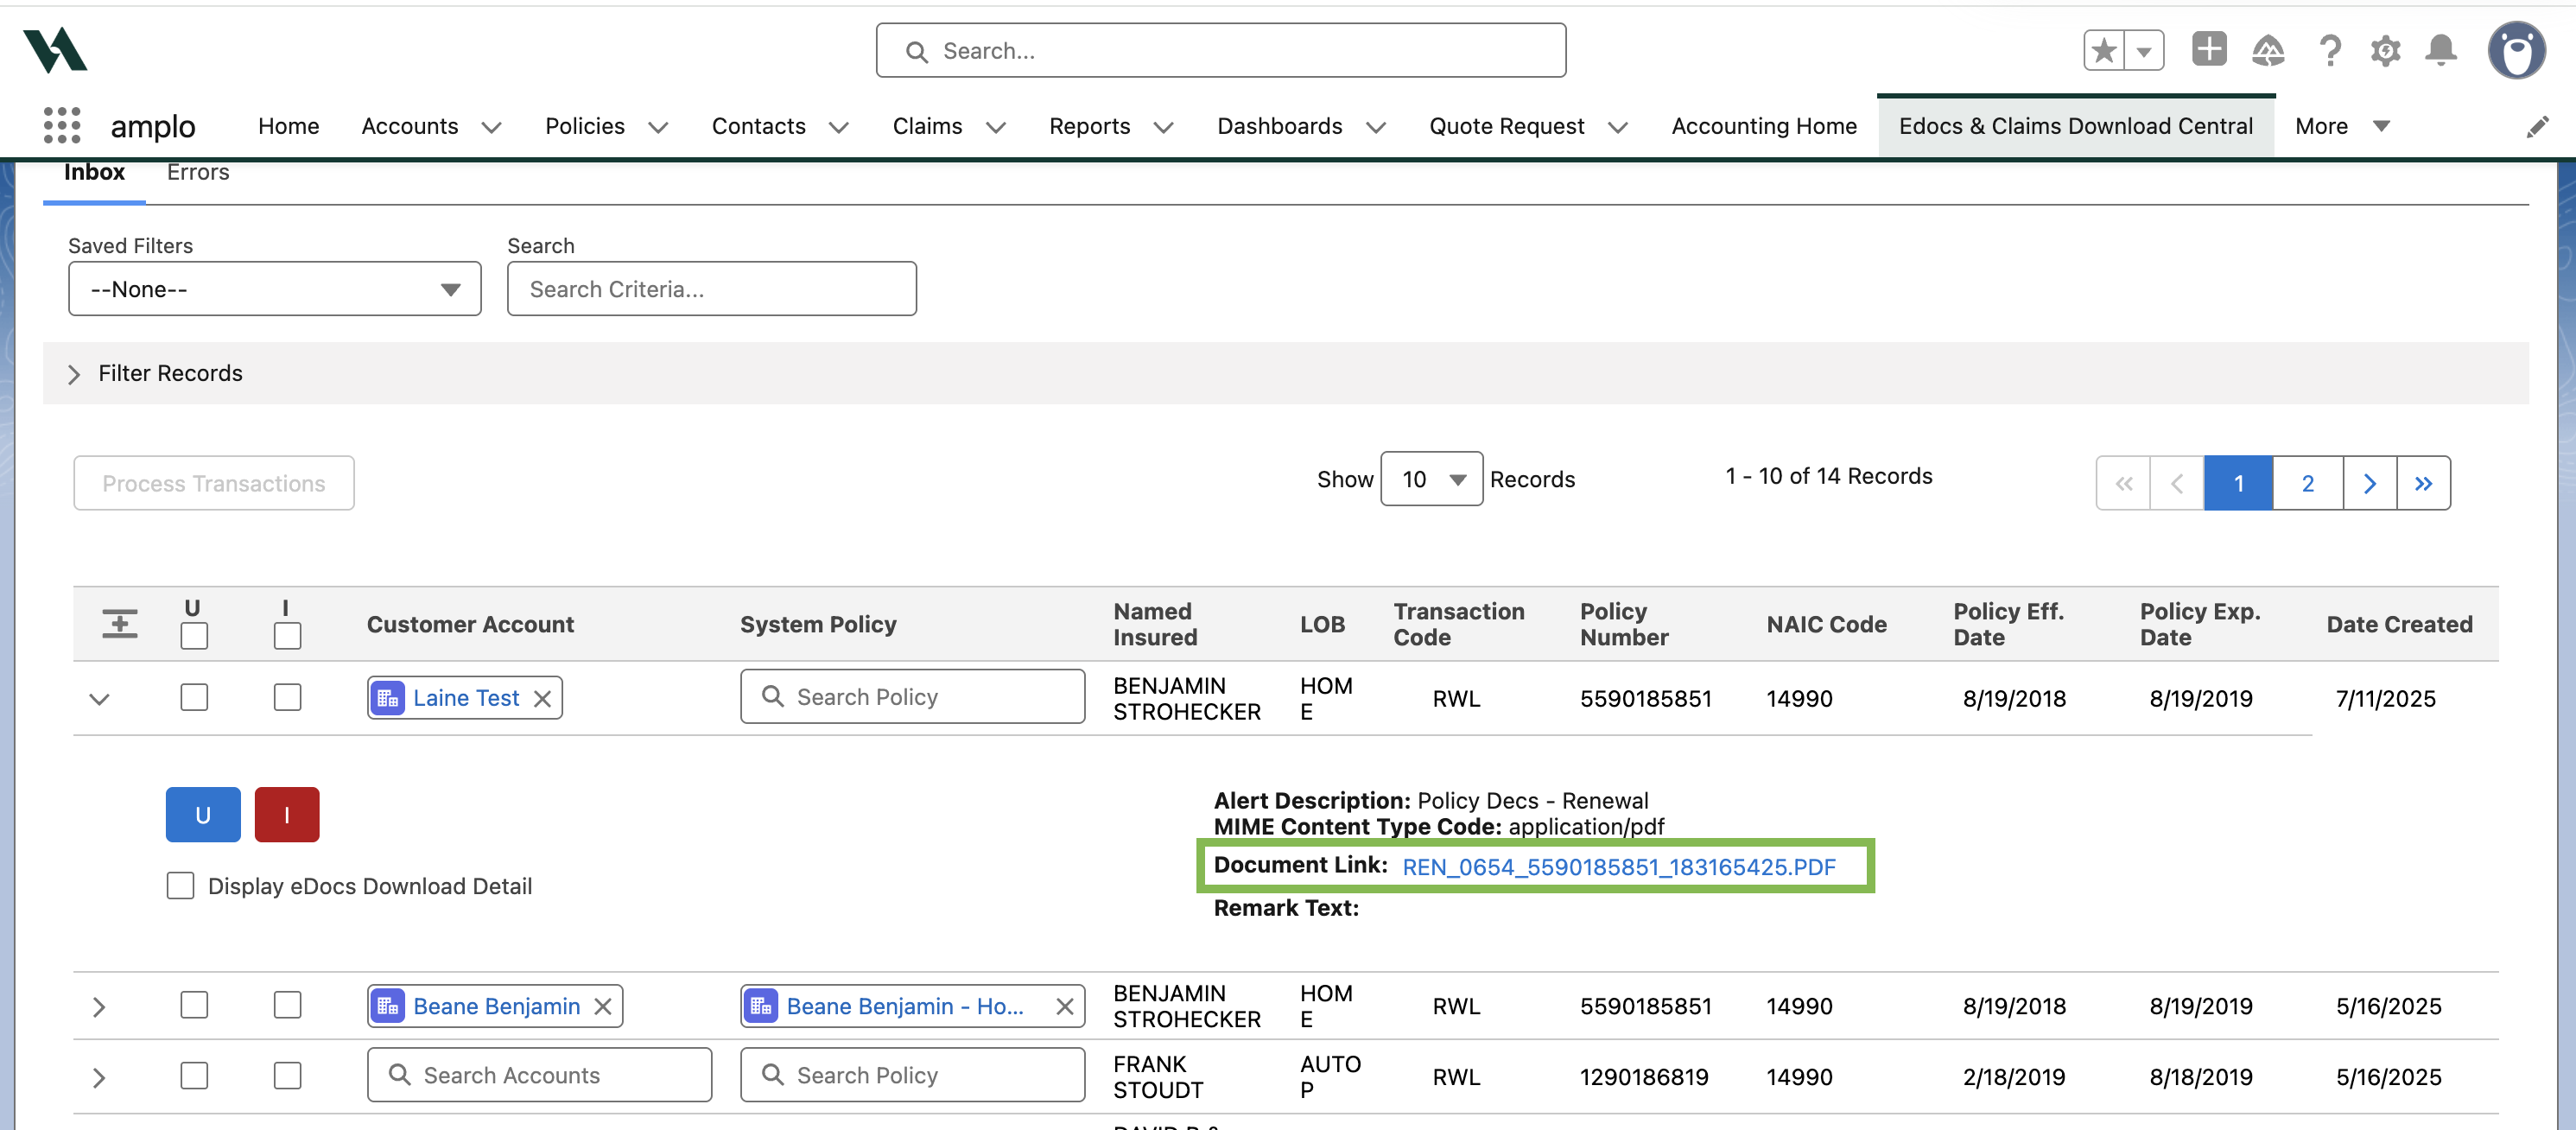
Select the document link.
The File Preview modal will appear.
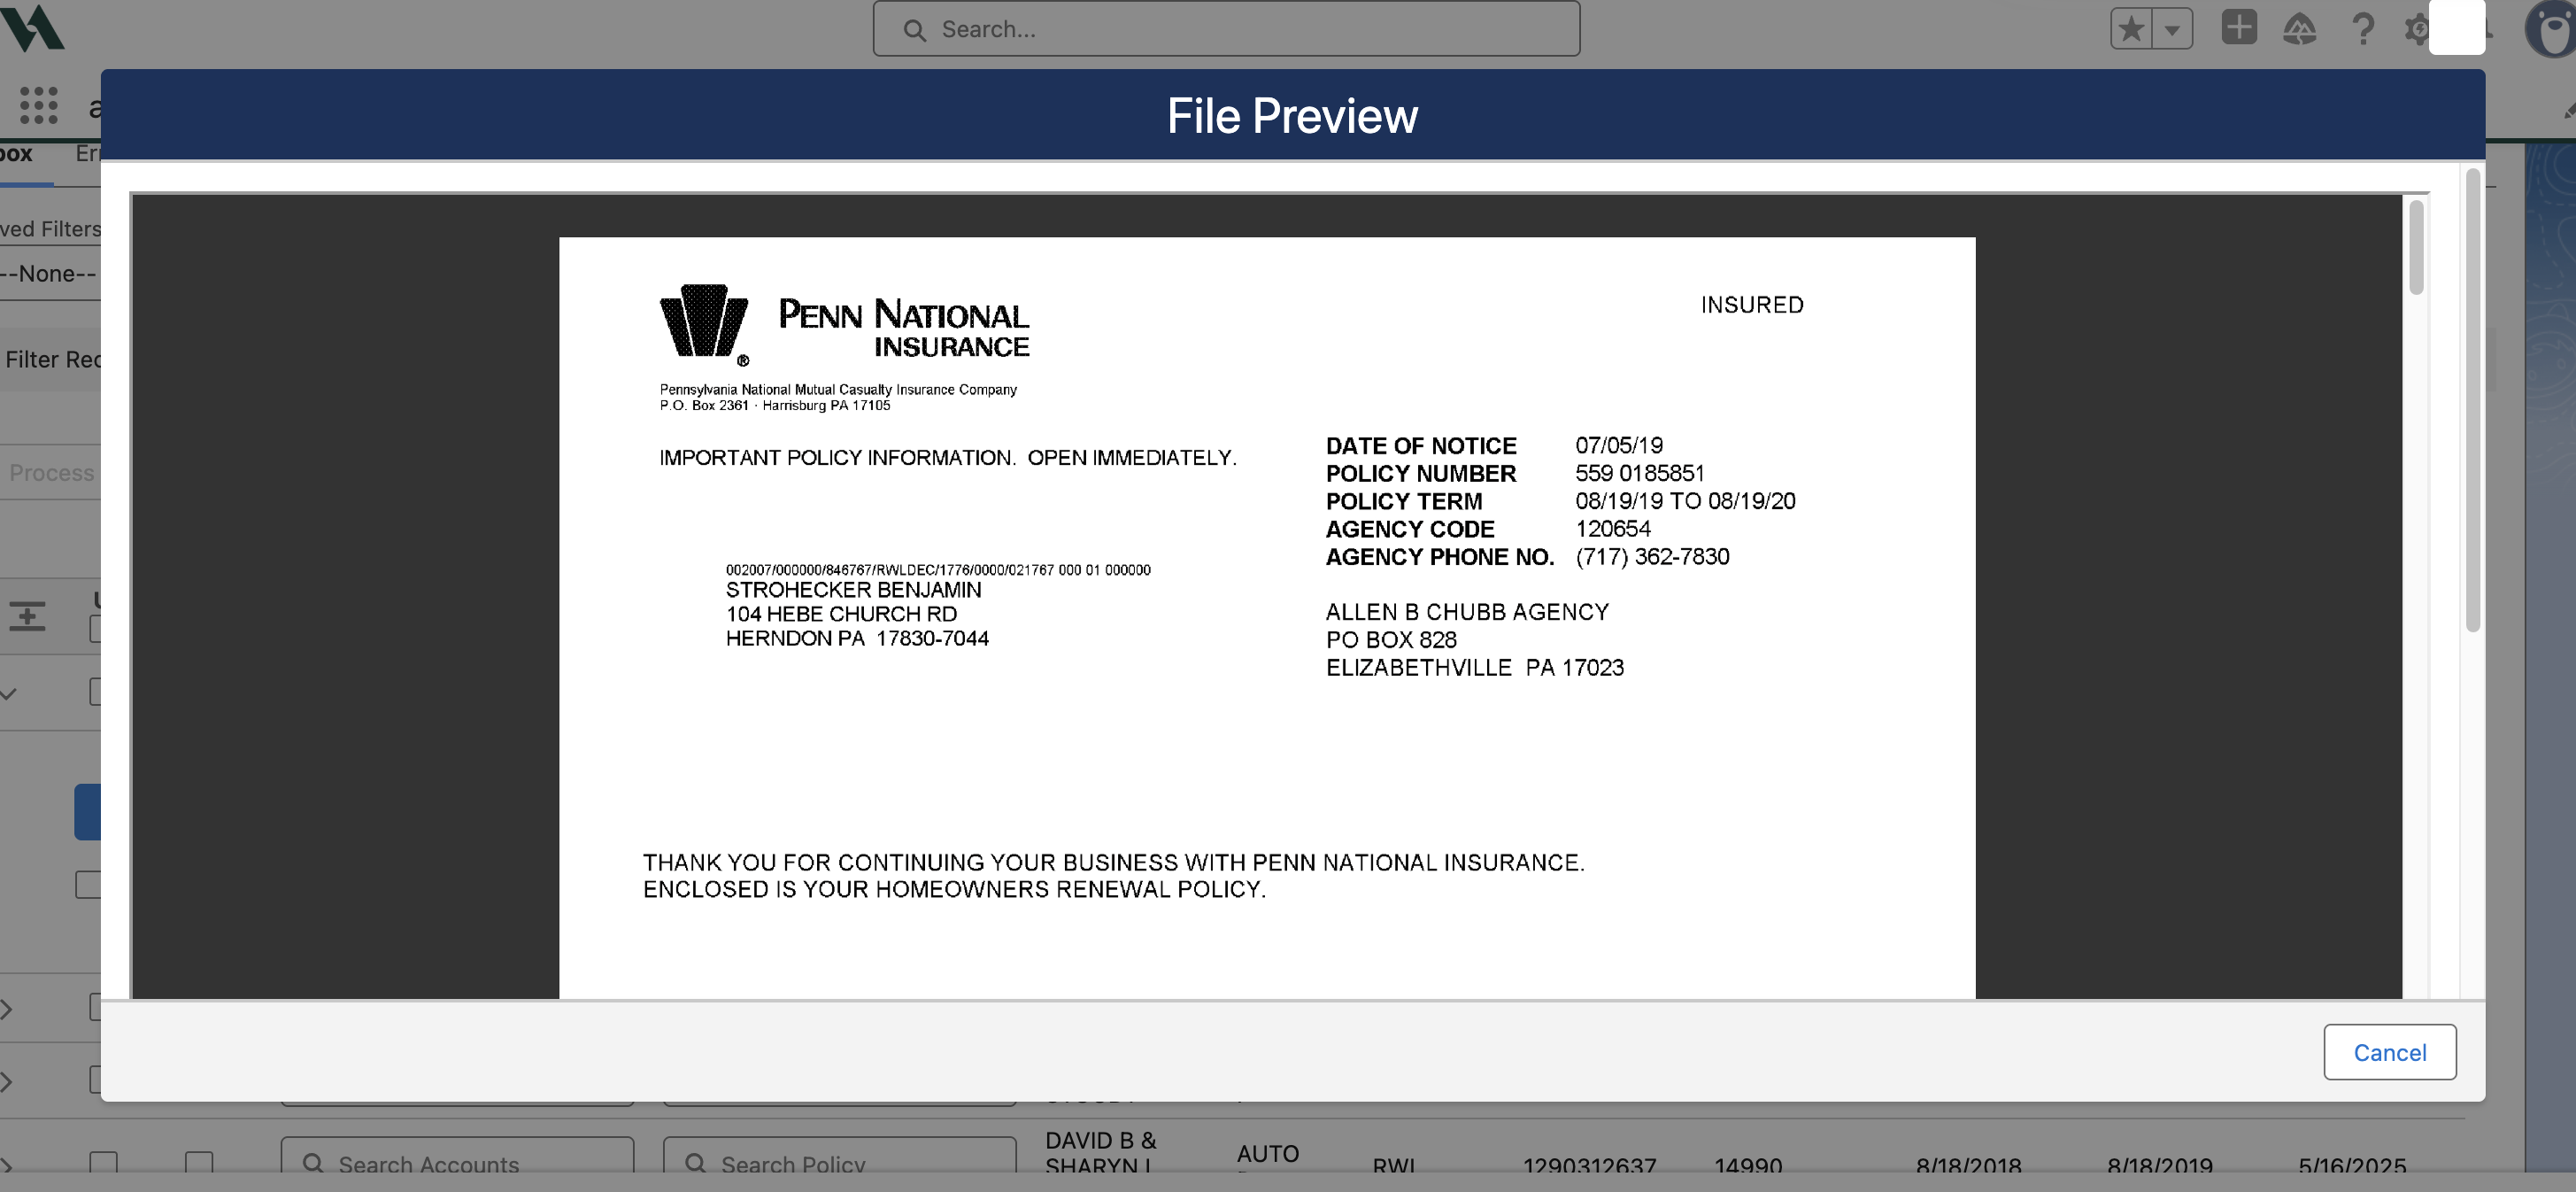
Click Cancel to exit the File Preview.
Note: When a PDF is previewed, it is temporarily stored in Salesforce Content Management. These preview files are automatically deleted by a scheduled job that runs daily at 11:00 PM, since the documents are also stored in VerunaDocs.
Editing eDocs records
Assigning Accounts and Policies
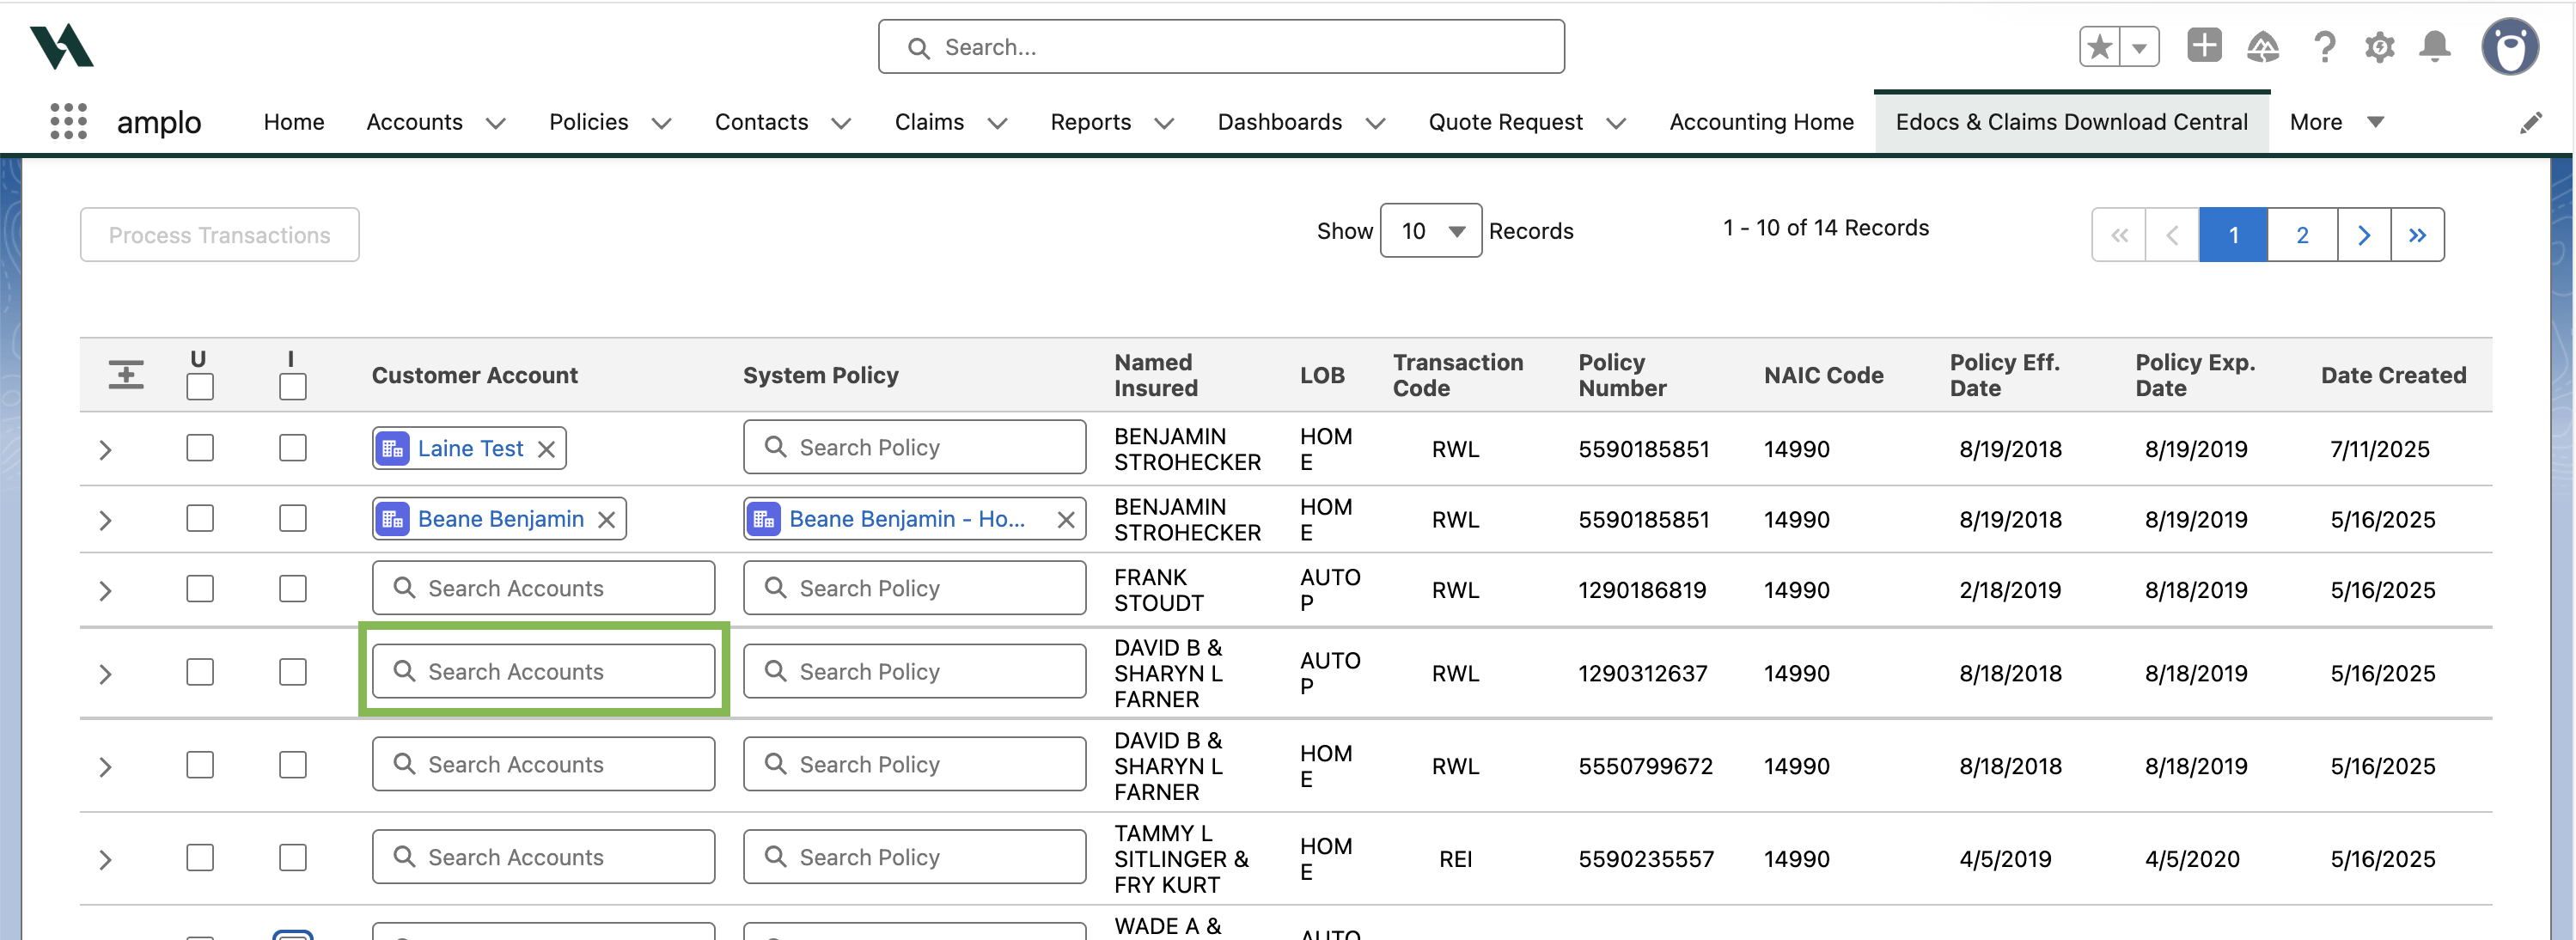
If an account is not automatically identified, users can manually assign one.
In the Customer Account column, click in the Search Accounts field.
Search for and select the correct account.
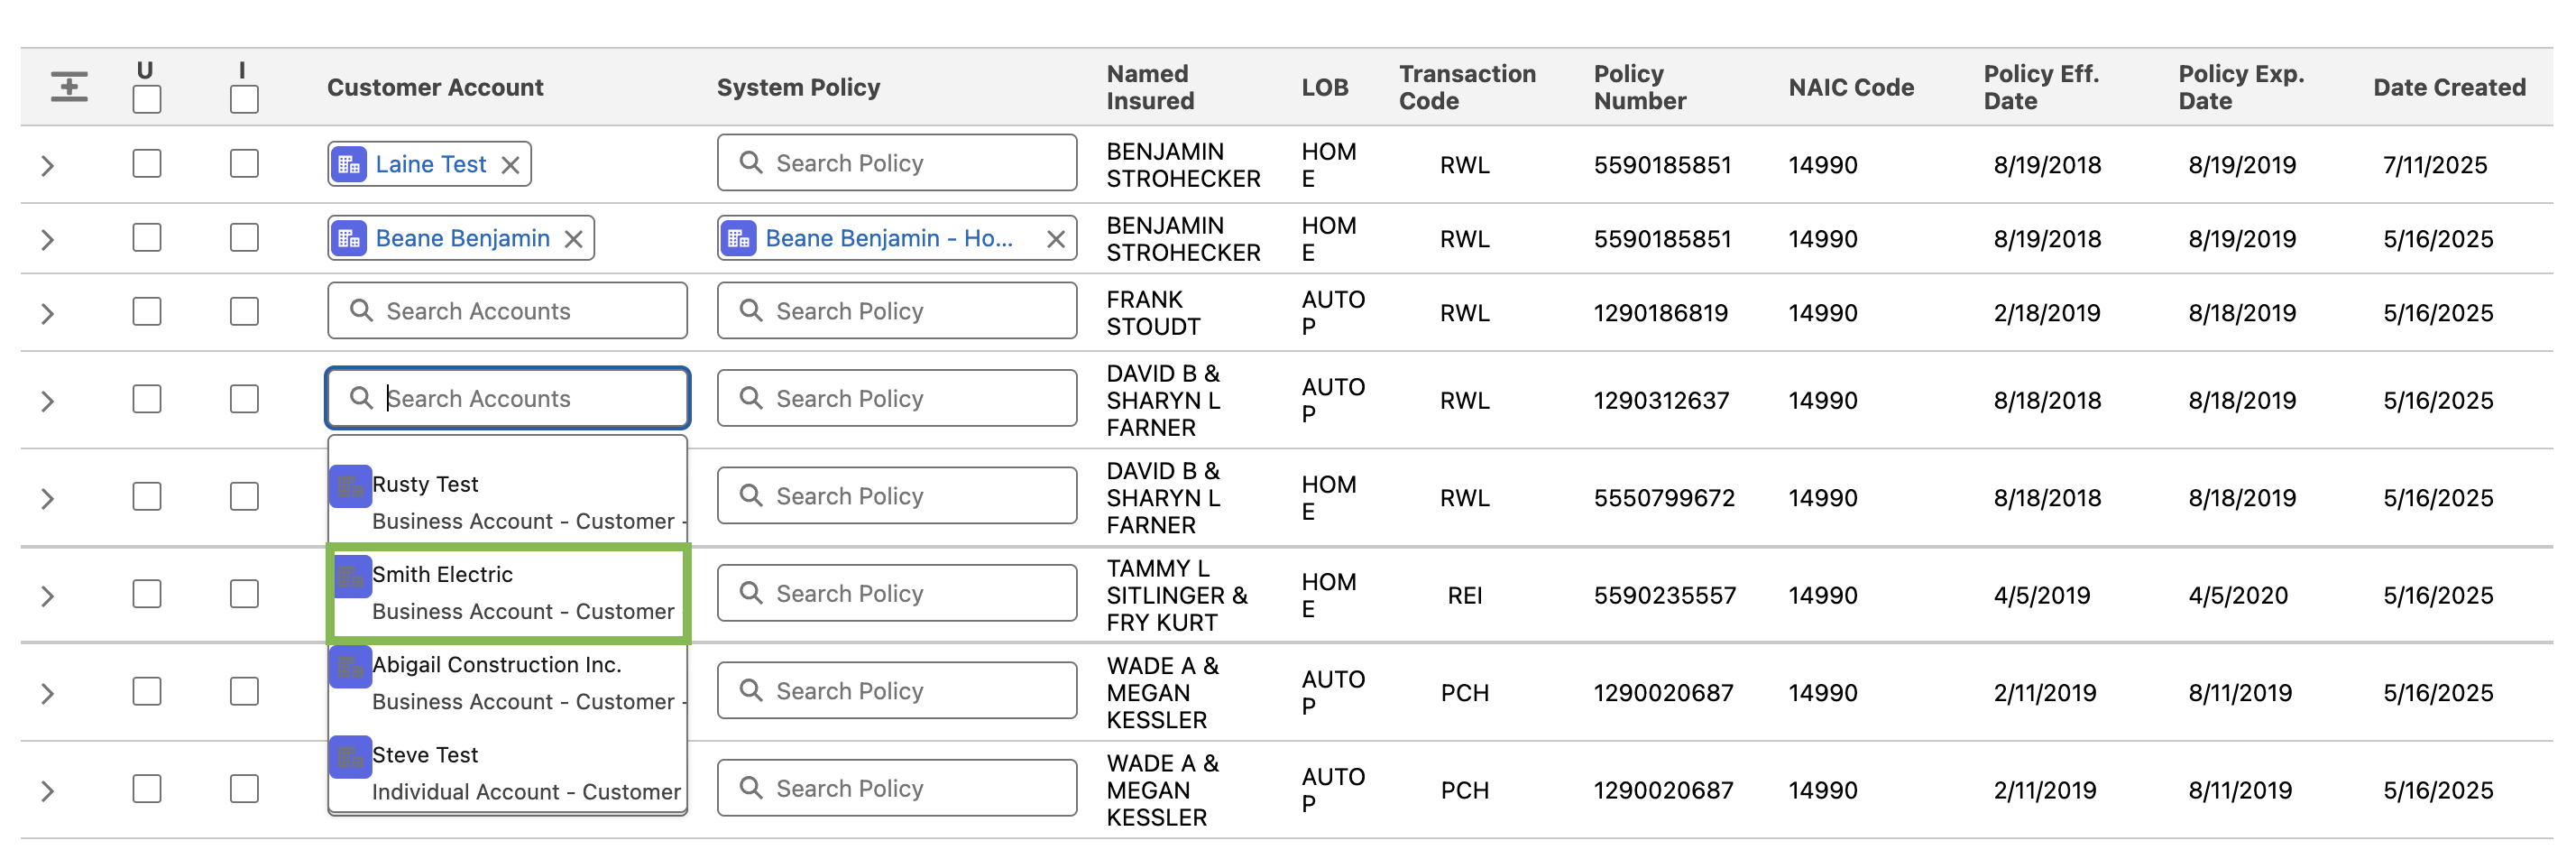
After selecting an account, the System Policy field displays the policies associated with that account.

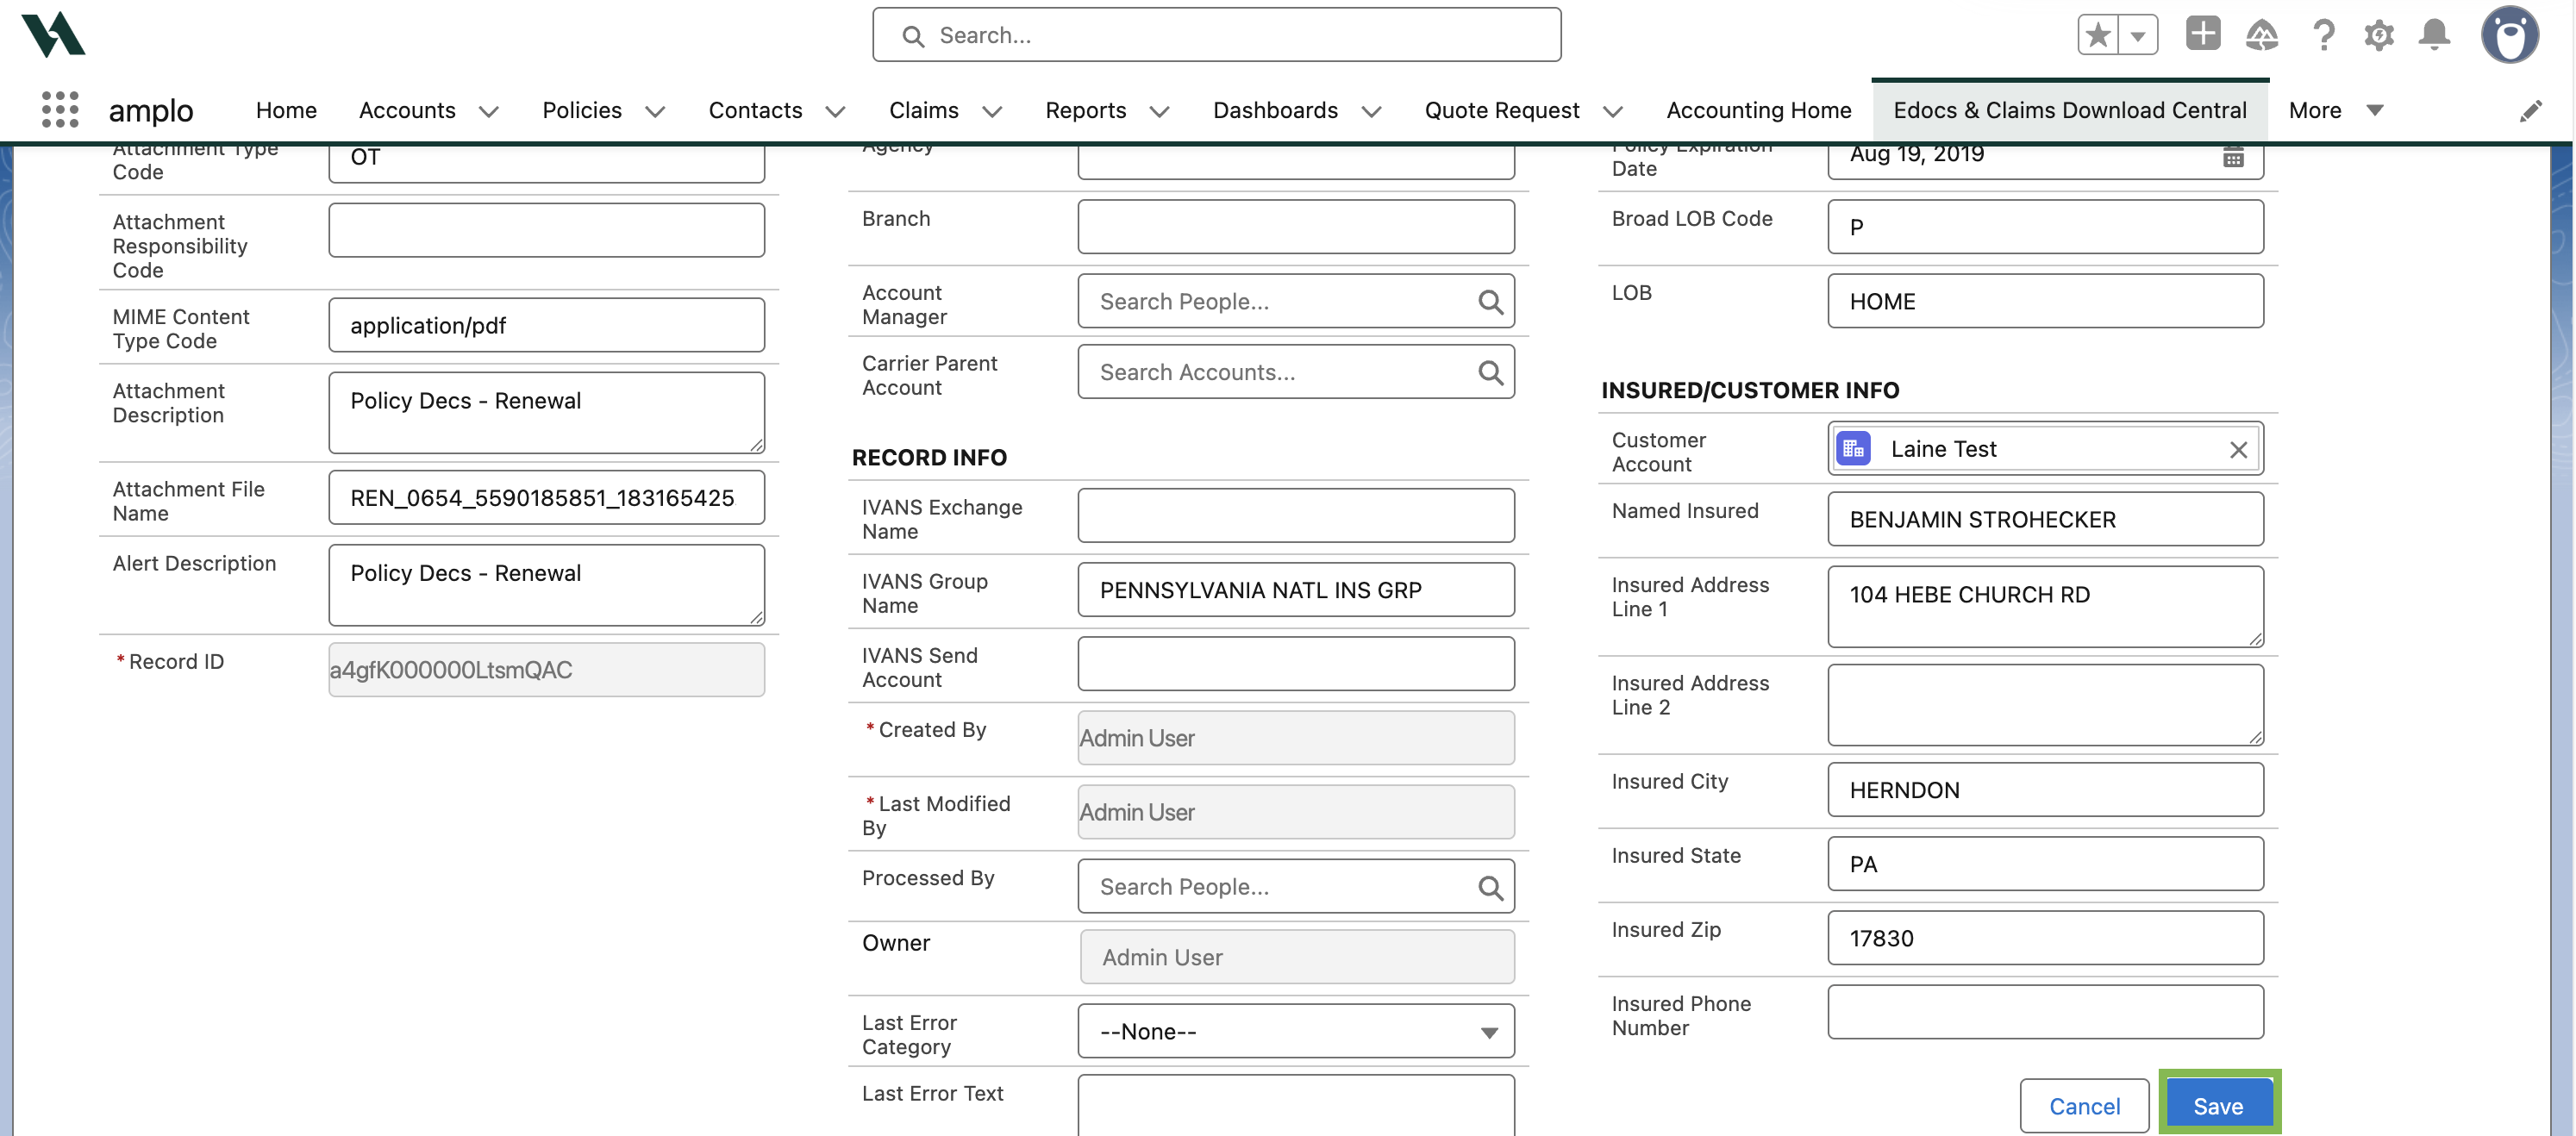
Editing eDocs details
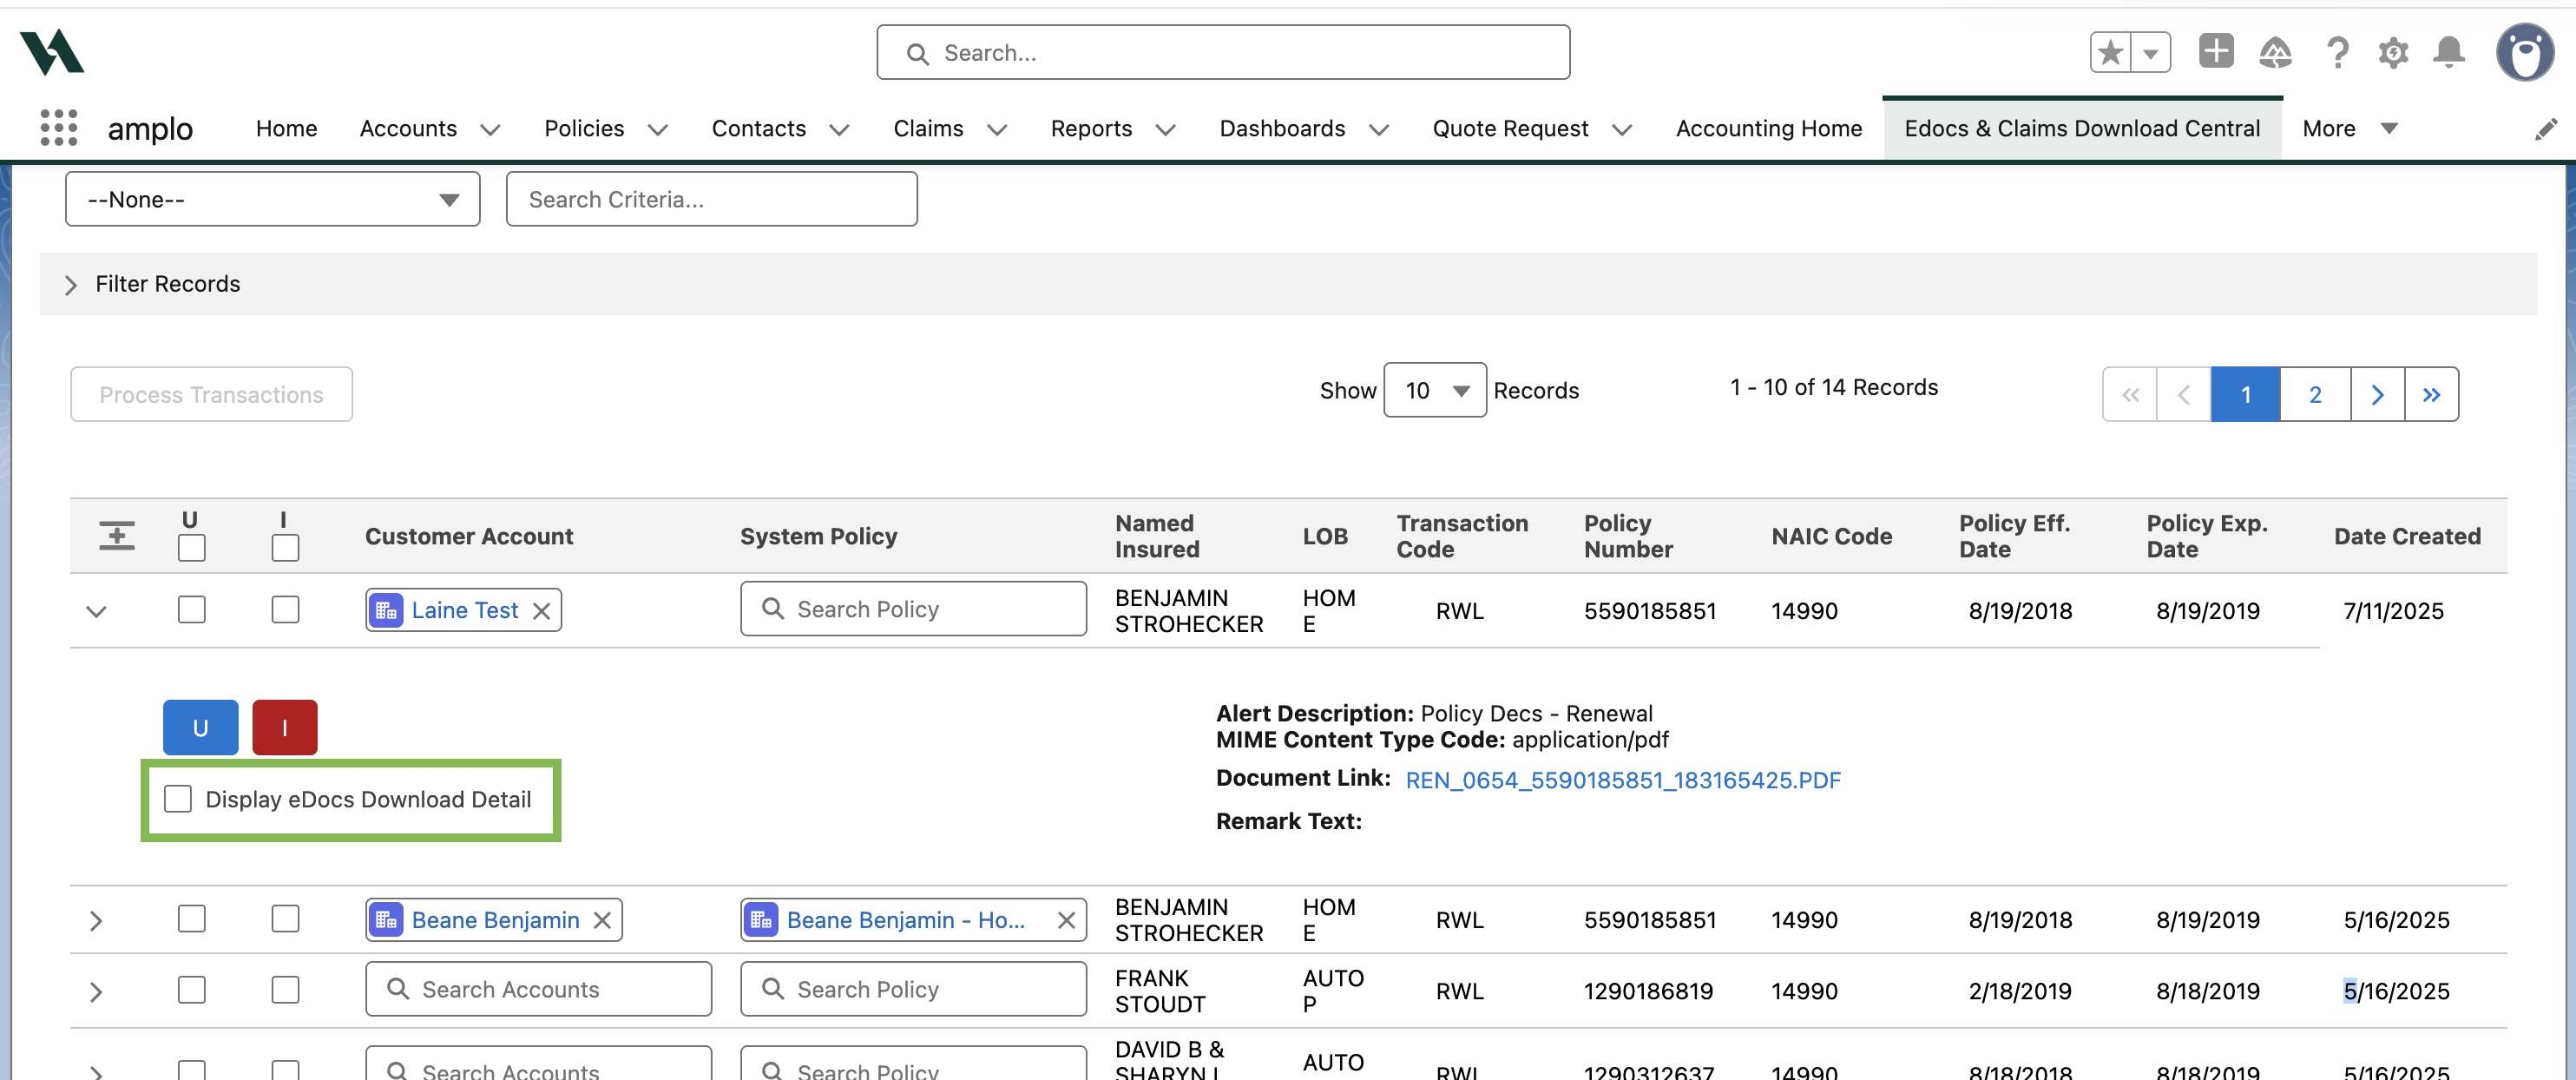
To display all editable fields in the record, click the Display eDocs Download Detail checkbox.
After making changes, click Save.
Manually processing records
There are two actions for processing:
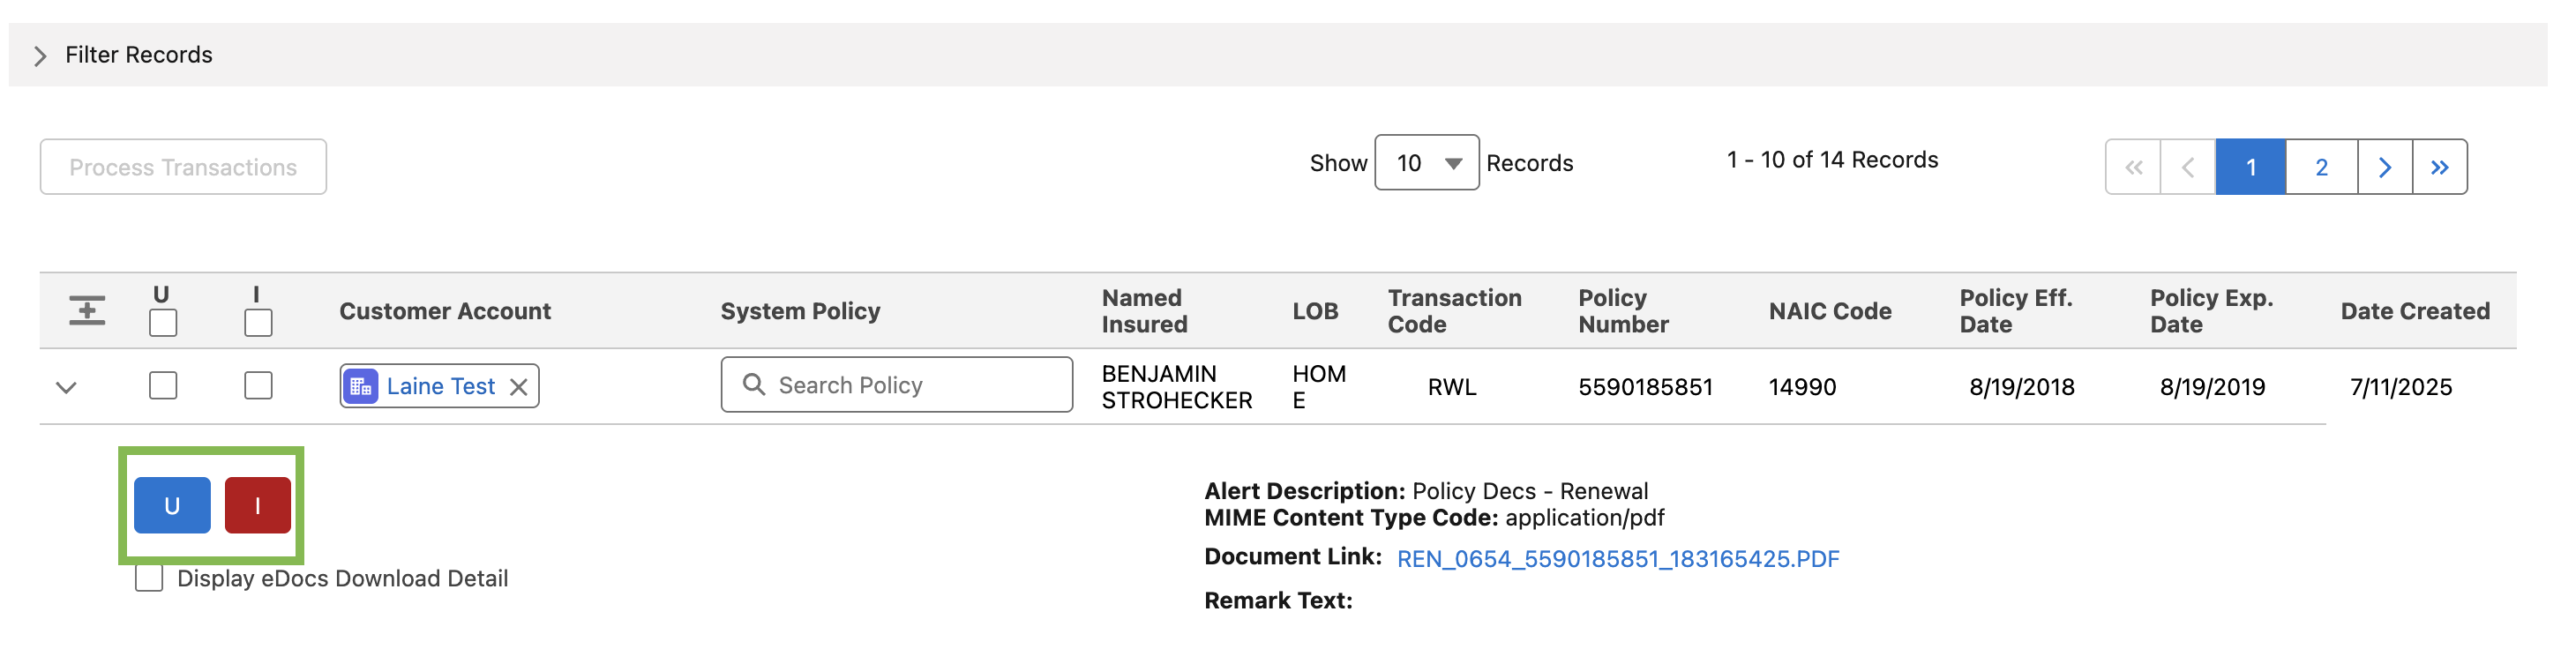
Ignore: This transaction will not download.
Update: The transaction is automatically applied to your org, bypassing the Inbox unless a matching issue occurs.
Click the right arrow to expand the record.
Choose one of the available options:
Processing multiple downloads
To process records in bulk:
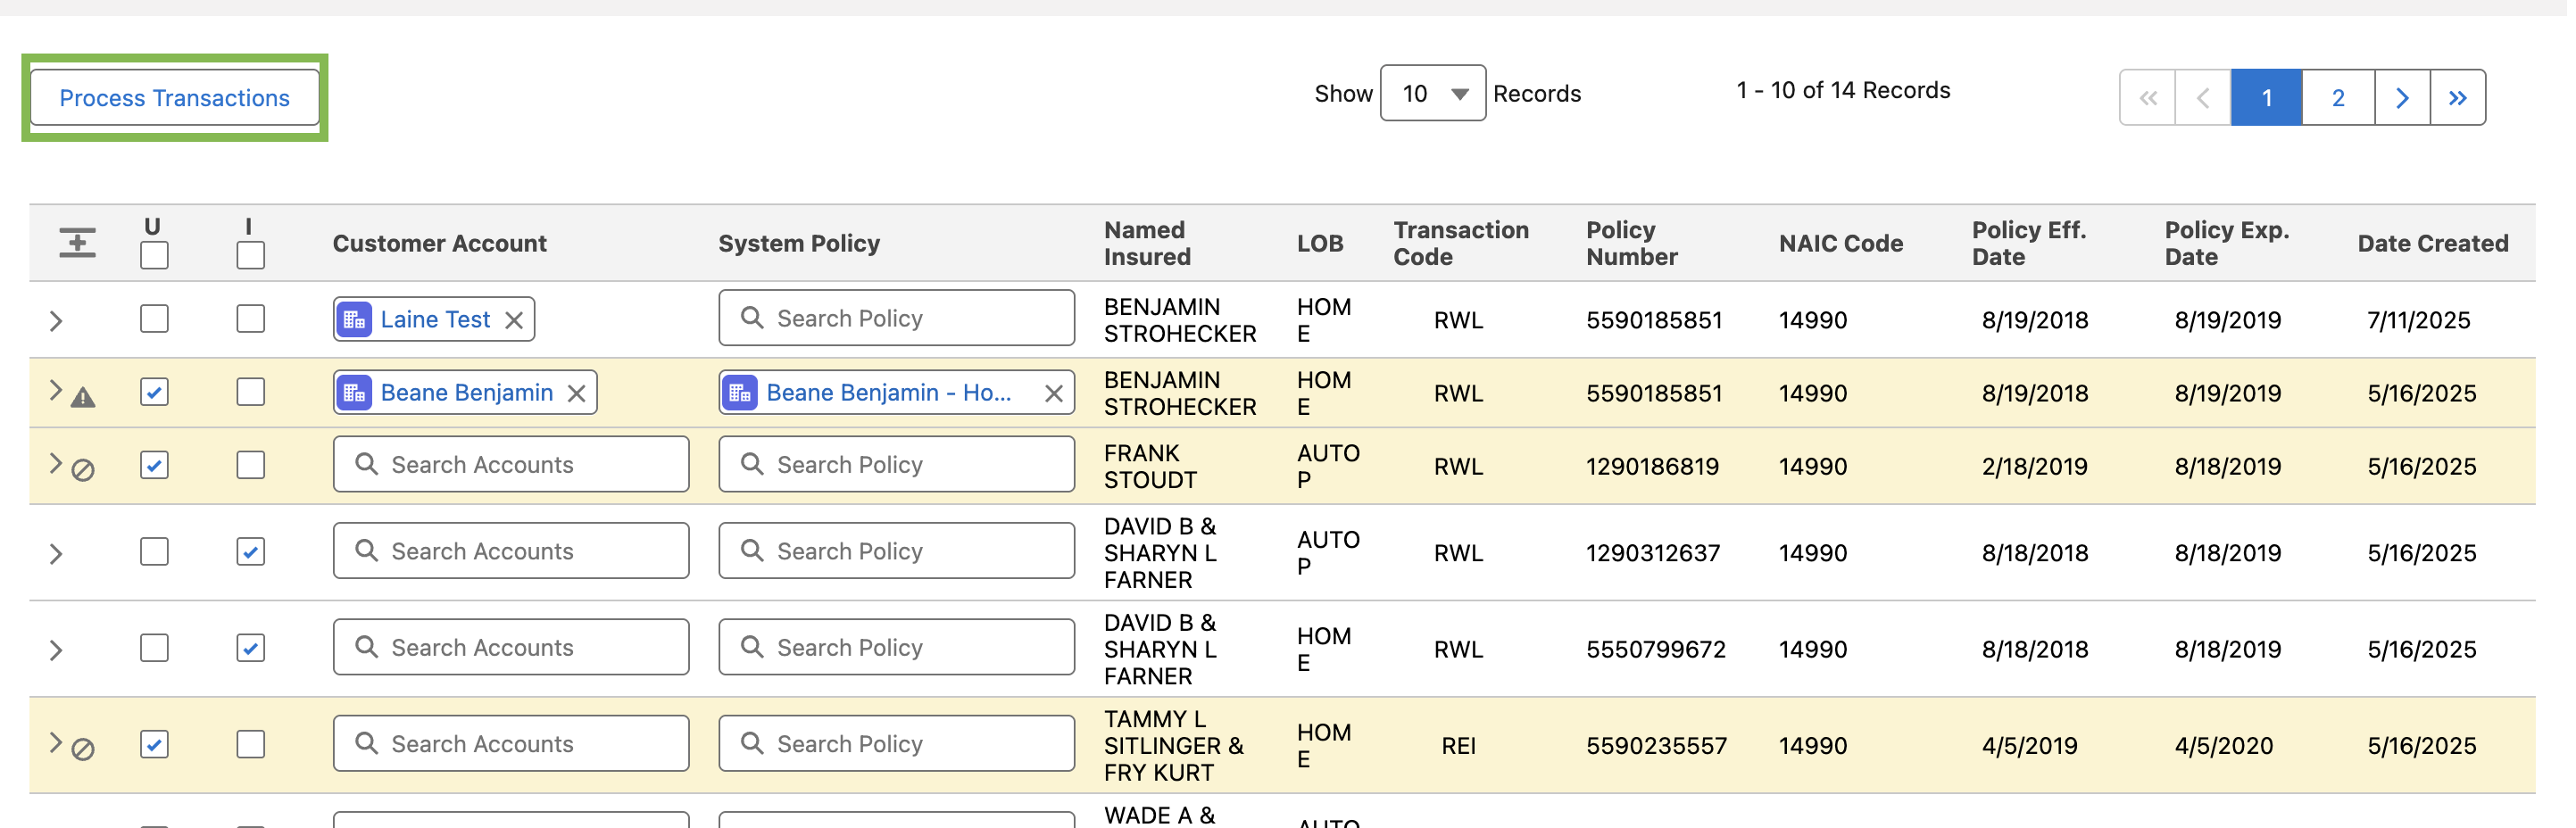
Select the checkbox for the action to take in the U (Update) or I (Ignore) column.
Click Process Transactions.
Managing download errors
When records are selected for processing, the system displays real-time error and warning notifications. Hover over the notification icon to view detailed error information.

Errors tab
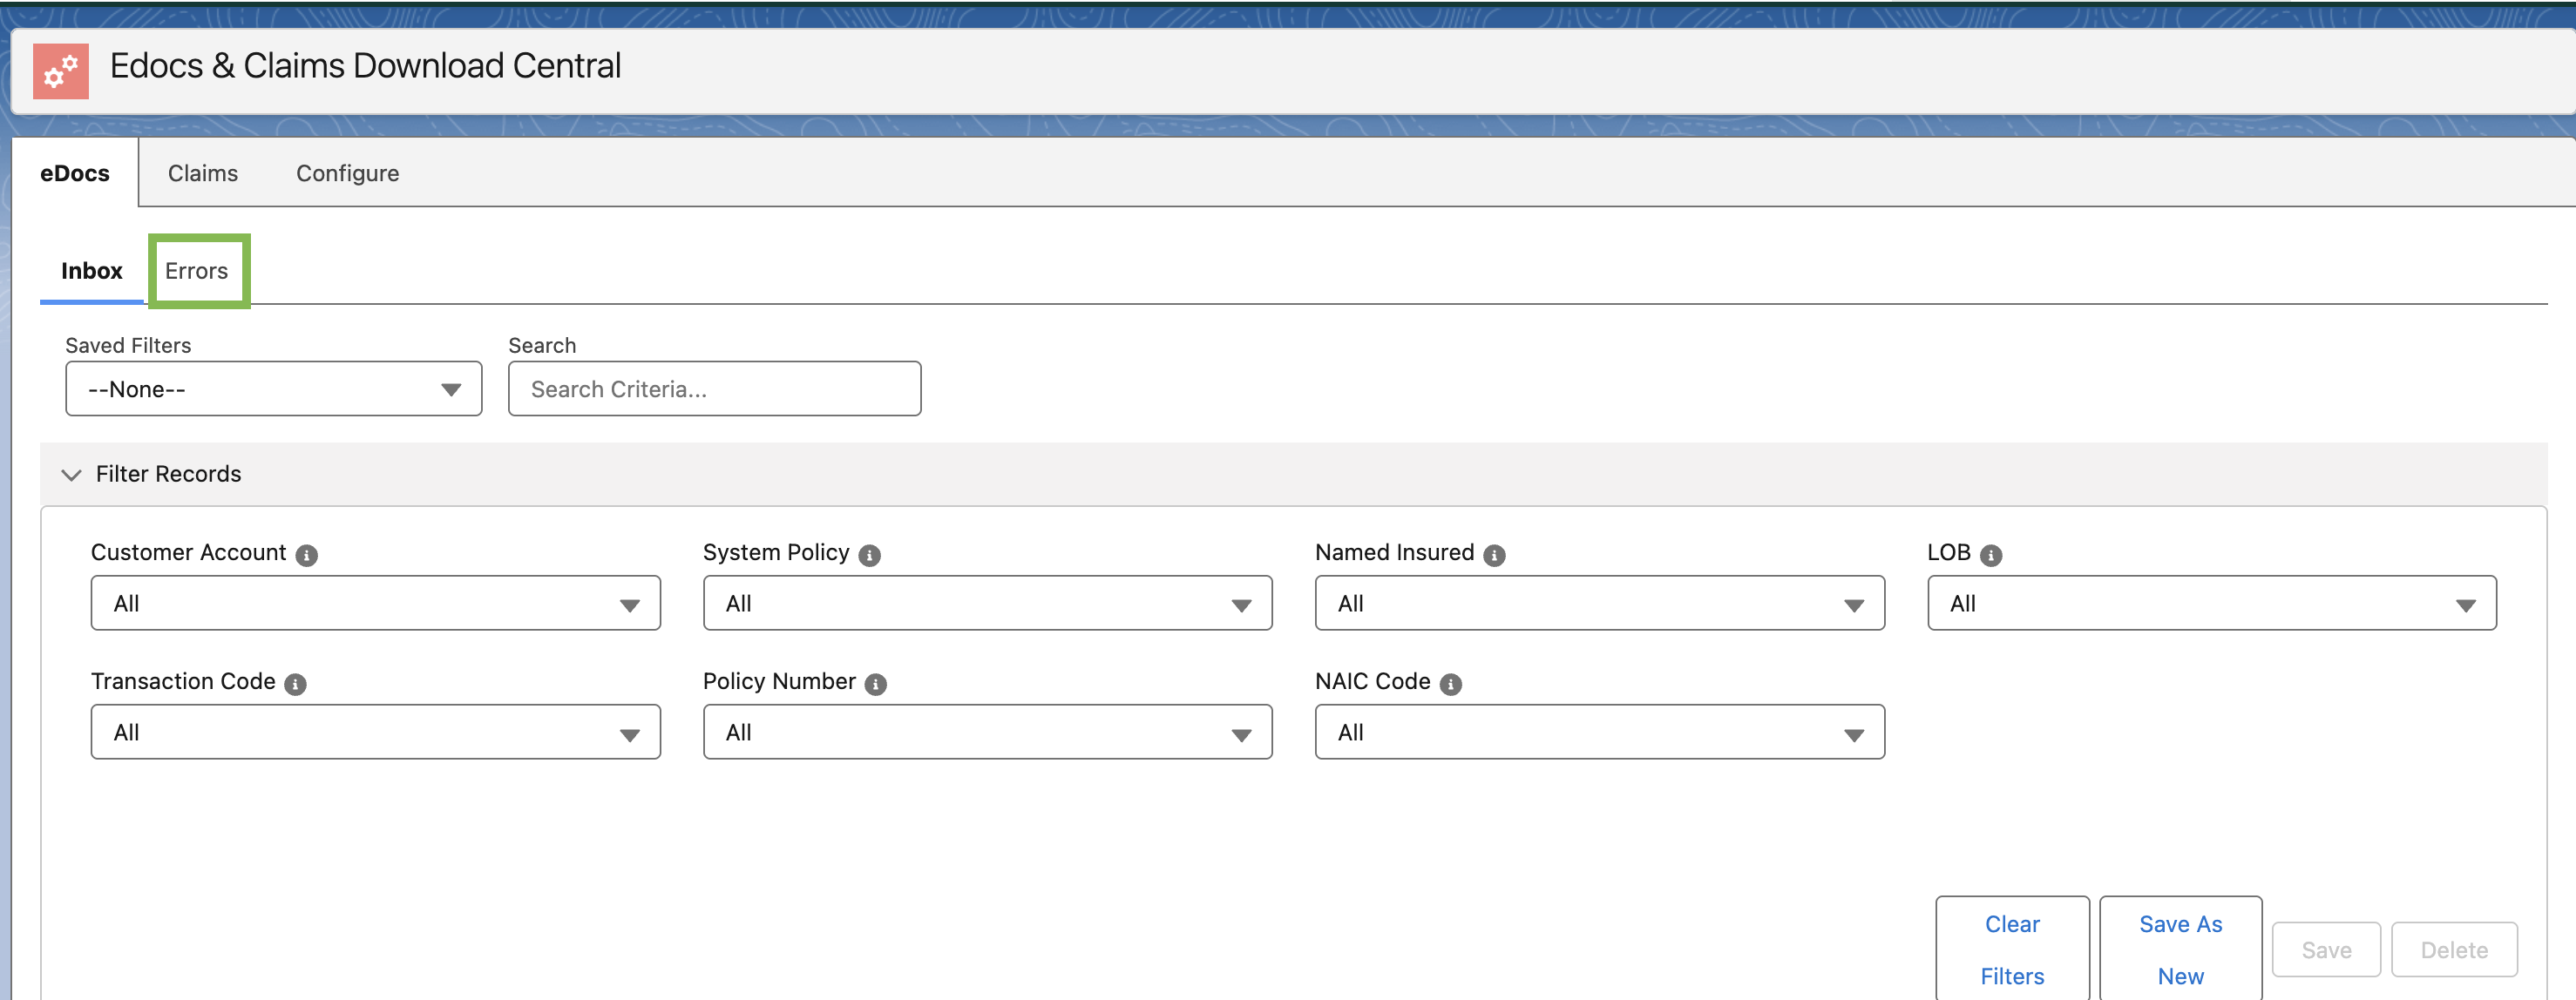
If a record fails during processing, it appears in the Errors tab.
Click the Errors tab.
Click the right arrow to expand the record.
View the Last Error Text and other error details.
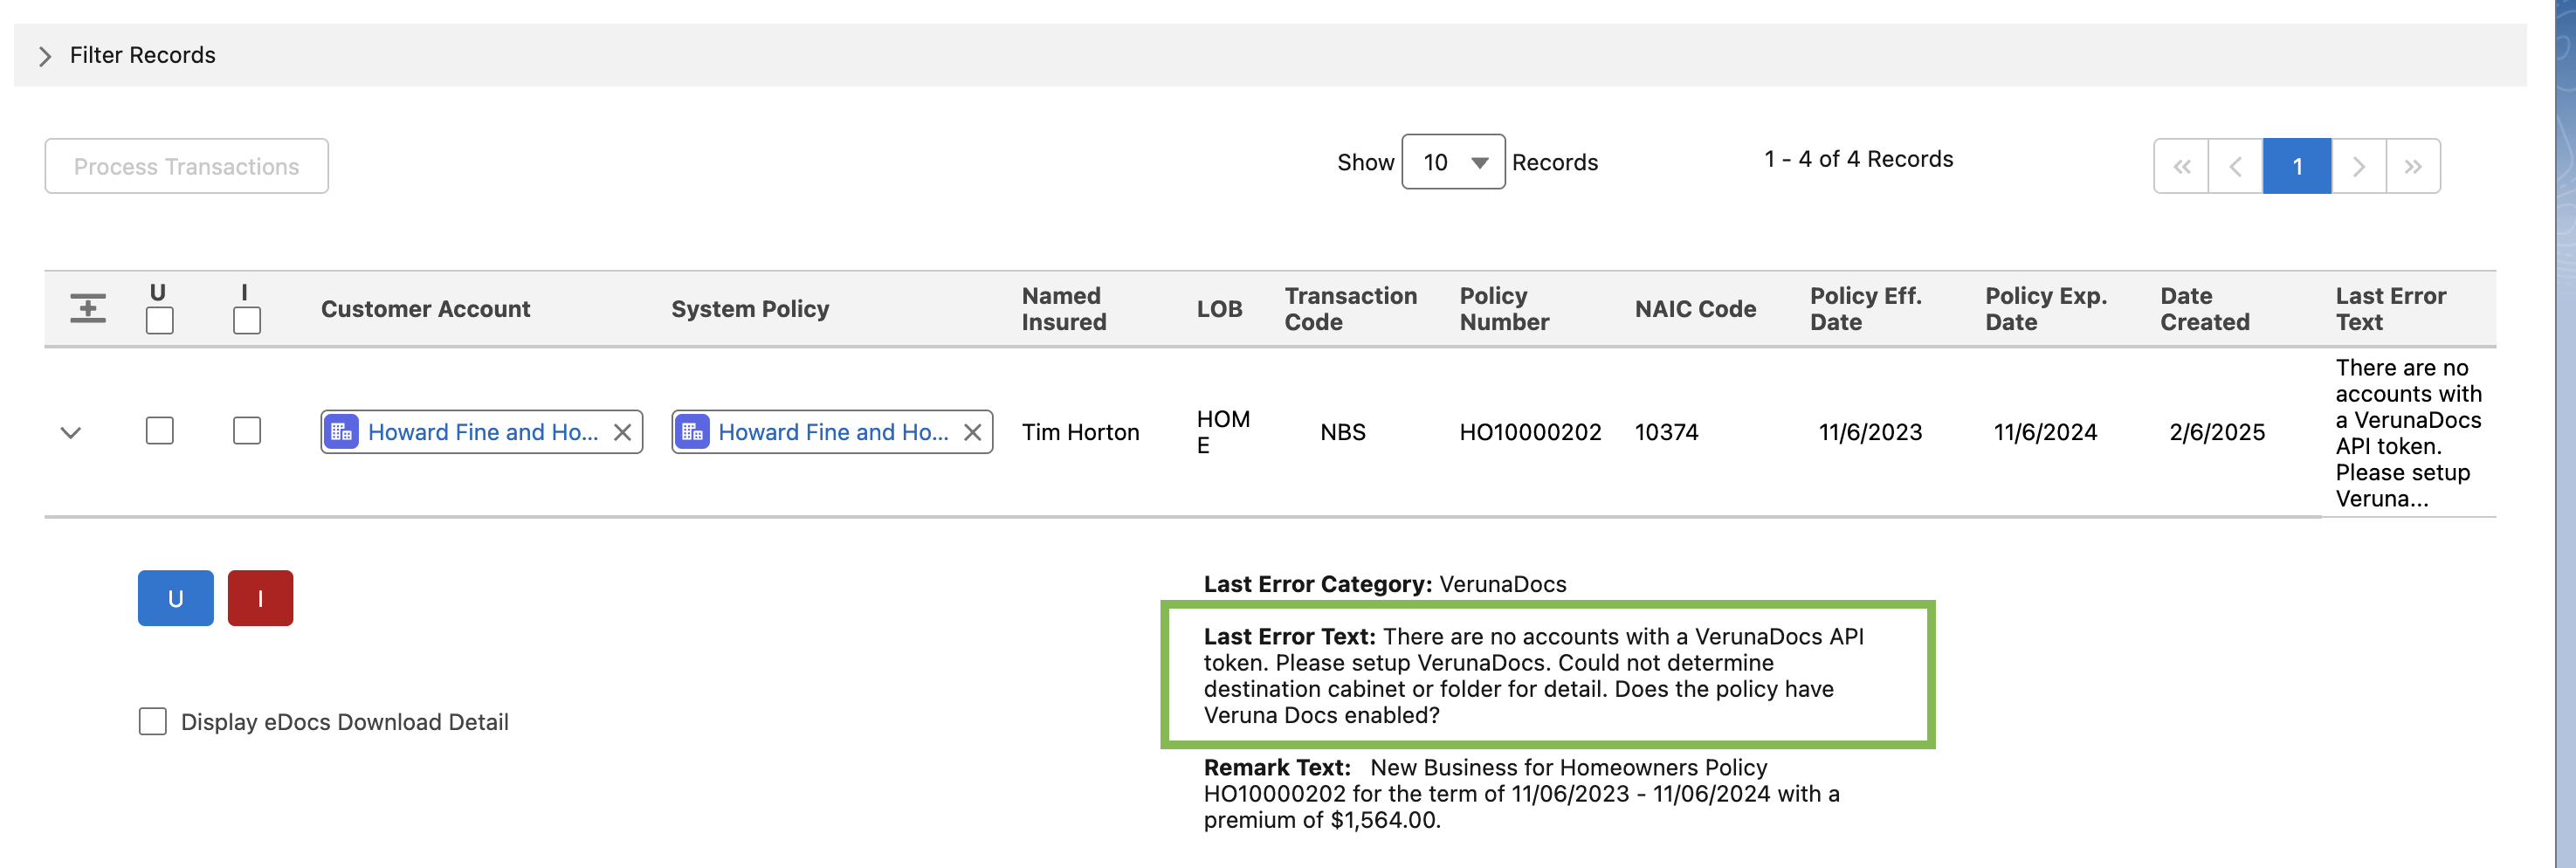
Select U (Update) or I (Ignore) to reprocess the record.
Note: Once the issue is resolved and the record is processed successfully, it is removed from the Errors list.