Managing bank reconciliations
Last updated: March 3, 2026
Overview
Bank reconciliations ensure the cash recorded in your system matches your bank’s actual balance. Regular reconciliations help you identify errors, prevent fraud, and maintain compliance with carrier and regulatory requirements — especially when managing trust accounts. They also ensure commissions and premium payments are recorded accurately, giving your agency a clear view of its financial position. This article explains how to:
Create your first bank reconciliation
Create subsequent reconciliations
Generate reports and summaries
Create your first bank reconciliation
Use this process when creating a bank reconciliation for the first time.
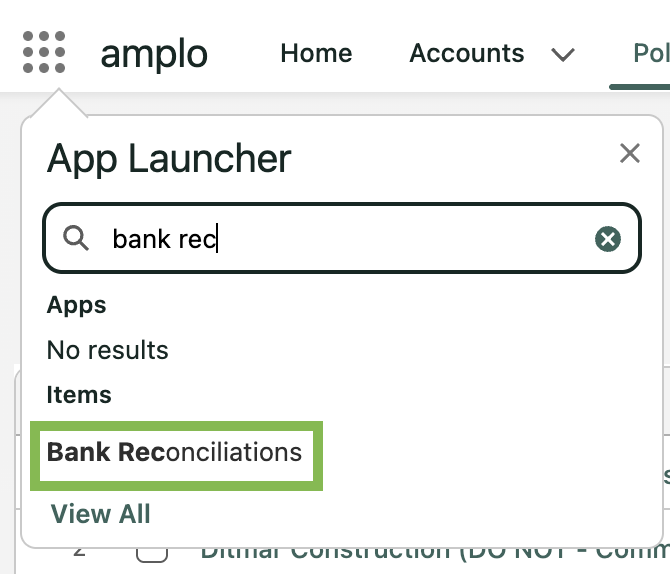
In the App Launcher, search and select Bank Reconciliations.
Click New.

On the New Bank Reconciliation modal, enter the required fields:
Statement Ending Date: Enter the end date shown on the bank statement.
Bank/Credit Card Account: Select the account your are reconciling.
Type: Select Bank or Credit Card.
Beginning Balance: Adjust the beginning balance to reflect uncleared items.
Cleared Deposits: Enter the total amount of cleared deposits for this reconciliation.
Cleared Payments: Enter the total amount of cleared disbursements for this reconciliation.
Ending Balance: Enter the ending balance shown on the bank statement.
Click Save.

Clear transactions
After saving the reconciliation, clear the transactions that appear on your bank statement.
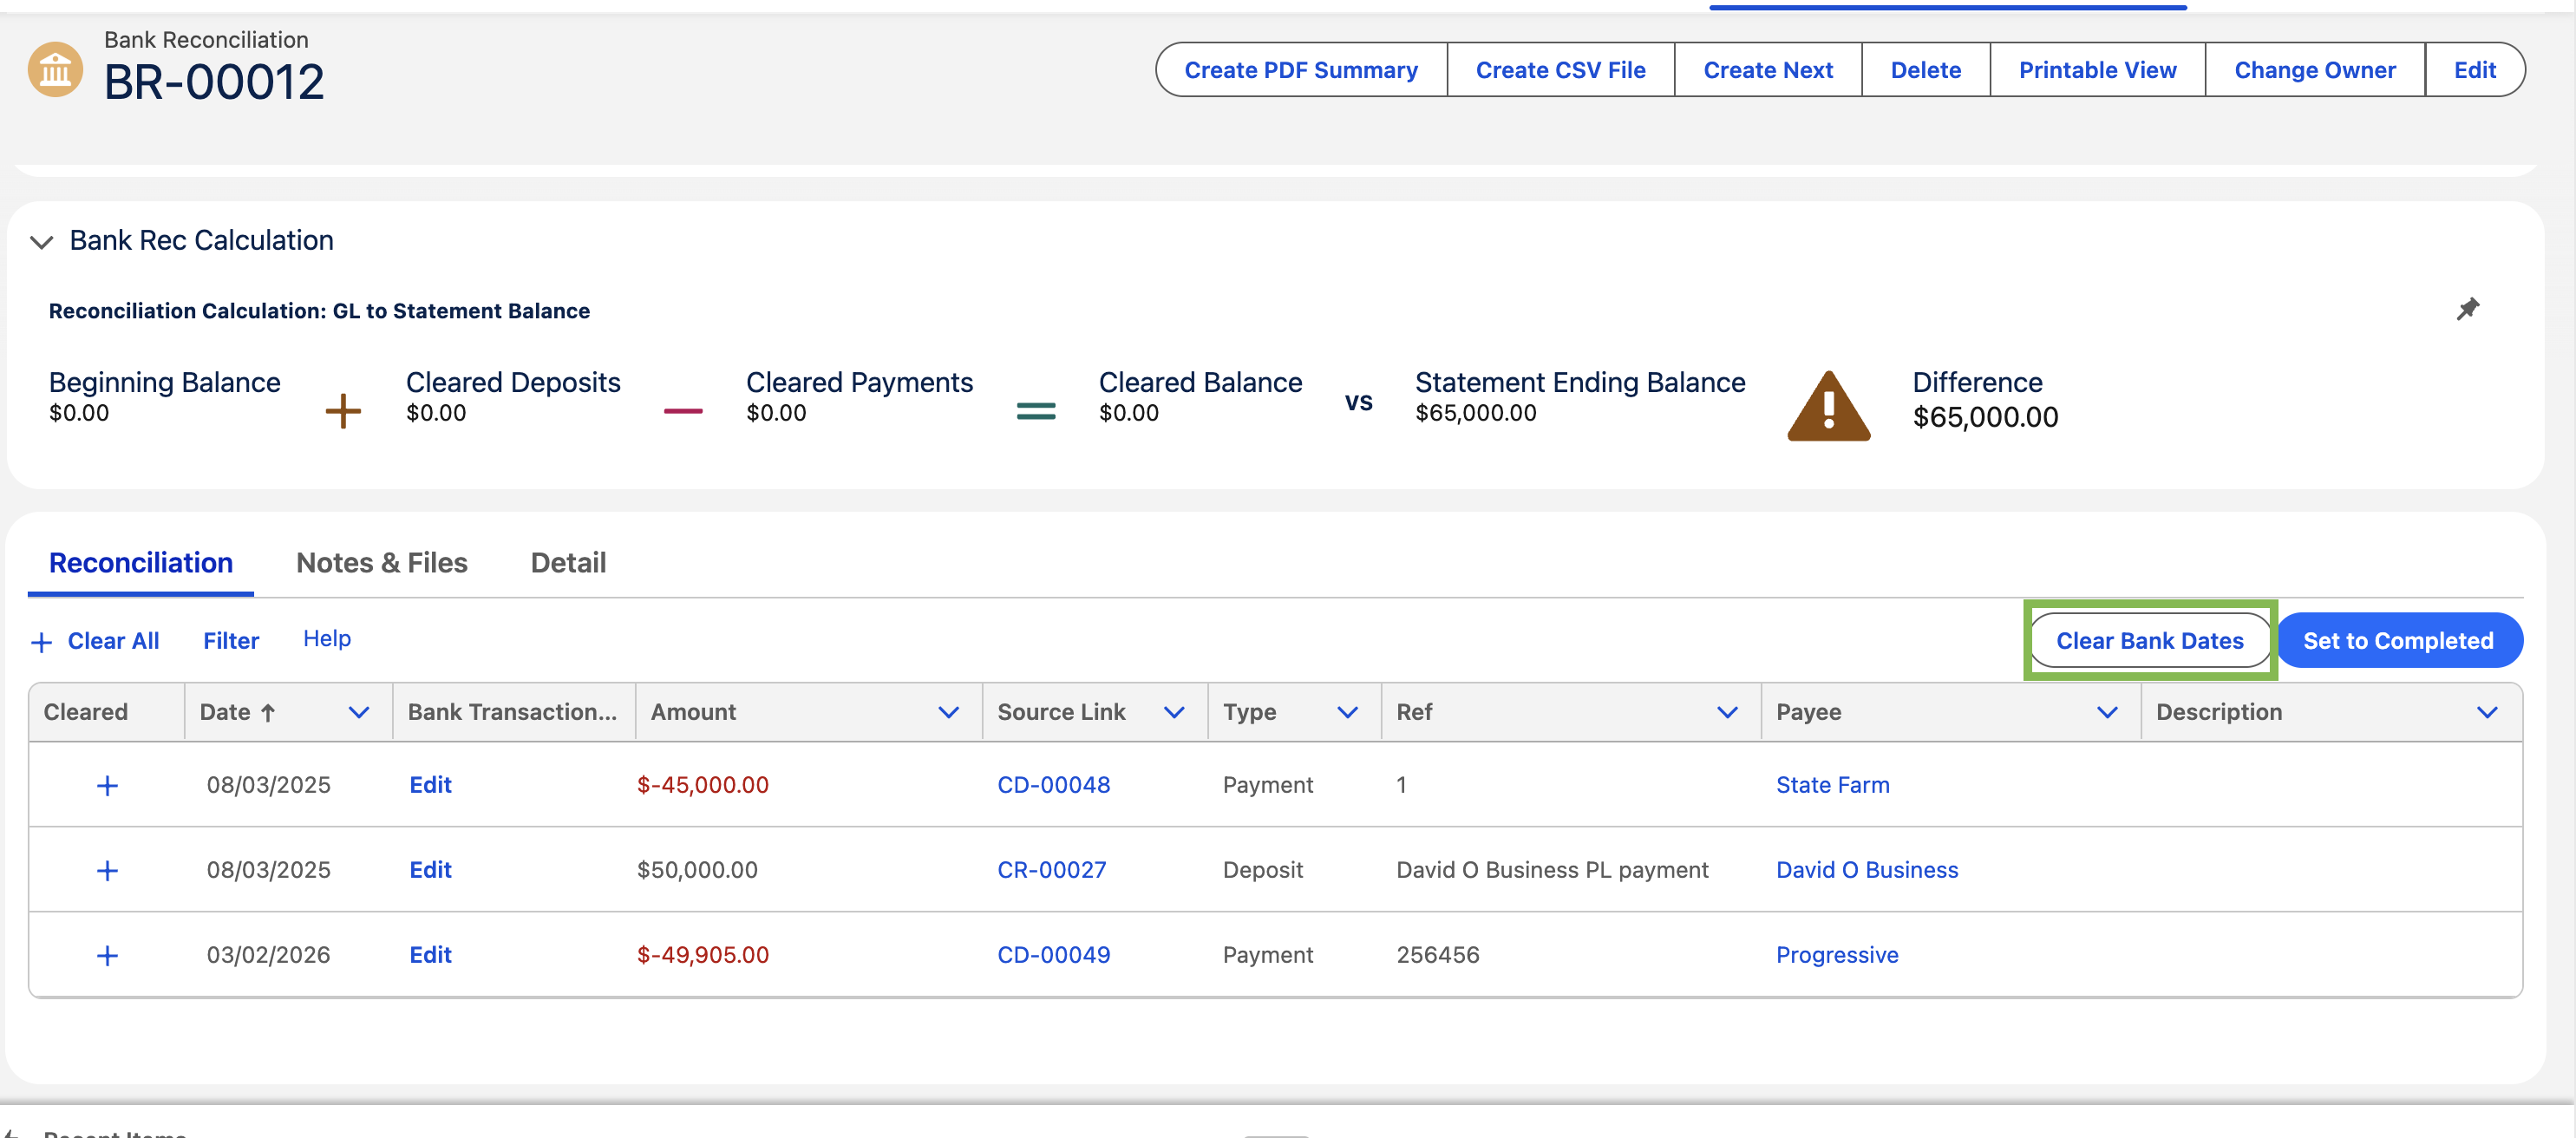
On the Bank Reconciliation record, click Clear Bank Dates.
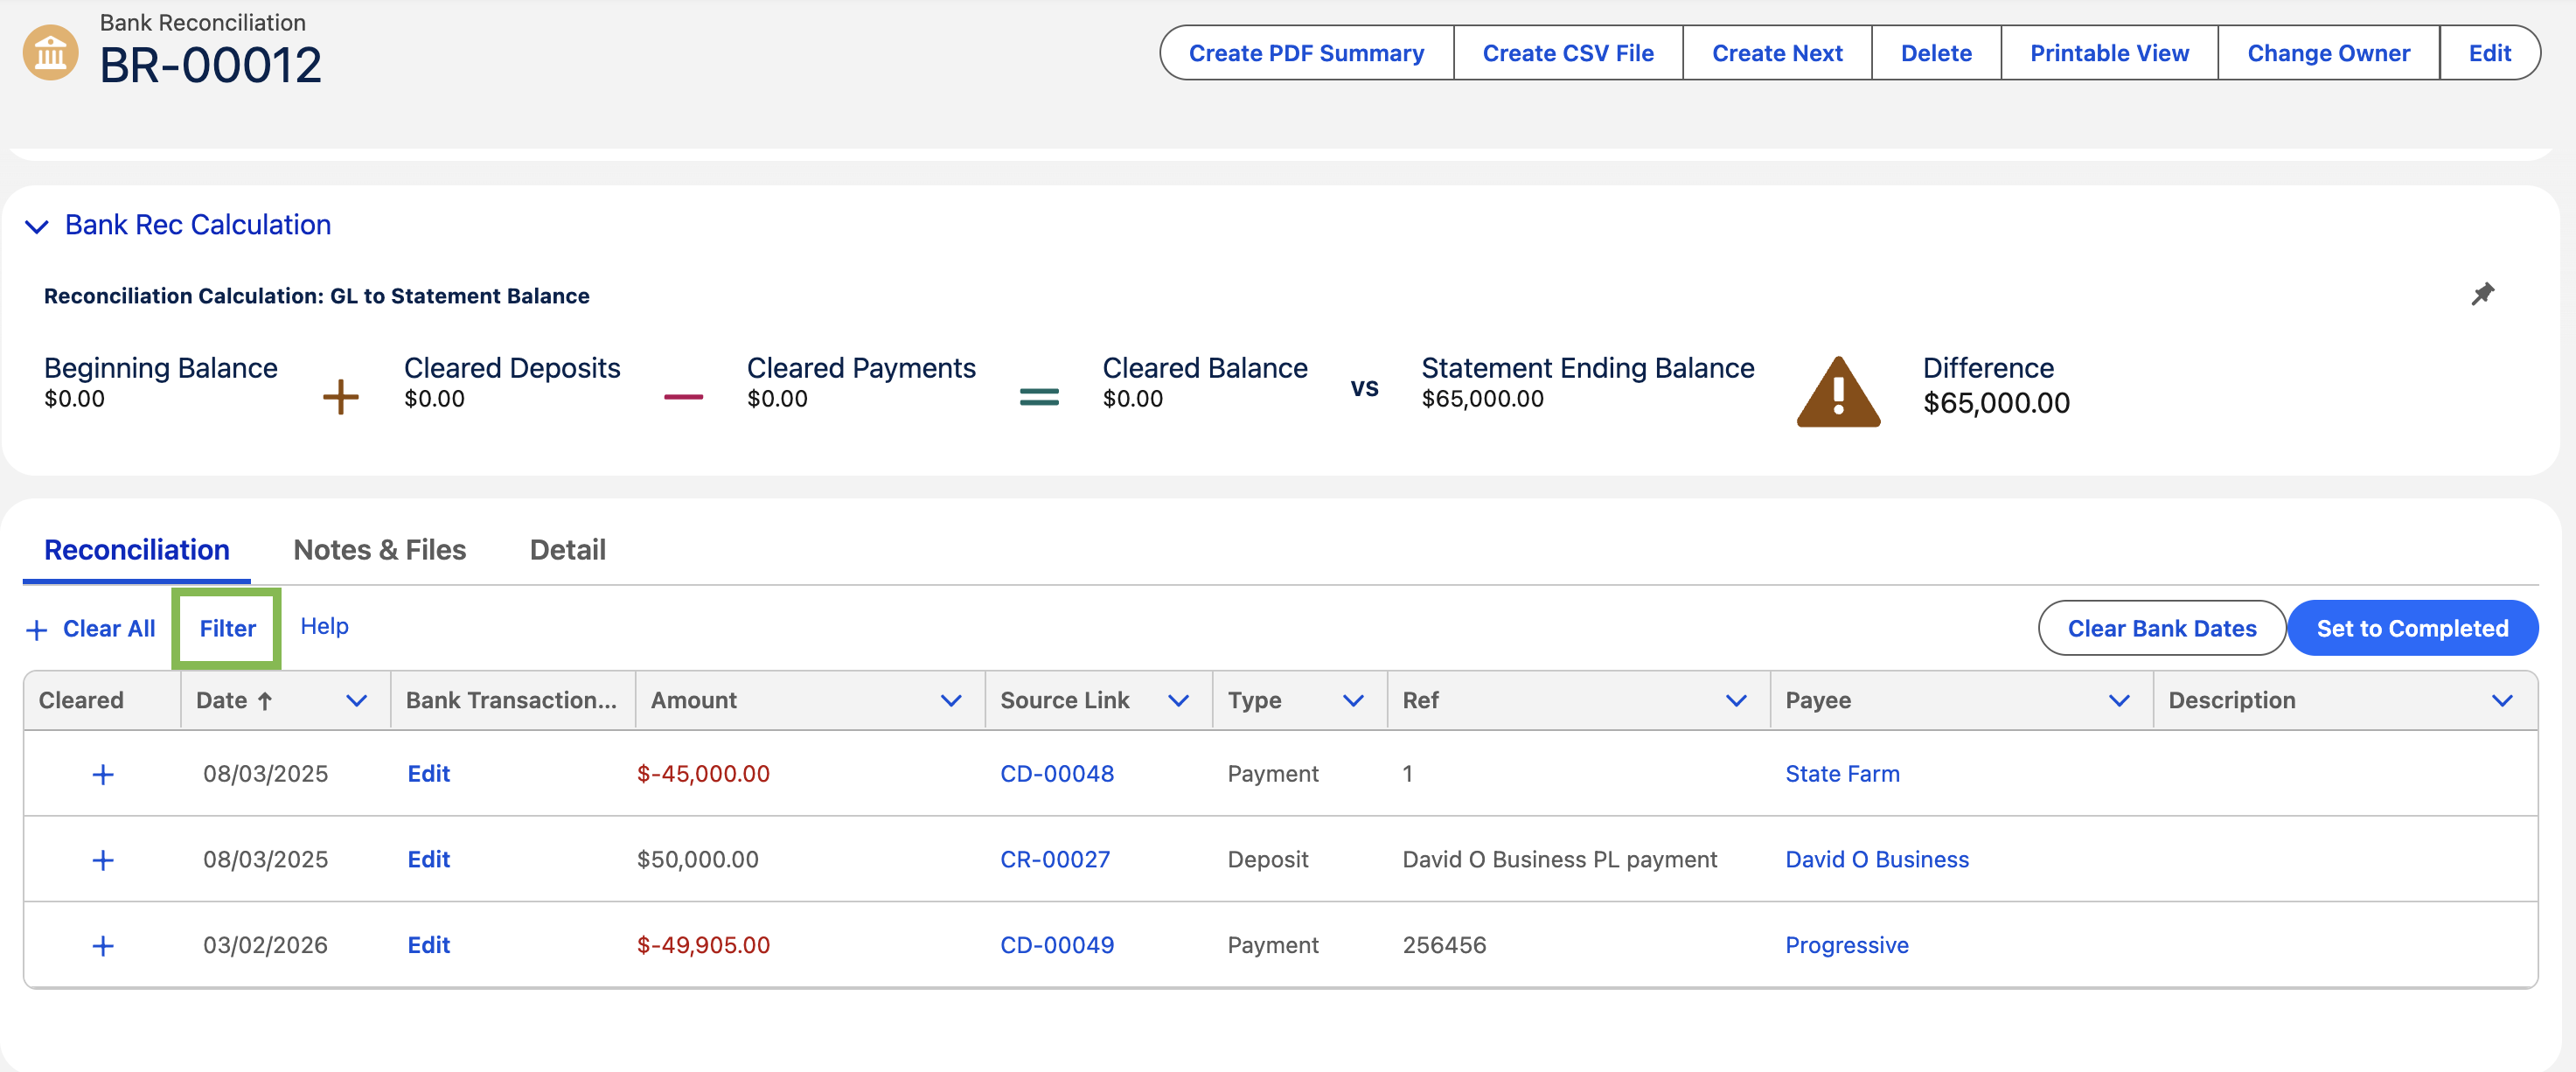
If needed, use the filters to search for a specific transaction.
Select the checkbox next to the transaction to clear.

Click Edit on the Bank Transaction Date column.
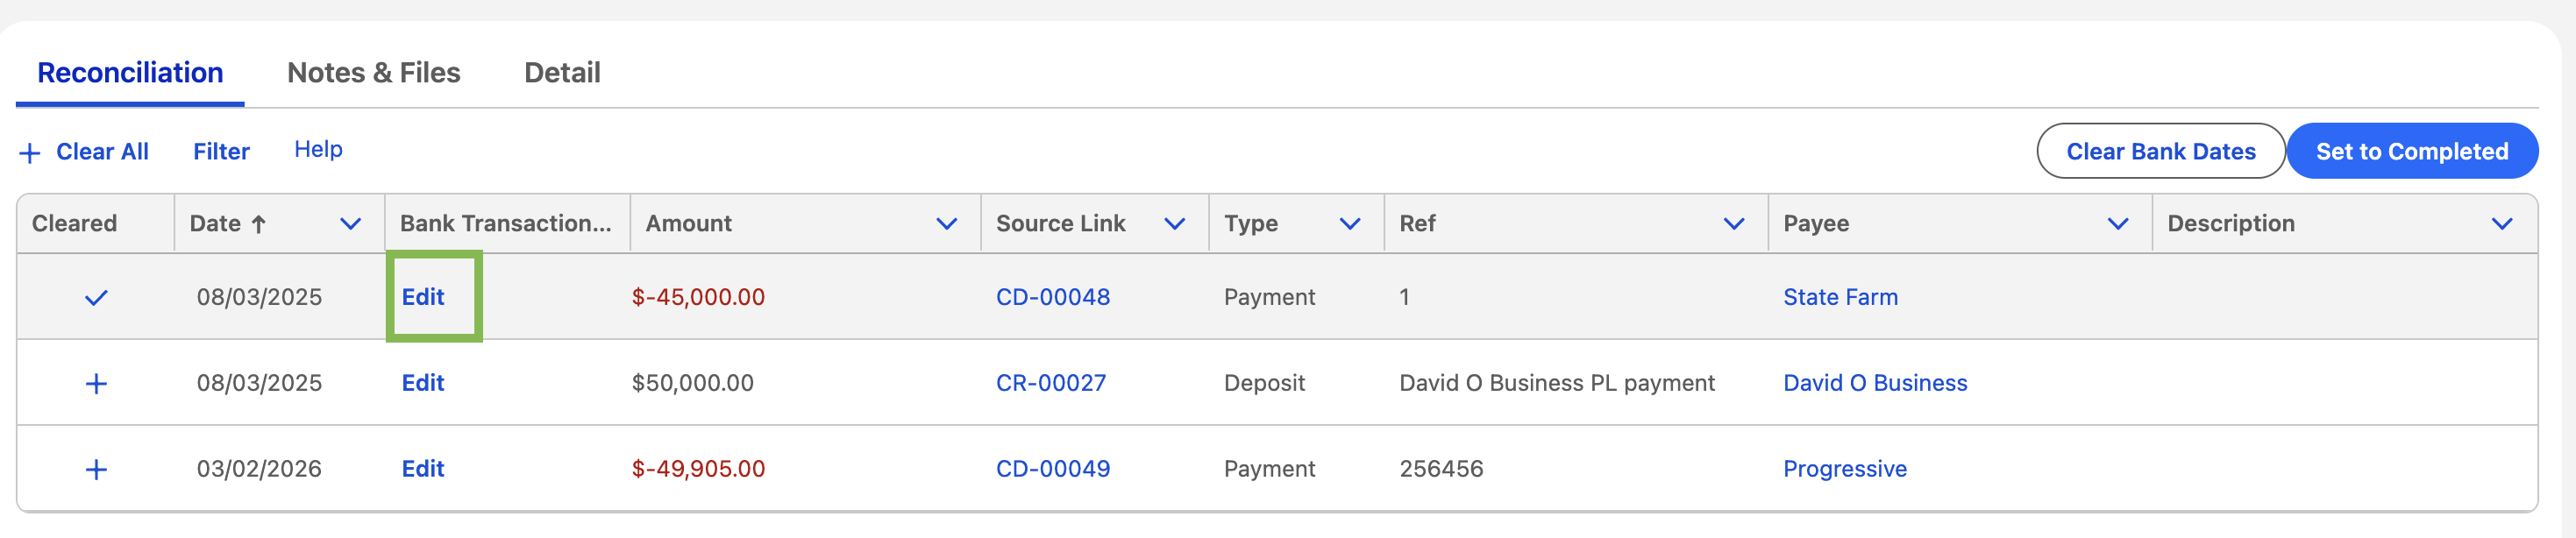
Enter the date of the transaction, then click Save.
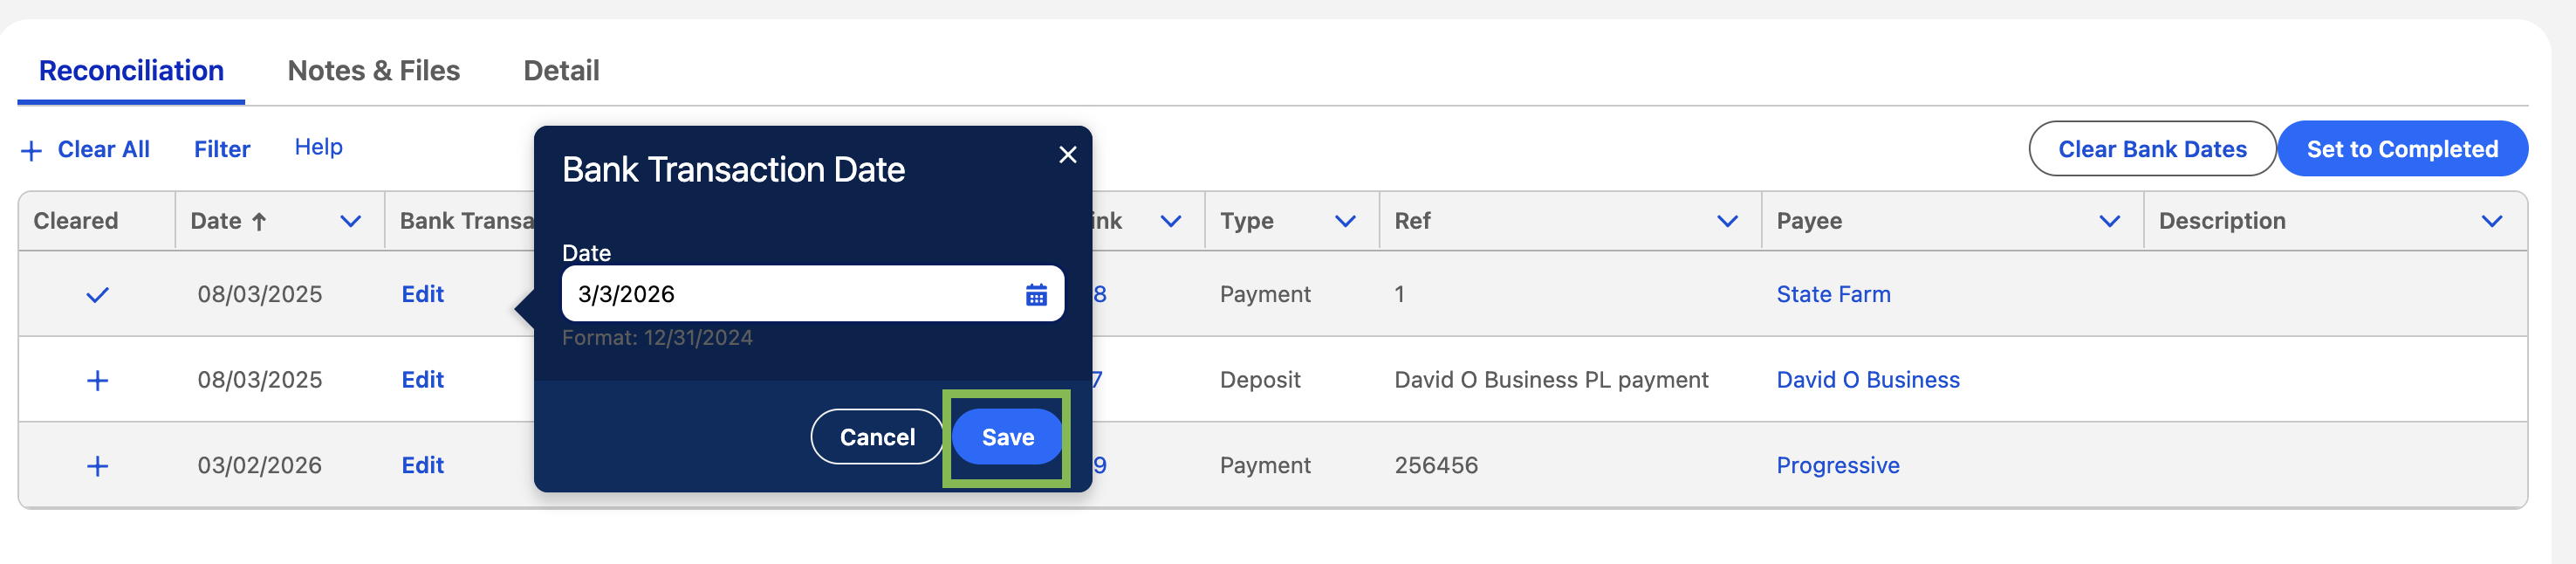
Note: To view the source transaction, click the hyperlink in the Source Link column.
Unclear transactions
If you need to remove a transaction from the reconciliation, you can unclear it.
Click the checkmark next to the transaction line.
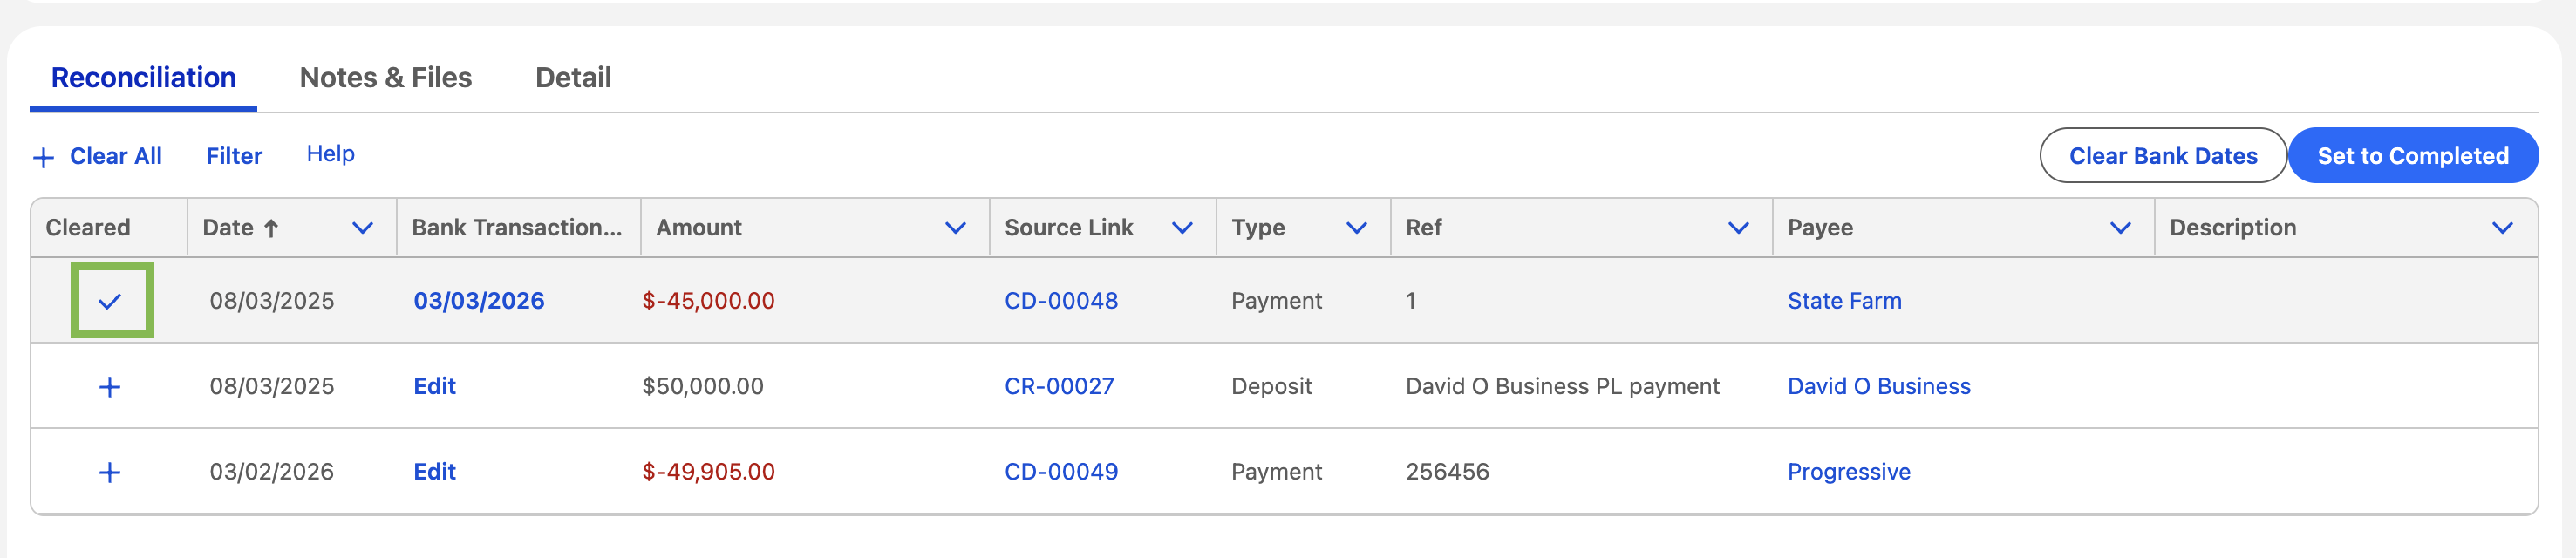
The Ending Balance Difference will automatically update as transactions are cleared or uncleared. The reconciliation is complete when:
Total cleared deposits match the bank statement.
Total cleared disbursements match the bank statement
The ending balance Difference equals zero.

Creating subsequent bank reconciliations
After completing your first reconciliation, create the next one directly from the previous record.
On the Bank Reconciliation record, click Create Next.
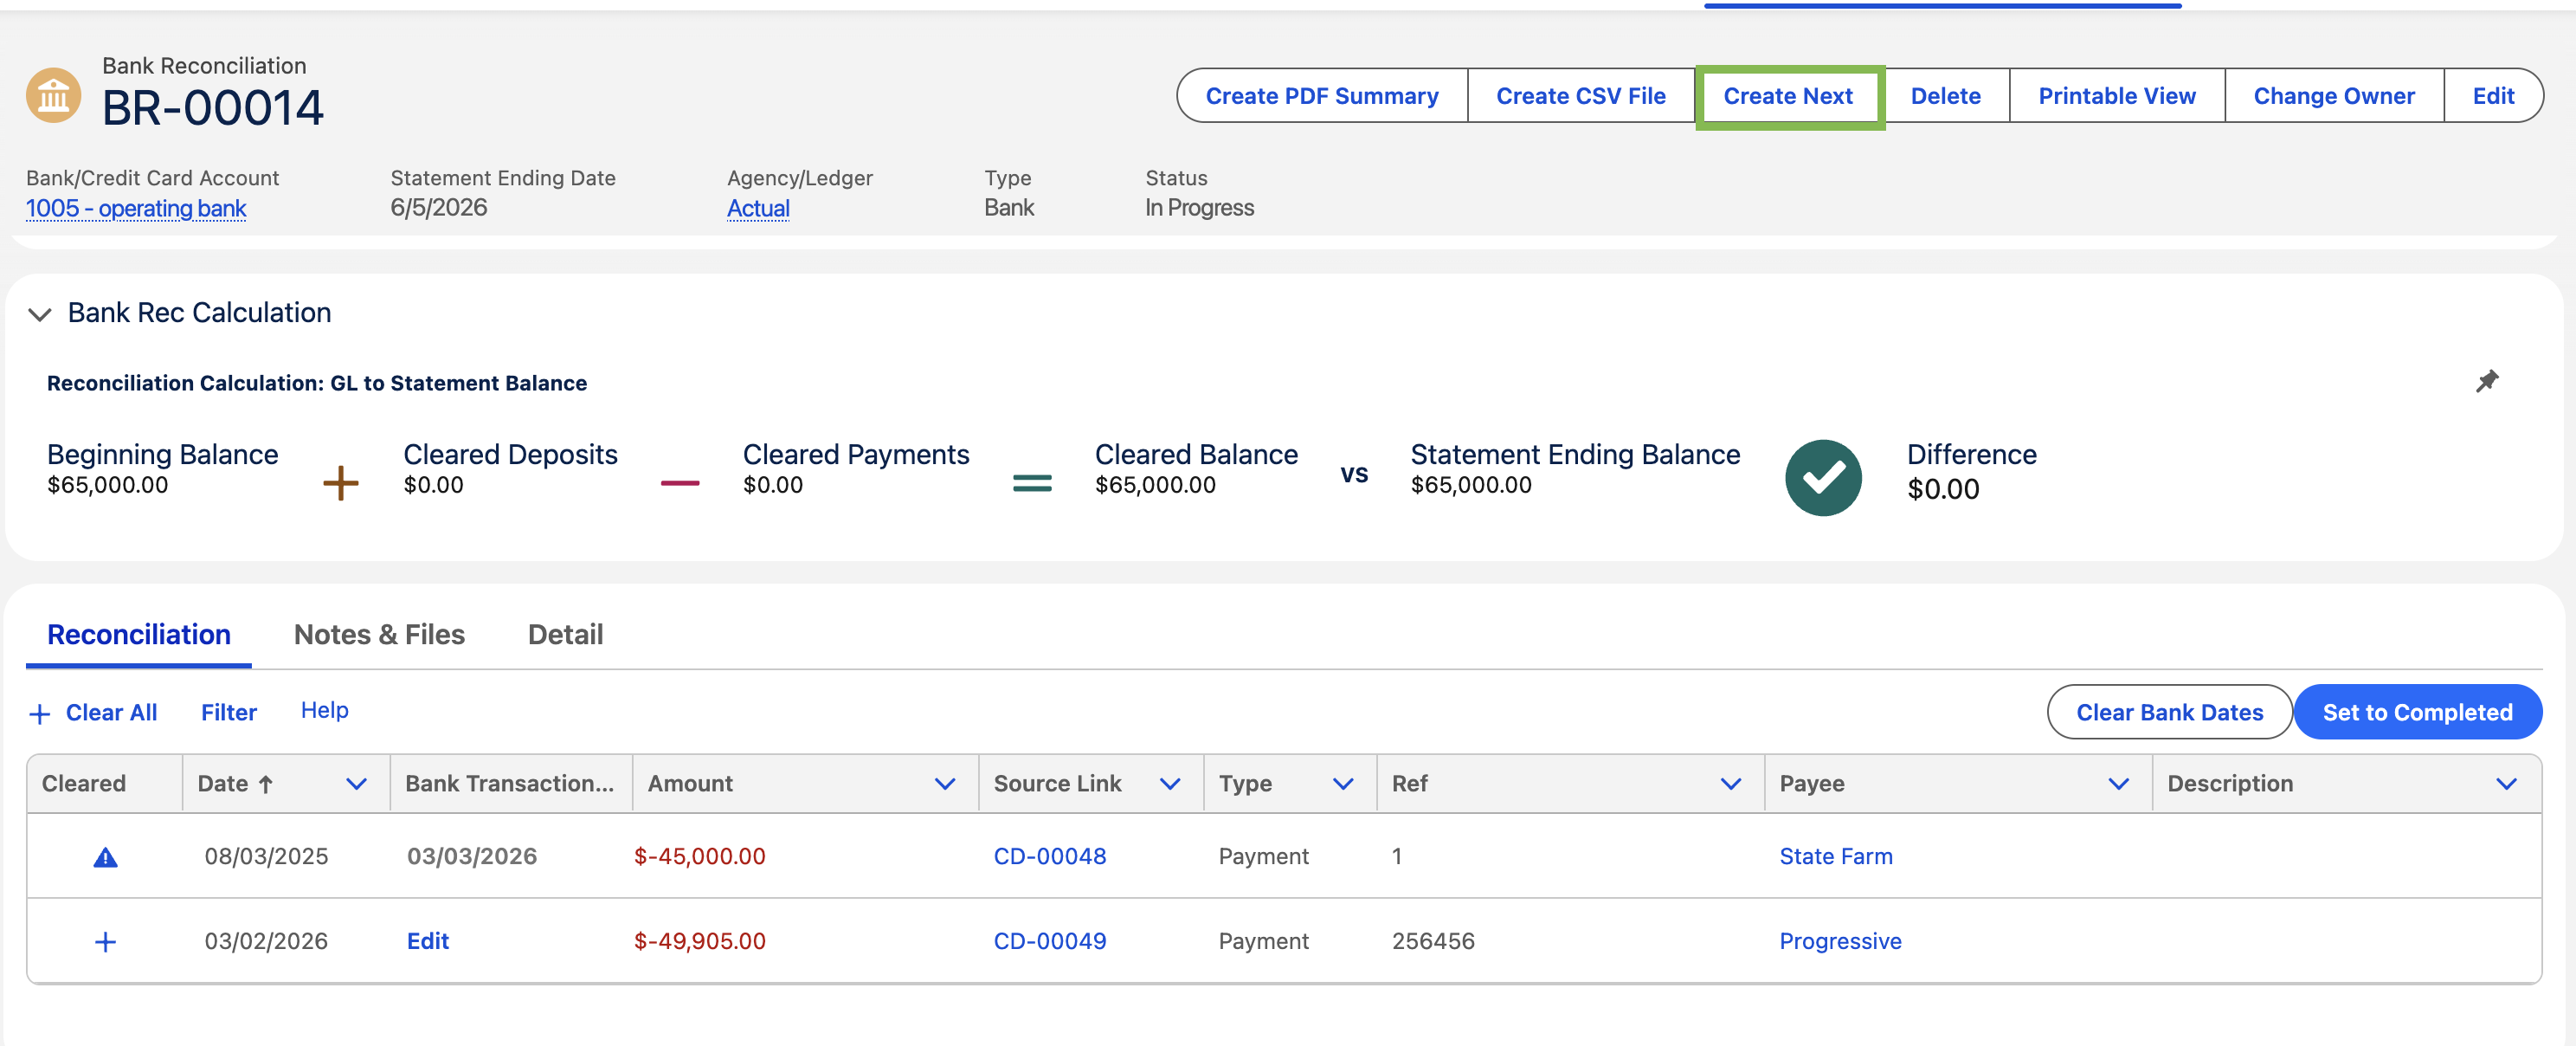
On the Create Next Bank Reconciliation screen, enter:
Statement Ending Date: Enter an end date later than the previous reconciliation.
Statement Ending Balance: Enter the ending balance from the bank statement.
Note: The Bank Account and Beginning Balance will prefill from the previous reconciliation.
Click Save.

Repeat the steps from the first bank reconciliation.
Generate summaries
You can generate a CSV or PDF summary of a completed Bank Reconciliation.
Note: A Bank Reconciliation must be "completed" prior to summary generation.
Complete the bank reconciliation
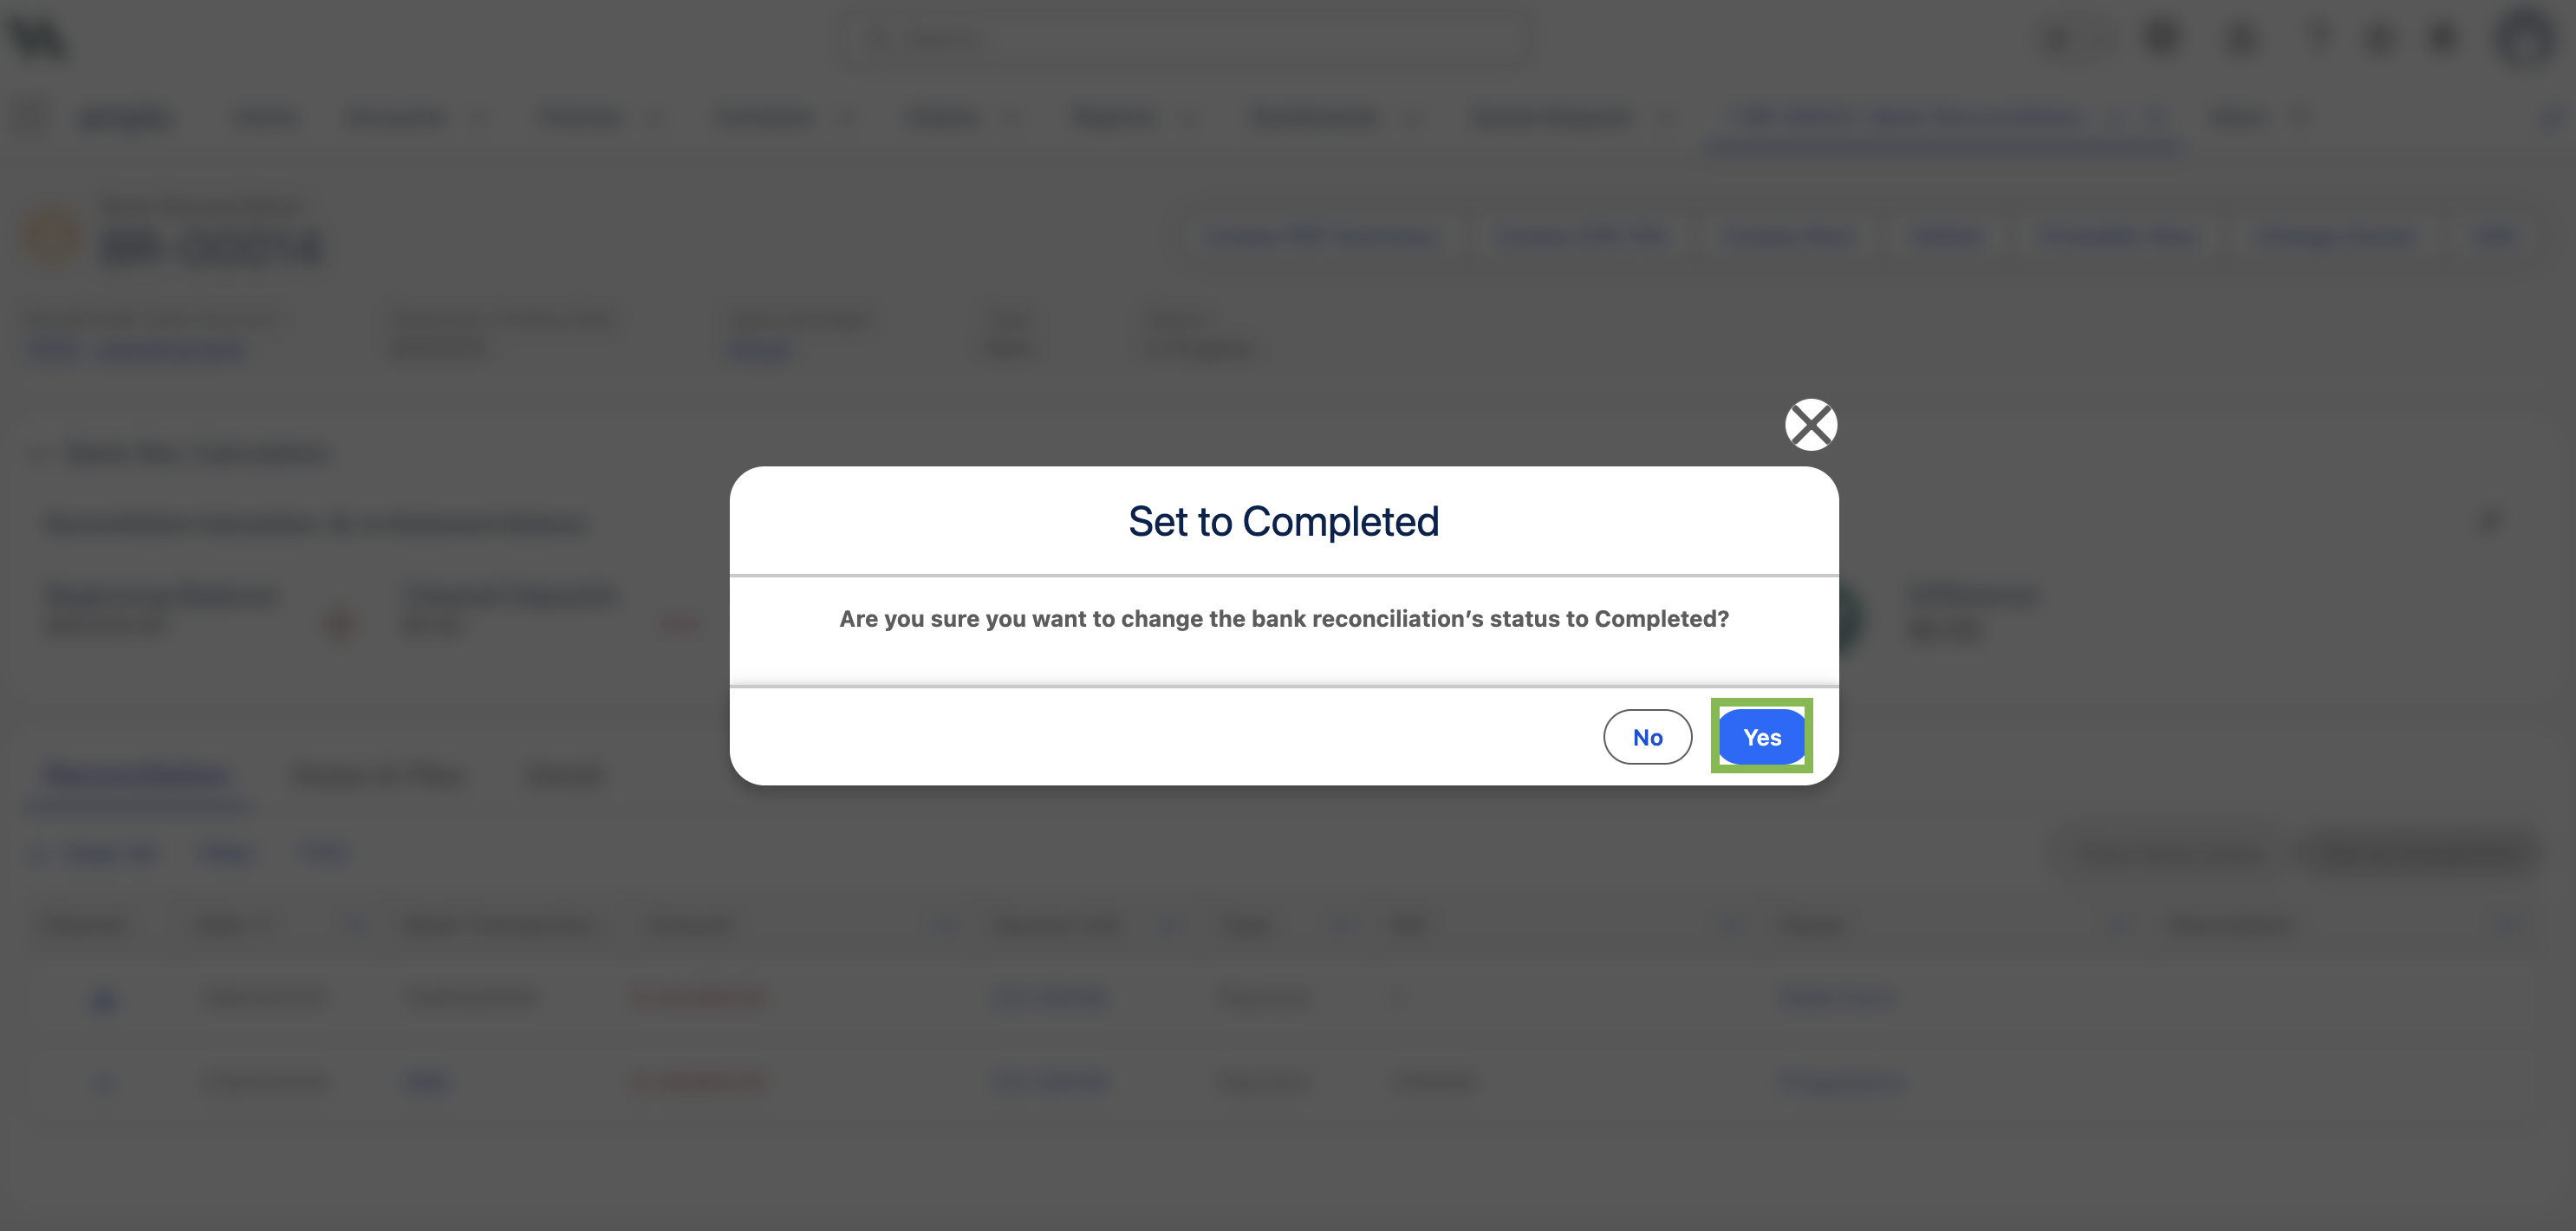
On the Bank Reconciliation record, click Set to Completed.
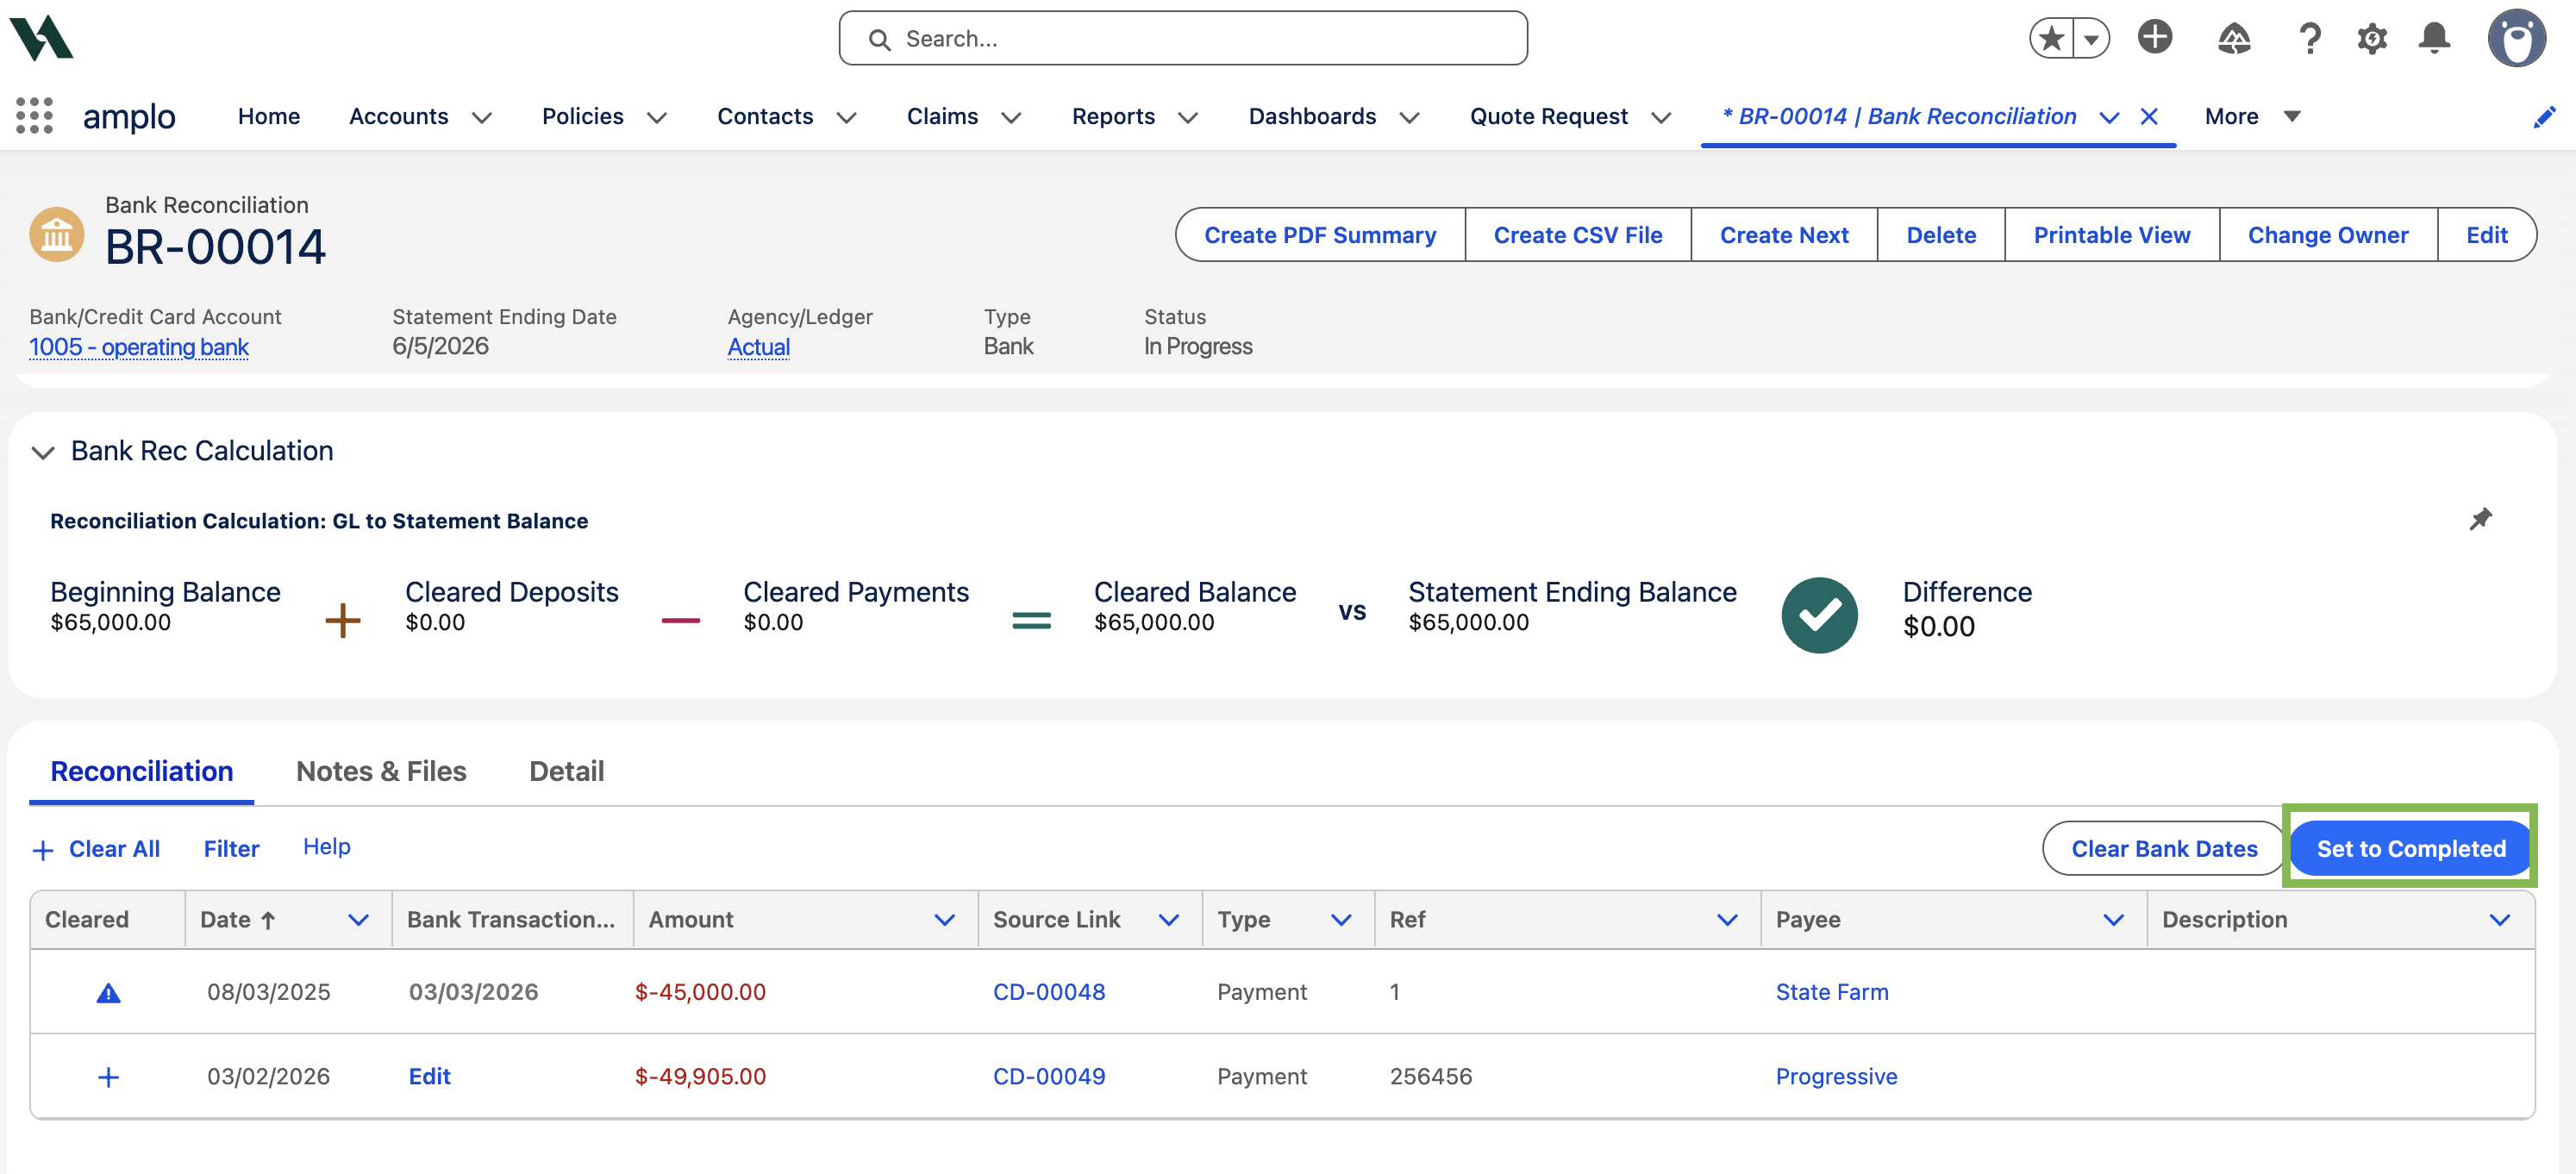
On the confirmation modal, click Yes to continue.
Generate the summary file
Click Create PDF Summary or Create CSV File.
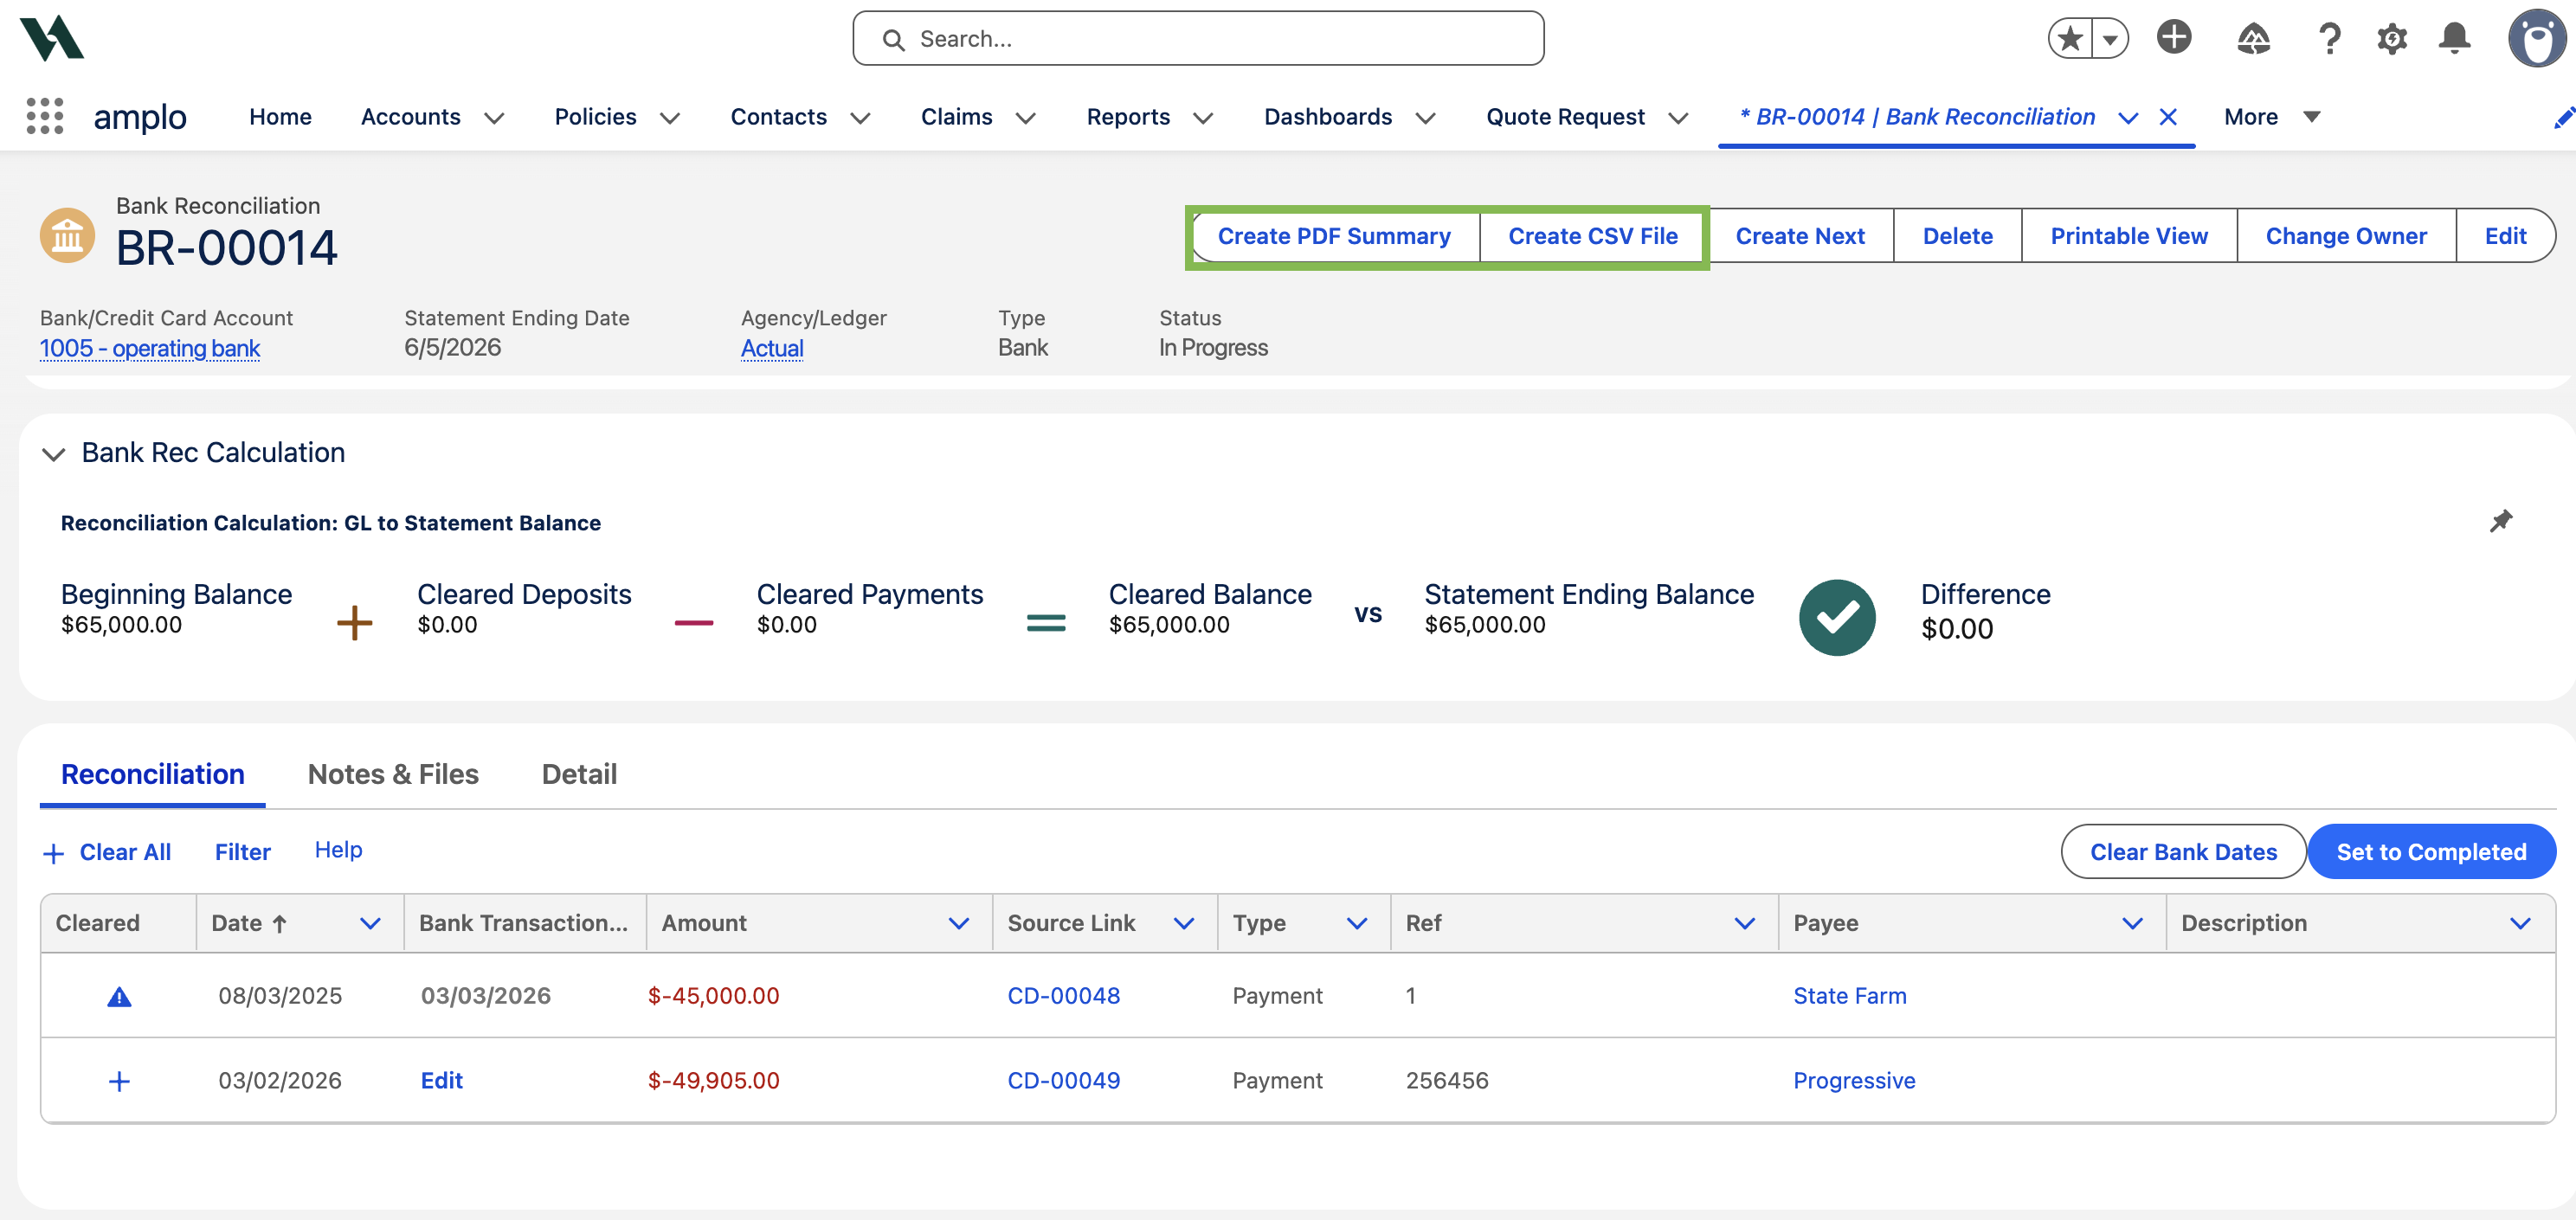
The report(s) will automatically be attached in the Notes & Files tab.

Create a bank reconciliation report
Use out-of-the-box reports to track uncleared bank transactions.
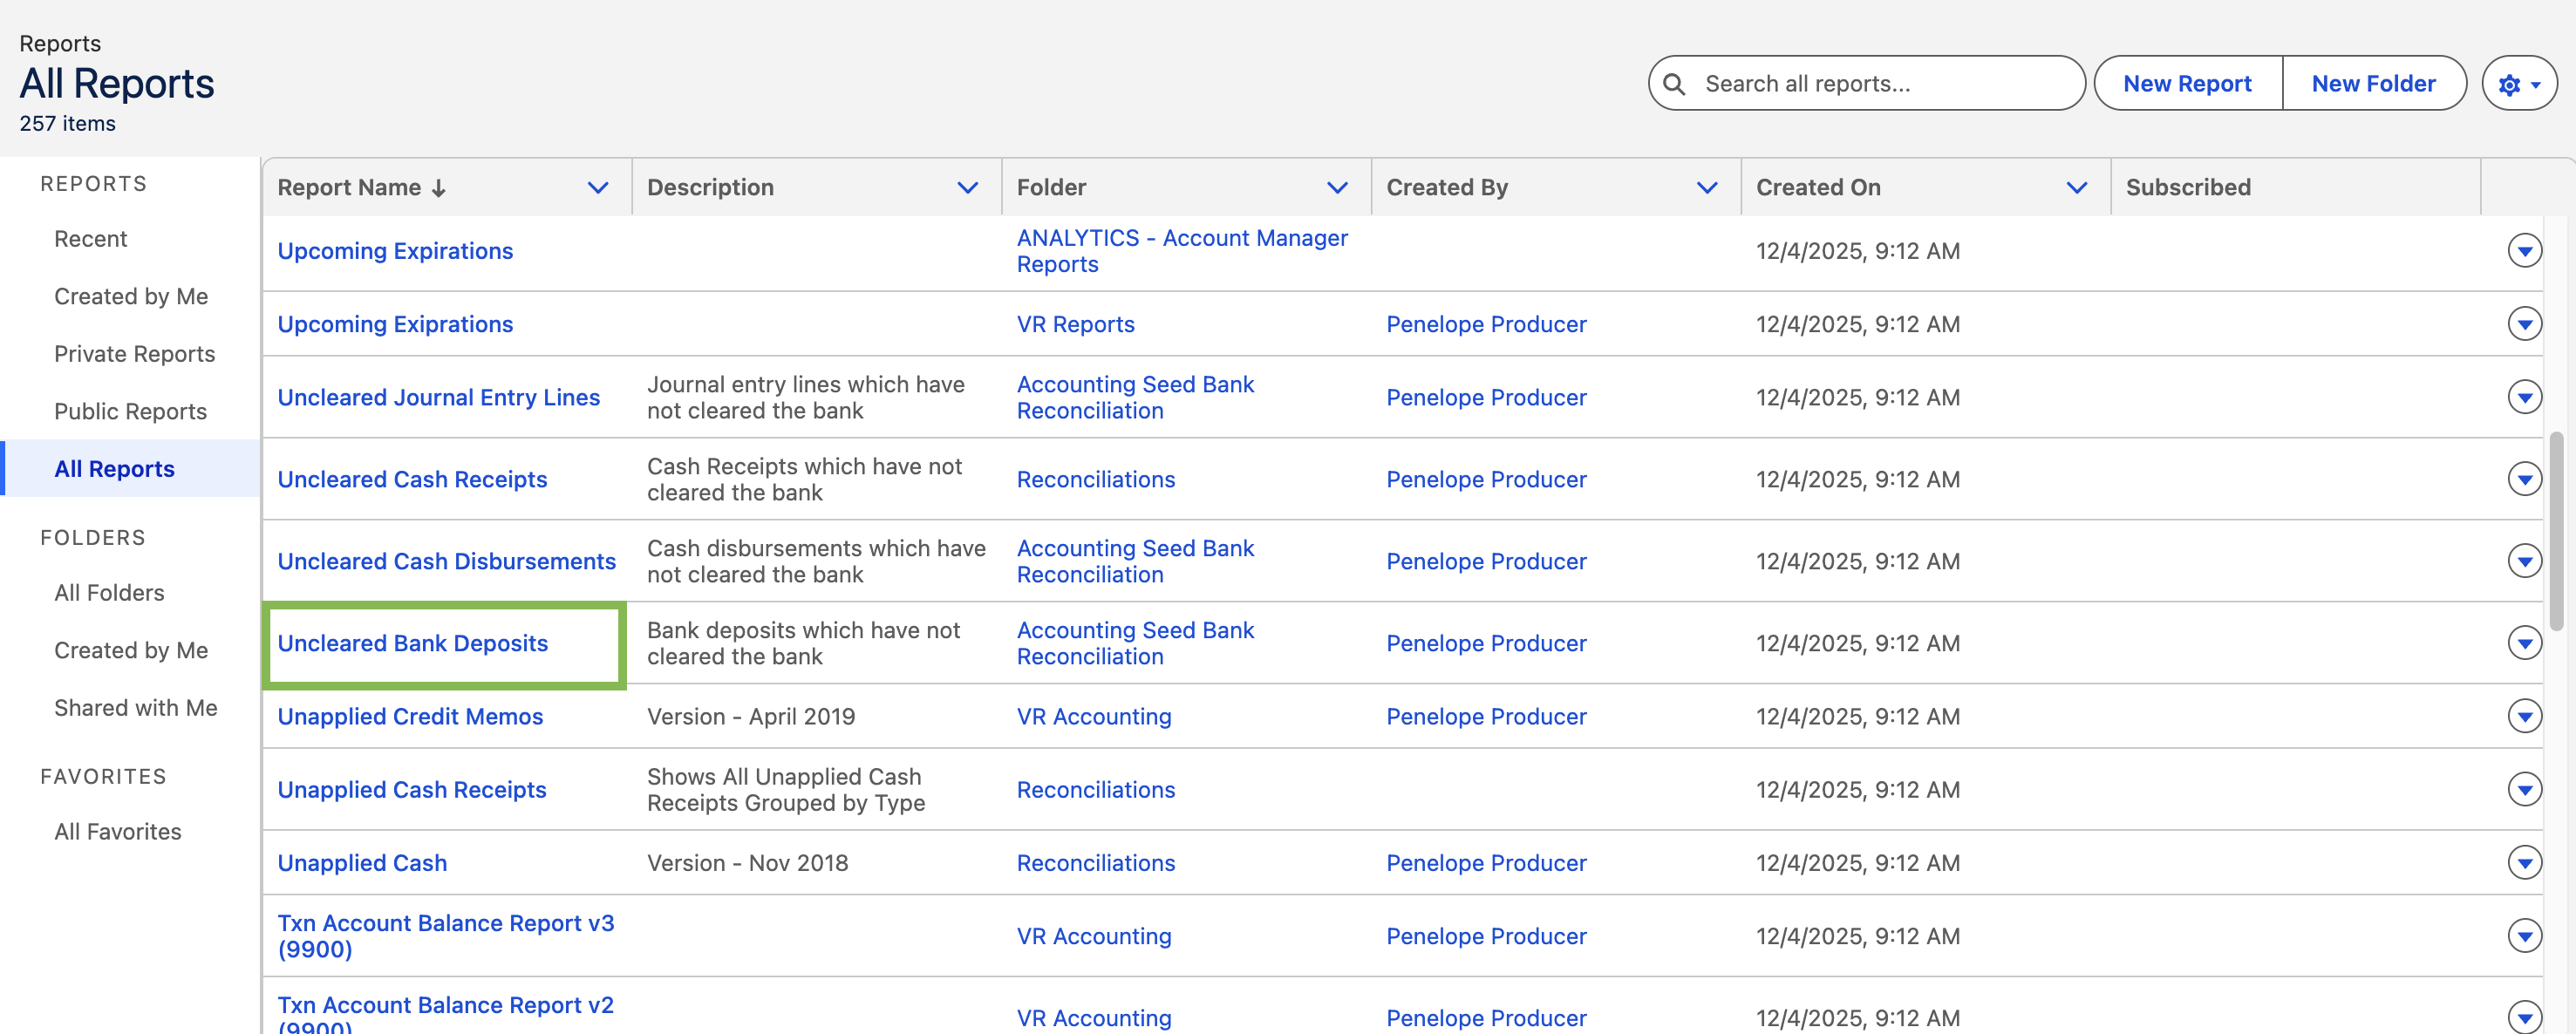
Navigate to the Reports tab.
Click All Reports.
Search and select the Uncleared Bank Deposits report.
Adjust filters and columns as desired, then Save your report.