Creating a PL policy change
Last updated: March 6, 2026
Overview
Policies such as auto, homeowners, renters, and umbrella follow standardized forms and rating structures. While the process is efficient, accuracy still matters. The information entered during the change request drives coverage updates, billing adjustments, and endorsement documentation. For more information regarding when and why to update a policy manually, see 📄 Changing a policy.
This article outlines how to manually create, finalize, and bill a personal policy change and does not apply to changes made through downloads. For instructions on making changes to commercial lines policies, see 📄 Creating a CL policy change.
Create a Change Request
From the policy record that you would like to update, select the Policy Changes tab.
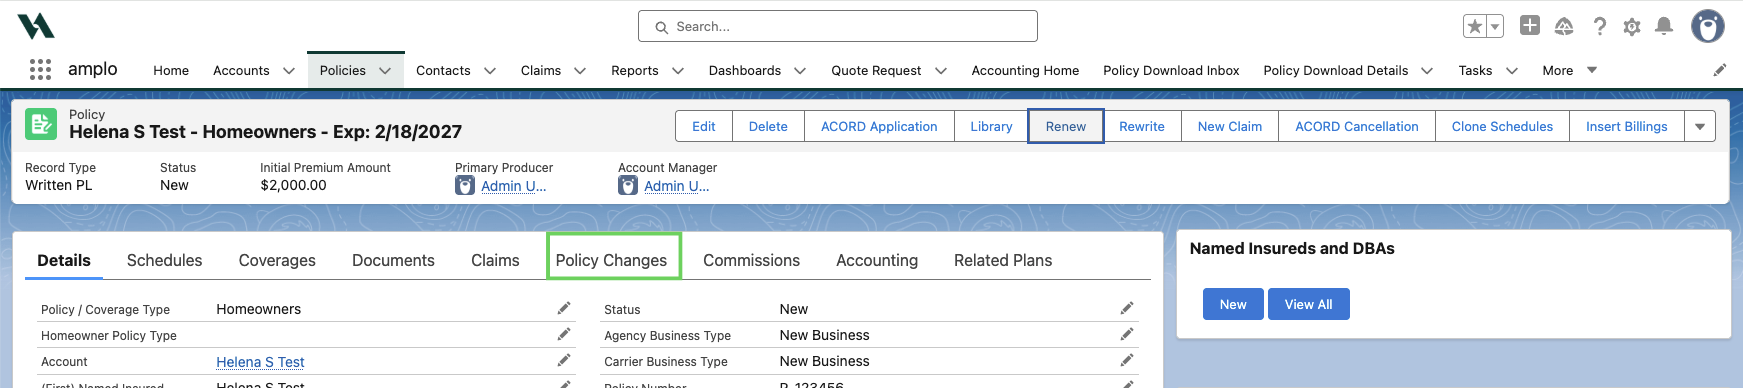
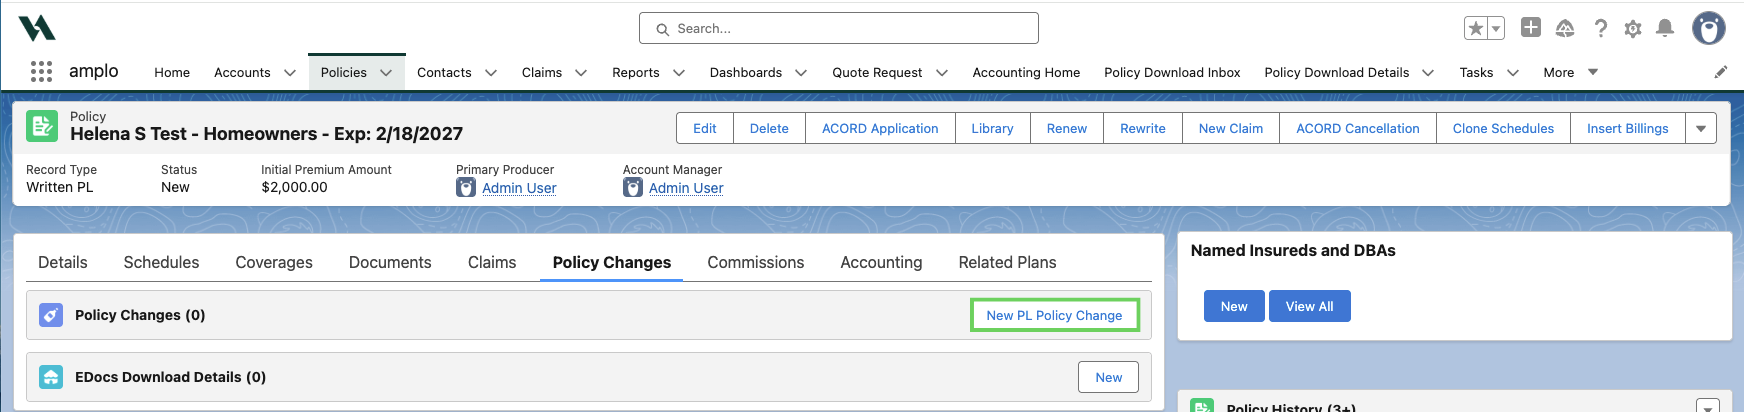
Select New PL Policy Change.
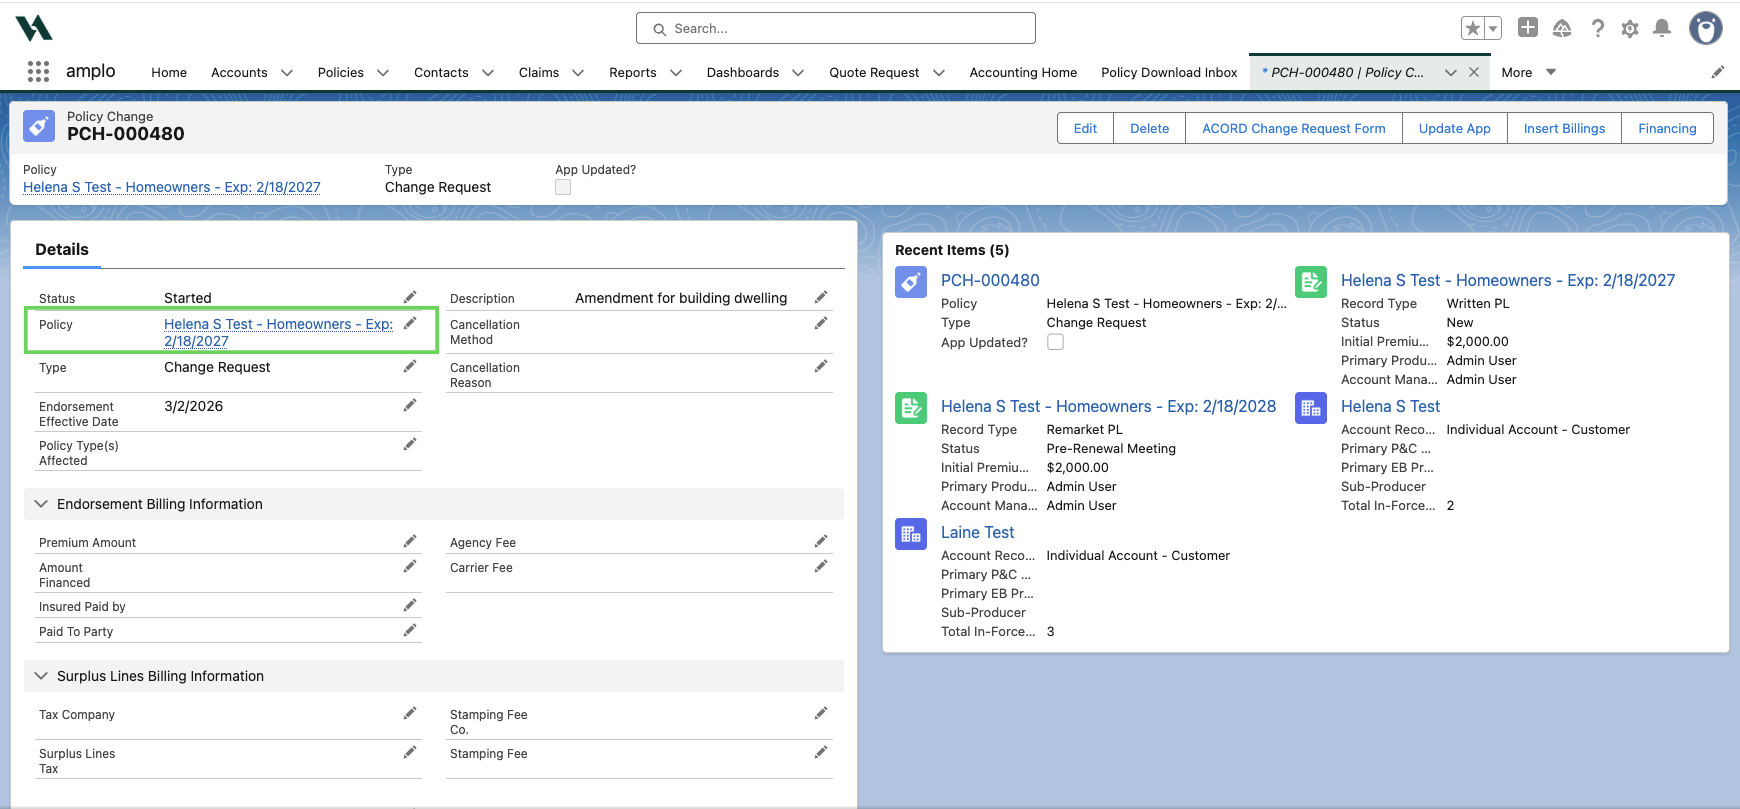
On the New Policy Change: PL Change Request & Endorsement Billing modal, select the following:
Type: Change Request
Description: Brief description of the policy change
Endorsement Effective Date: Date you received the change request
Policy Type(s) Affected: Selected the affected policy types and click the tight arrow to move them from the Available column to the Chosen column (required for package policies).
If the Policy Type(s) Affected is not entered for package policies, the system will generate an error. This requirement does not apply to monoline policies.
If you already have the information for the remaining sections, you can input the values here. Often, you may not have this information until after submitting the change to the carrier.
Note: Premium changes to the policy will only be made when the Type of the Policy Change is updated to Endorsement after confirmation from the carrier.
The App Updated? field is used to notate whether the policy changes have been pushed to the ACORD form. At this point in the process, it should be left unchecked.

When finished, select Save.
Select the policy hyperlink to navigate back to the policy record.
Updating schedules and coverages
To create a new schedule or coverage, see 📄 Adding policy schedules and coverages.
Update coverages
Updating coverages during a personal lines policy change is important because it ensures the policy continues to accurately reflect the insured’s current needs and risk exposure.
Important: These values determine the final schedule details and populate the ACORD forms, so filling them out completely and accurately is critical for downstream workflows.
On the policy record, select the Coverages tab.

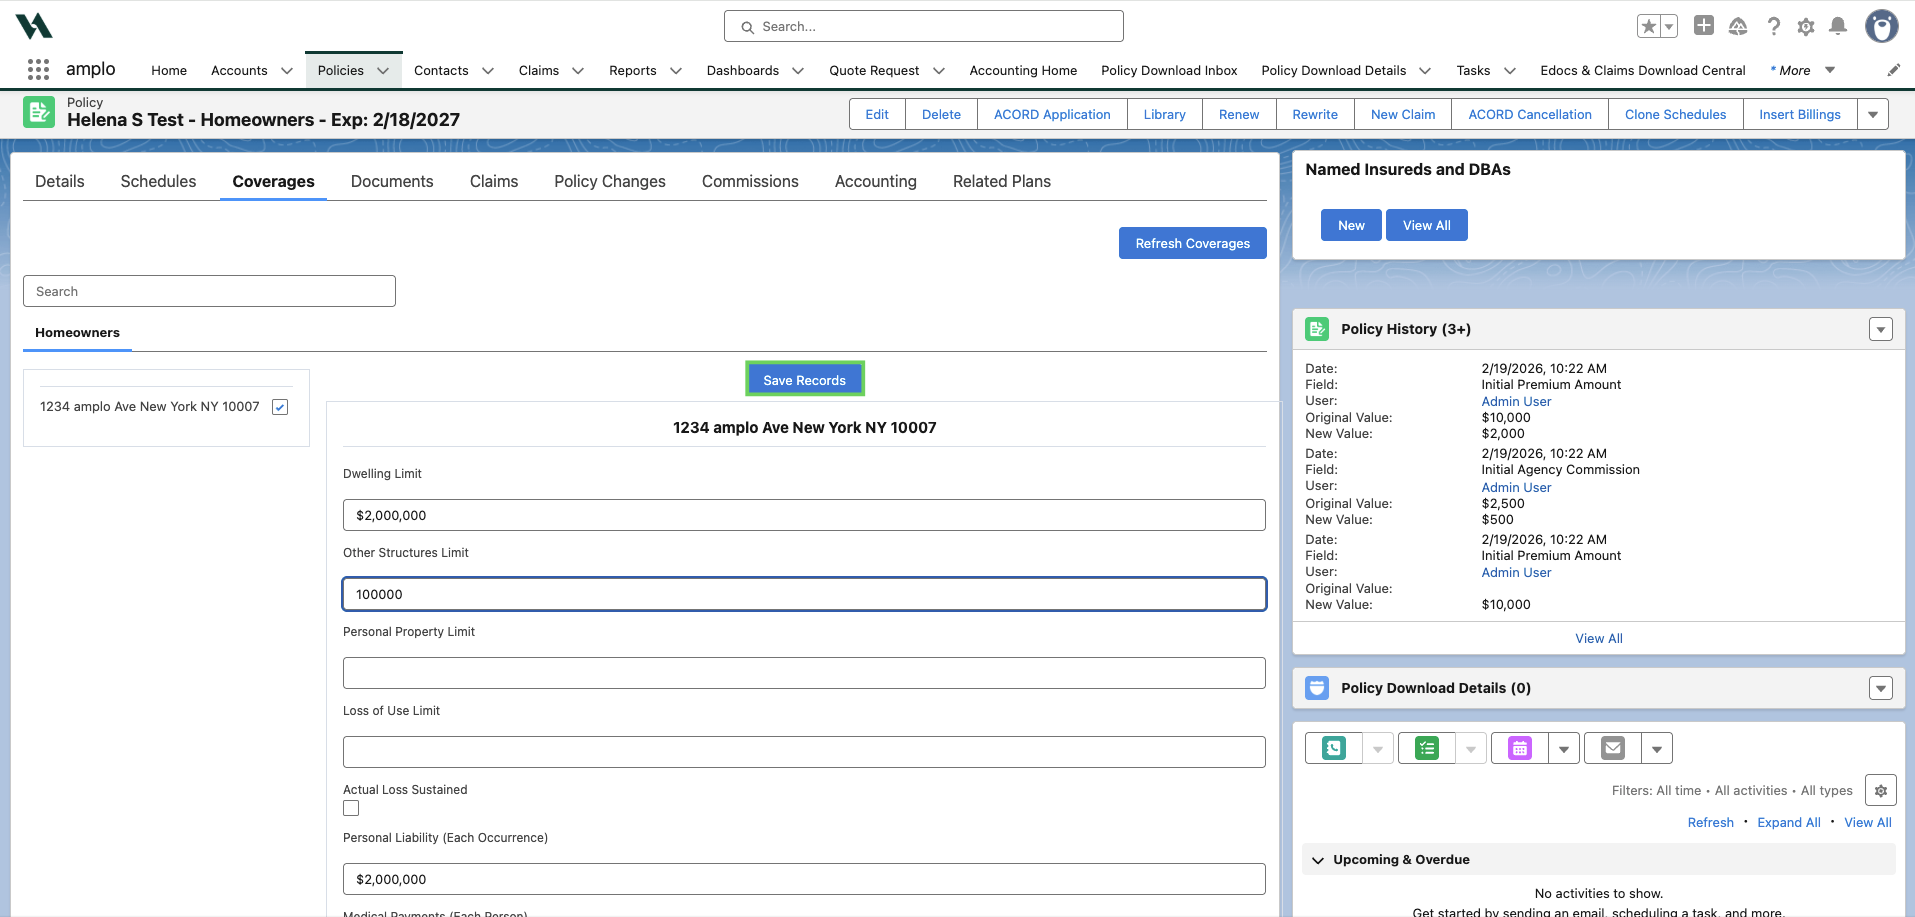
Use the fields to edit limits affected by the change request.
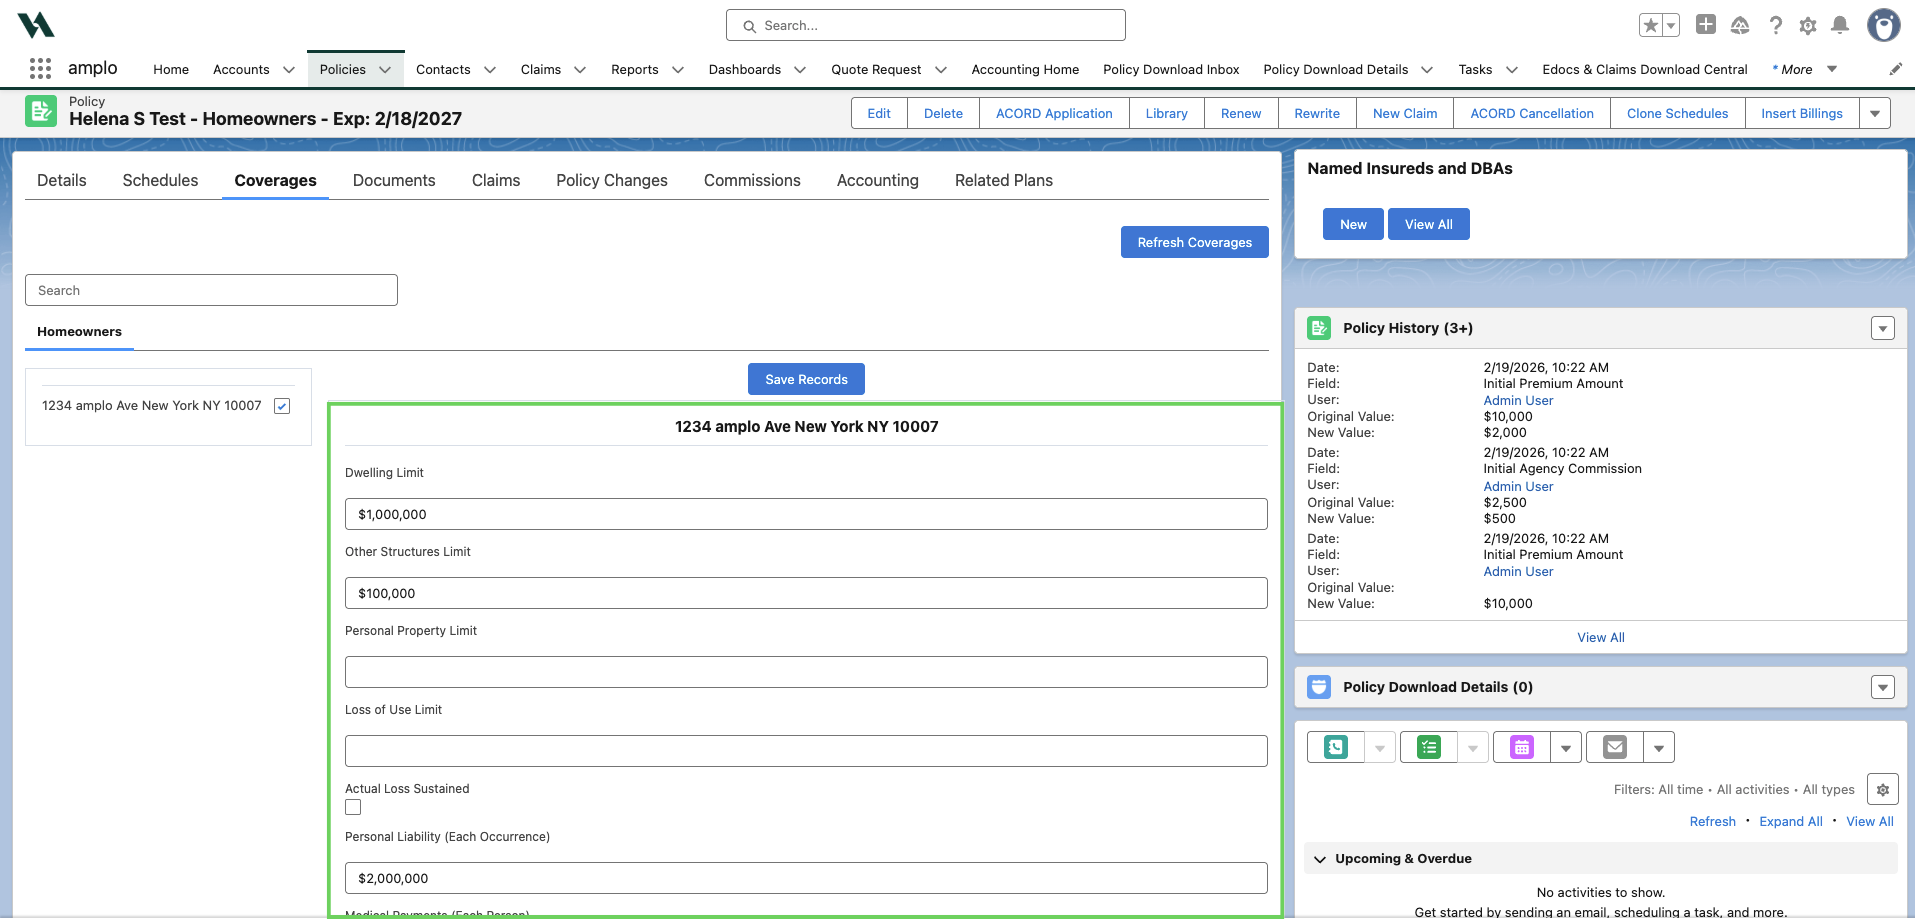
When finished, click Save Records.
Update schedules
Updating schedules during a personal lines policy change is important because schedules list the specific items or risks that are individually insured under the policy.
In personal lines, schedules commonly include vehicles, drivers, properties, or scheduled personal property (such as jewelry, fine art, or collectibles). If these scheduled items are not kept current, the policy may not accurately reflect what should be covered.
Navigate to the Schedules tab.

Once on the Schedules tab:
a. If creating a new schedule, click Create New, select the applicable schedule type from the pick list and enter necessary details.

b. If editing an existing schedule, select the check box next to the item you wish to update and click the pencil icon.
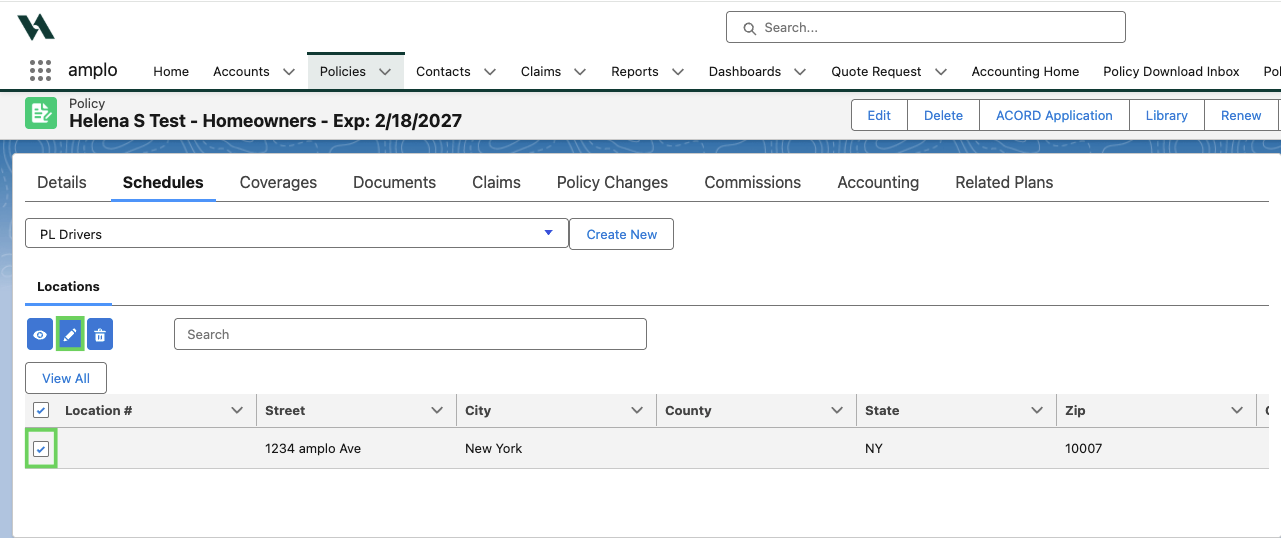
After making any adjustments to your schedule, select Save.

Confirm that all required fields are complete to ensure accurate rating and endorsement documentation.
Complete ACORD Change Request Form
From the policy record, select the ACORD Application button.

Once the forms window opens in a new tab, search and select the Personal Policy Change Request (Except Auto) form.

Note: Changes made to Schedules and Coverages will automatically reflect on the Personal Policy Change Request (Except Auto) form.
Once the form opens, review and complete the following on the form:
Policy Type
Effective Date of Change: The effective endorsement date of the policy change
Types of Change: Remove the coverages you don't intend to change by using the letter (D)
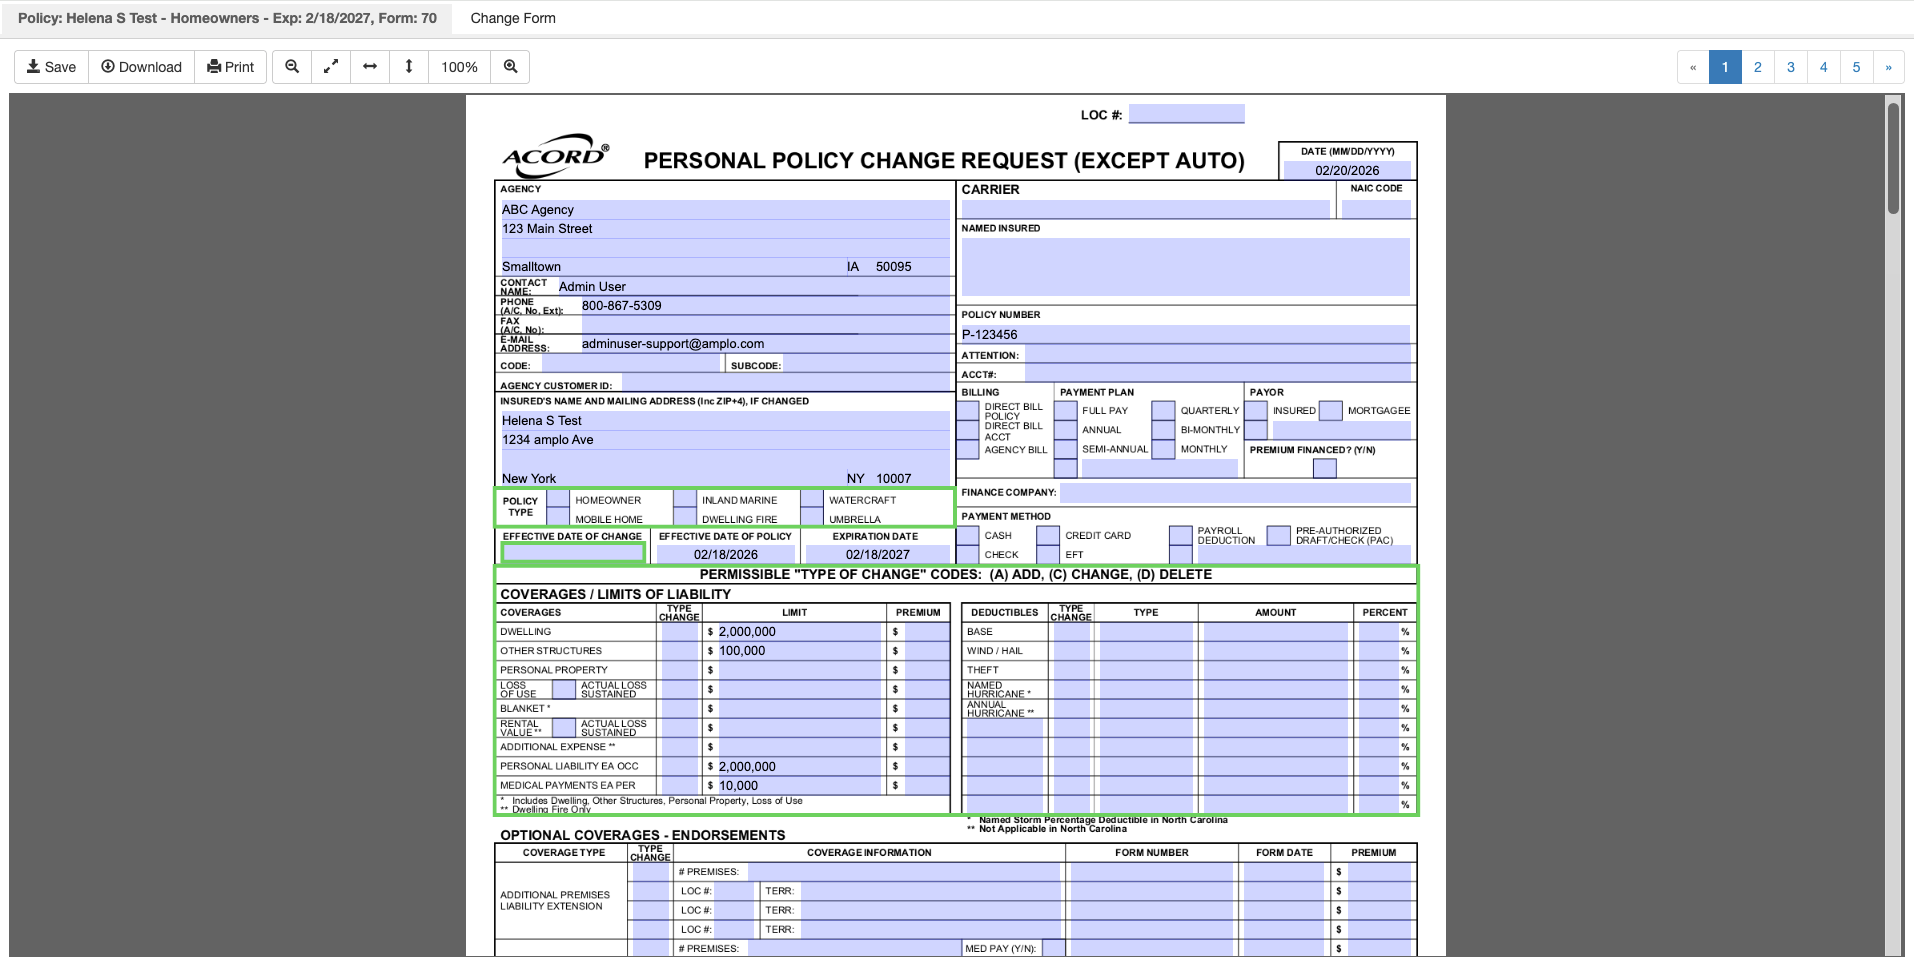
Select Save on the ACORD Form Viewer.
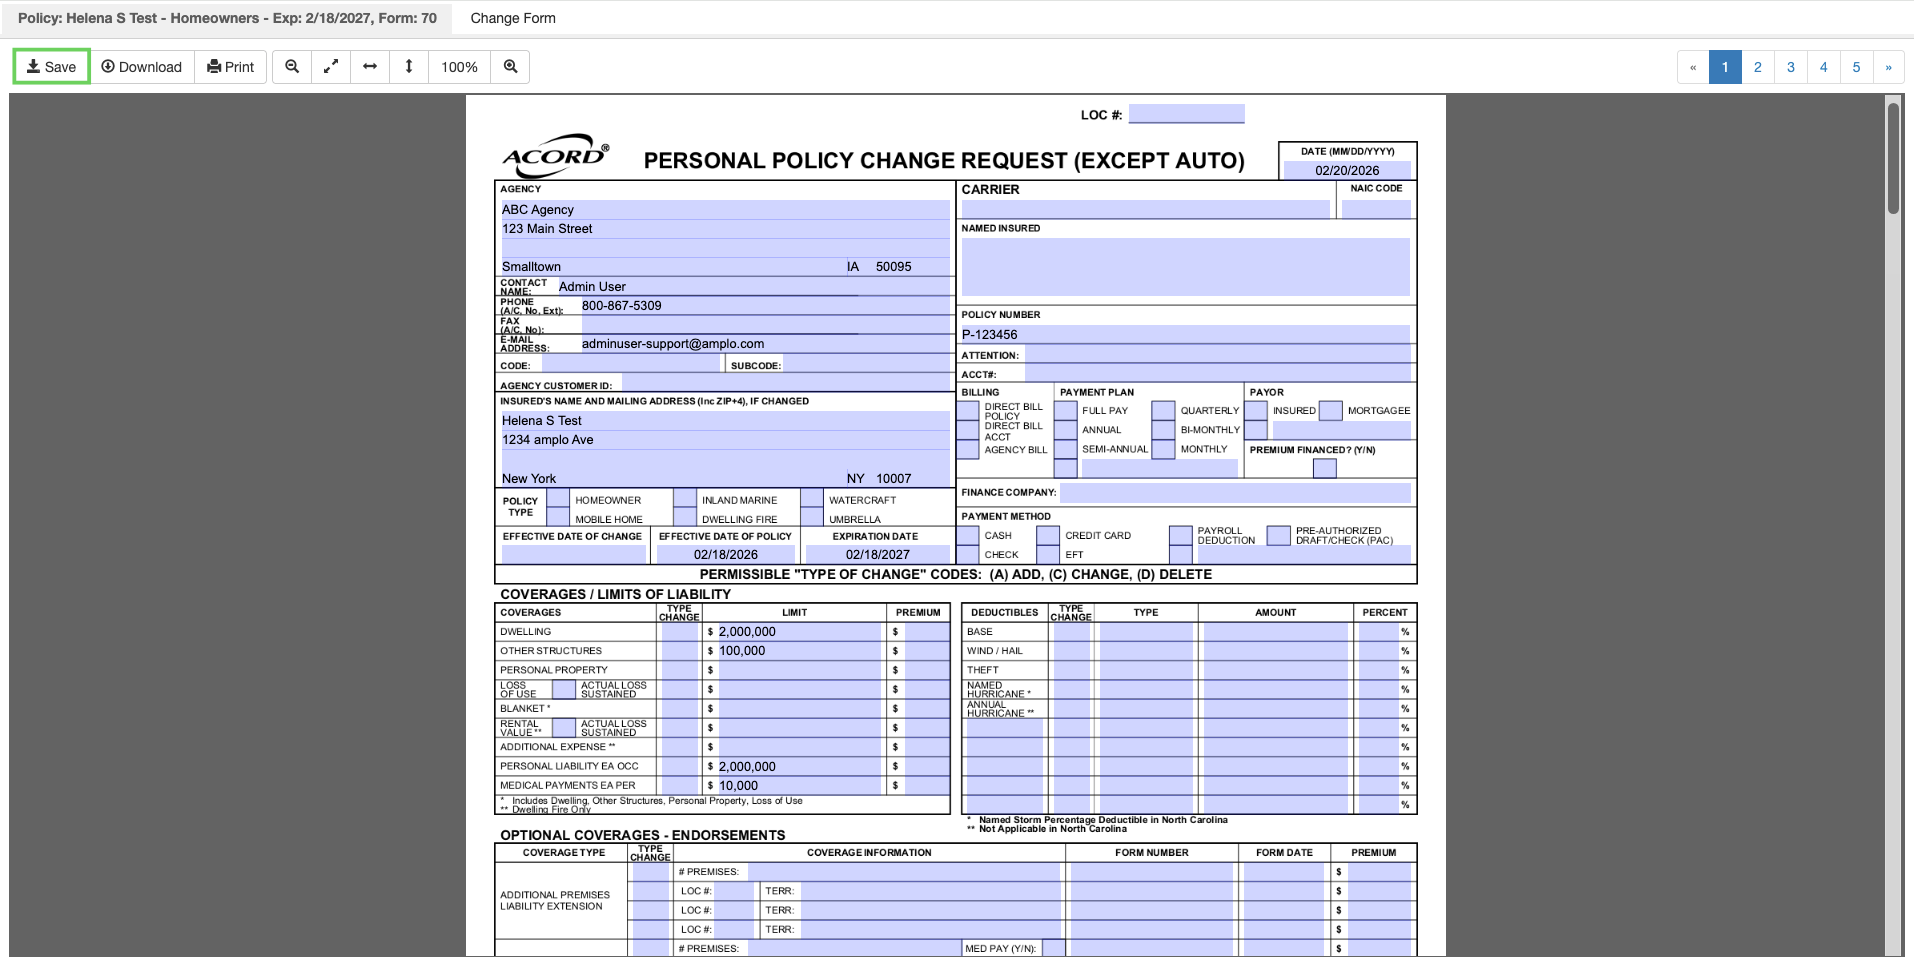
Select Save again to confirm.

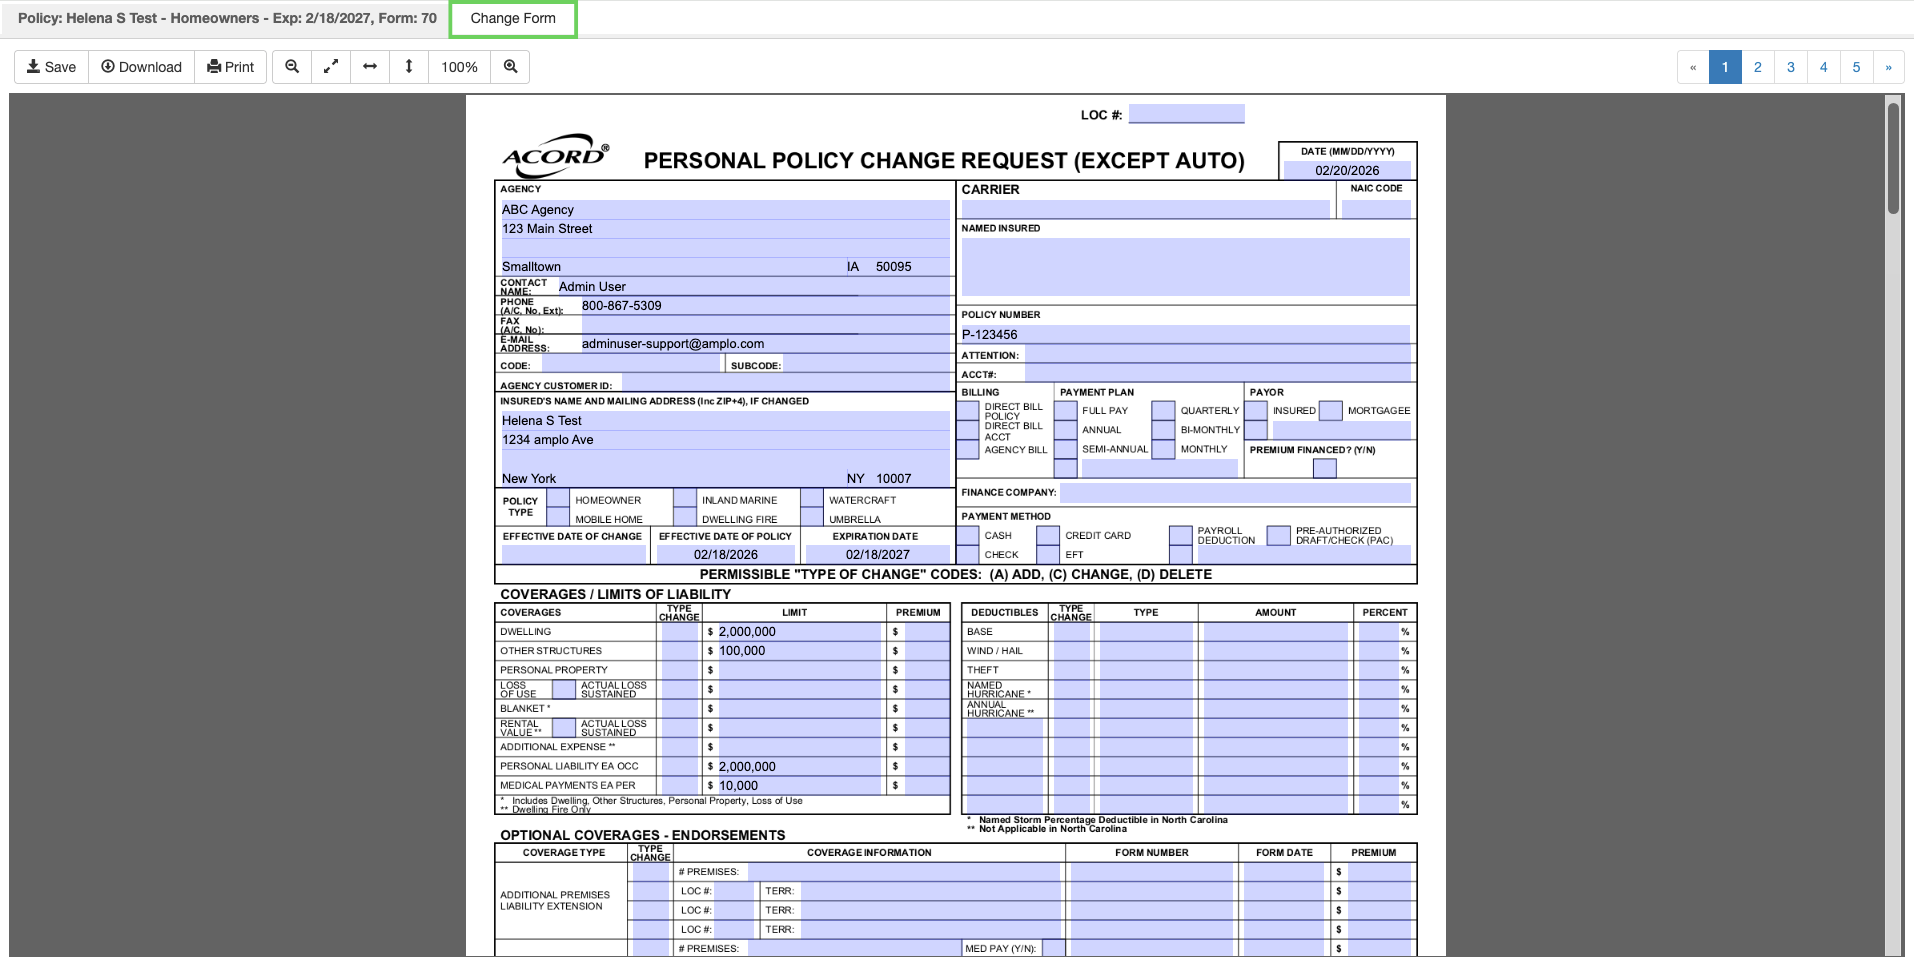
Click Change Form to navigate the previous page.
Select Finalize Forms.
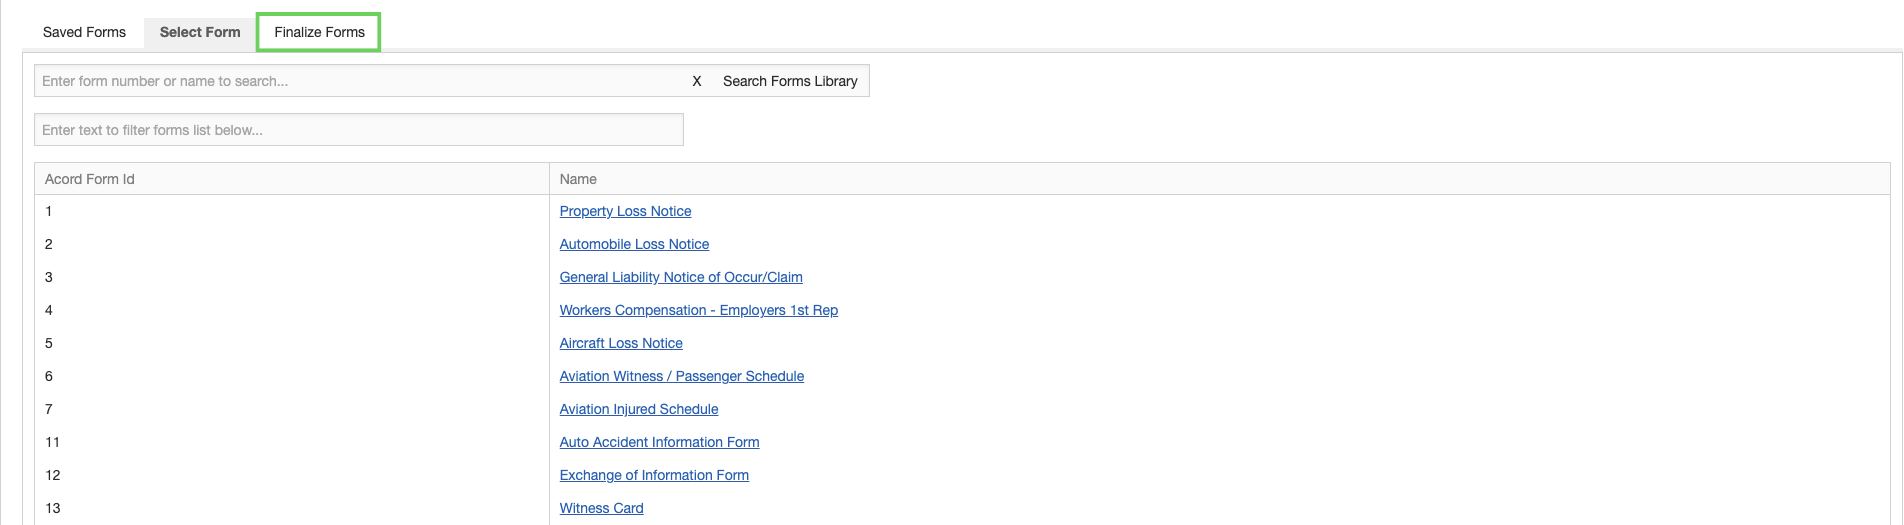
Select the checkbox next to the form you're ready to finalize. Then select Arrange Forms.

Click Finalize Forms.

Once you select finalize forms:
The finalized, uneditable PDF opens in a new window.
It automatically downloads to the Documents tab of your policy.

Note: It's best practice to add a task to document the change. For more information on creating a task, see 📄 Managing client interactions.
Finalize the policy change
Since this is a manual process, the policy change must be finalized upon receipt of the carrier endorsement.
Navigate back to the policy record and open the Policy Changes tab.
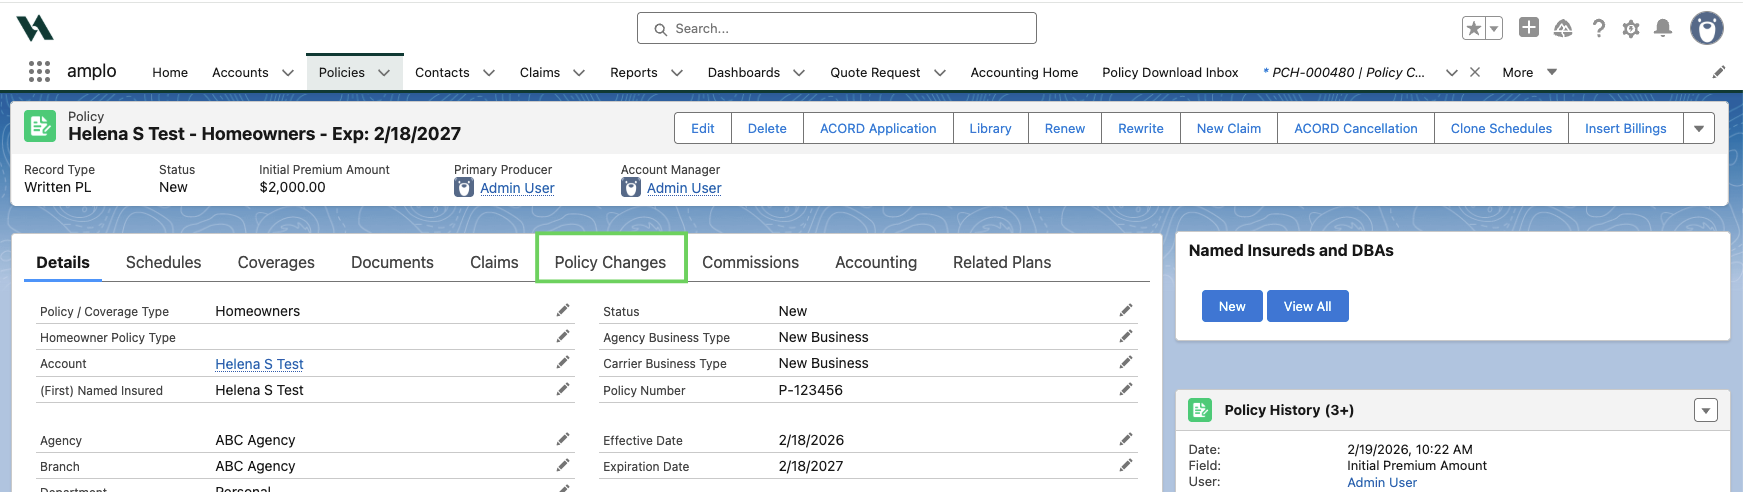
Click the hyperlink the the policy change that's been endorsed by the carrier.
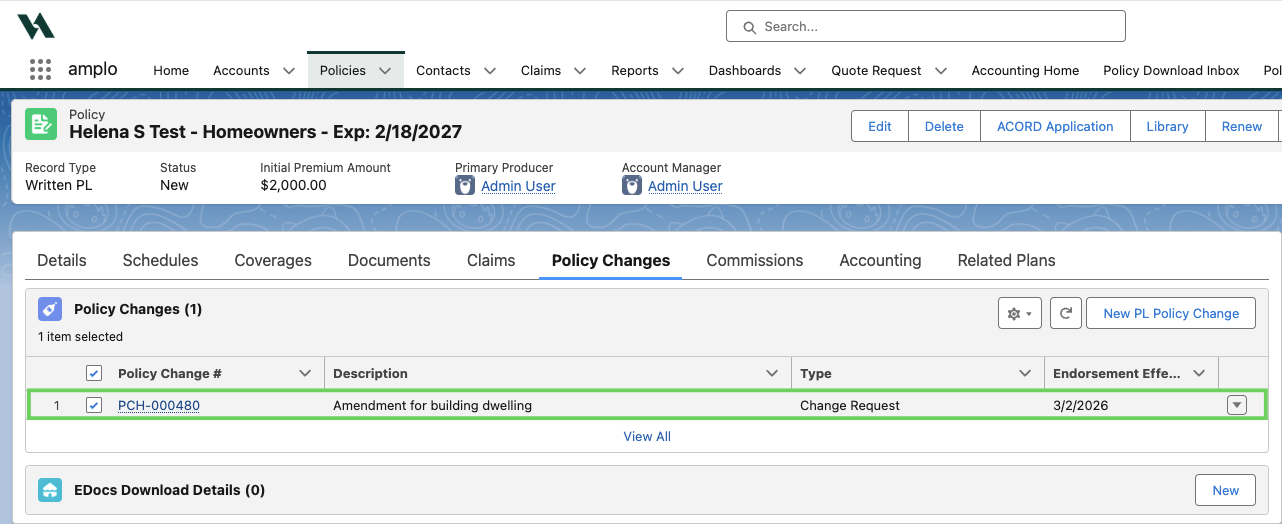
Once the policy change record opens, click the pencil icon to update the following:
Status: Finished
Type: Endorsement
If applicable, enter the Premium Amount received from the carrier.
When finished, click Save.
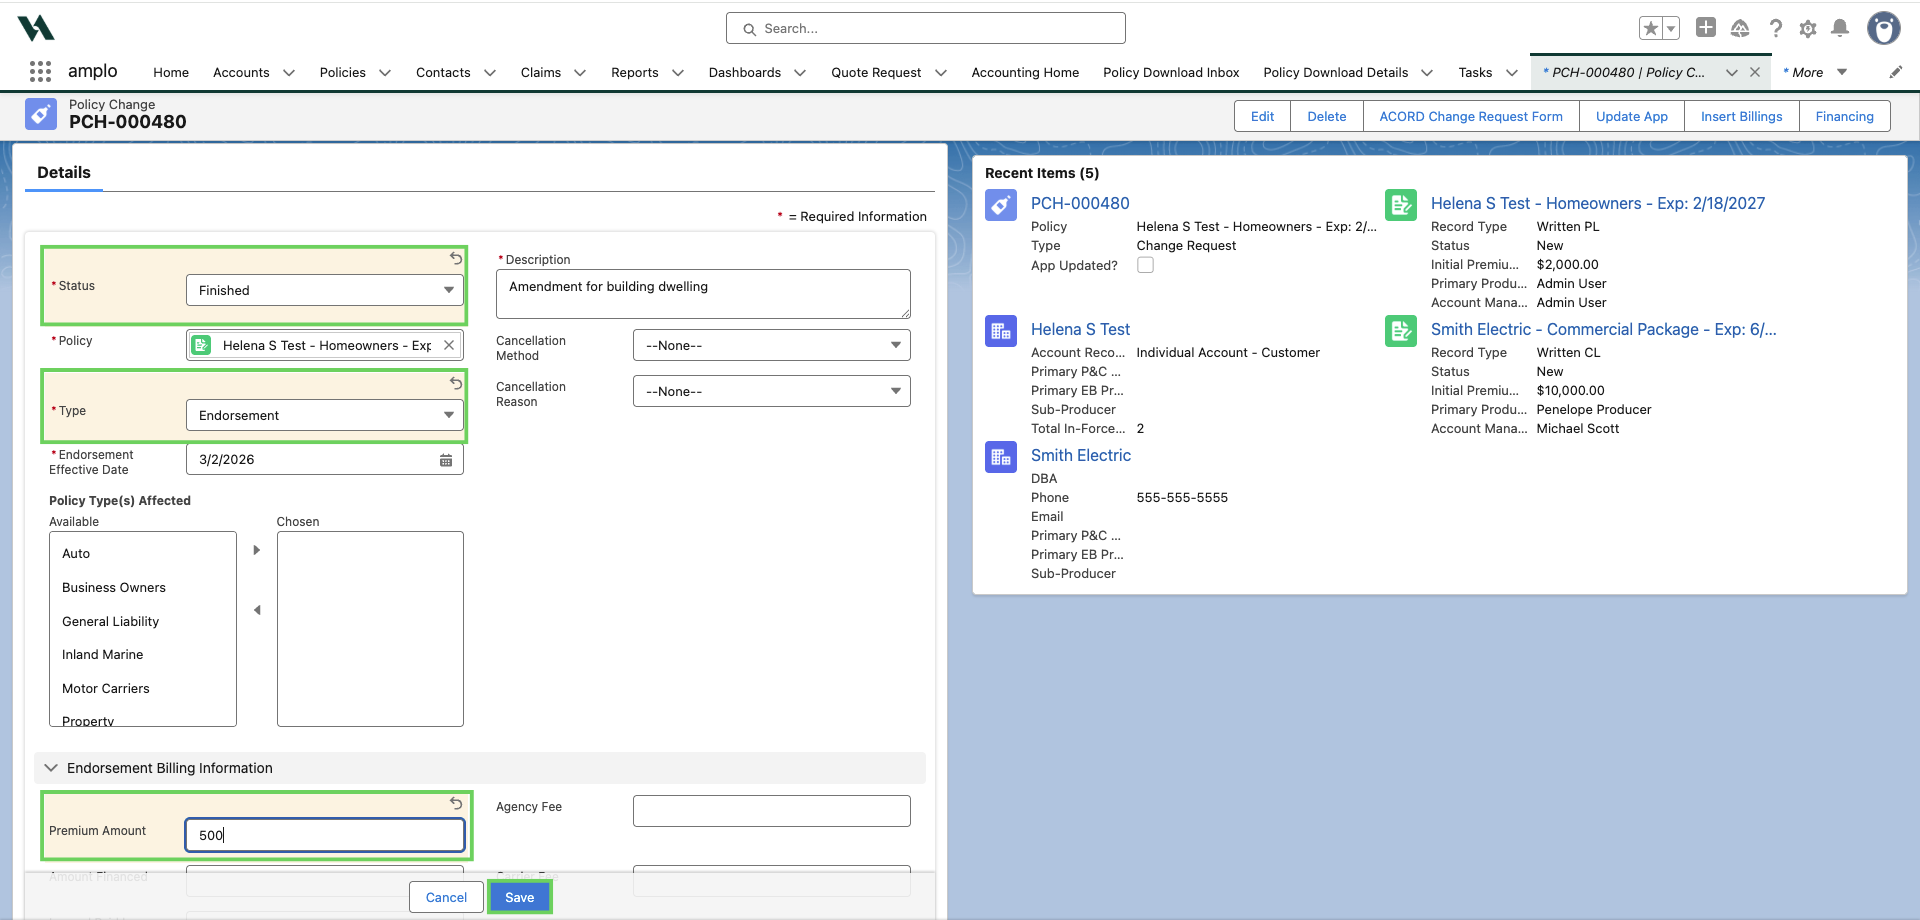
Note: Updating the Type field to Endorsement is critical to downstream accounting workflows.
Insert Billing
For Direct Bill policies, the carrier bills the insured. For Agency Bill policies, you must create a billing record to generate the invoice for the new endorsement for manual policy changes.
Click Insert Billings on the Policy Change record to generate the endorsement invoice.

You will receive a pop-up confirmation to create the billing. Click OK to proceed.

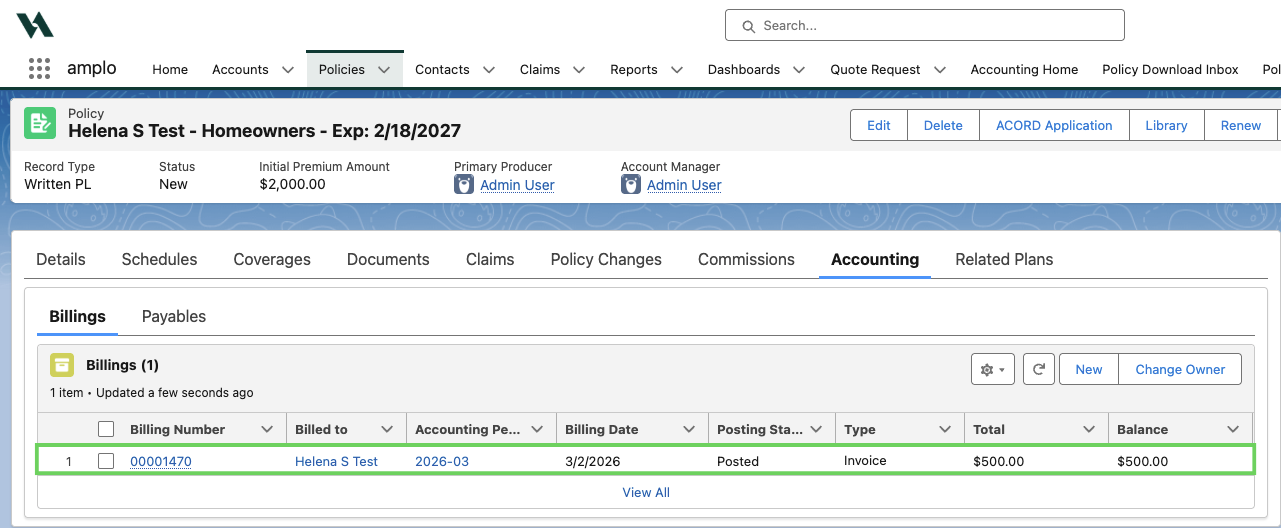
To confirm the billing was successfully added, navigate back to the Policy record, click the Accounting tab, and confirm the billing appears.