Creating a carrier account
Last updated: April 22, 2026
Overview
Carrier accounts store the information amplo uses to match policy downloads to the correct carrier. Setting one up correctly ensures downloads process automatically and your policy data stays accurate. In this article, you'll learn how to create a carrier account and configure it for policy downloads.
Creating a carrier account
Follow the steps below to set up a carrier account in amplo.
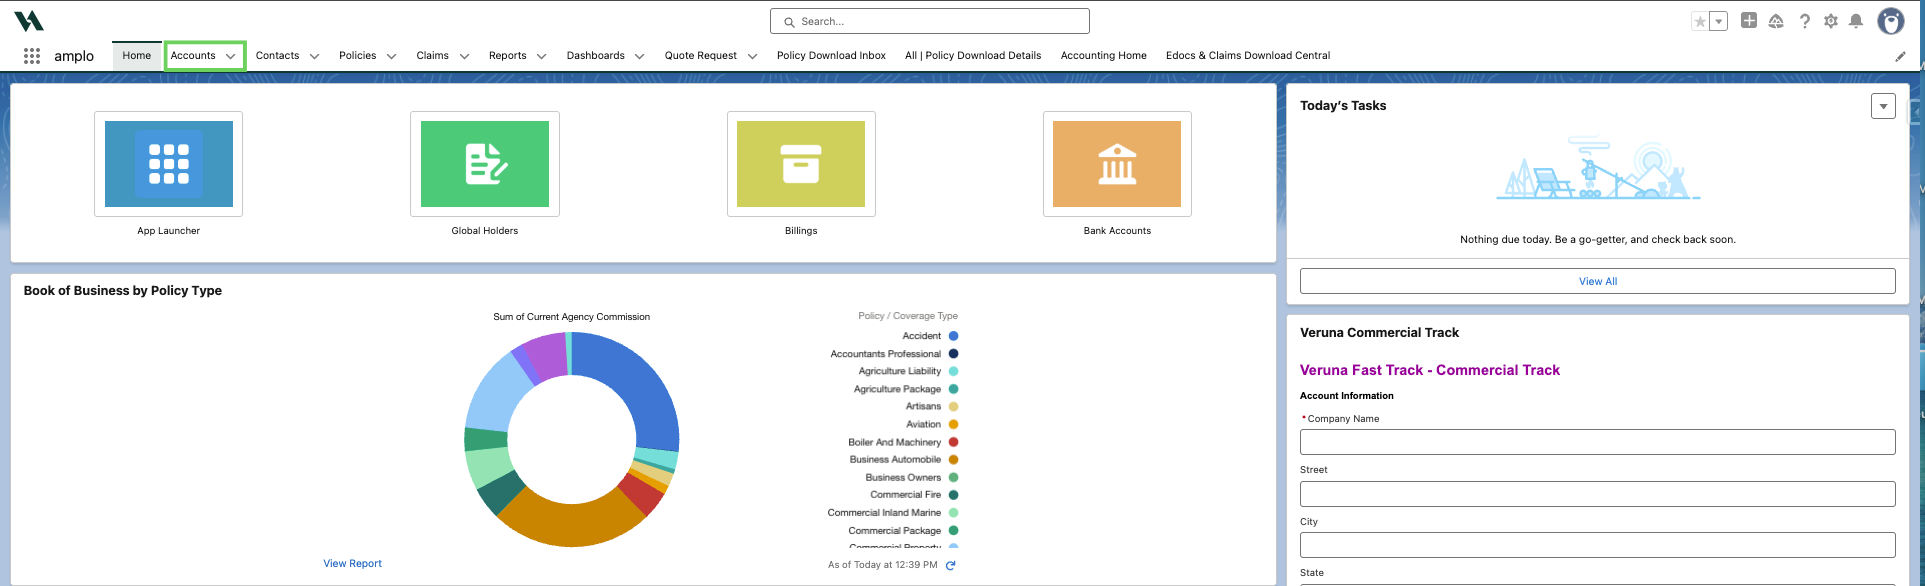
From the home page, select Accounts.
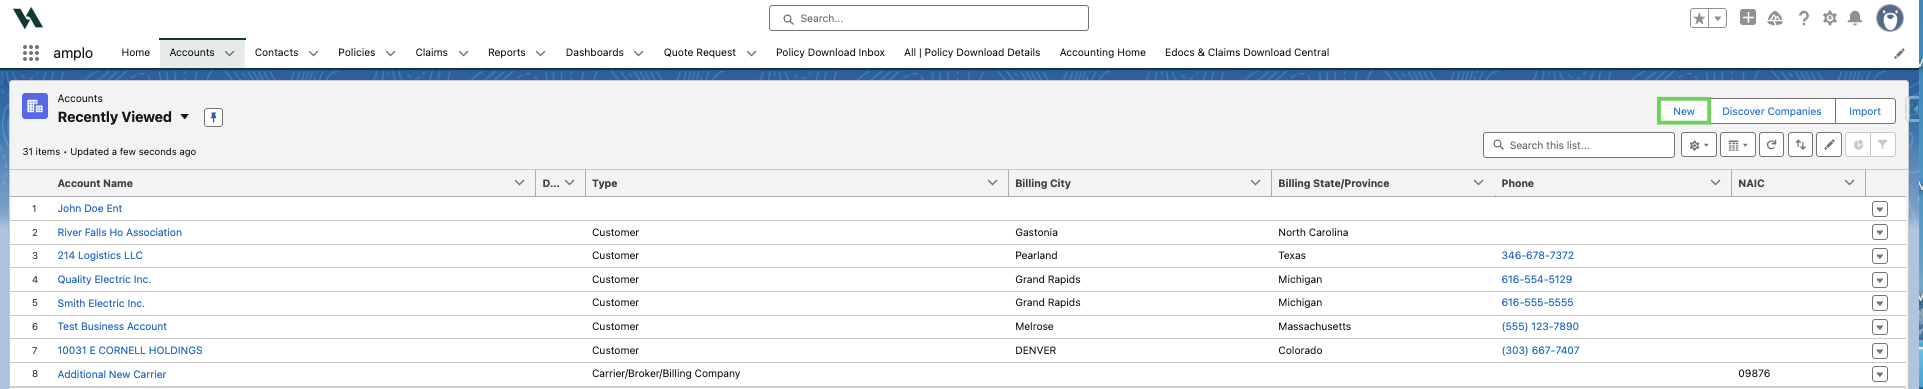
Click New.
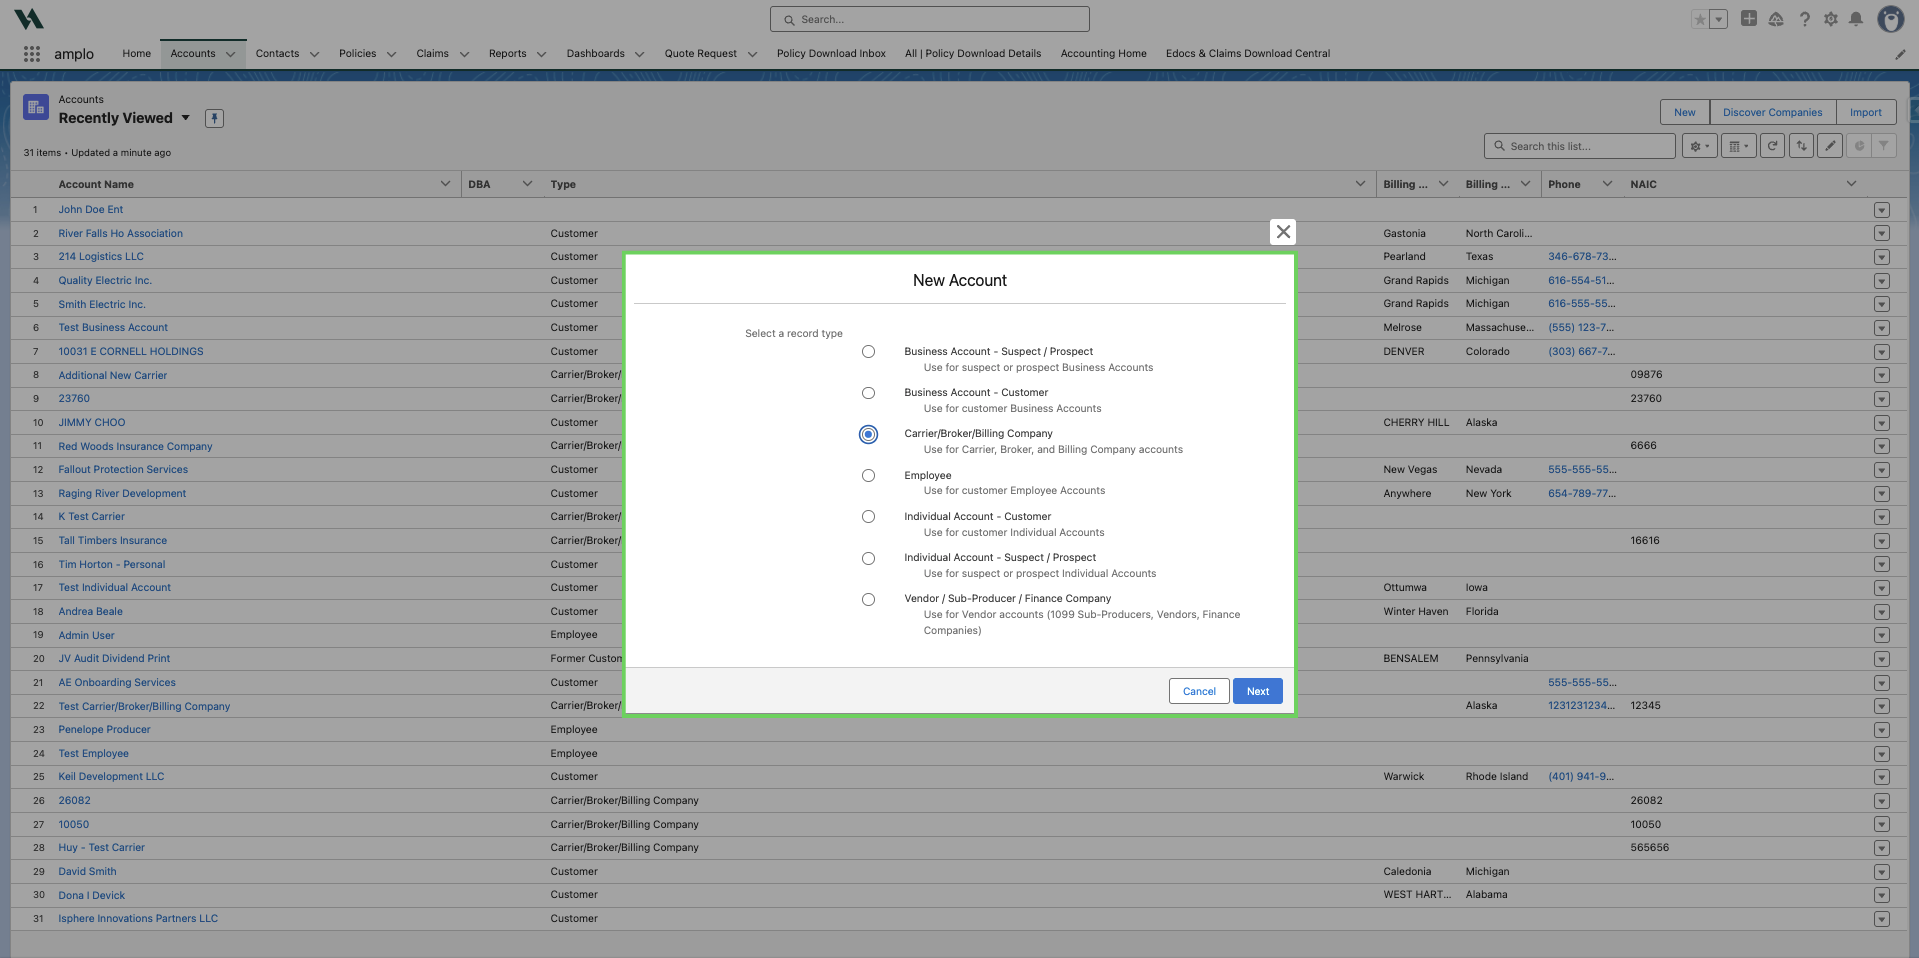
Select Carrier/Broker/Billing Company. Then, click Next.
In the New Account: Carrier/Broker/Billing Company modal, enter the following:
Account Name: The name of the carrier as it should appear in amplo.
NAIC: The five-digit code that identifies the issuing carrier and is used to match policy downloads to this account.
Select the box under Issuing Carrier

Select Save or Save & New if you're entering multiple carriers.
Once you select save, amplo will redirect you to the new account record.
Confirm the NAIC code appears.

Note: Be sure the Type field is not set to None. If it is, this will remove the NAIC code upon saving. For more information, see 📄 NAIC field on account being overwritten to blank.