Managing ACORD forms
Last updated: September 24, 2025
ACORD forms are essential for insurance agencies because they provide a standardized way to communicate with carriers and clients, ensuring accuracy, consistency, and compliance. These forms reduce errors, save time, and create a clear audit trail. Effective management also speeds up servicing, improves client satisfaction, and helps agencies operate more efficiently and professionally at scale.
Overview
Viewing ACORD forms
Navigate to the applicable Policy record.
Select the ACORD Application button.

The ACORD Application button allows you to access all ACORD forms, including Claims forms 1, 2, 3, and 4. You can also access these forms from the Claims record.
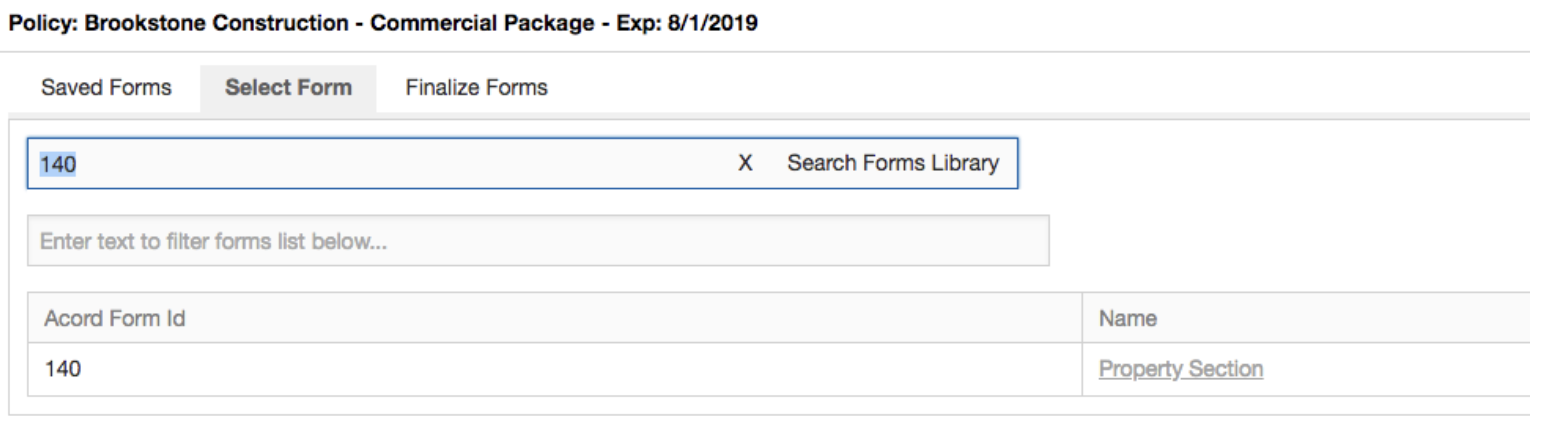
Open the Select Form tab.
Enter the Form Number or Form Name and click Search Forms Library.
From the results, select the hyperlink for the form you want to view.
The selected form will open with policy data pre-filled.
Purple fields: Editable directly within the form viewer
Green fields: Must be updated within the AMS
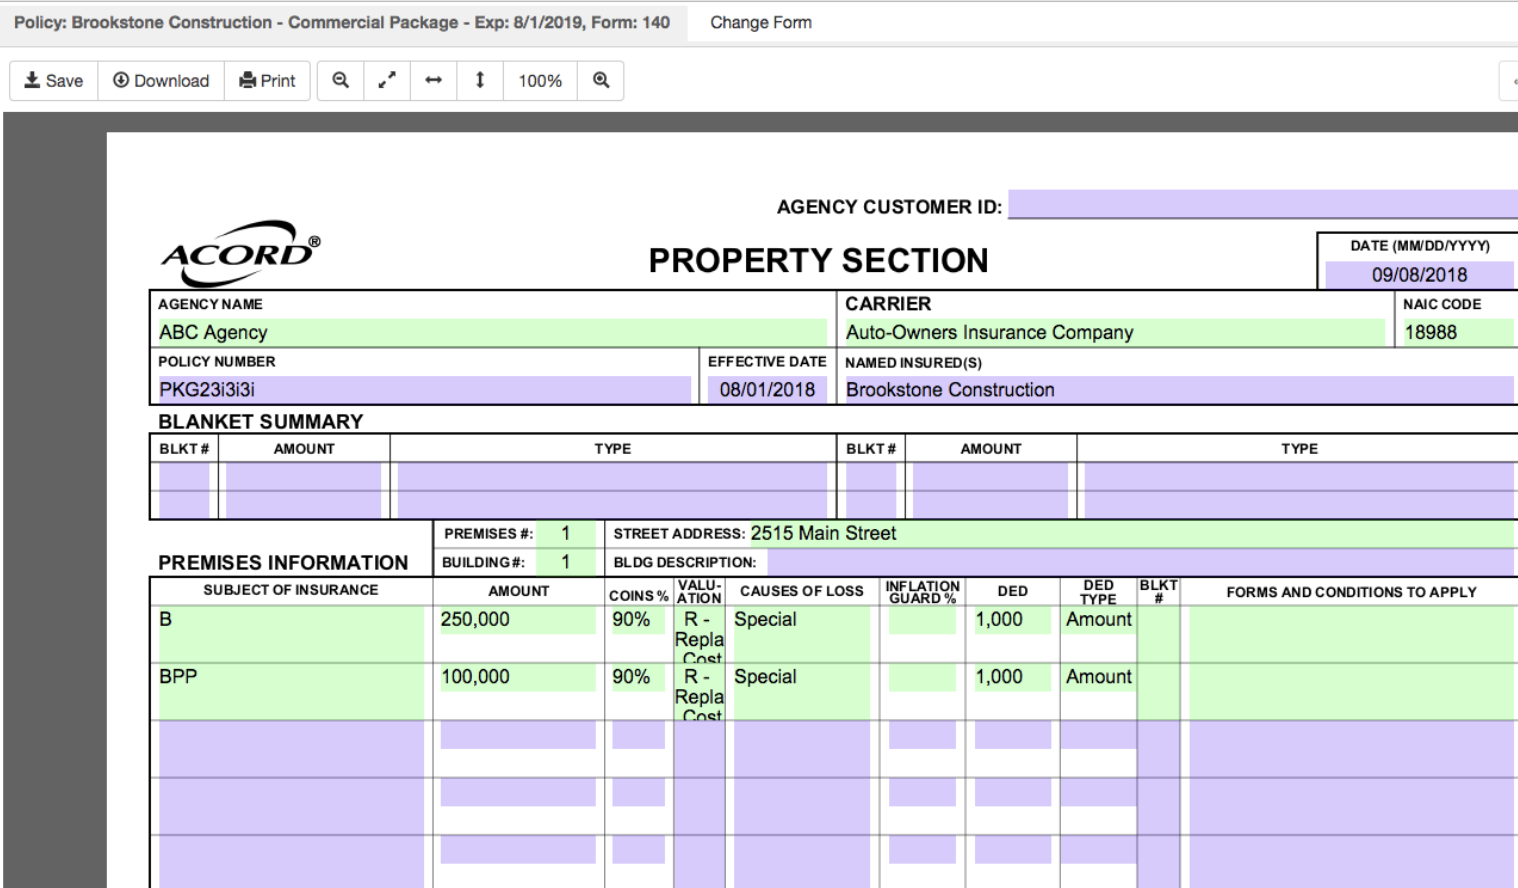
After editing any purple fields, select Save.
Adding additional forms
Agents add additional ACORD forms when more detail is needed to capture exposures, coverages, or carrier requirements, ensuring submissions are complete, accurate, and processed without delays. To add more forms:
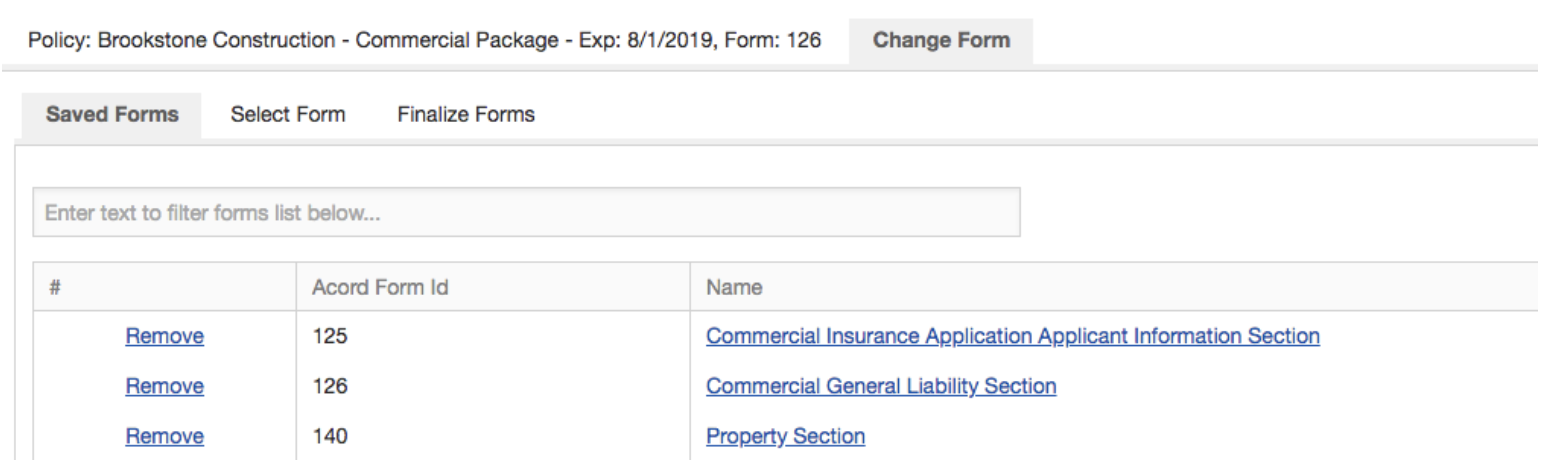
Open the Change Form tab.
Search for and select additional forms.
Go to the Saved Forms tab to review your list of selected forms.
Finalizing forms
Navigate to the Finalize Forms tab.
Select all forms using the top checkbox, or mark individual forms.
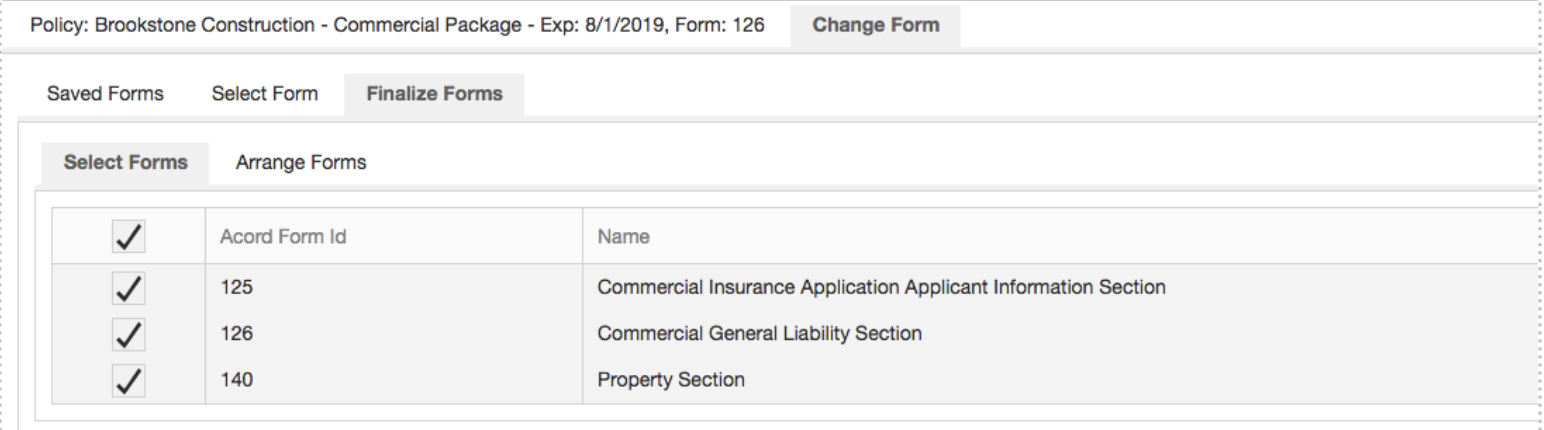
To adjust order, open the Arrange Forms tab, highlight a form, and use the arrows to reorder.

Return to the Finalize Forms tab.
Select Finalize Forms to generate a flattened PDF of the selected ACORD forms.
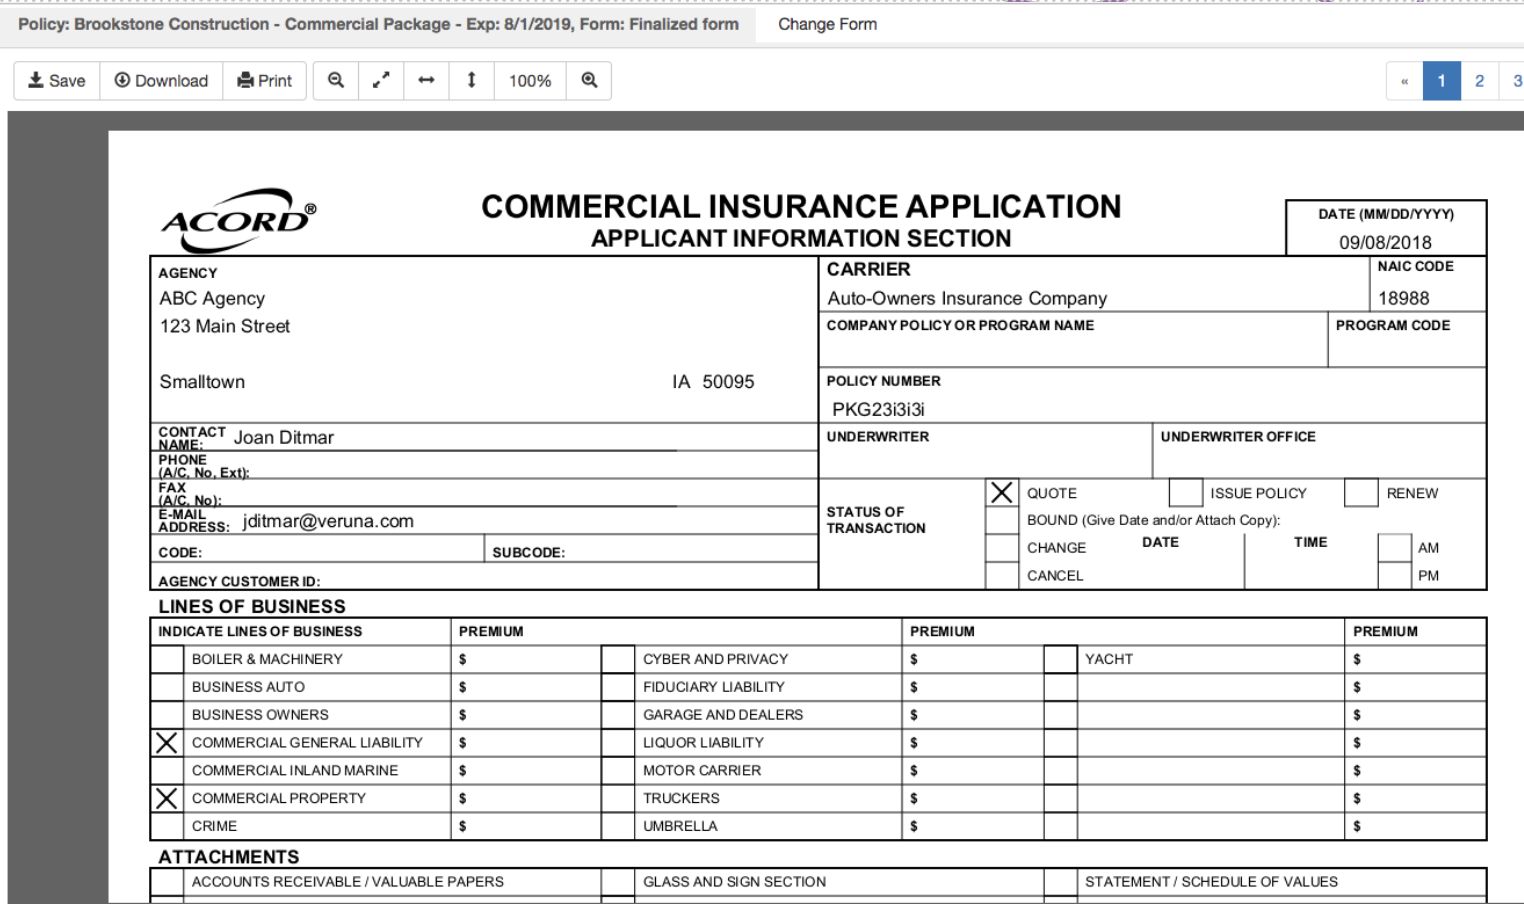
Once finalized, the PDF is not editable.
When the PDF opens, click Download to save it to your desktop or another location.
Downloading forms
The download process varies based on the number of certificate holders included:
Fewer than 10 holders: Certificates download automatically as a ZIP file to your computer.
10 or more holders: The system batch-generates the certificates. Once complete, a compiled ZIP file is saved to the Documents tab, where you can download it at your convenience.
This process ensures larger files are handled efficiently while giving you the opportunity to review all certificates before sending them to holders.This process is designed to handle larger file sizes more efficiently. You can review all certificates before sharing. For more information, review Sending certificates to insureds.