Adding a premise
Last updated: March 6, 2026
Overview
A premise record captures the location details associated with a policy, including property information and hazards. Keeping this information accurate ensures proper coverage, rating accuracy, and clear documentation. This article walks you through how to add a premise and complete the related Property Section and Hazard details.
Add a premise
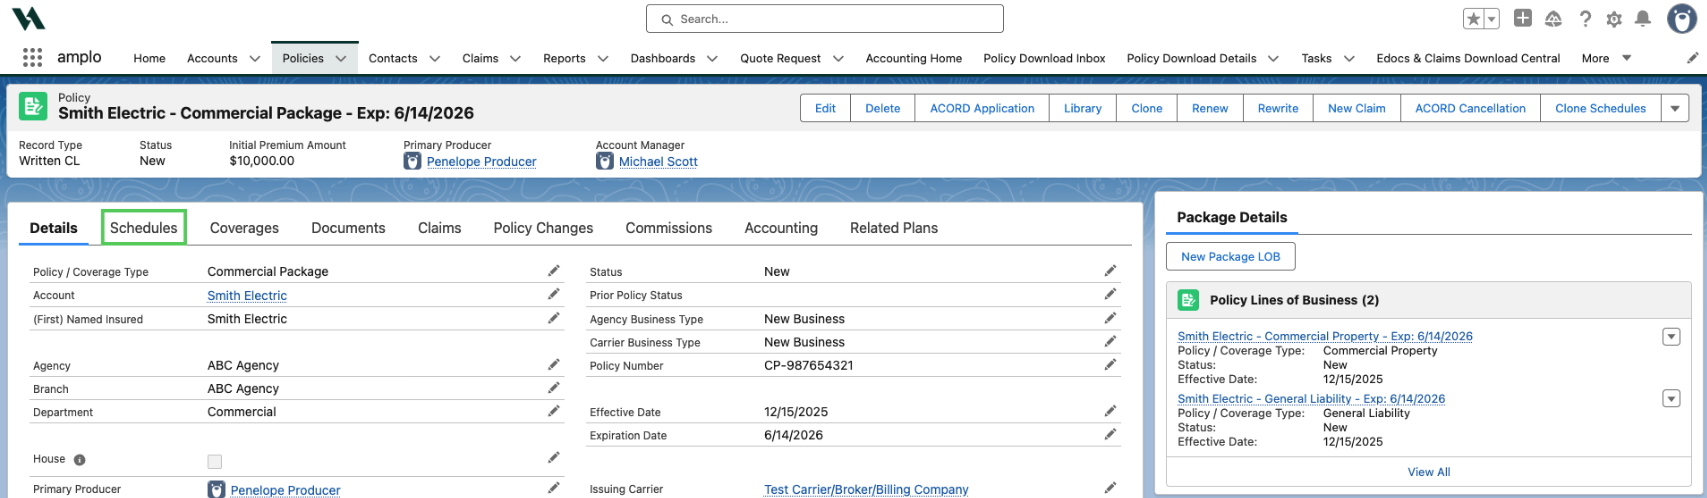
From the policy record, select the Schedules tab.
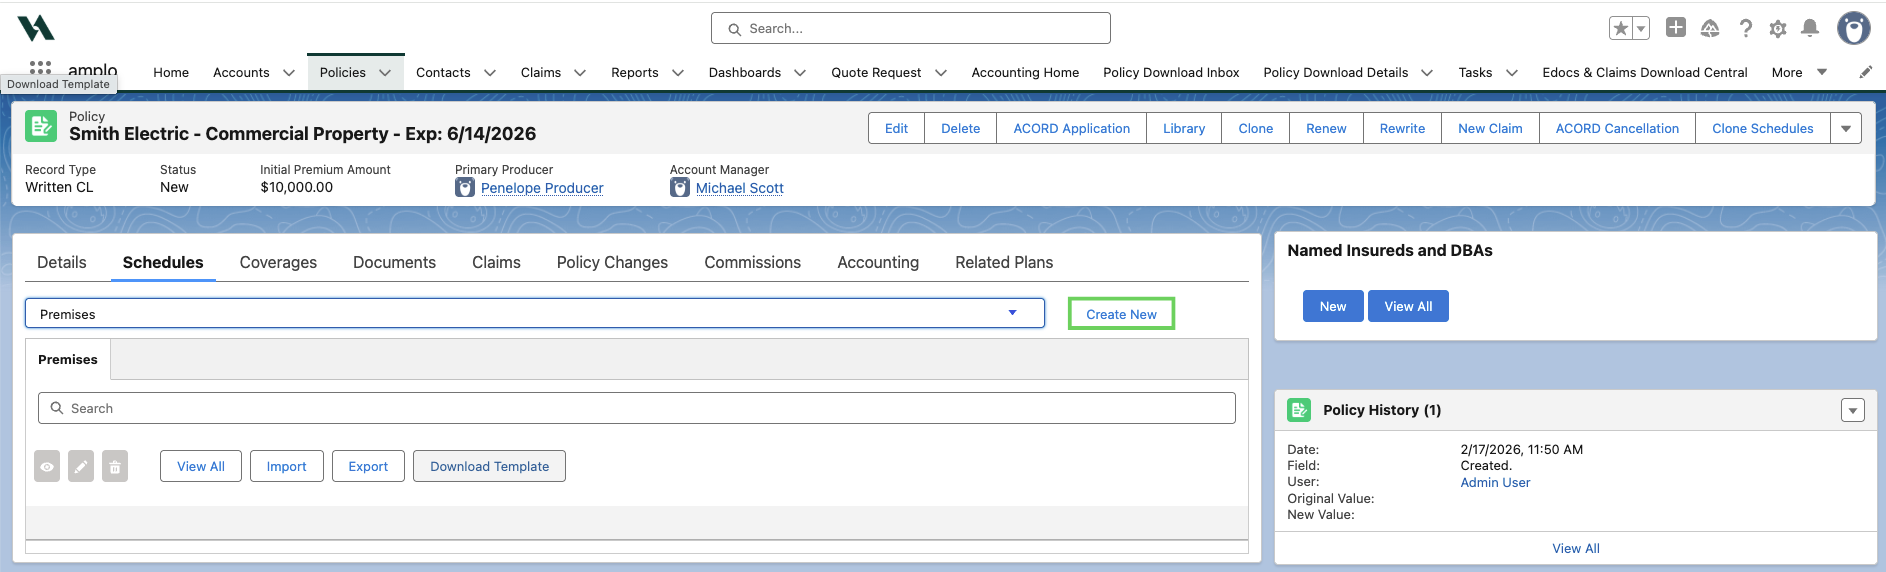
In the dropdown menu, click Premises.

Click Create New.
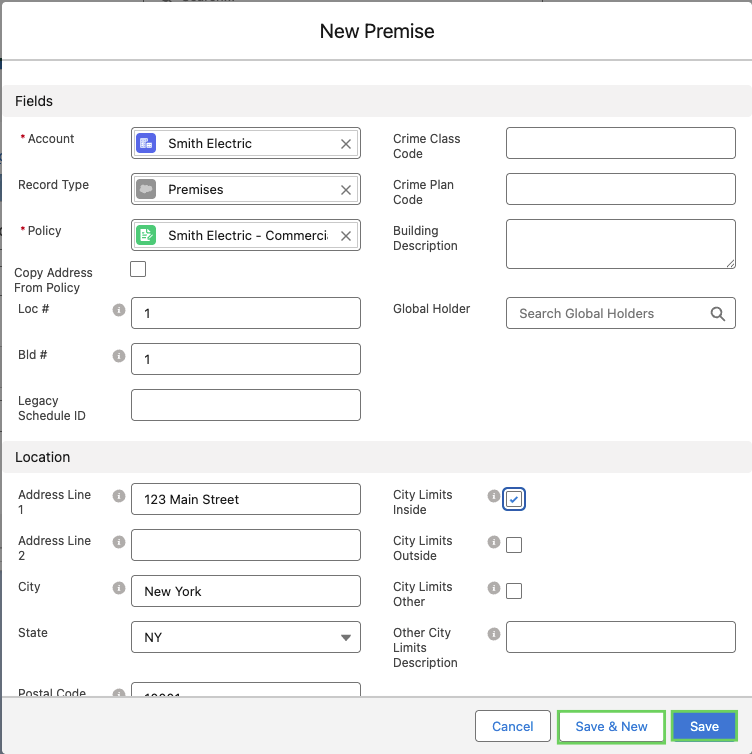
In the New Premise modal, enter the relevant details and then click Save, or Save & New if adding more than one vehicle.
Adding a property to a premise
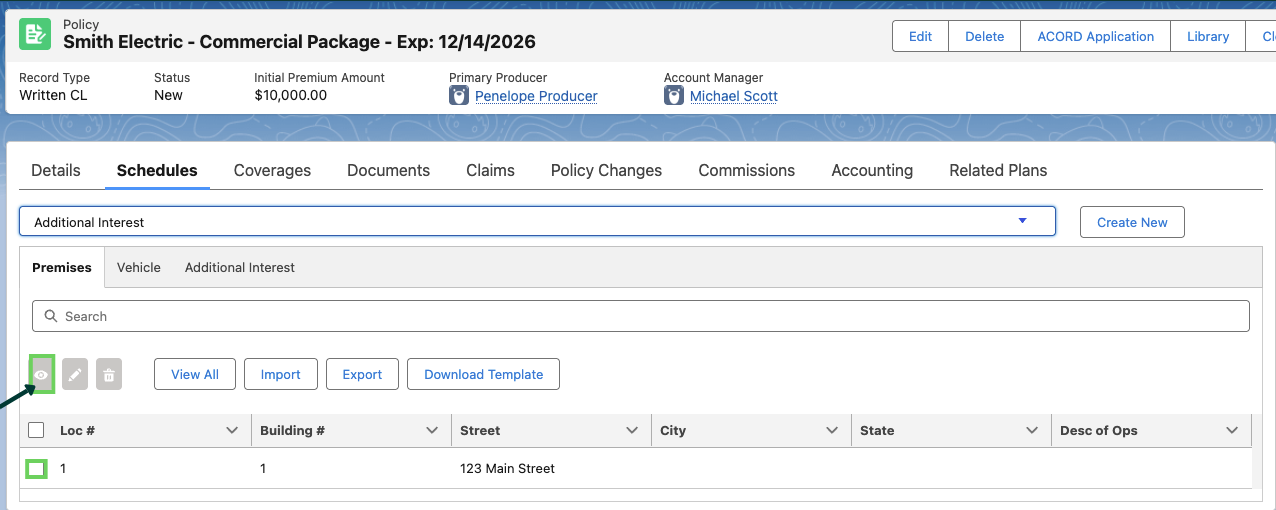
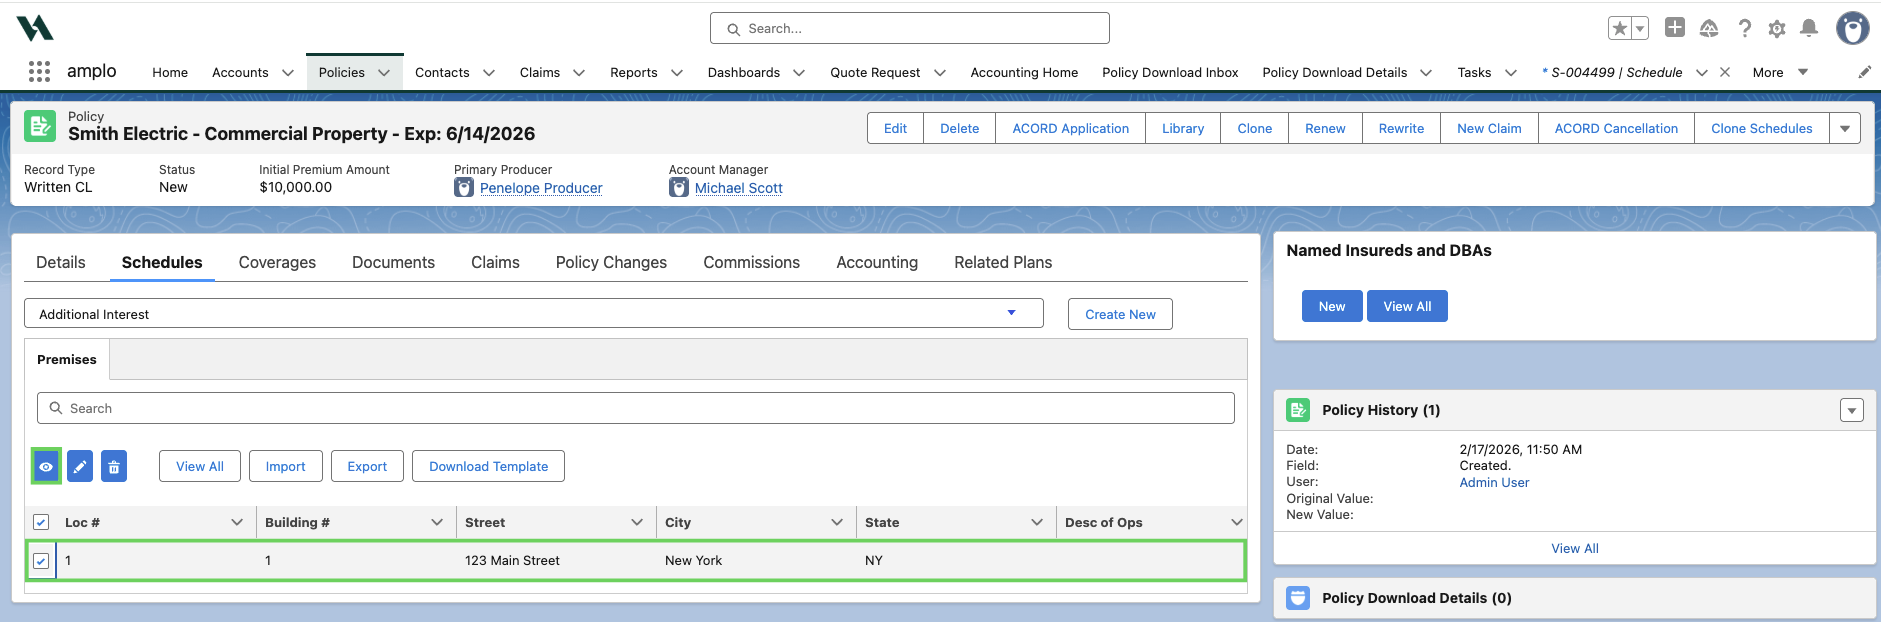
Select the checkbox next to the premise and then the View Details button (the eye icon).
From the Premises Information dropdown, select Property Section and Create New.
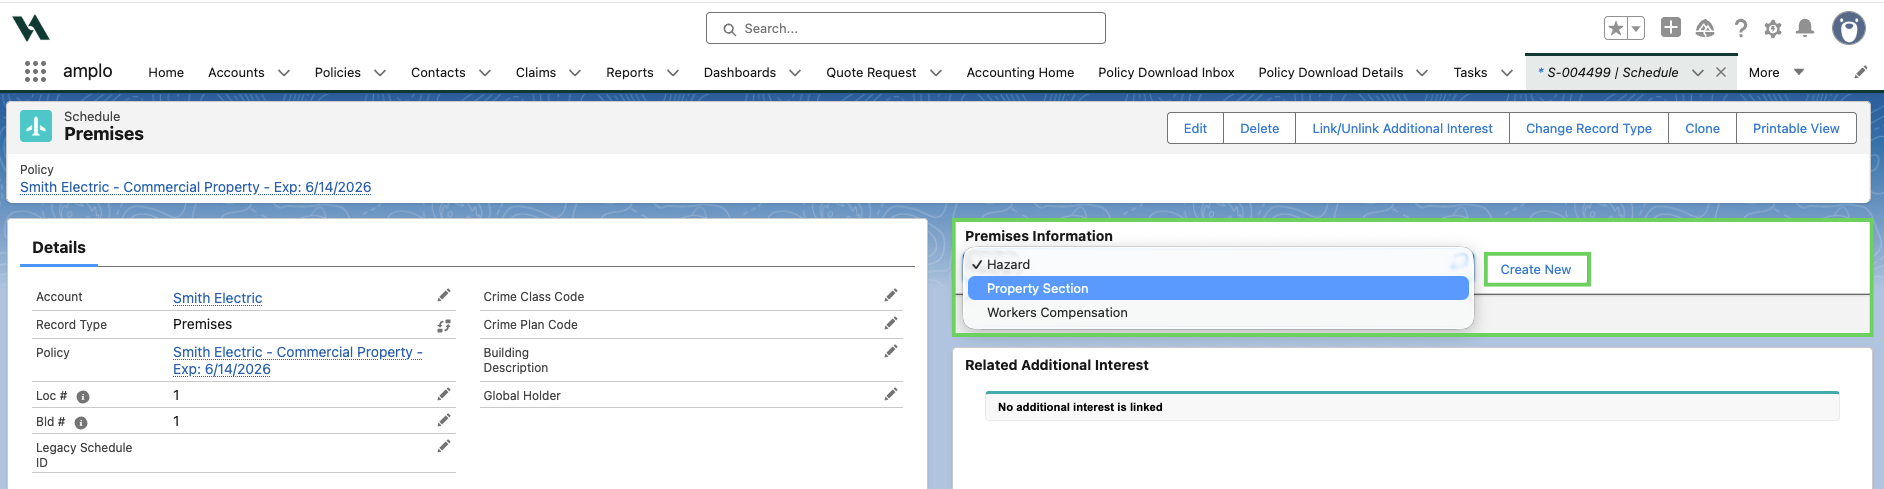
Select Masonry Non-Combustible as the Construction Type and select Save.

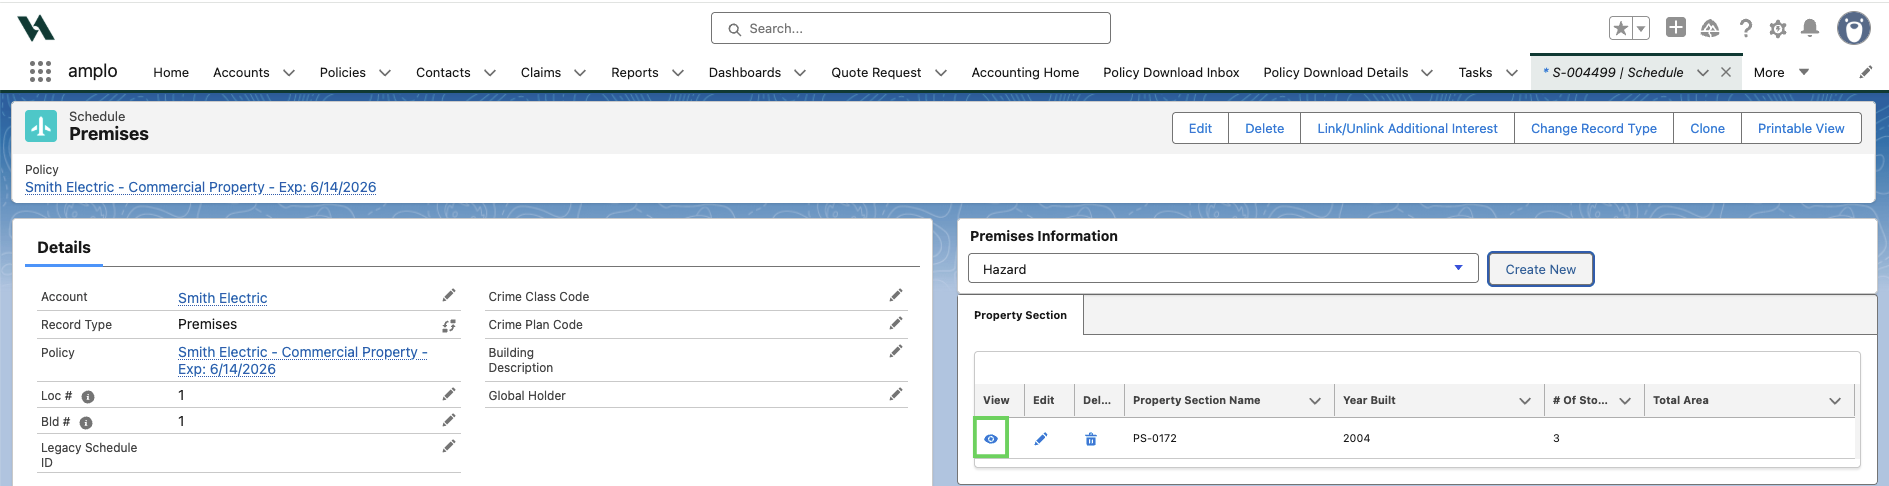
Once the Property Section has been created, select the eye icon.
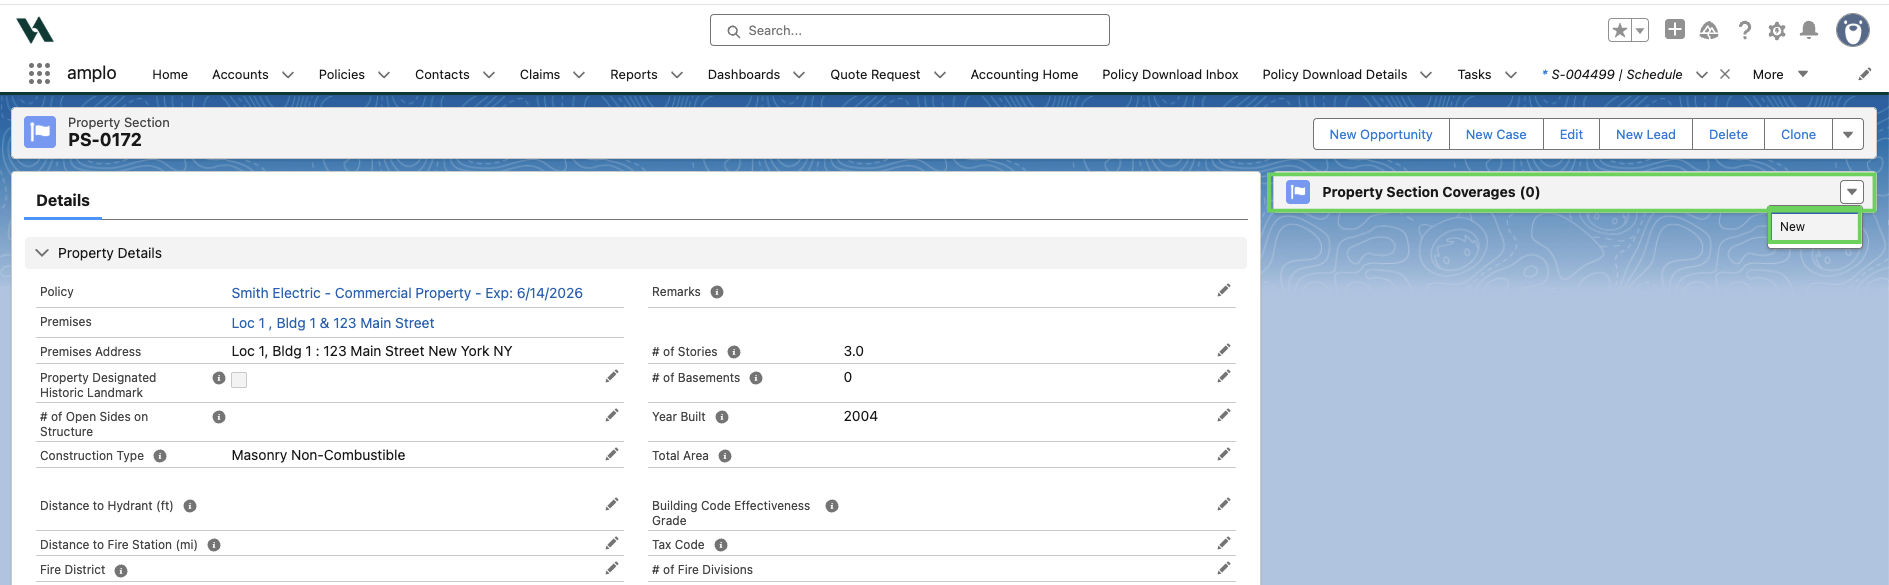
Click the down arrow to the right of Property Section Coverages and select New.
Complete the following required fields:
Property Section
Subject of Insurance
Amount
Causes of Loss

Select Save, or Save & New if you're creating multiple Property Section coverages.
For commercial property, you can add premise level coverages under the Coverages tab of the policy.
Add a hazard to a premise
Select the checkbox next to the premise and then the View Details button (the eye icon).
Under the Premise Information, click the dropdown and select Hazard. Then select Create New

Once the New Hazard screen opens, add the hazard details. The following fields are required:
Schedule
Hazard #
Premium Basis
Exposure

Click Save when finished.