Managing permission sets
Last updated: March 2, 2026
Overview
Properly configured permission sets help protect sensitive client information, prevent unauthorized changes to financial or policy records, and reduce the risk of errors or misuse. They also support compliance with industry regulations and audits by providing clear controls and accountability over who can view, edit, or delete specific information within the system. For information on adding users, see 📄 User management.
Add a new Permission Set
On the top navigation bar, click on the gear icon.

Select Setup.

The Admin setup page will open in a new tab. In the Quick Find box, search for Permission Sets and select it from the list.
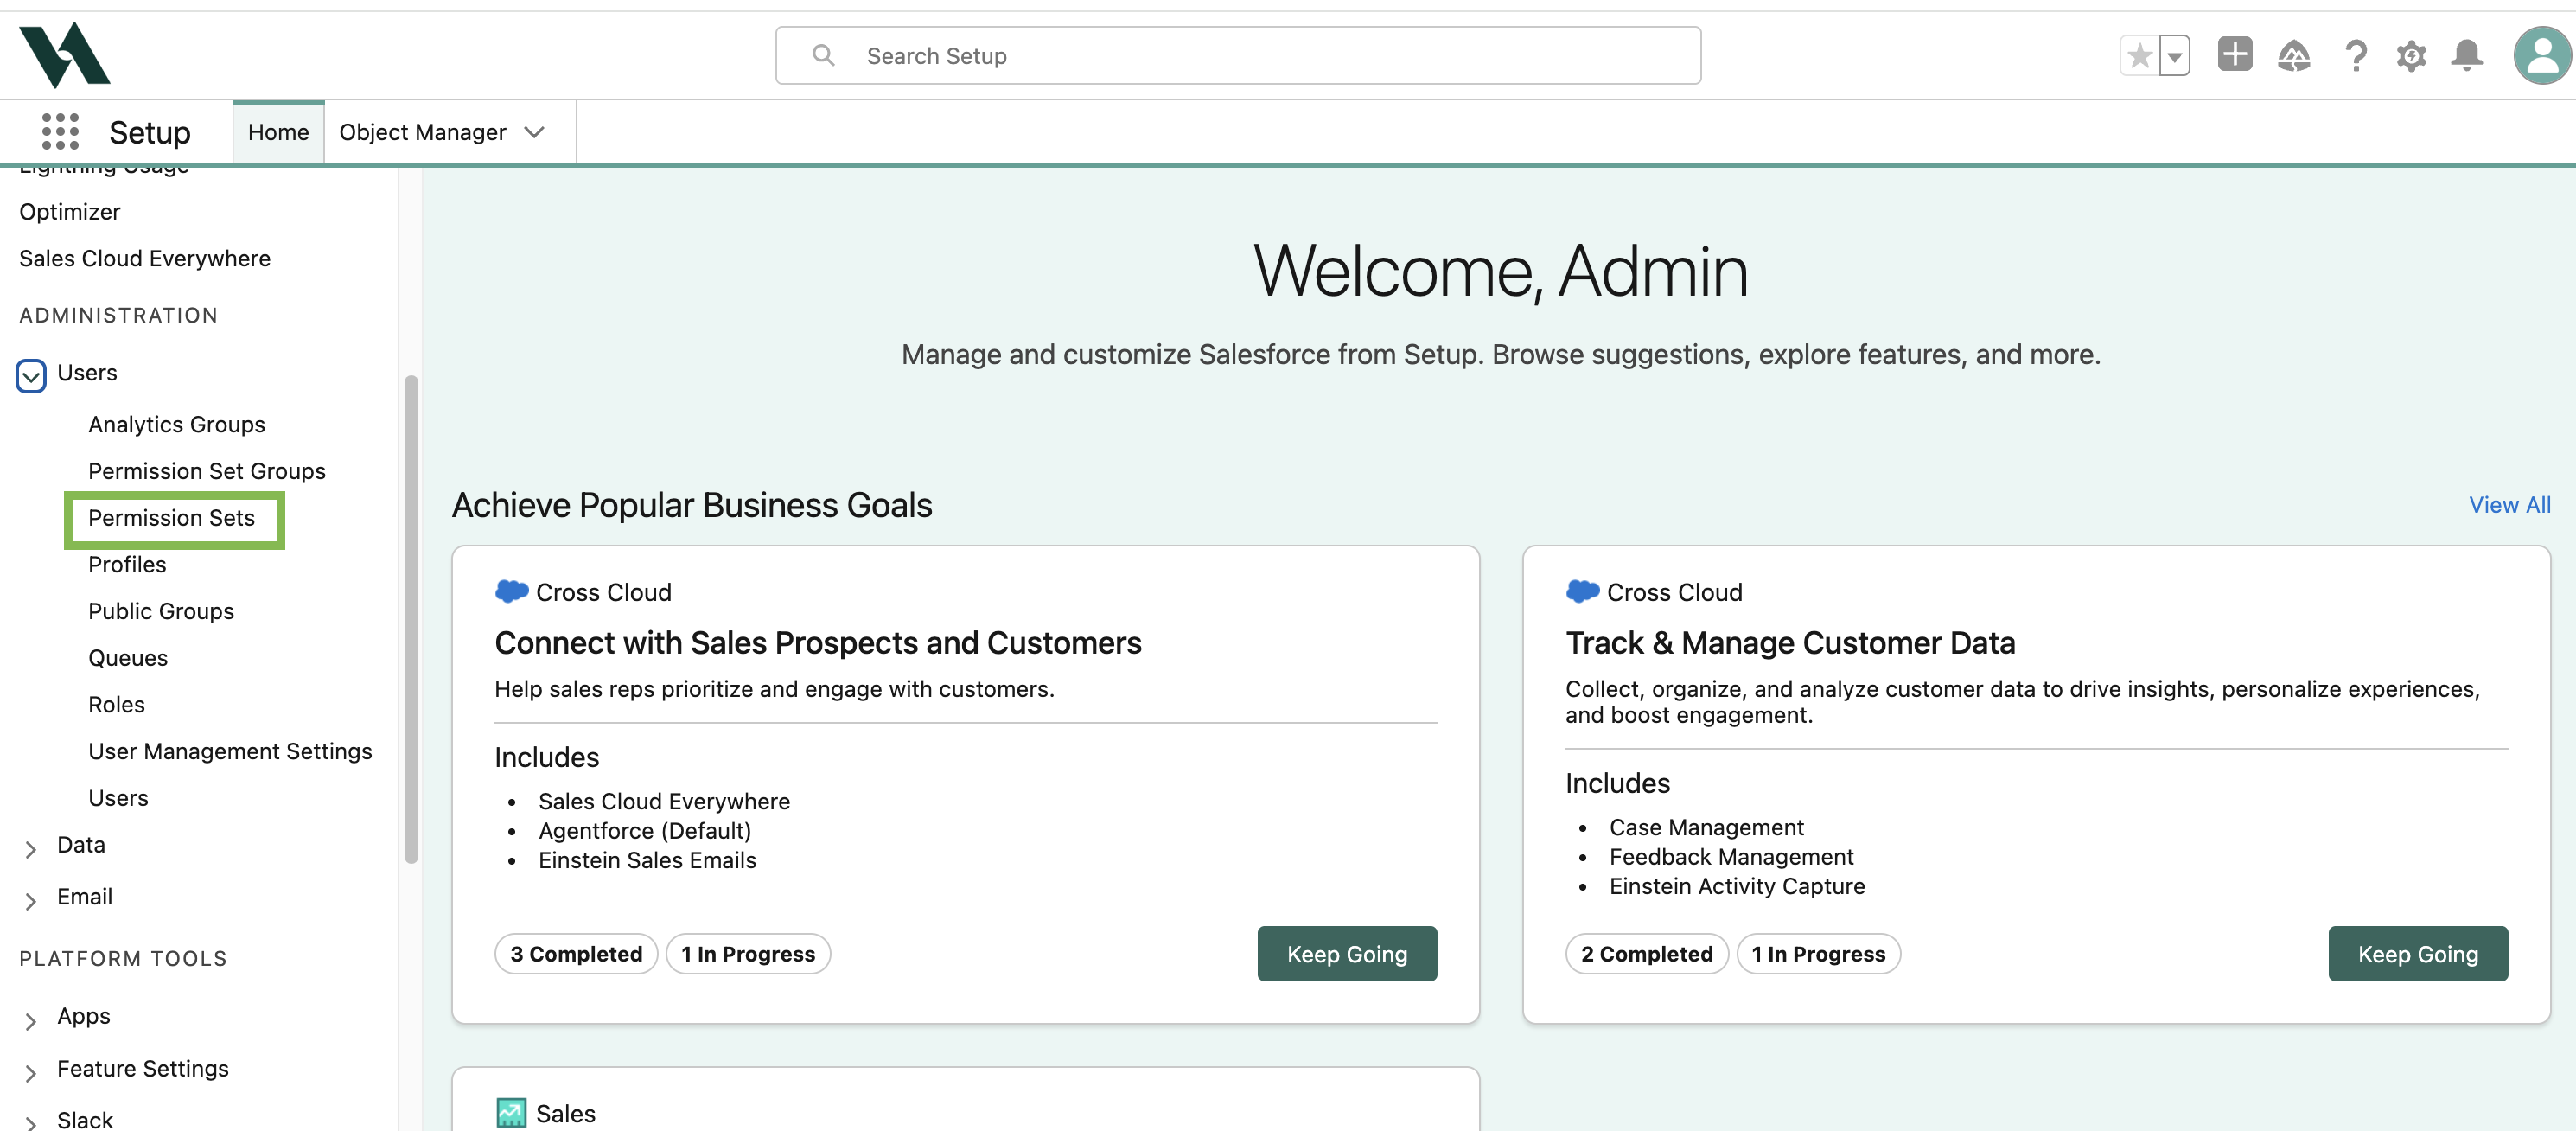
On the Permission Sets setup page, click New.
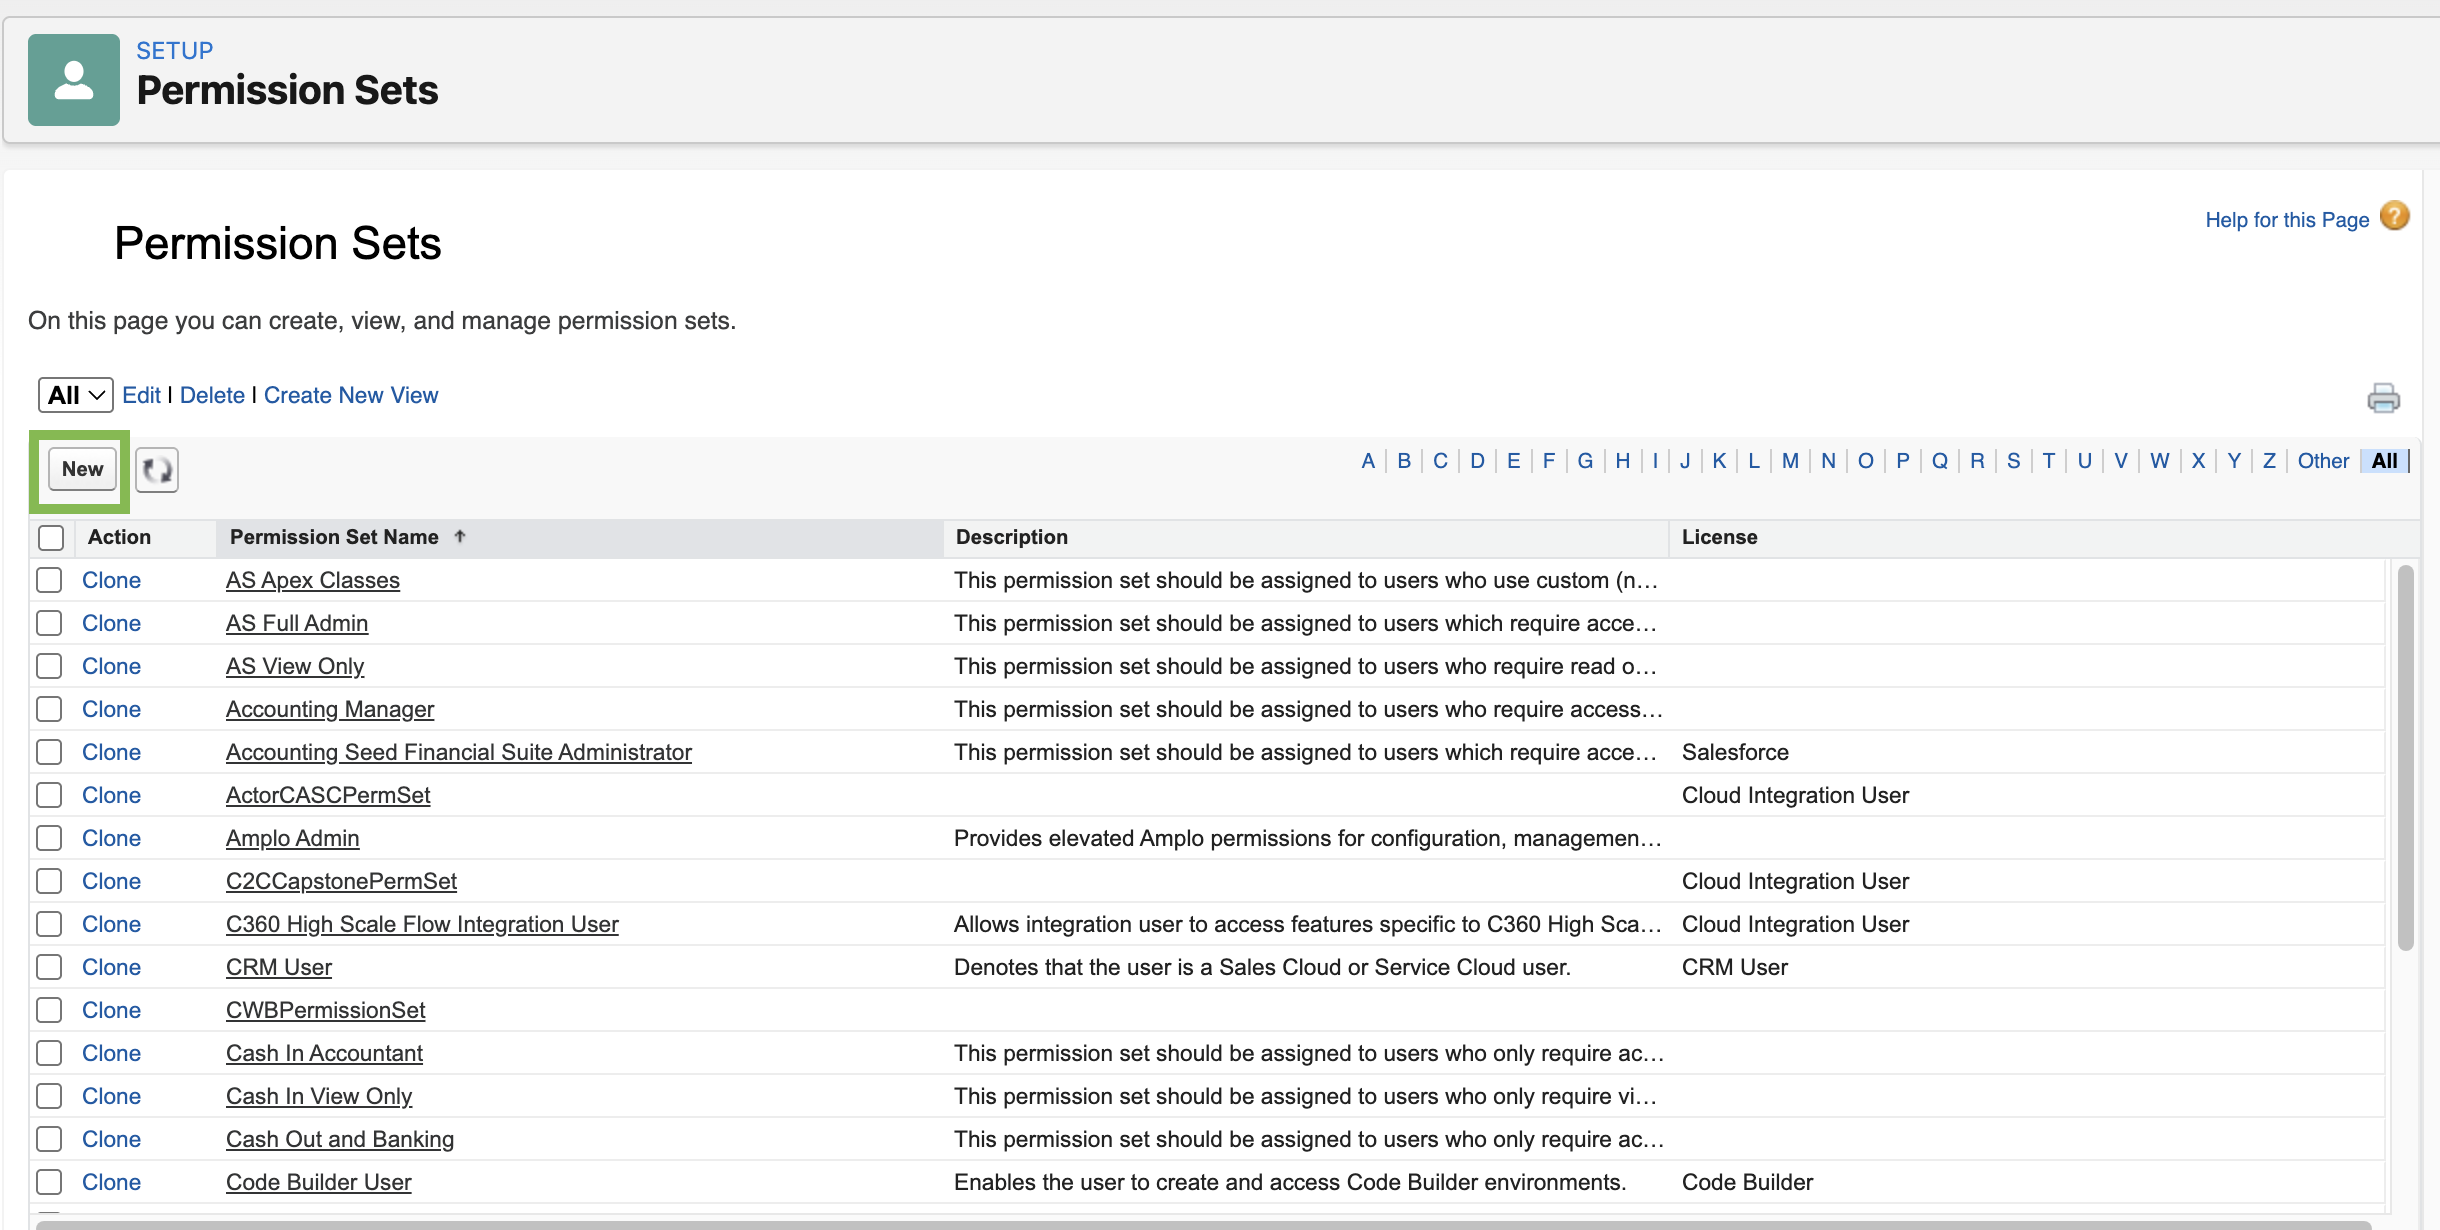
Complete the required fields, then click Save:
Label: Enter a clear, descriptive name.
API Name: This will auto-populate after you enter the label.
Description: (Optional) Add a short description of the permission set’s purpose.
License: Set to Salesforce Platform.

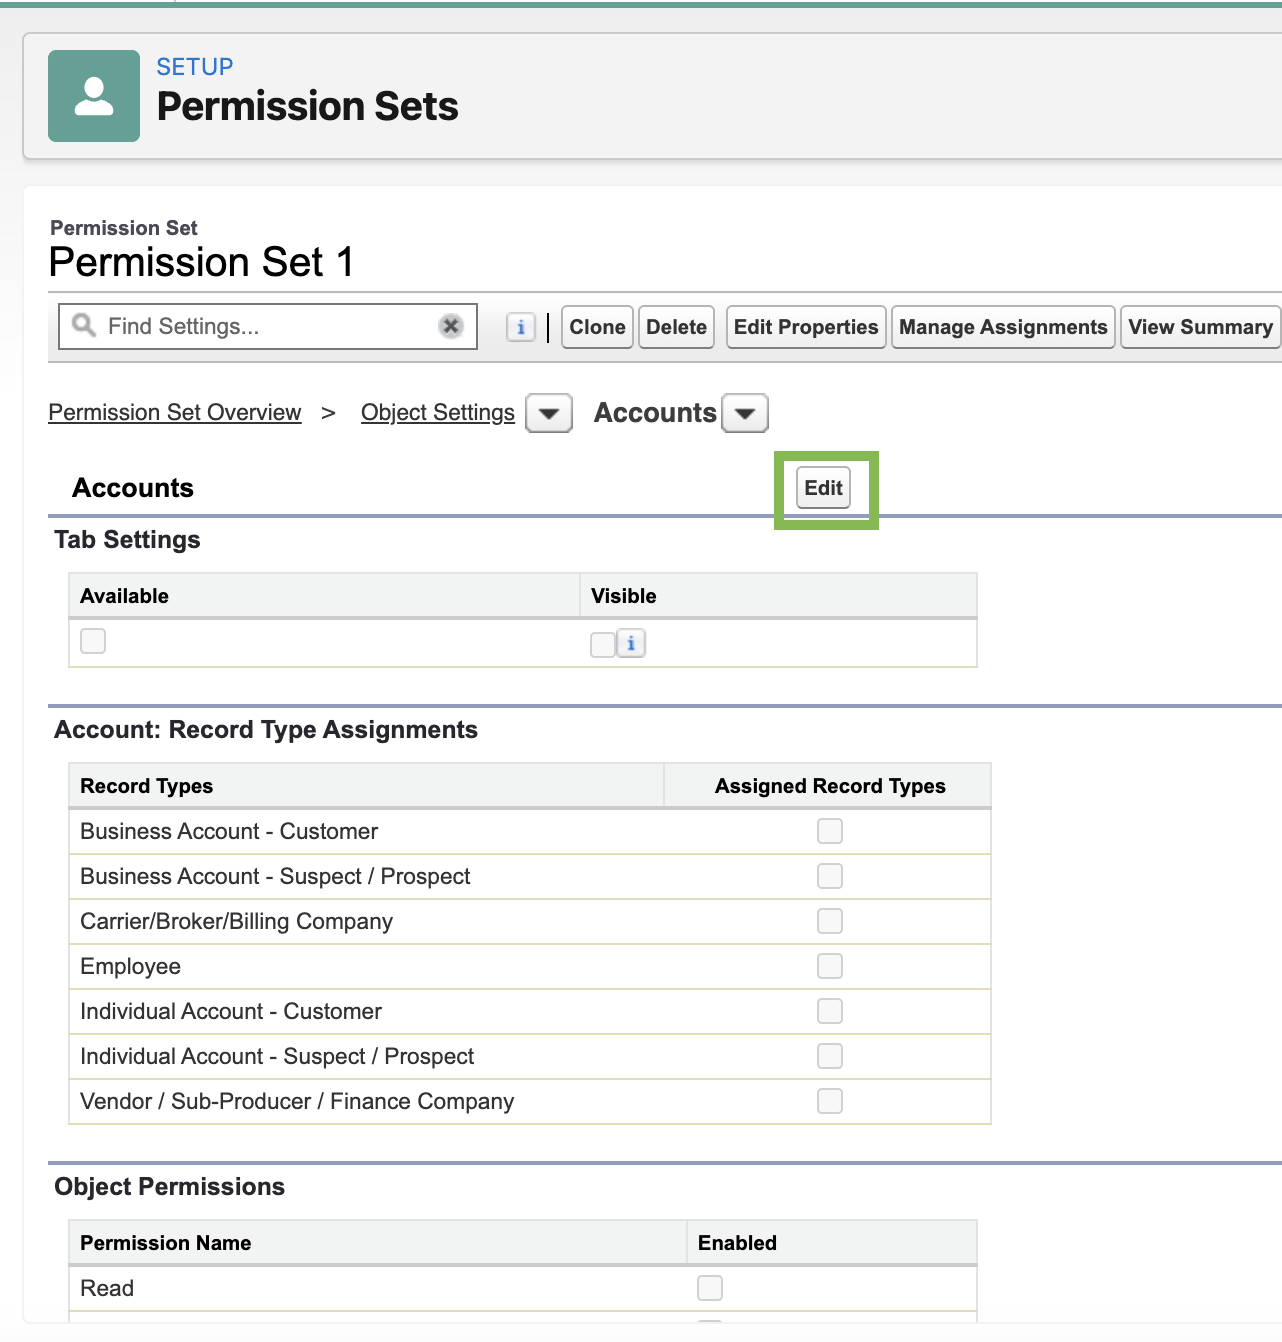
On the Permission Set settings page, select Object Settings.

Choose Accounts.

Click Edit.
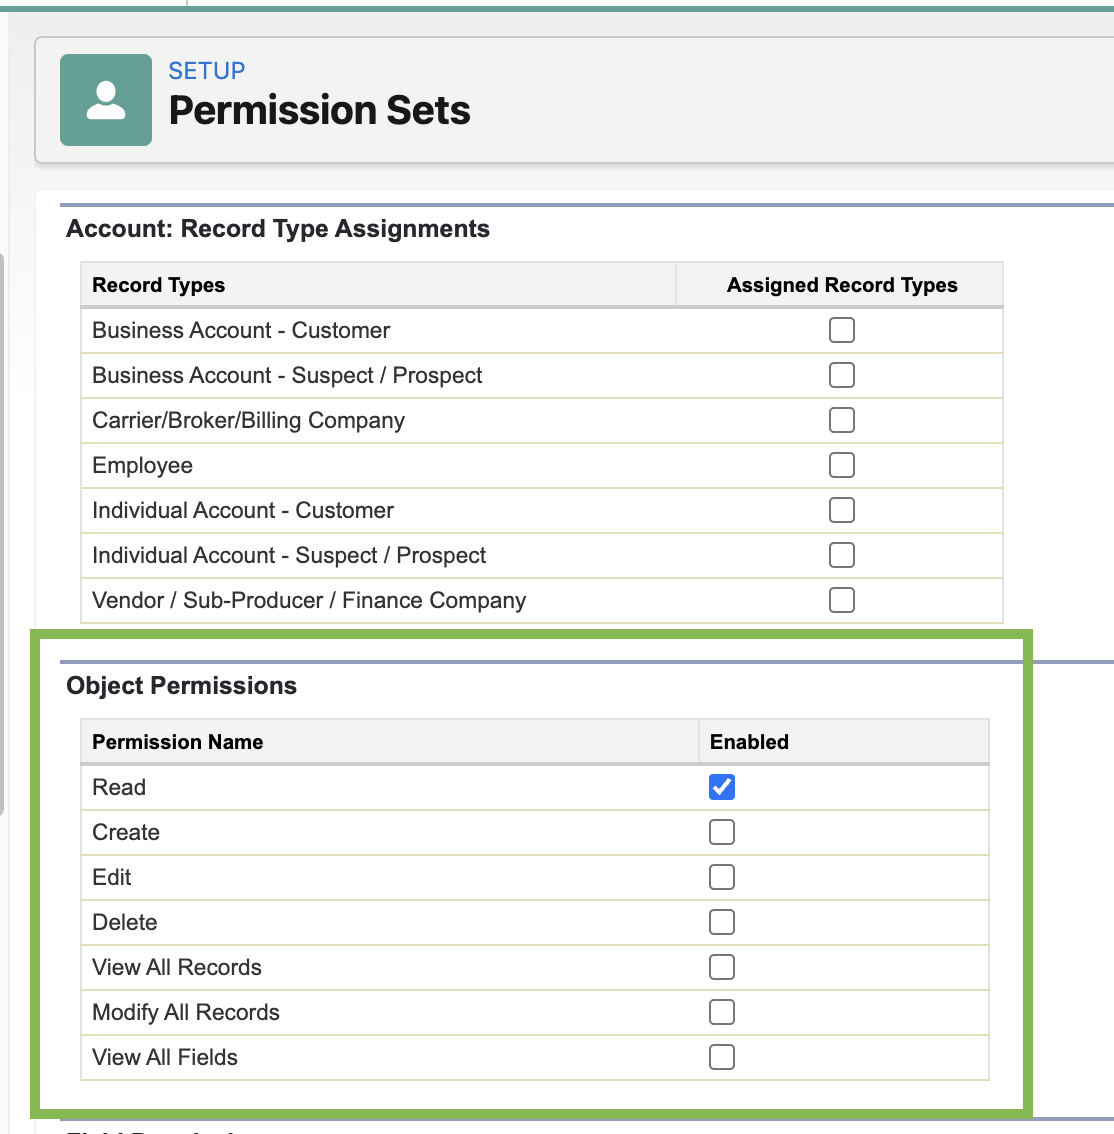
In the Object Permissions section, check the box next to Read to enable read access for the object.
If additional permissions are needed, check the appropriate boxes.
Scroll to the Field Permissions section and click:
Read Access if users should be able to view the field.
Edit Access if users should be able to update the field.

Click Save to apply the changes.
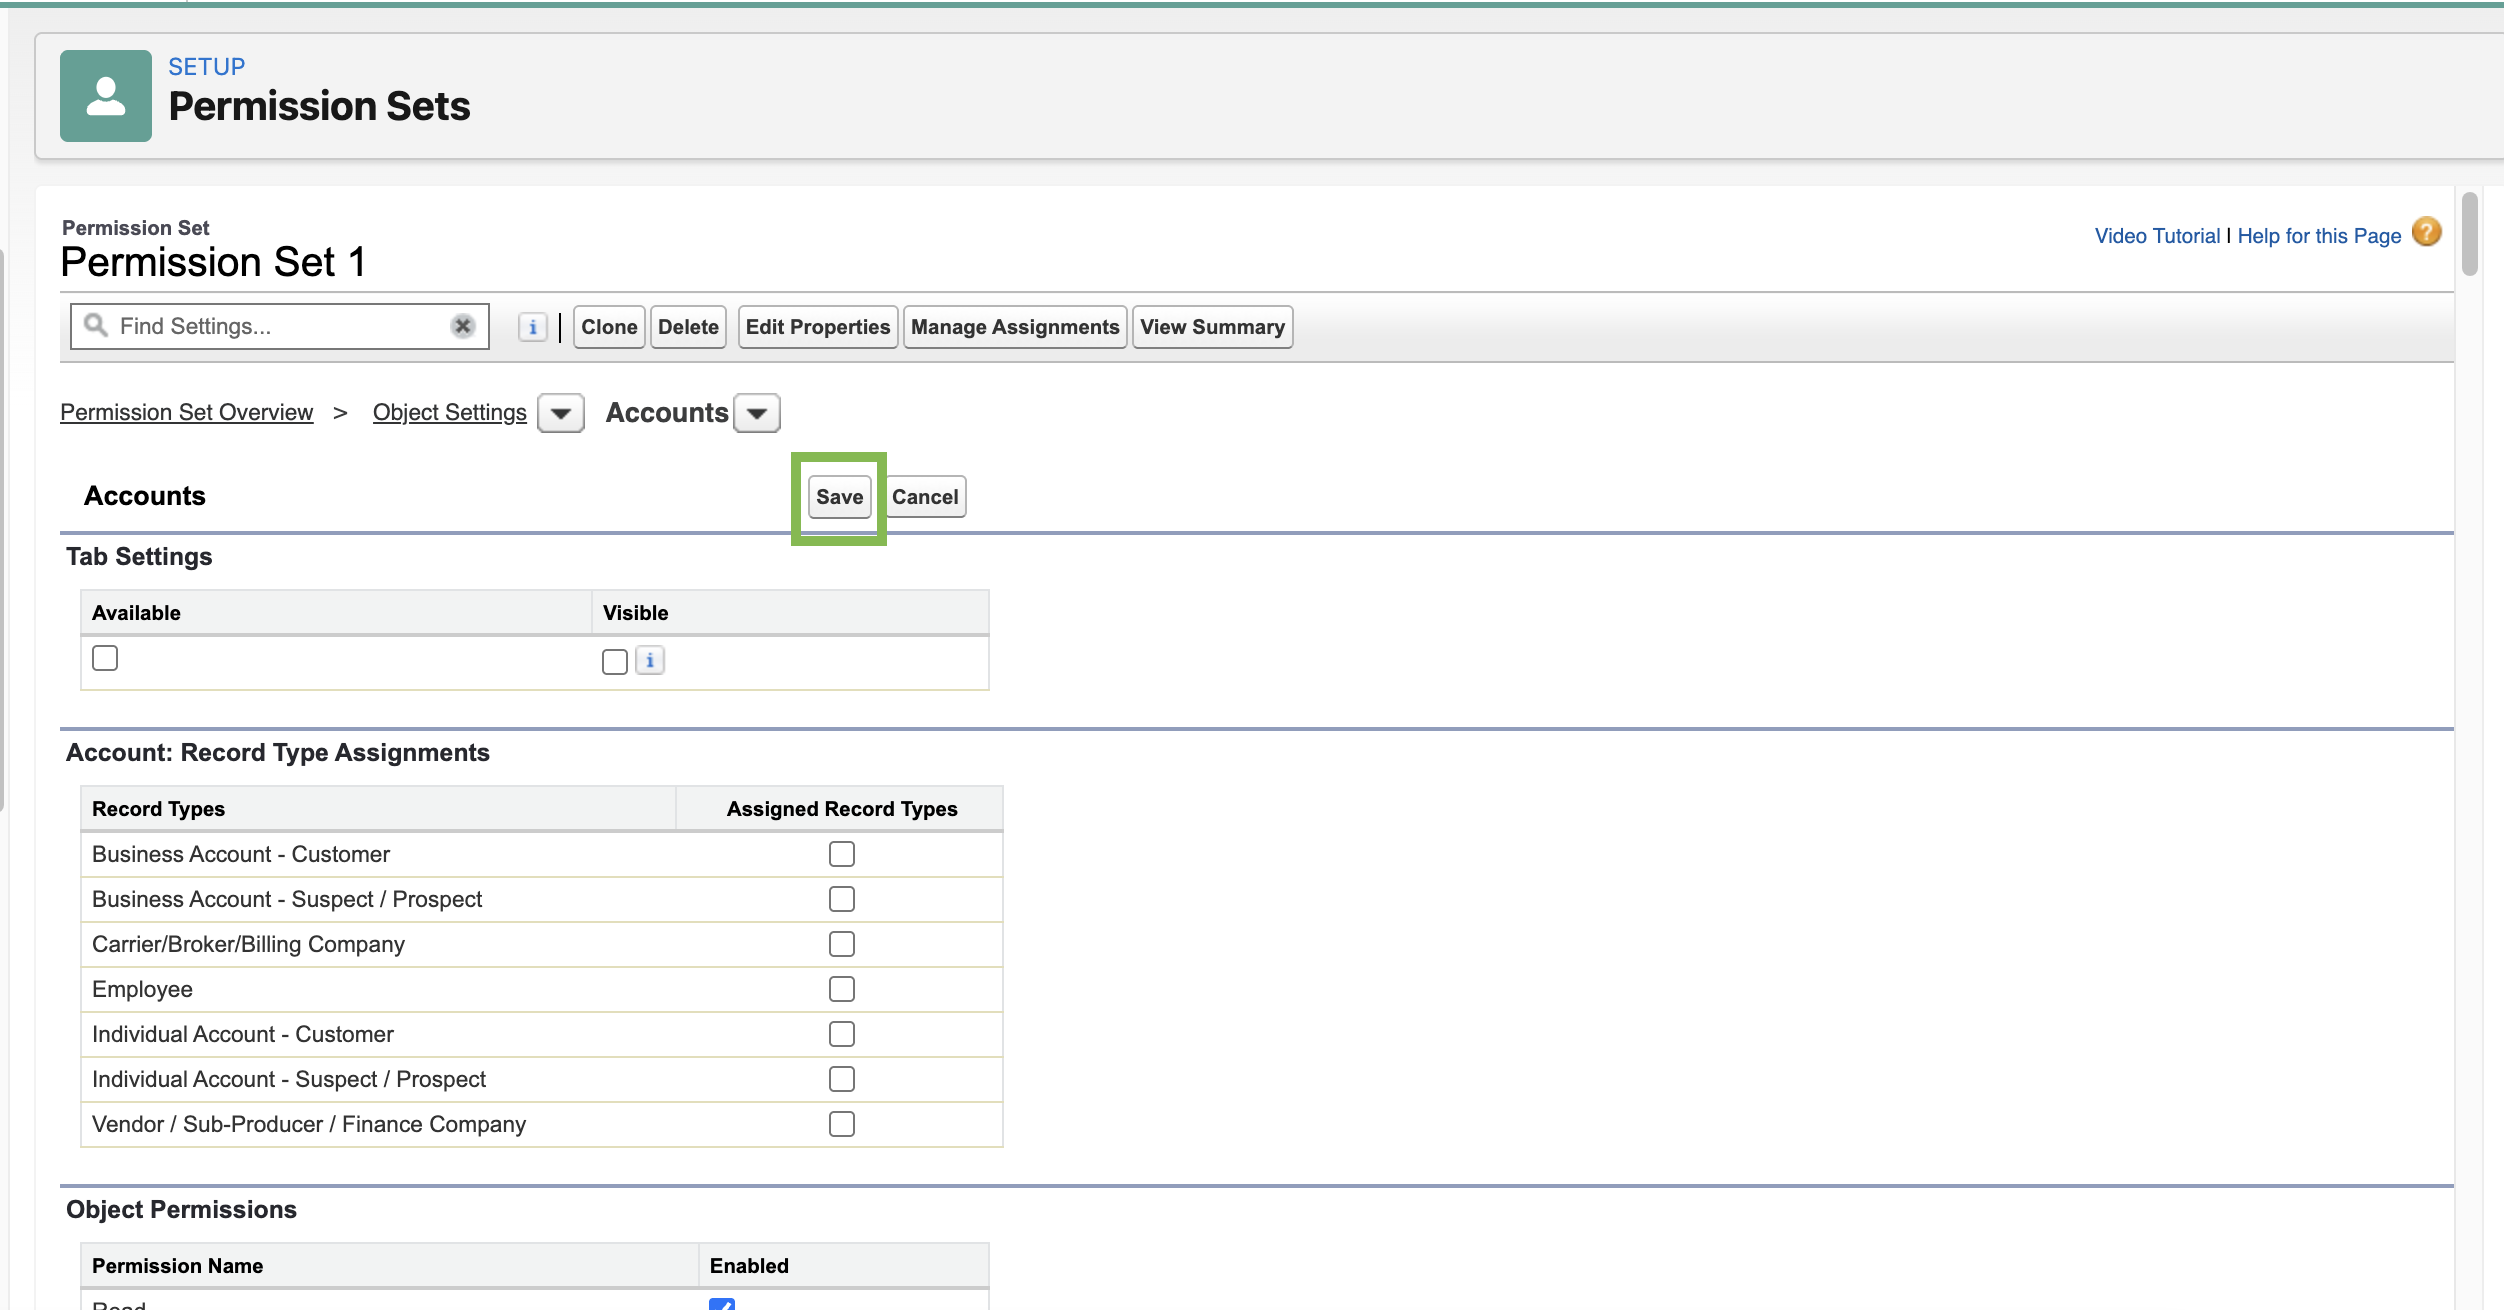
Assign permission sets
Permission sets can be assigned from this screen or the user record. For instruction on how to do it from the user record, see 📄 User management.
Select Manage Assignments.
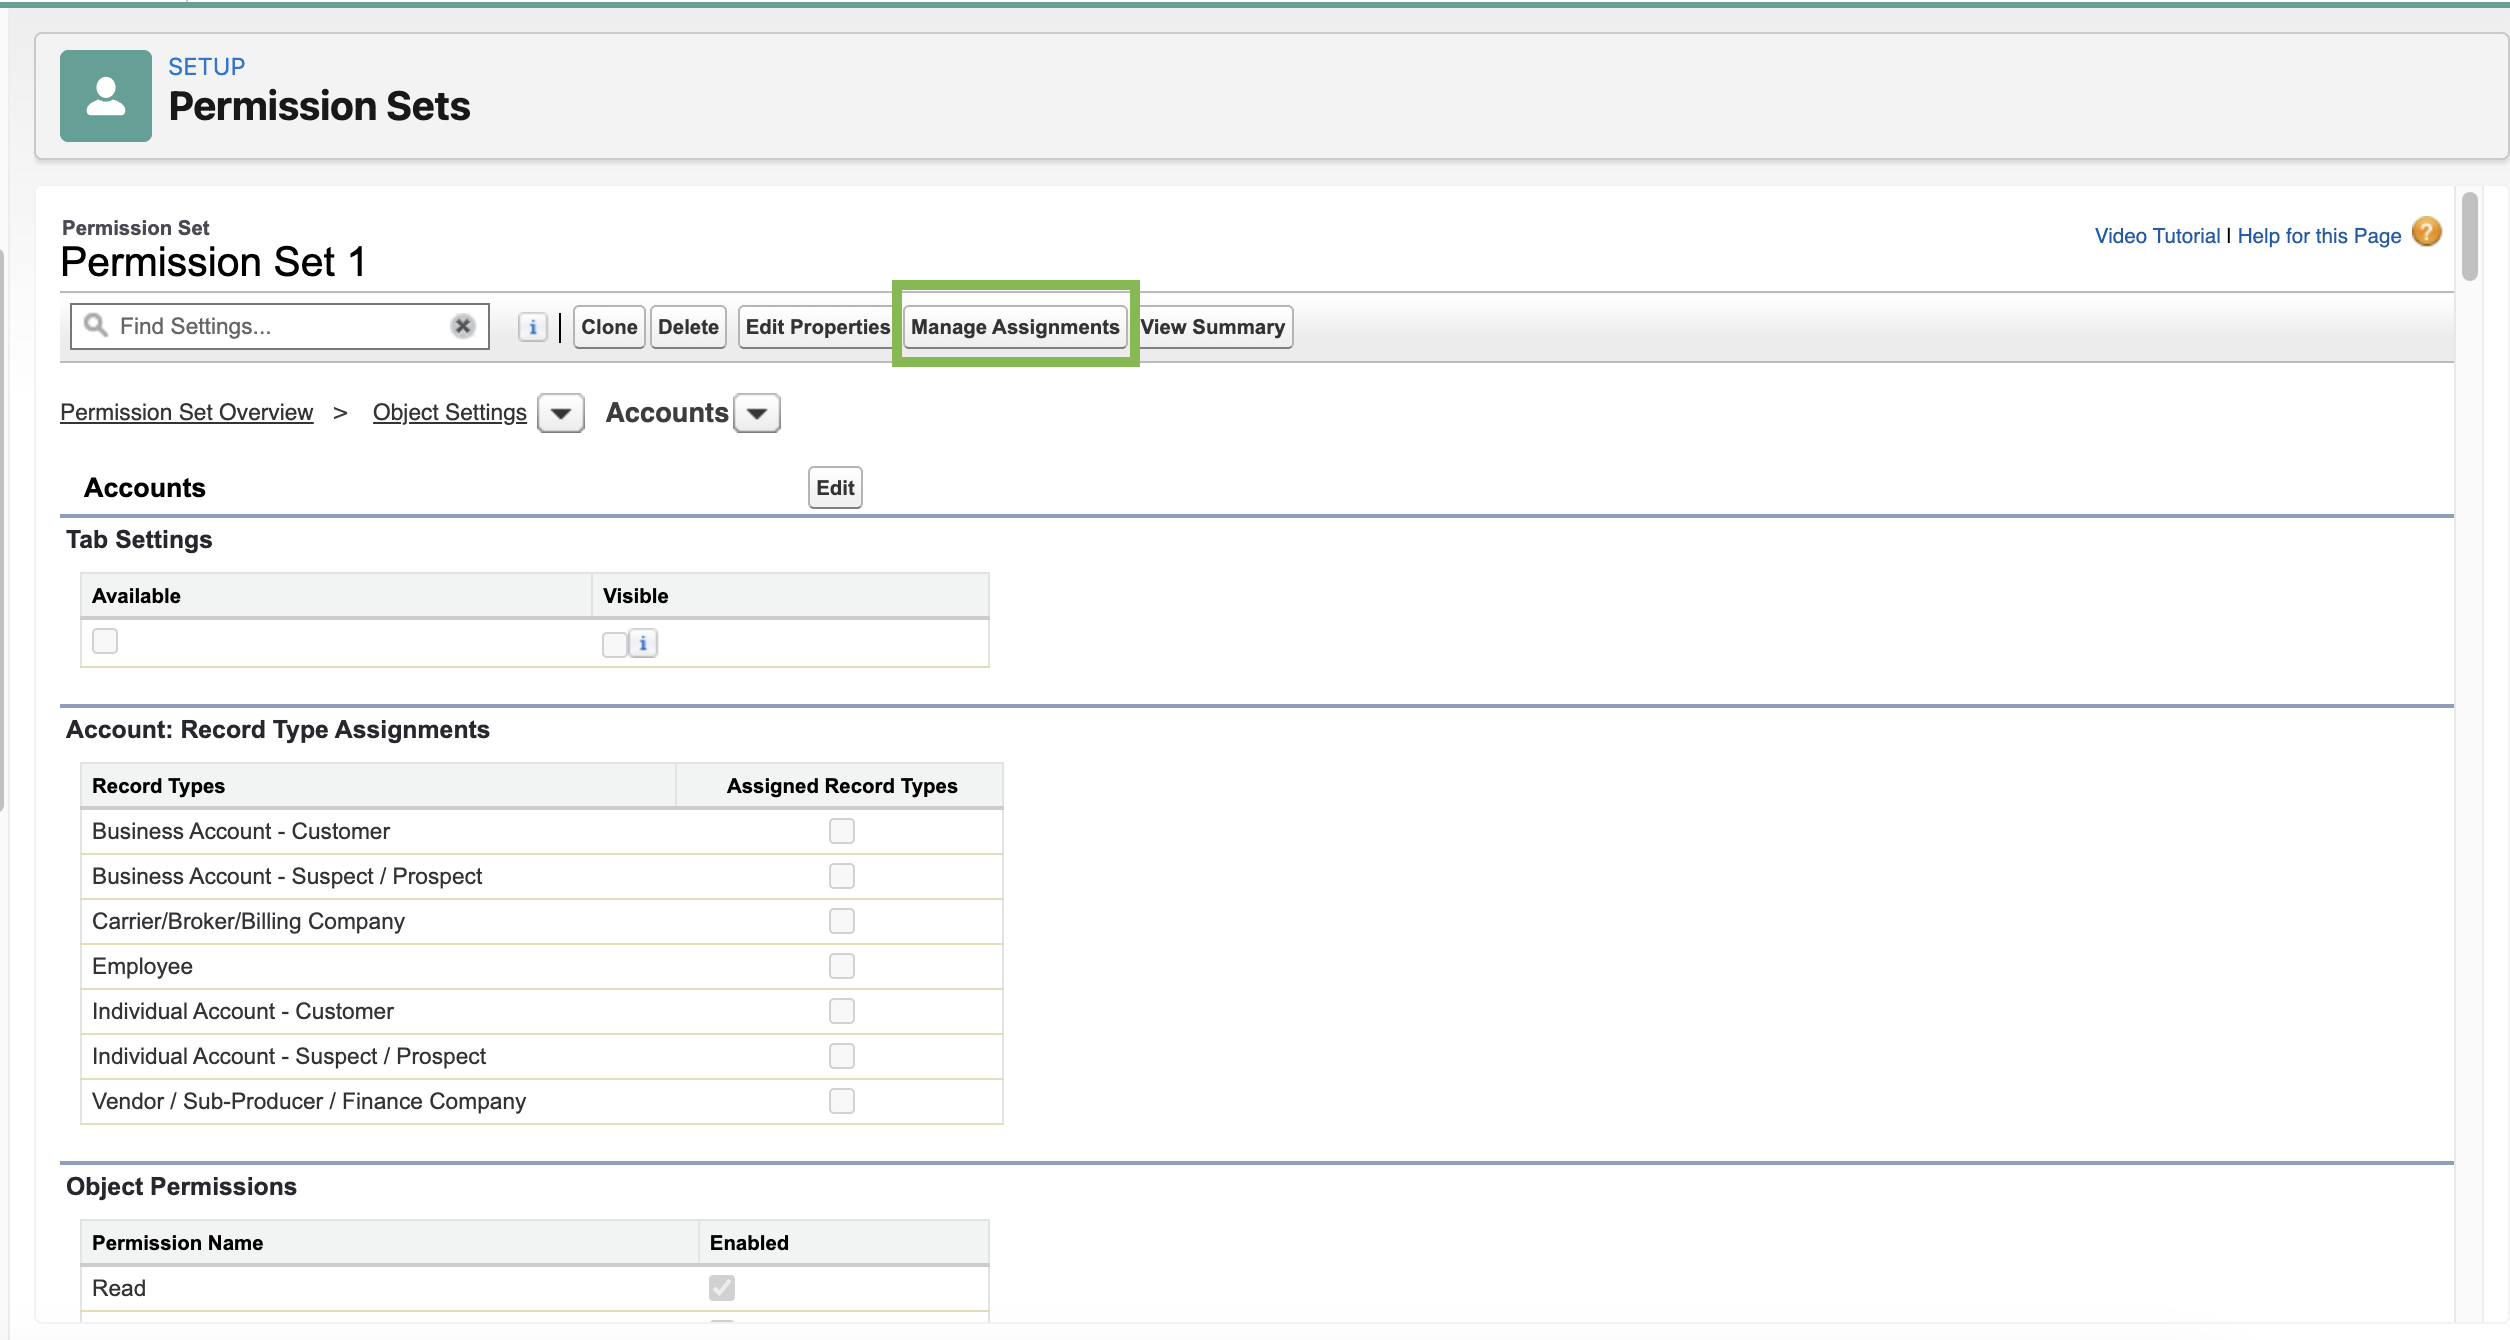
Click Add Assignment.

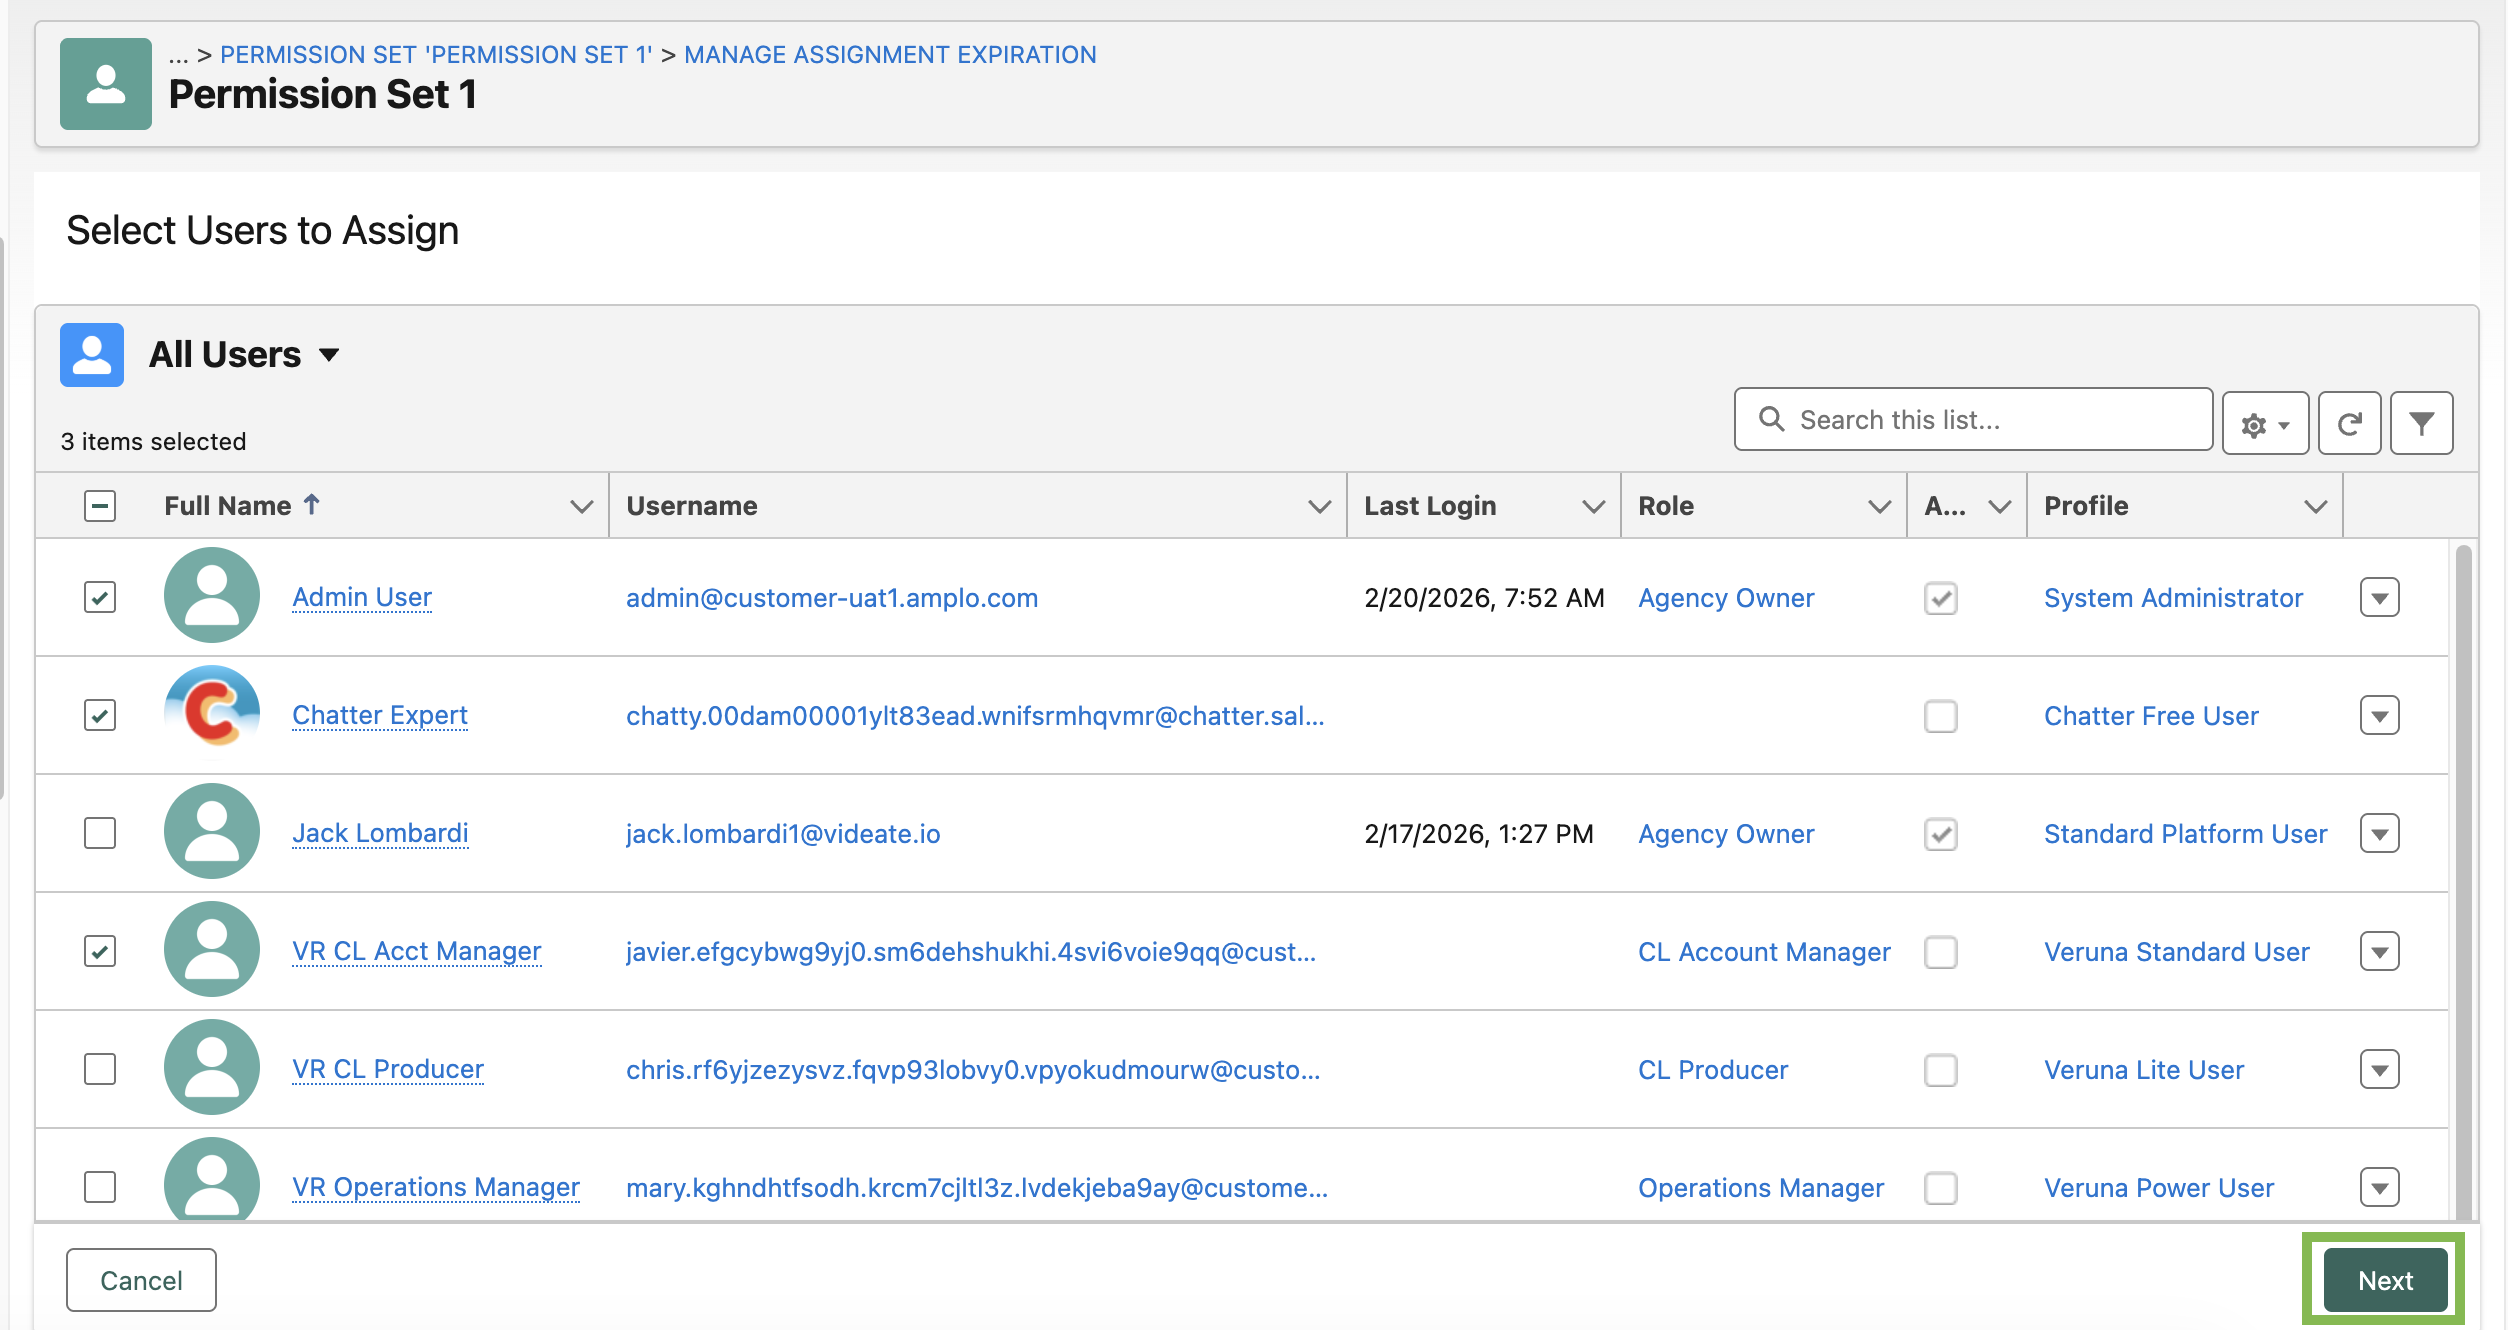
Select the users to assign, then click Next.
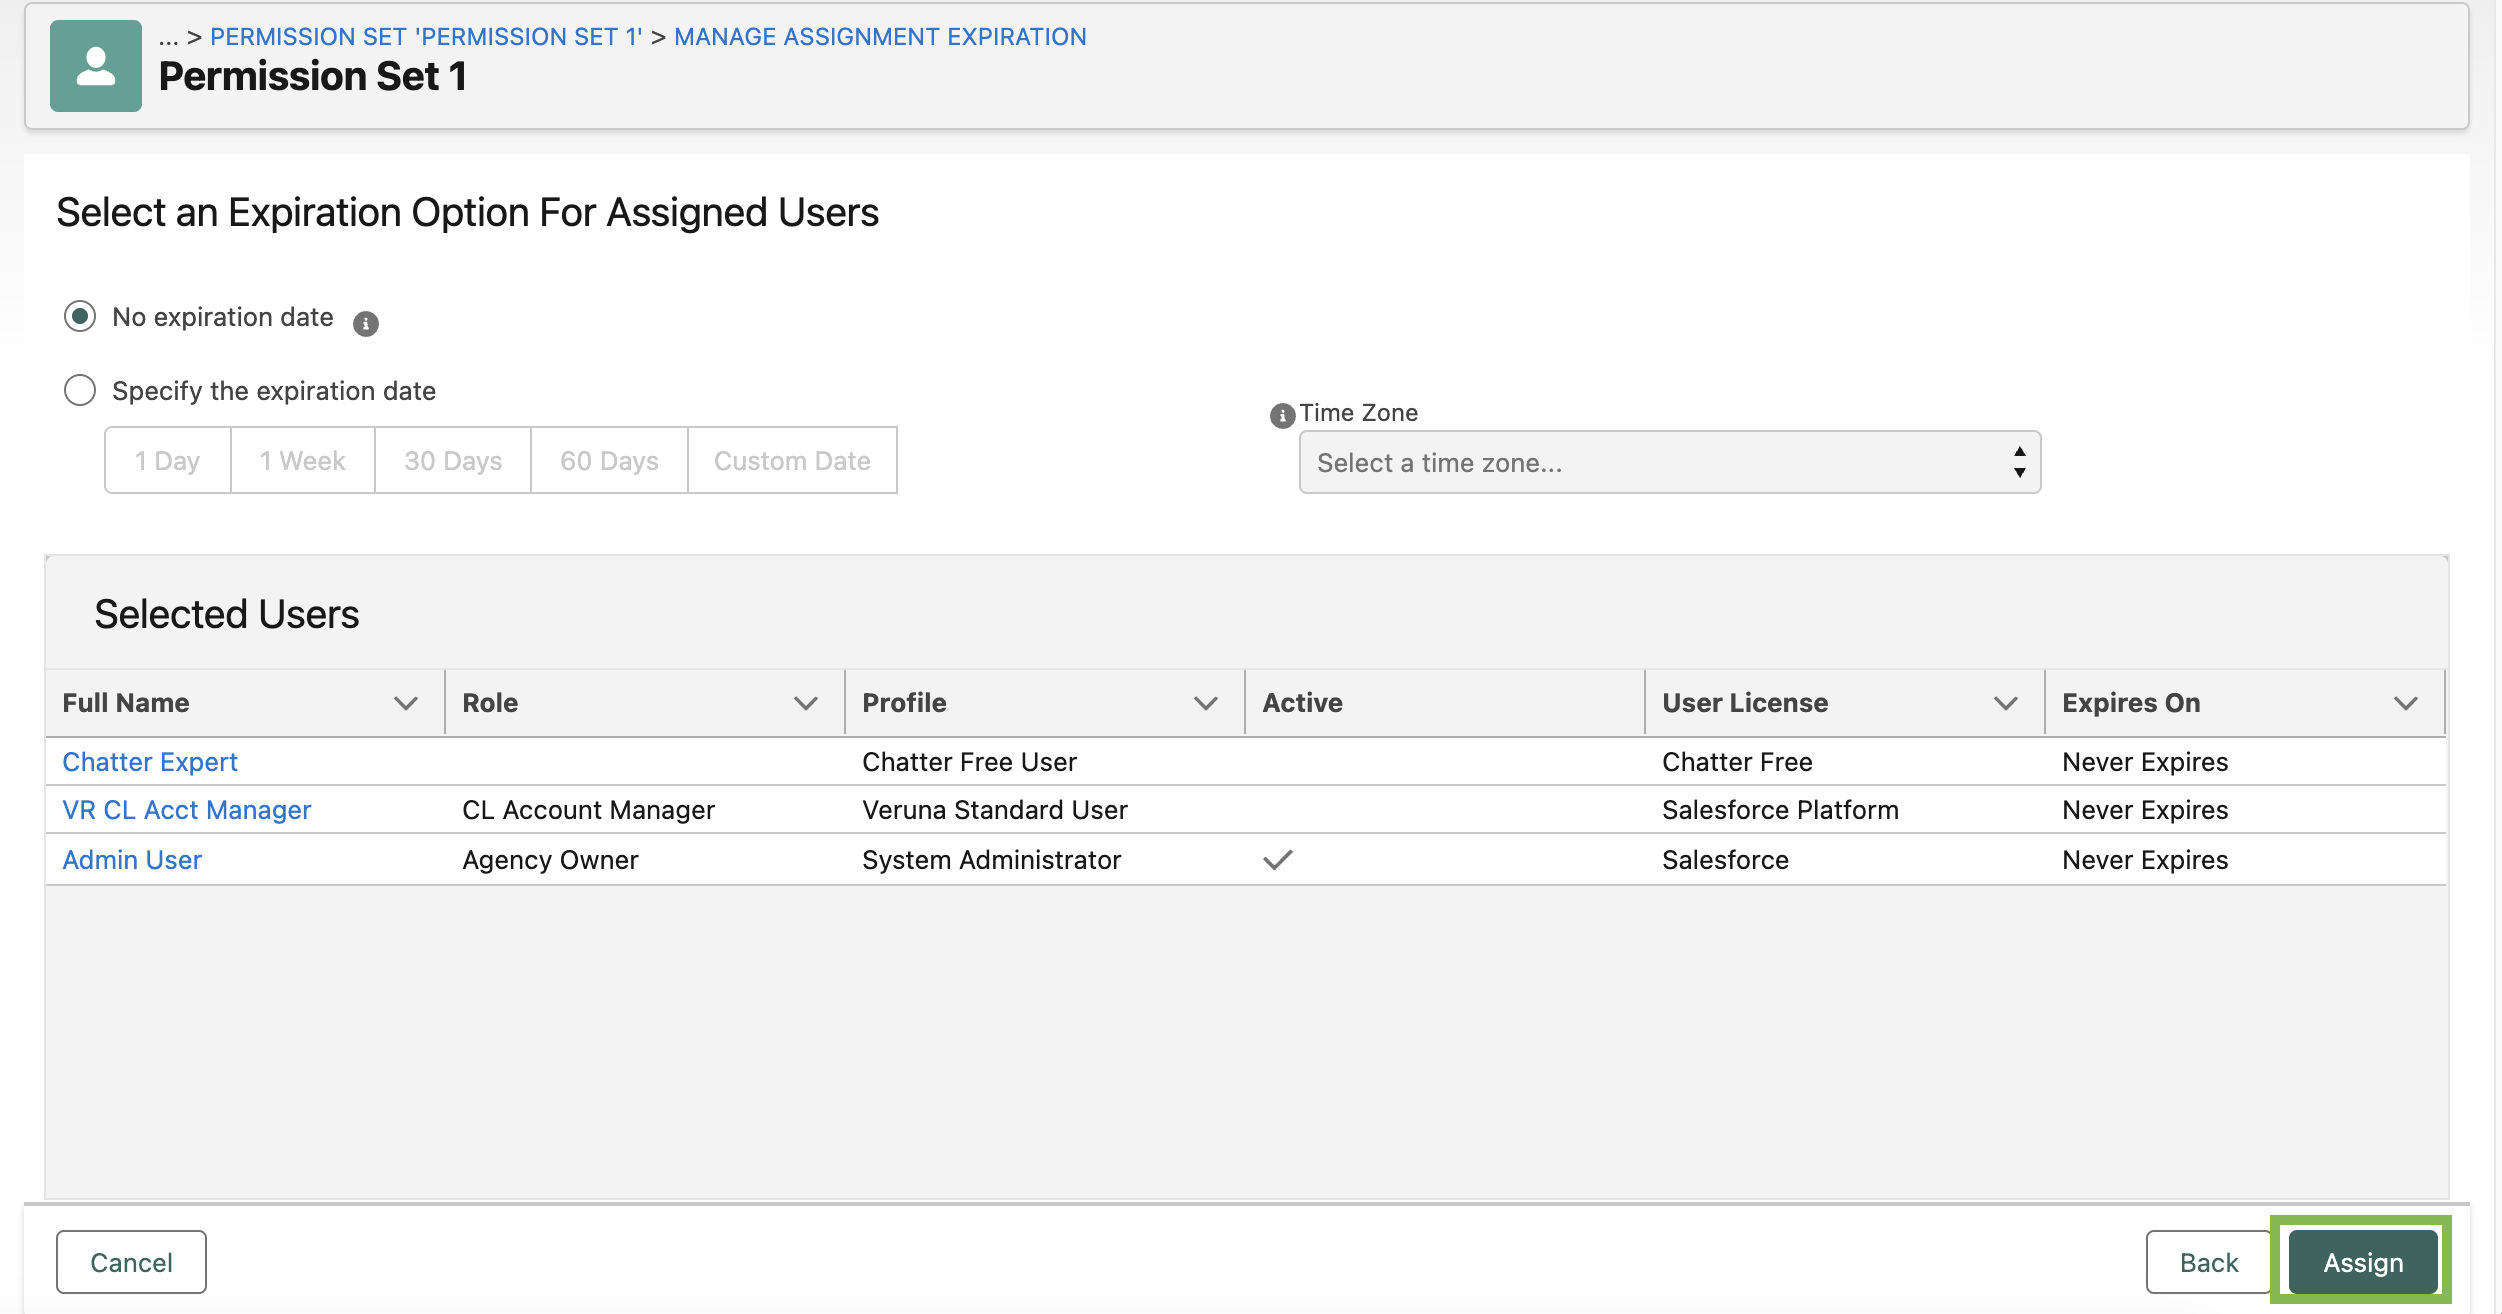
Confirm the users, then click Assign.
On the Assignment Summary page, you will either see a Success or Failure status. Review the failures, make necessary changes, then click Done.
