Managing Accounting Variables
Last updated: June 1, 2026
Overview
When you create a new agency, branch, department, or profit center, you need to configure it in multiple areas of amplo to ensure accurate policy classification, accounting behavior, and commission processing. Setup steps vary depending on whether your organization uses Accounting Seed.
Adding new GL variables
Before you begin, set up your accounting variables. The values you enter here need to match across all configuration steps, so it's worth taking a moment to get them right.
Note: If you are not an Accounting Seed customer, skip to the Adding Business Units section.
In the App Launcher, search for and select Accounting Variables.

Click New.
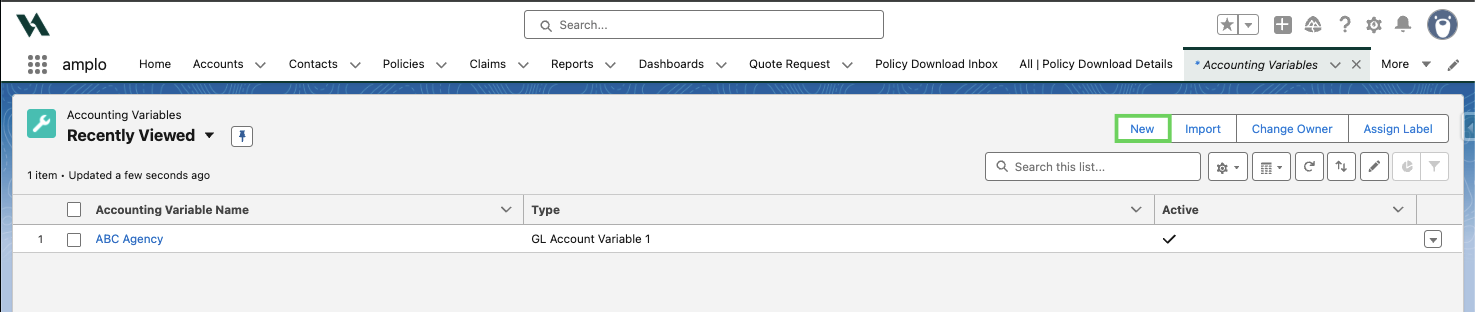
Enter the following:
Accounting Variable Name
Type: Refer to the table below to choose the correct type based on the amplo field you are configuring.
Field | Type |
Agency | GL Variable 1 |
Branch | GL Variable 2 |
Department | GL Variable 3 |
Profit Center | GL Variable 4 |
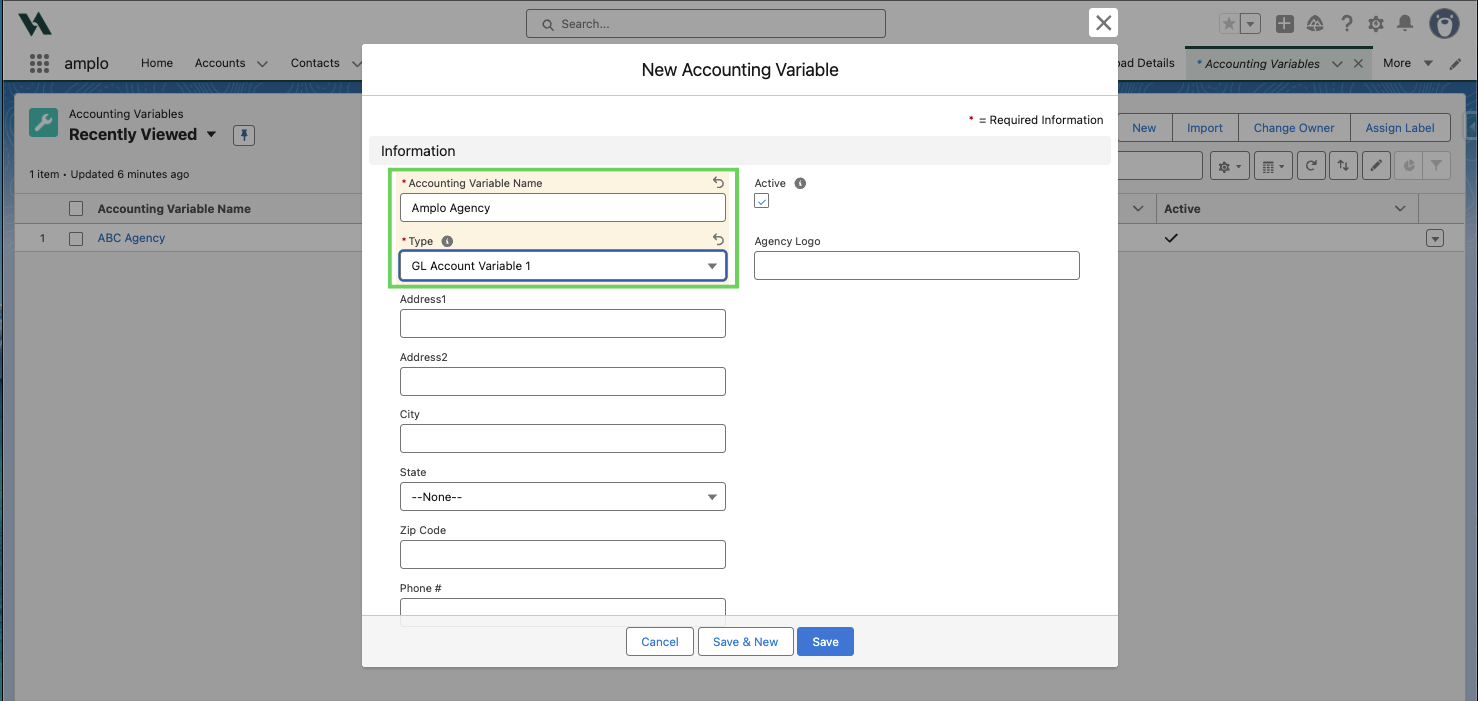
Note: Use the same Accounting Variable Name in every subsequent step. This value drives automation in Accounting Seed, so keeping it consistent is important for the setup to work correctly.
You can also add an address, phone number, and agency logo as optional steps.
Note: If you need to change the address on existing Agencies and Branches, the new address will only populate on newly created Certificate Templates.
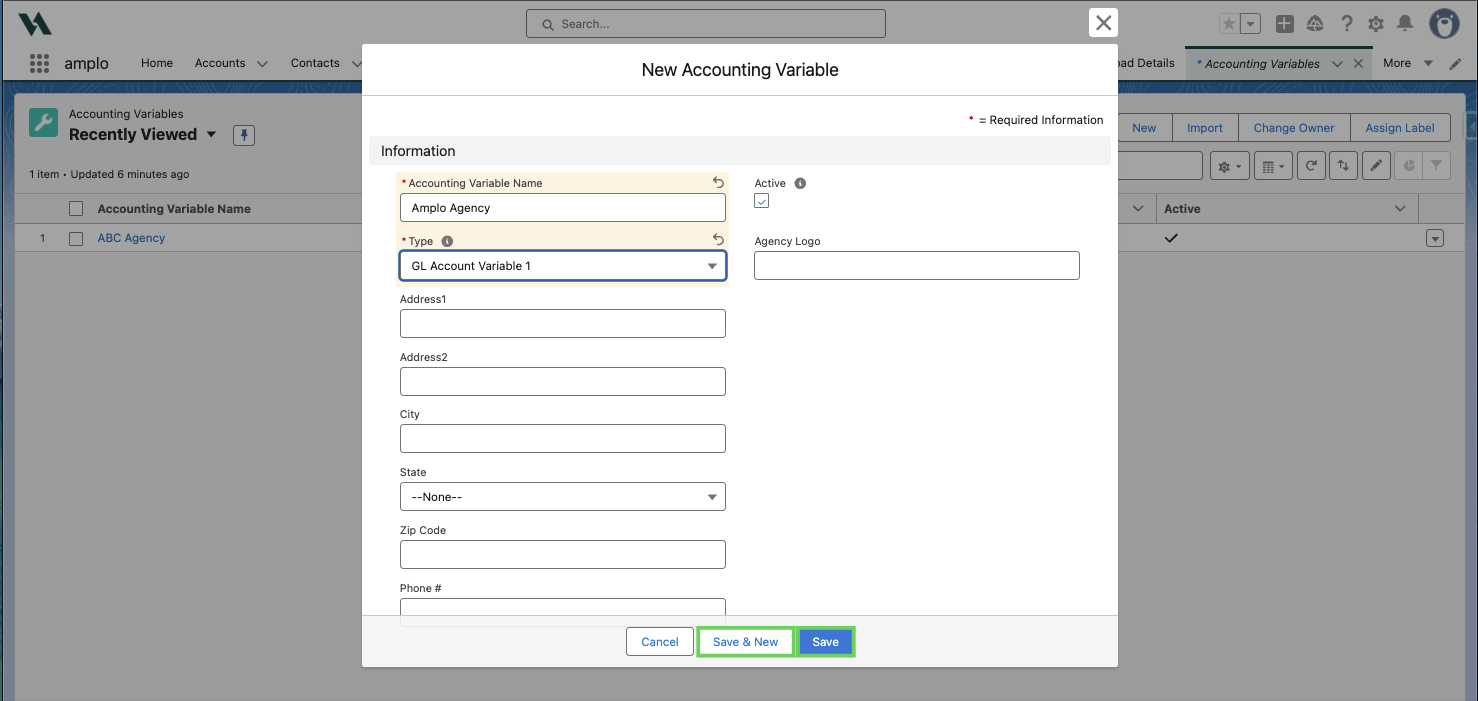
Click Save, or Save & New if adding more than one new variable.
Add Business Units
For Accounting Seed customers, business units are created automatically when you create accounting variables. If you do not use Accounting Seed, complete the steps below.
In the App Launcher, search for and select Business Units.

Click New.
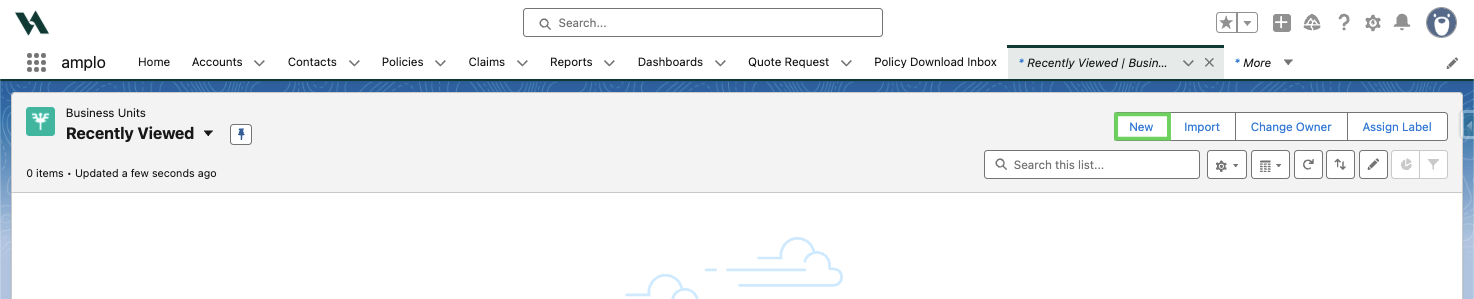
Enter the following on the New Business Unit Modal:
Business Unit Name: The name of the agency, branch, department, or profit center as it should appear in amplo.
Business Unit Type: The category that classifies this unit, such as agency, branch, department, or profit center.
Is Active: Check this box to make the business unit active and availble to use across amplo.
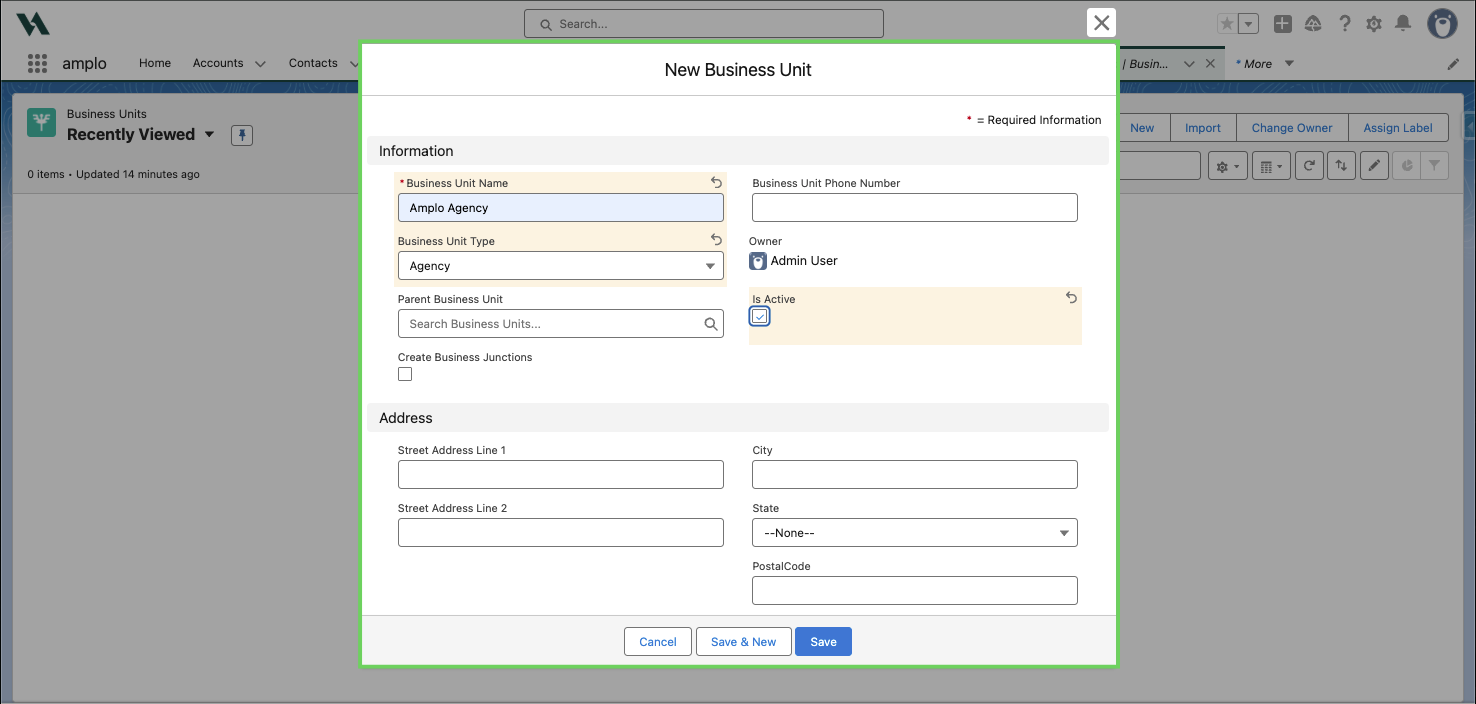
Note: If using Agency or Branch, add an address. These inputs will populate the corresponding fields on ACORD forms automatically.
Click Save.
Update the Policy object
Add each new value to the corresponding policy picklist (such as Agency, Branch, Department, or Profit Center) so users can select it on policies. Make sure the Label and API Name match exactly.
Use the gear icon to select Setup.

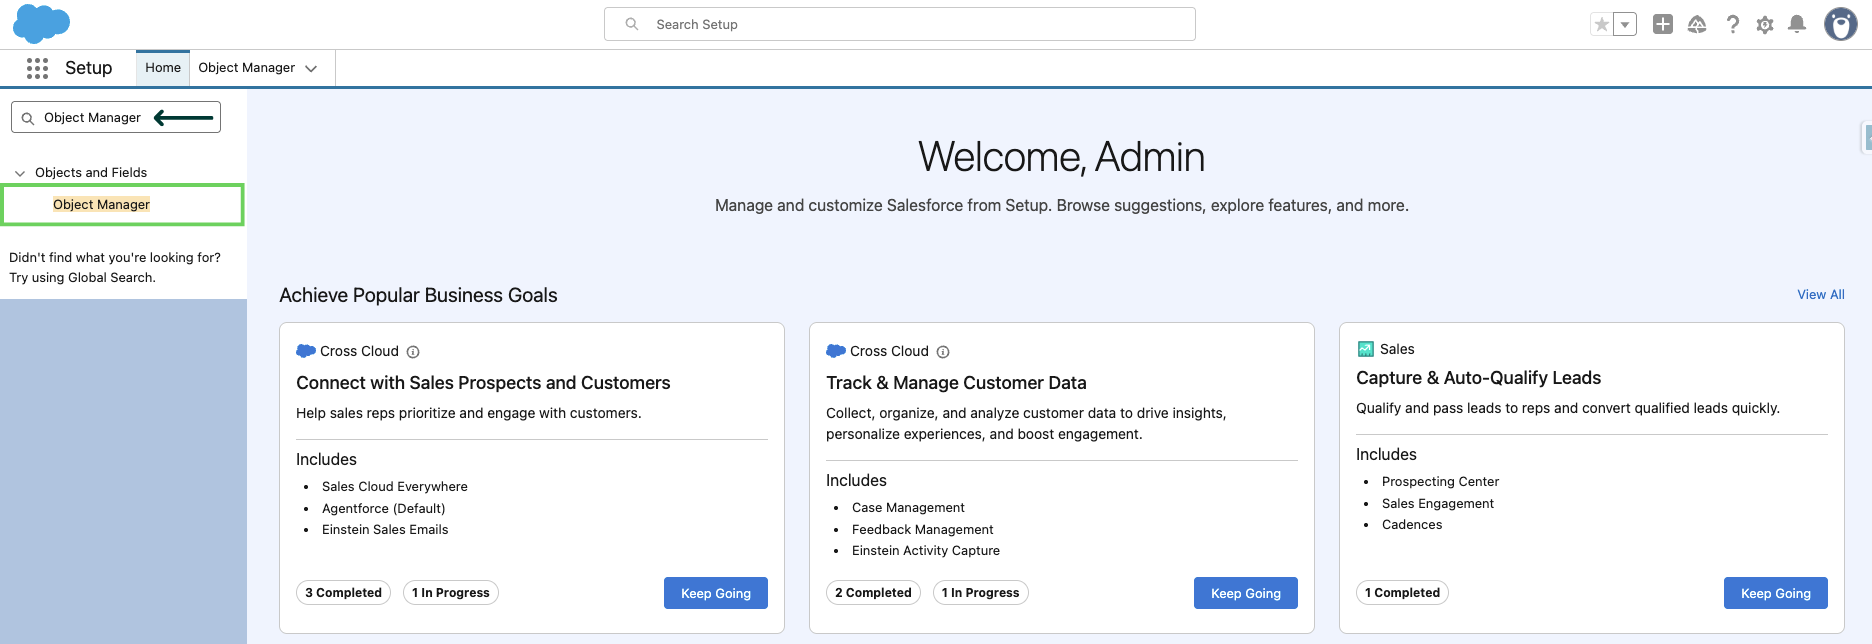
Then, search and select Object Manager.
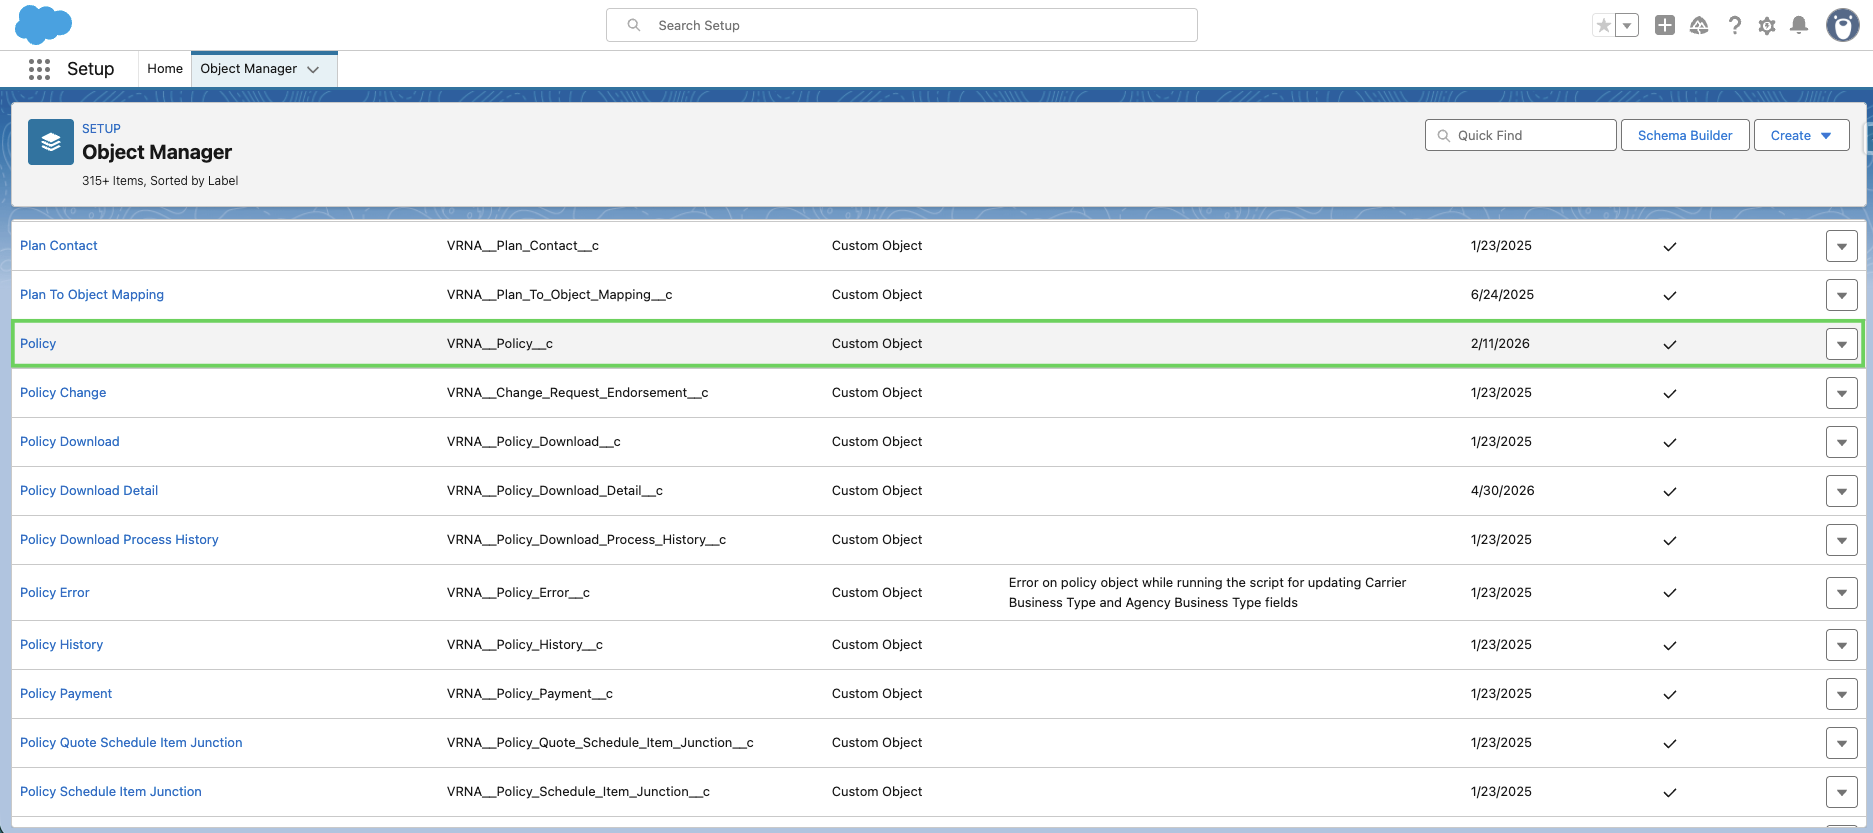
Select Policy.
Click Fields & Relationships.
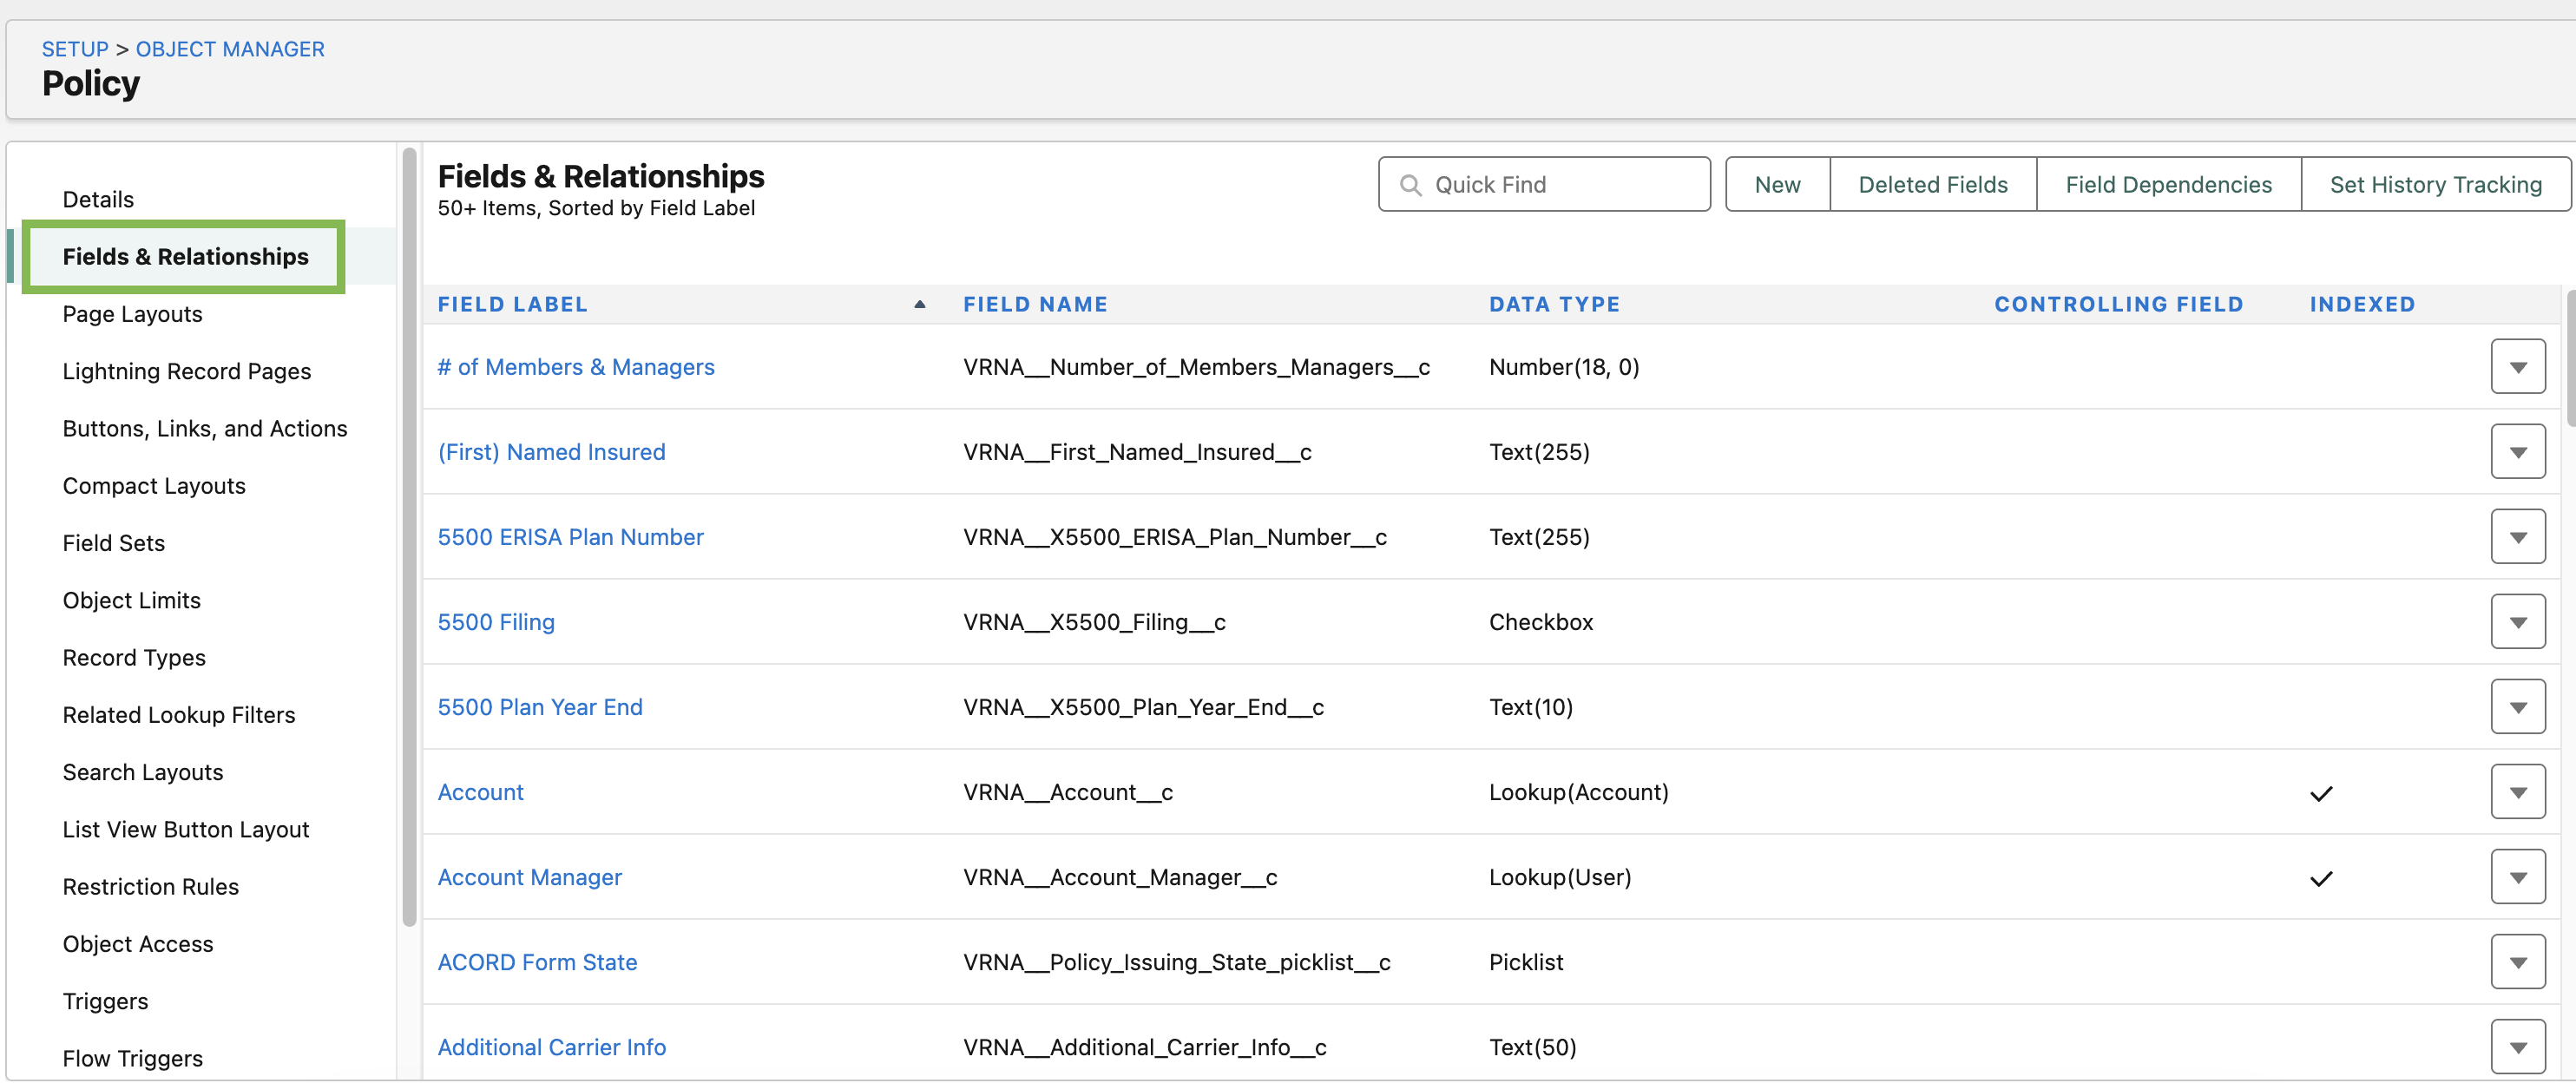
Search for and open the policy object you want to update for (either Agency, Branch, Department, or Profit Center).
Scroll to the Values section and click New.
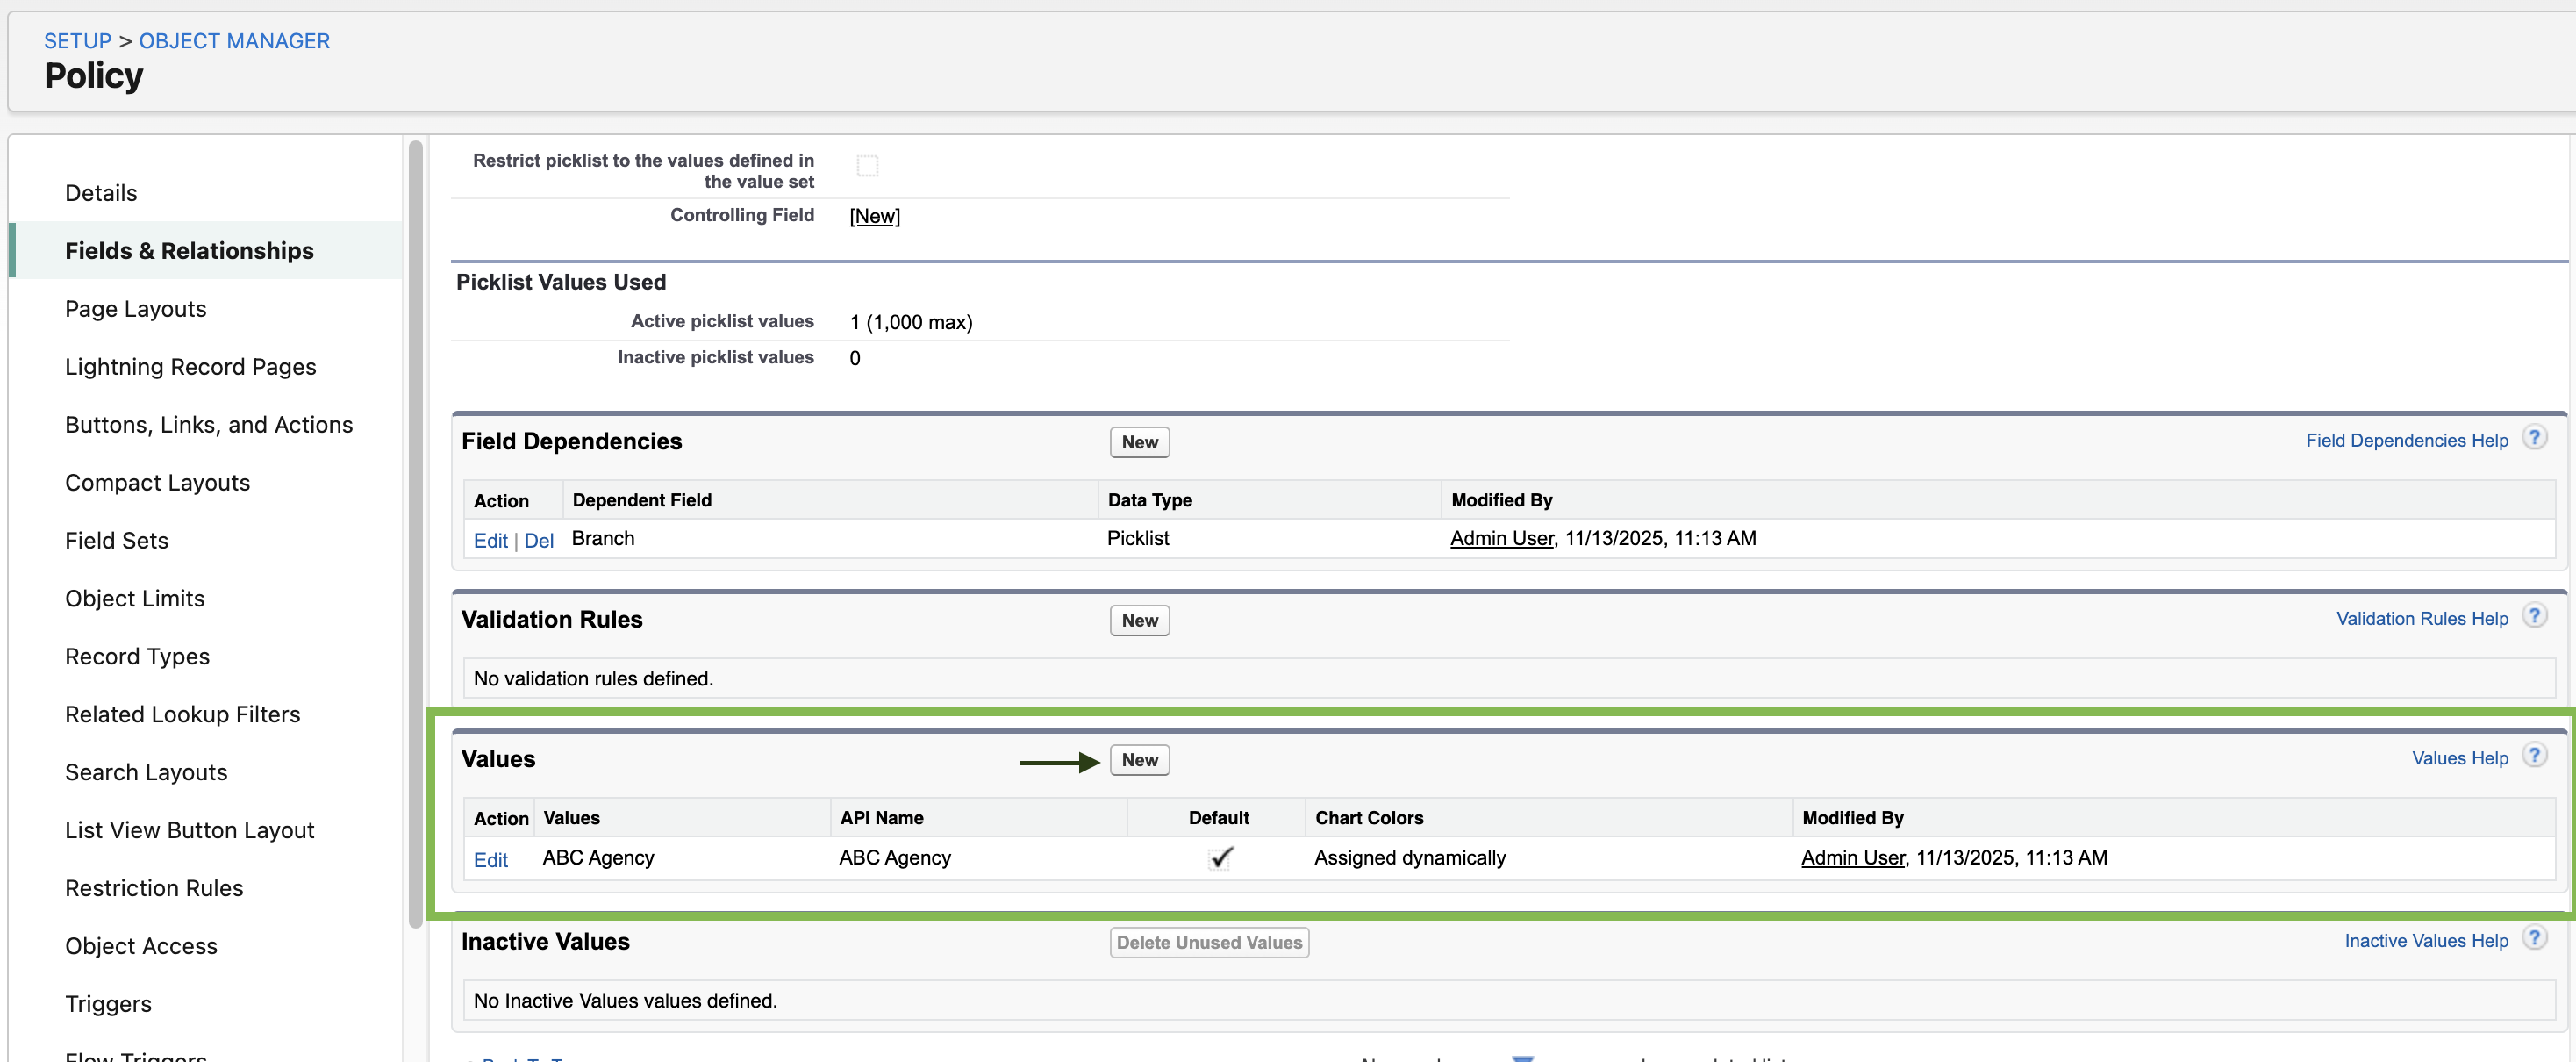
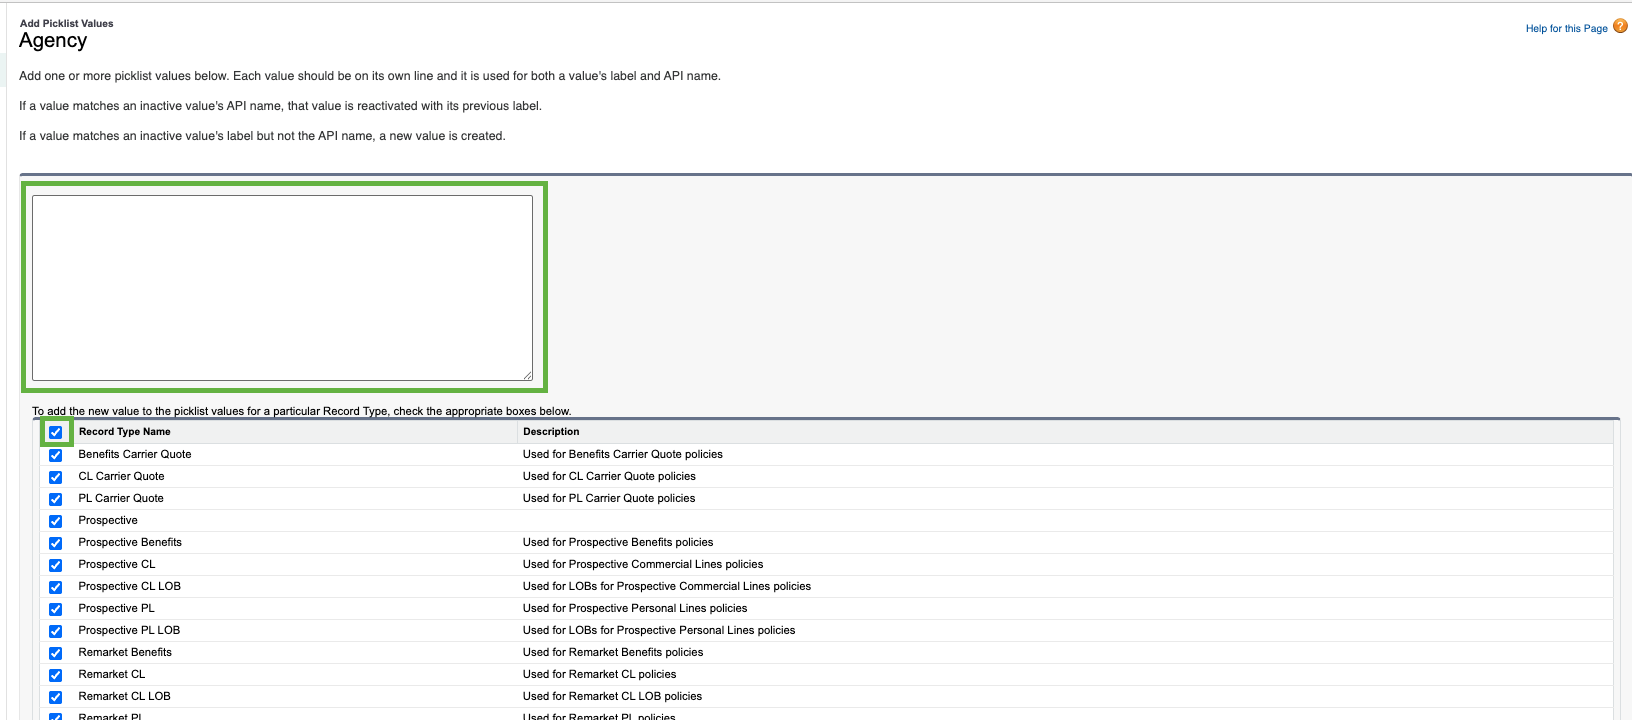
Enter the exact same value used to create the new Variable and Business Unit.
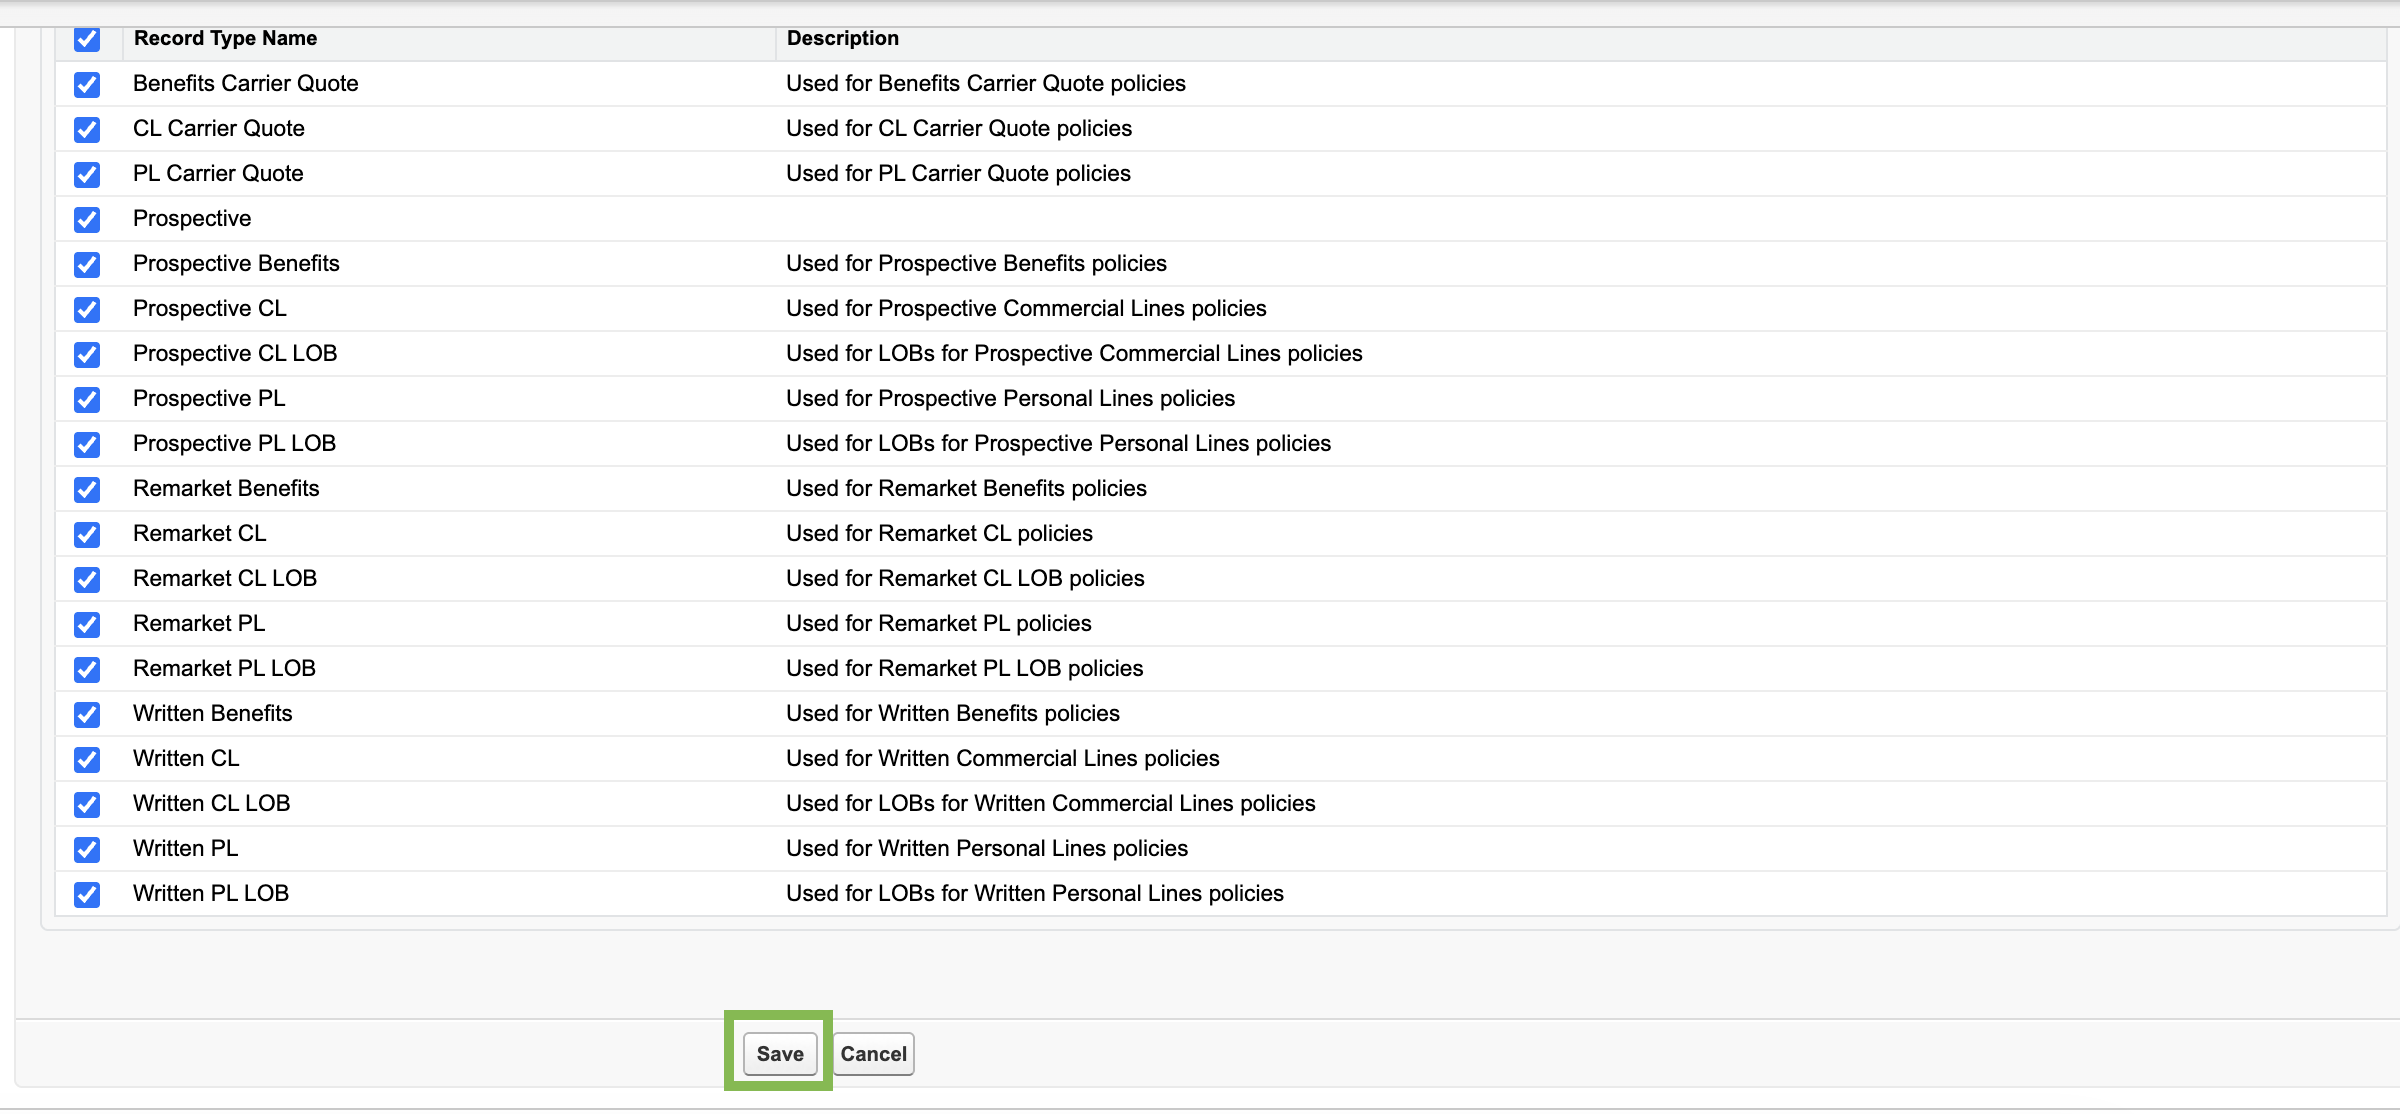
Check all boxes to apply to all record types.
Click Save.
Update Default Agency Commission picklists
This step ensures commissions are configured correctly.
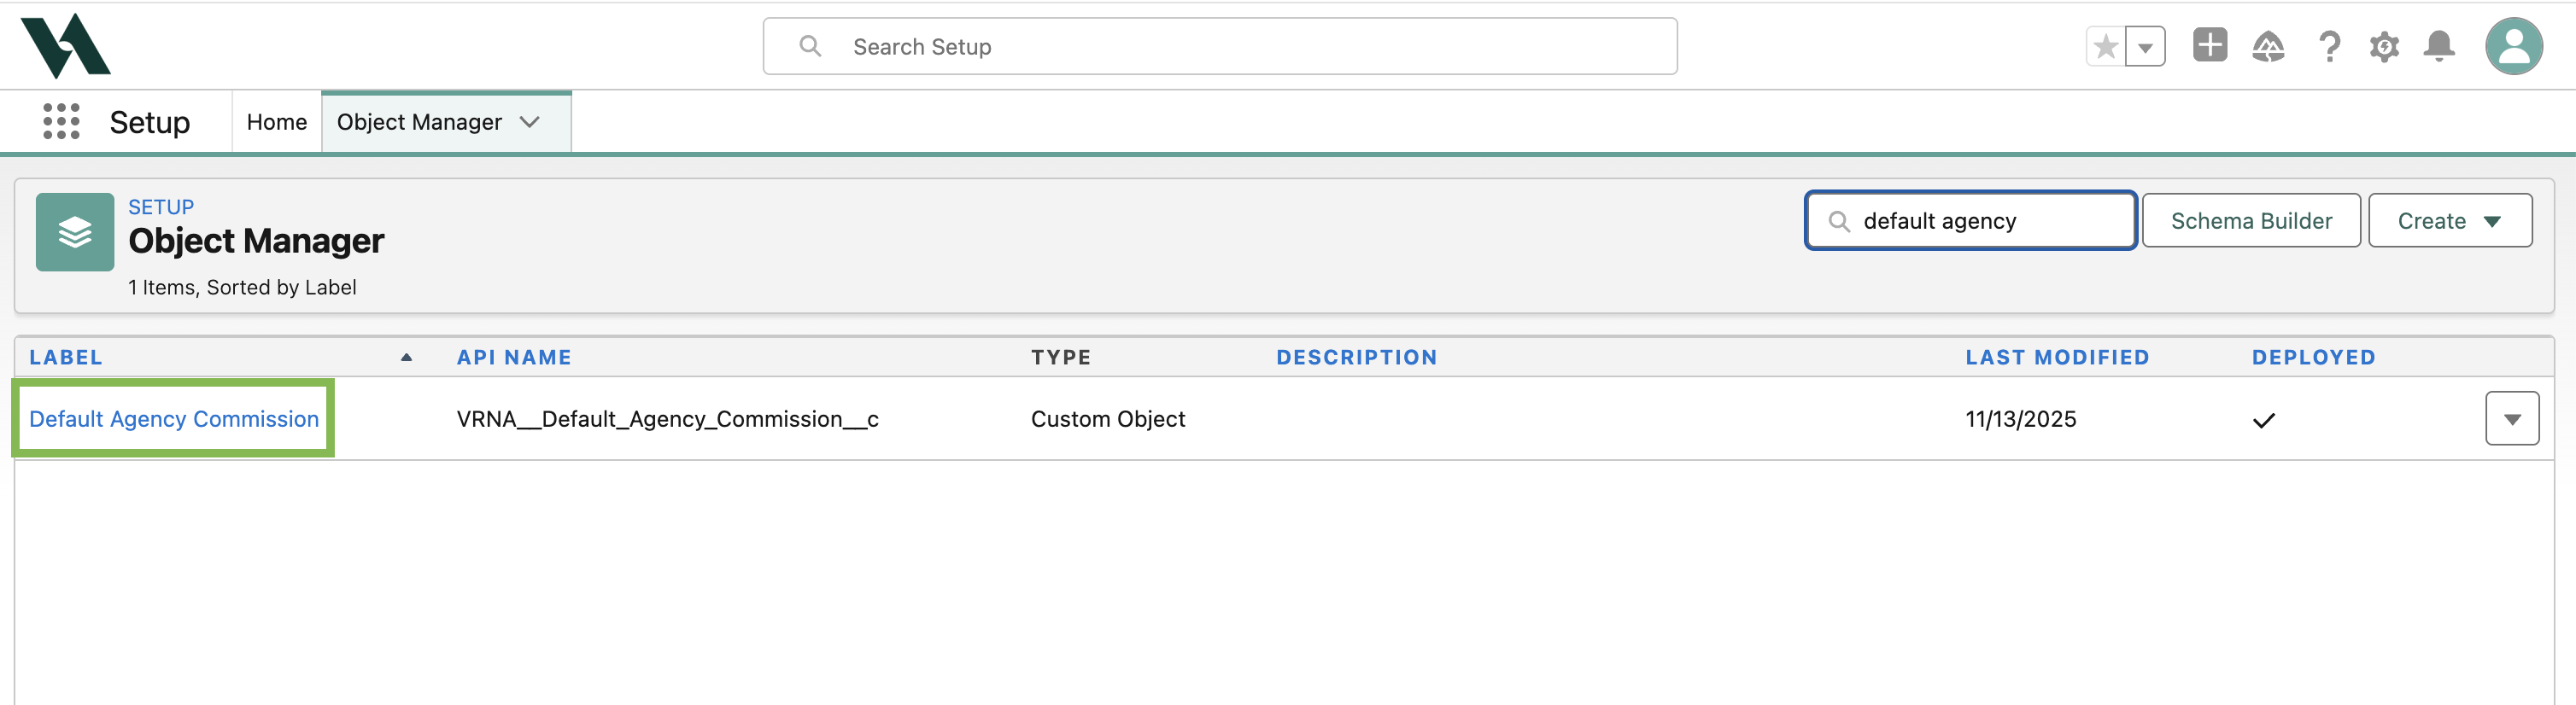
Navigate to Setup, then search and select Object Manager.
Select Default Agency Commission.
Click Fields & Relationships, then open the field you want to update for (either Agency, Branch, Department, or Profit Center).
Scroll to the Values section, and click New.
Enter the same value added to the Policy picklist.
Click Save.
Update Producer Commission Default
Only Department is used in Producer Commission Defaults.
In Setup, search and select Object Manager.
Select Producer Commission Defaults.
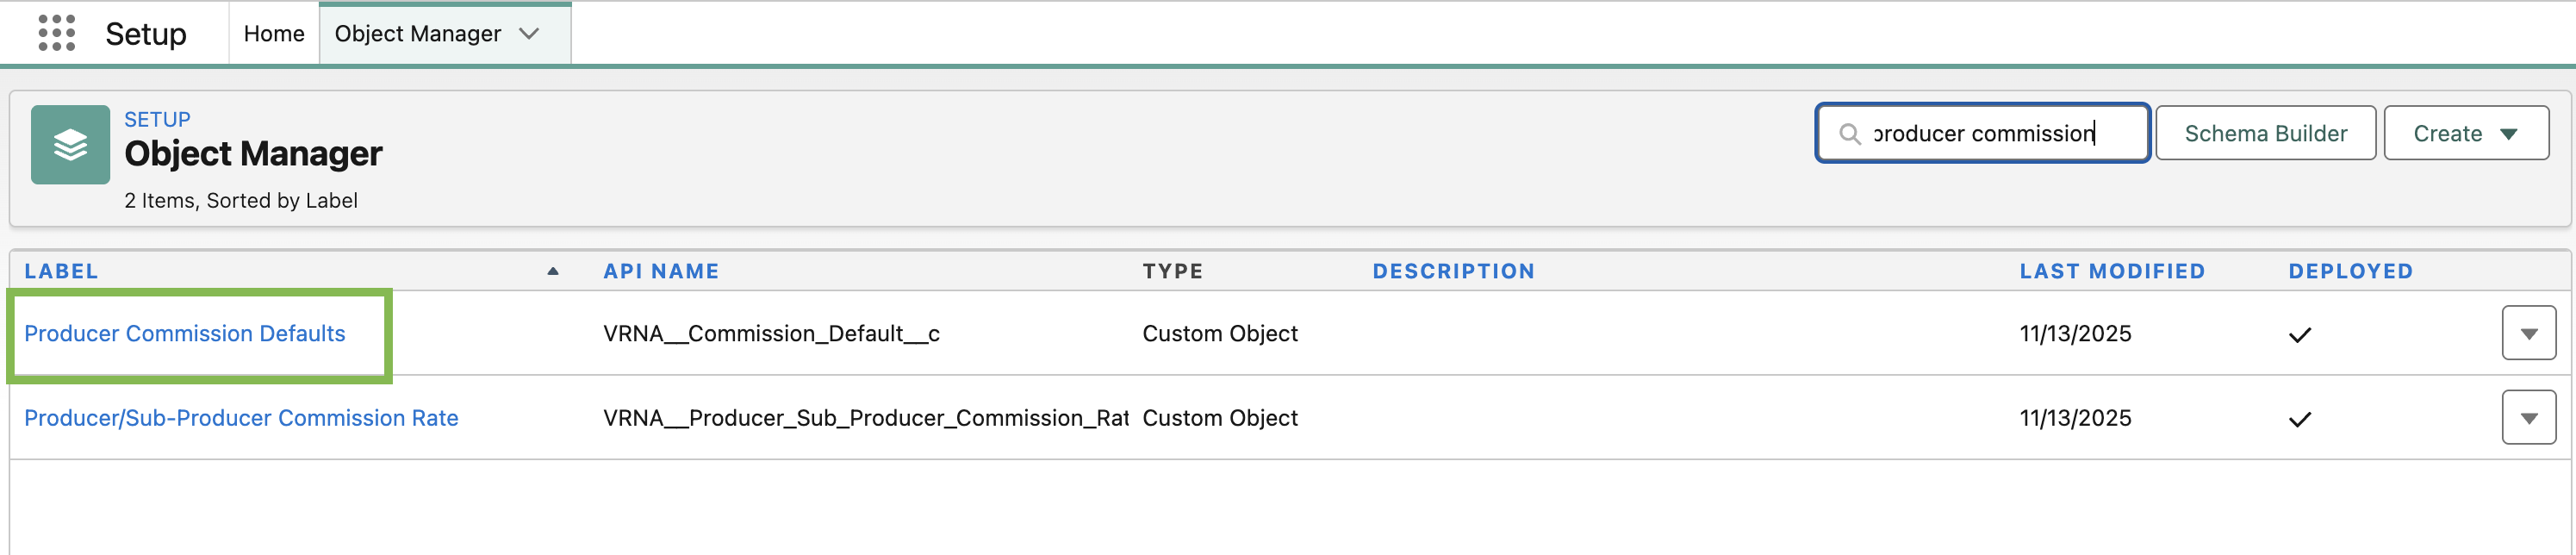
Click Fields & Relationships. Then, select Department.
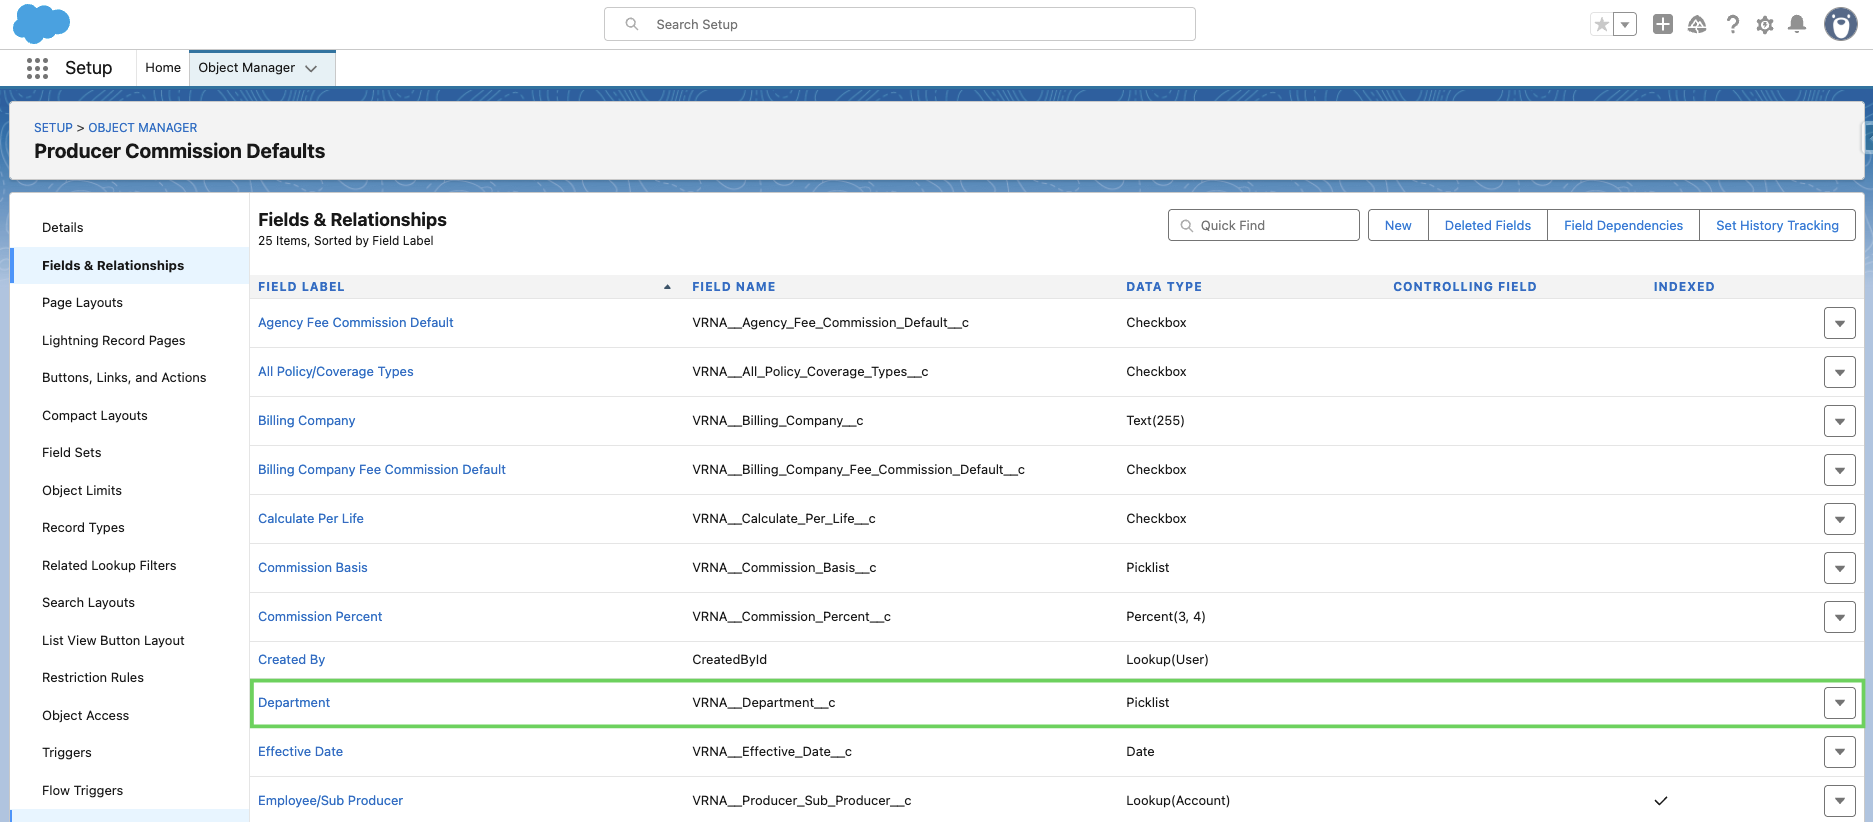
Scroll to the Values section and click New.
Enter the same Department value used previously.
Click Save.